Johnny Five, how to light a LED
Learn how to talk to electronic devices using JavaScript
This post is part of the Johnny Five series. See the first post here.
Create a folder and initialize npm:
npm init -yInstall Johnny Five locally:
npm install johnny-fiveNow create a app.js file, with this content:
const { Board, Led } = require("johnny-five")
const board = new Board()

board.on("ready", () => {
  const led = new Led(13)
  led.blink()
})
This program initializes a new board by calling new Board().
When the board is ready the ready event is fired on the board object, and in the callback function we can do what our app is supposed to do.
In this simple example, we initialize a new LED on pin 13, by initializing a new Led object, and we blink it (we turn it on/off indefinitely).
The Led object and the Board object are two of the many functionality offered by the Johnny Five library.
Pin 13 on the Arduino Uno board is the pin that is connected to the built-in LED.
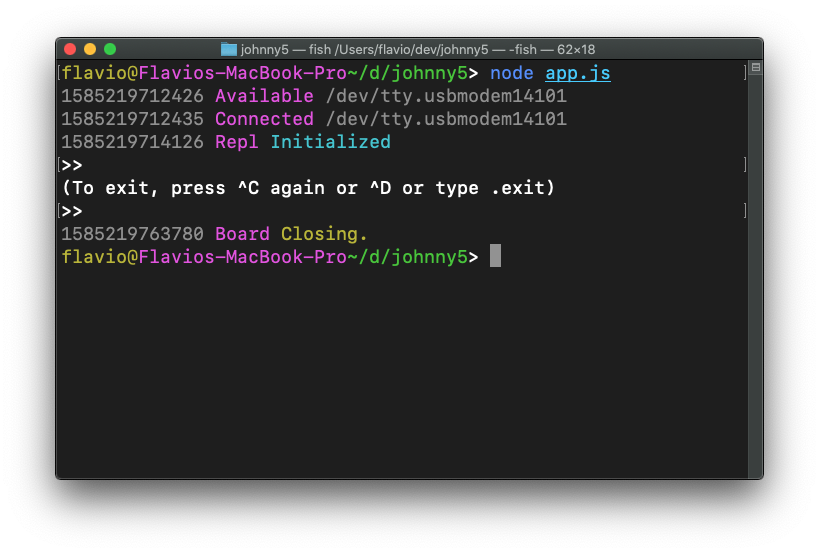
Now run the program using node app.js:

And you should see the led turn on and off!
You can also attach a real LED by connecting the negative pin to GND (0V) and the positive pin to the pin 13:
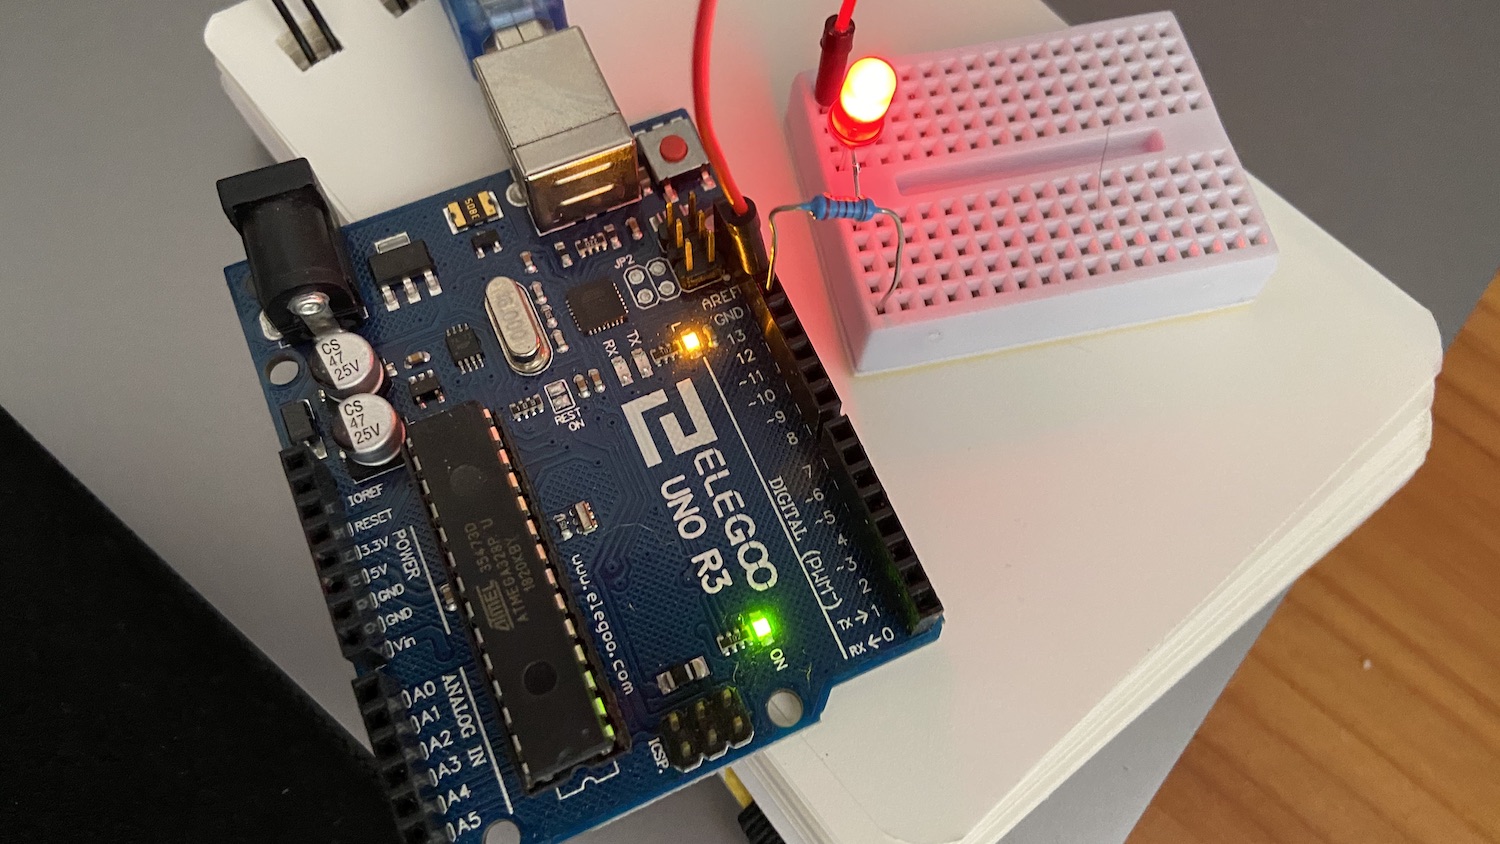
Note that I used a resistor, to limit the amount of current that flows through the LED.
To stop the program from running, hit ctrl-C twice:
download all my books for free
- javascript handbook
- typescript handbook
- css handbook
- node.js handbook
- astro handbook
- html handbook
- next.js pages router handbook
- alpine.js handbook
- htmx handbook
- react handbook
- sql handbook
- git cheat sheet
- laravel handbook
- express handbook
- swift handbook
- go handbook
- php handbook
- python handbook
- cli handbook
- c handbook
subscribe to my newsletter to get them
Terms: by subscribing to the newsletter you agree the following terms and conditions and privacy policy. The aim of the newsletter is to keep you up to date about new tutorials, new book releases or courses organized by Flavio. If you wish to unsubscribe from the newsletter, you can click the unsubscribe link that's present at the bottom of each email, anytime. I will not communicate/spread/publish or otherwise give away your address. Your email address is the only personal information collected, and it's only collected for the primary purpose of keeping you informed through the newsletter. It's stored in a secure server based in the EU. You can contact Flavio by emailing flavio@flaviocopes.com. These terms and conditions are governed by the laws in force in Italy and you unconditionally submit to the jurisdiction of the courts of Italy.