Johnny Five, how to work with an LCD Screen
By Flavio Copes
Learn how to wire and control a 1602A LCD screen with Johnny Five and Node.js, initializing the LCD class and showing text with the print() method.
This post is part of the Johnny Five series. See the first post here.
An LCD screen is a pretty cool component because we can use it for many different projects in creative ways.
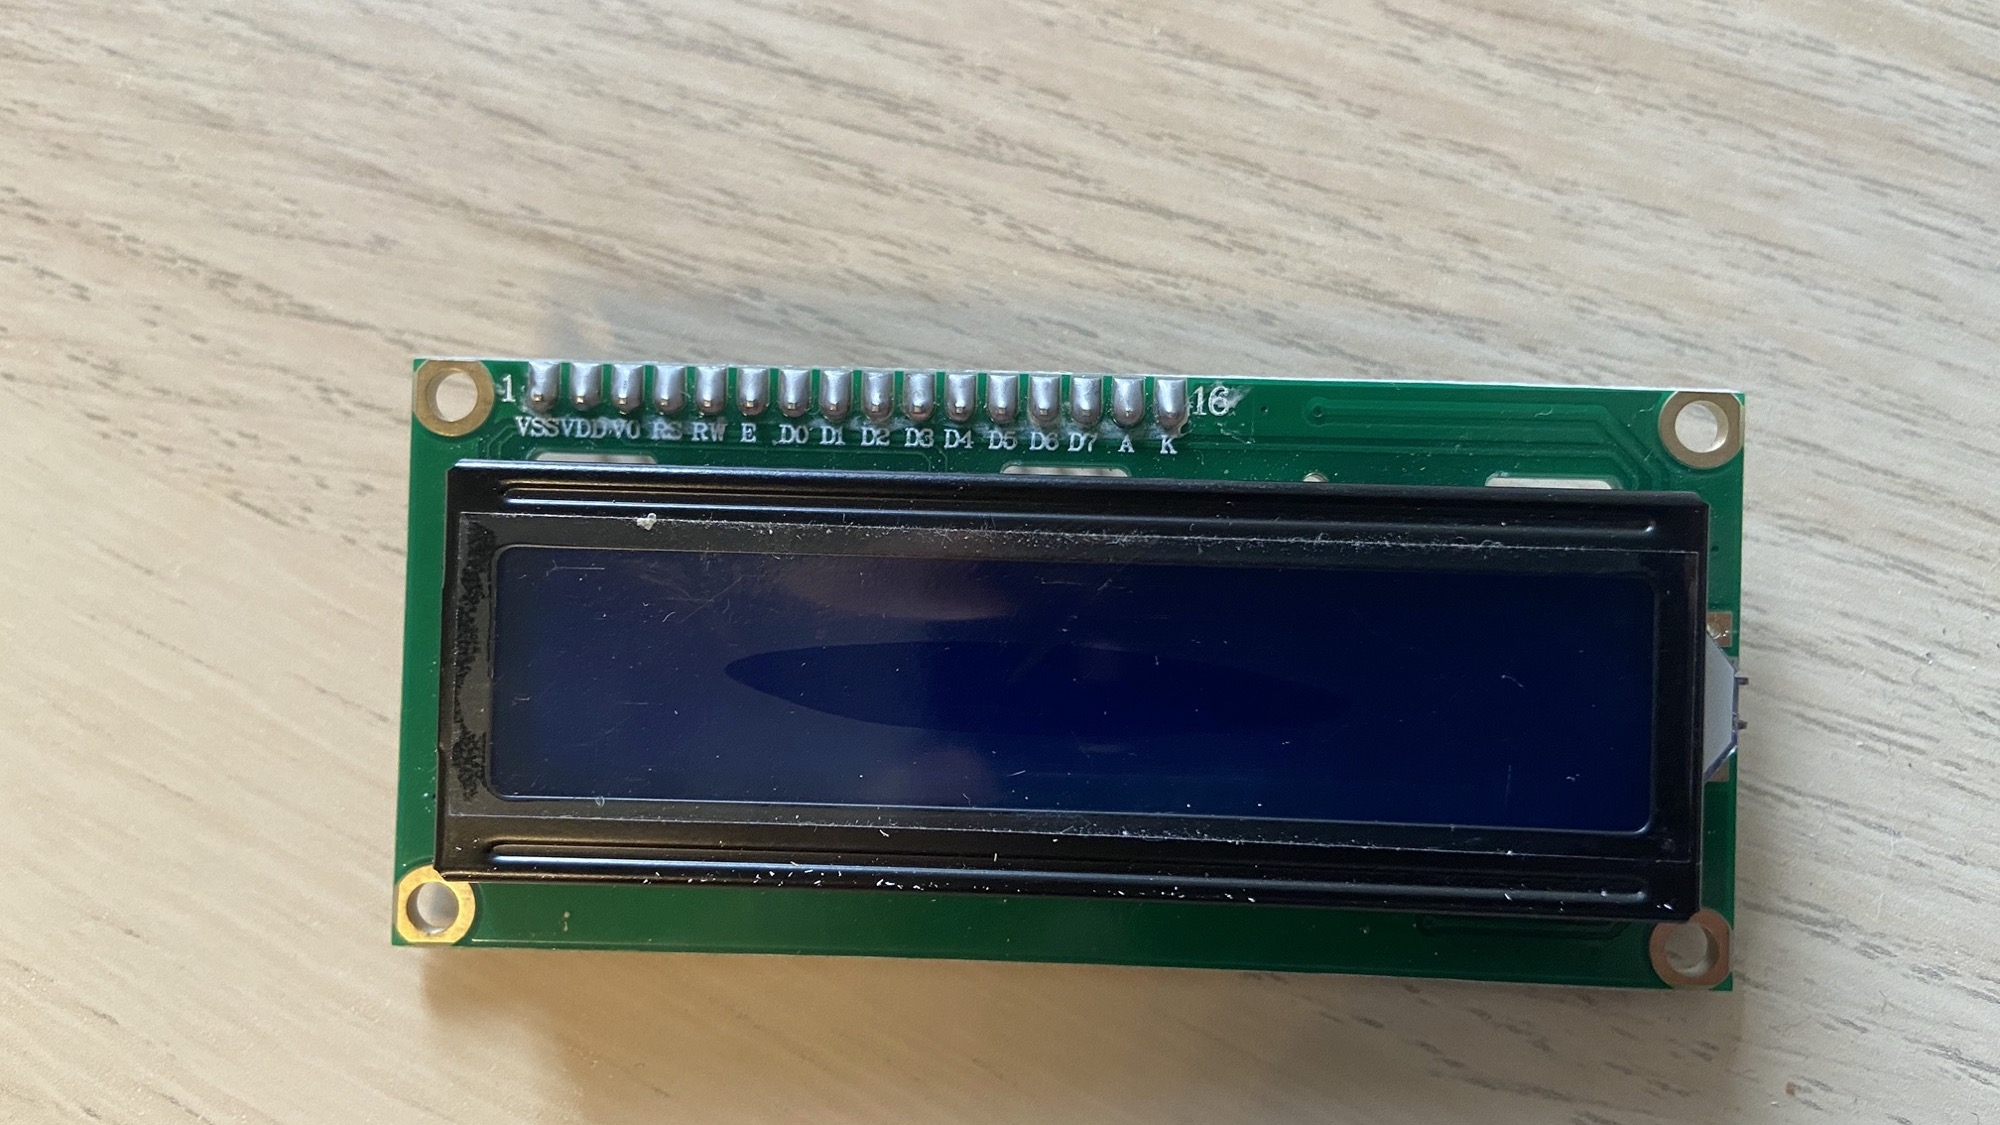
This one I have is named 1602A.
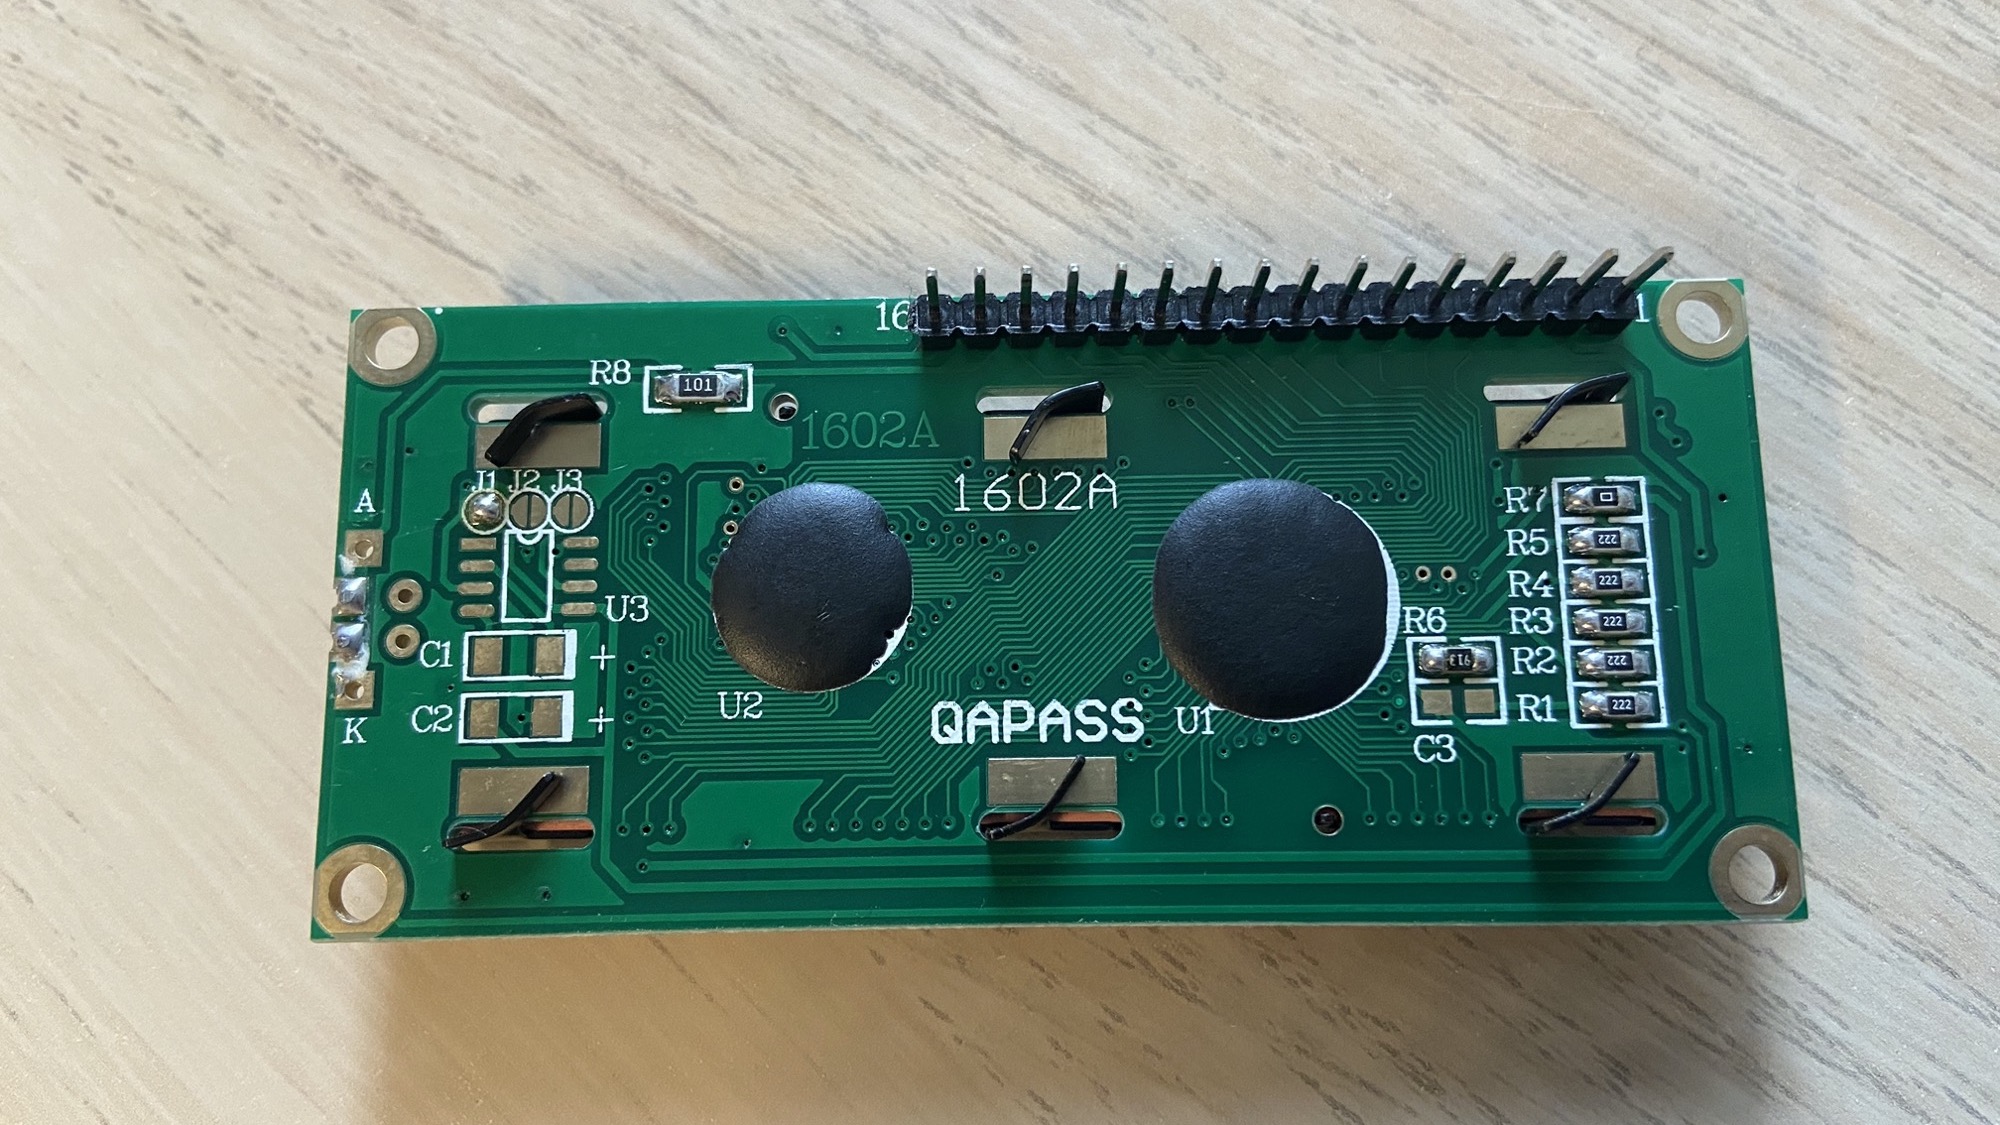
It has 16 pins. I wired it in this way:
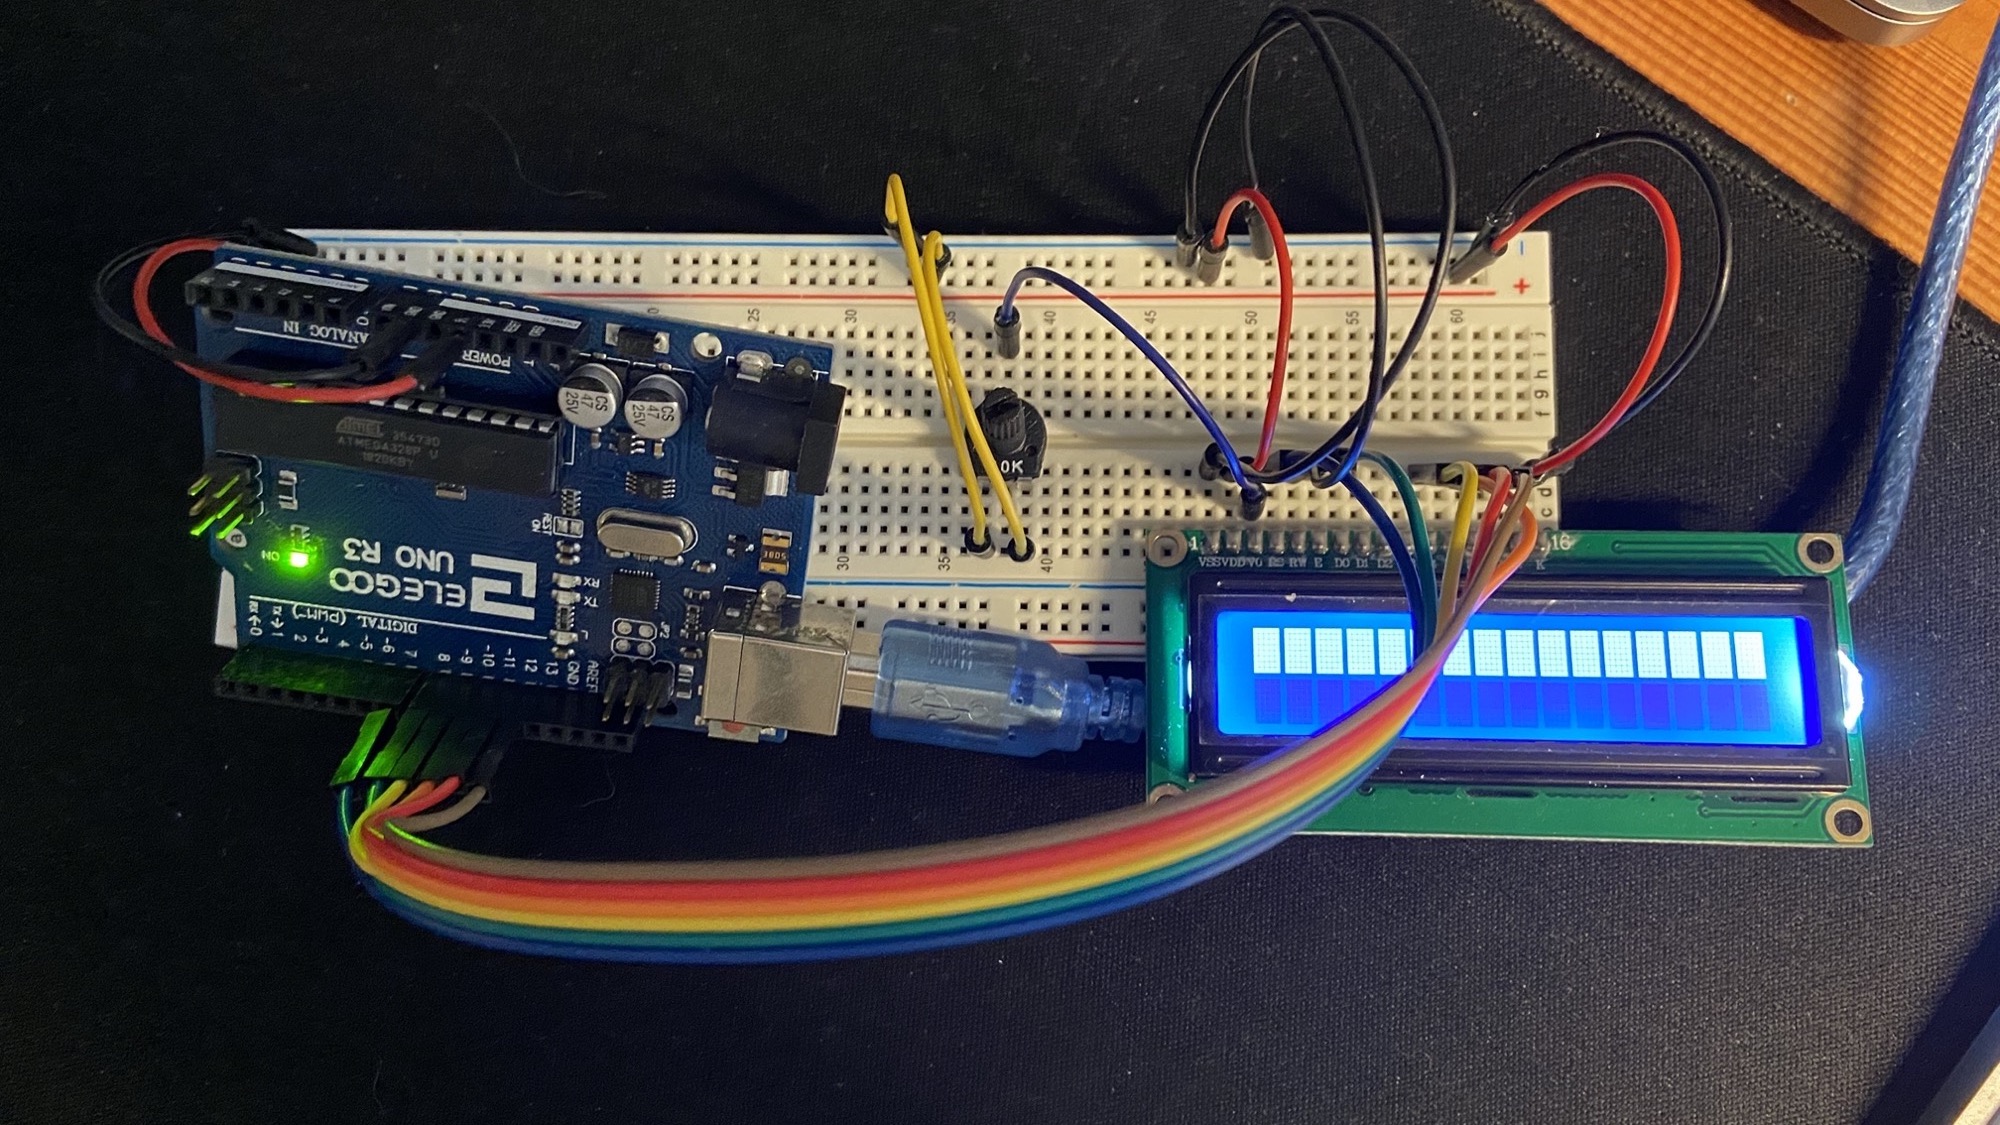
- Pin 1 goes to 0V
- Pin 2 goes to a potentiometer that controls the backlight
- Pin 3 is connected to 5V
- Pin 4 goes to Pin 7 on the Arduino
- Pin 5 goes to 0V
- Pin 6 goes to Pin 8 on the Arduino
- Pin 11 goes to Pin 9 on the Arduino
- Pin 12 goes to Pin 10 on the Arduino
- Pin 13 goes to Pin 11 on the Arduino
- Pin 14 goes to Pin 12 on the Arduino
- Pin 15 goes to 5V
- Pin 16 goes to 0V
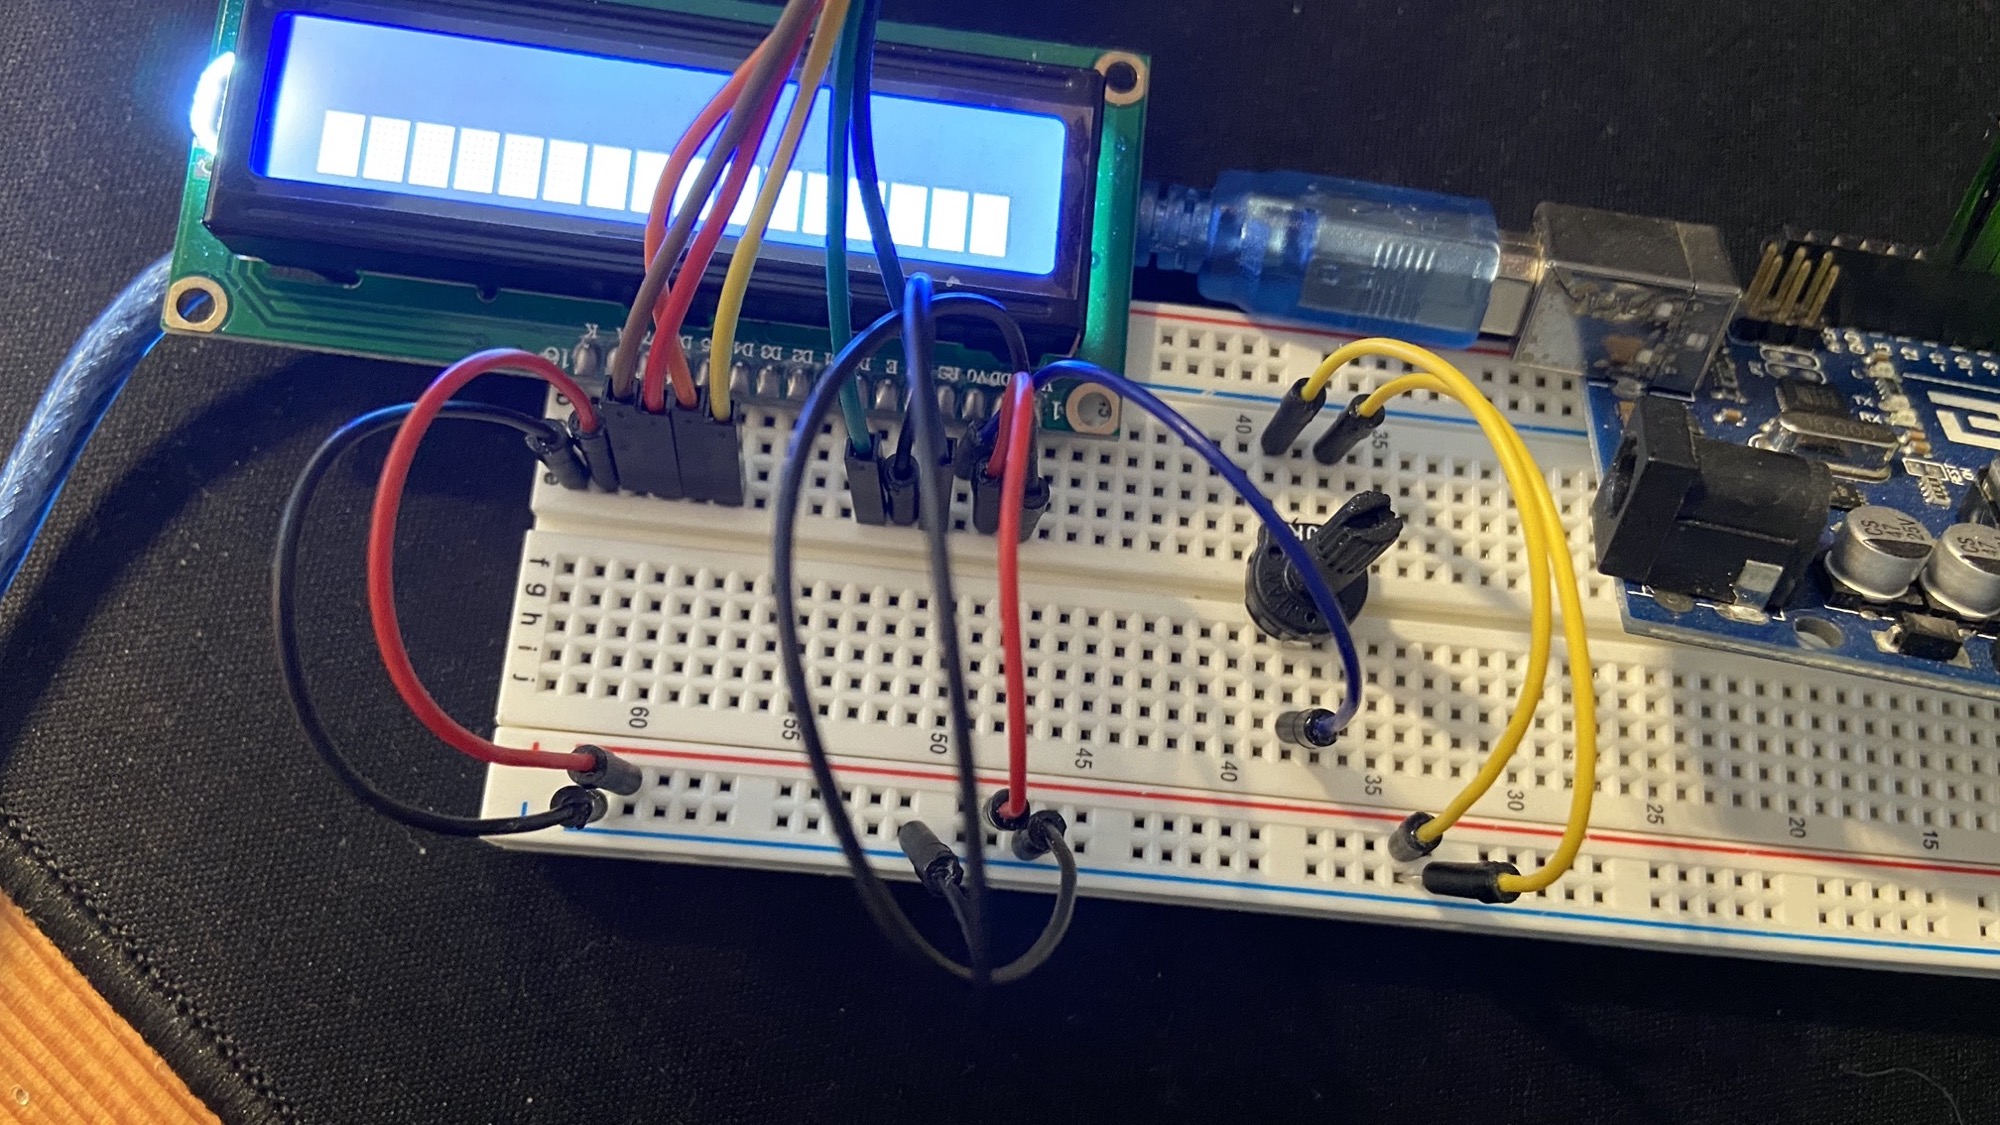
The potentiometer has 3 pins. The middle one is connected to the LCD screen, the left one is 0V and the right one 5V:
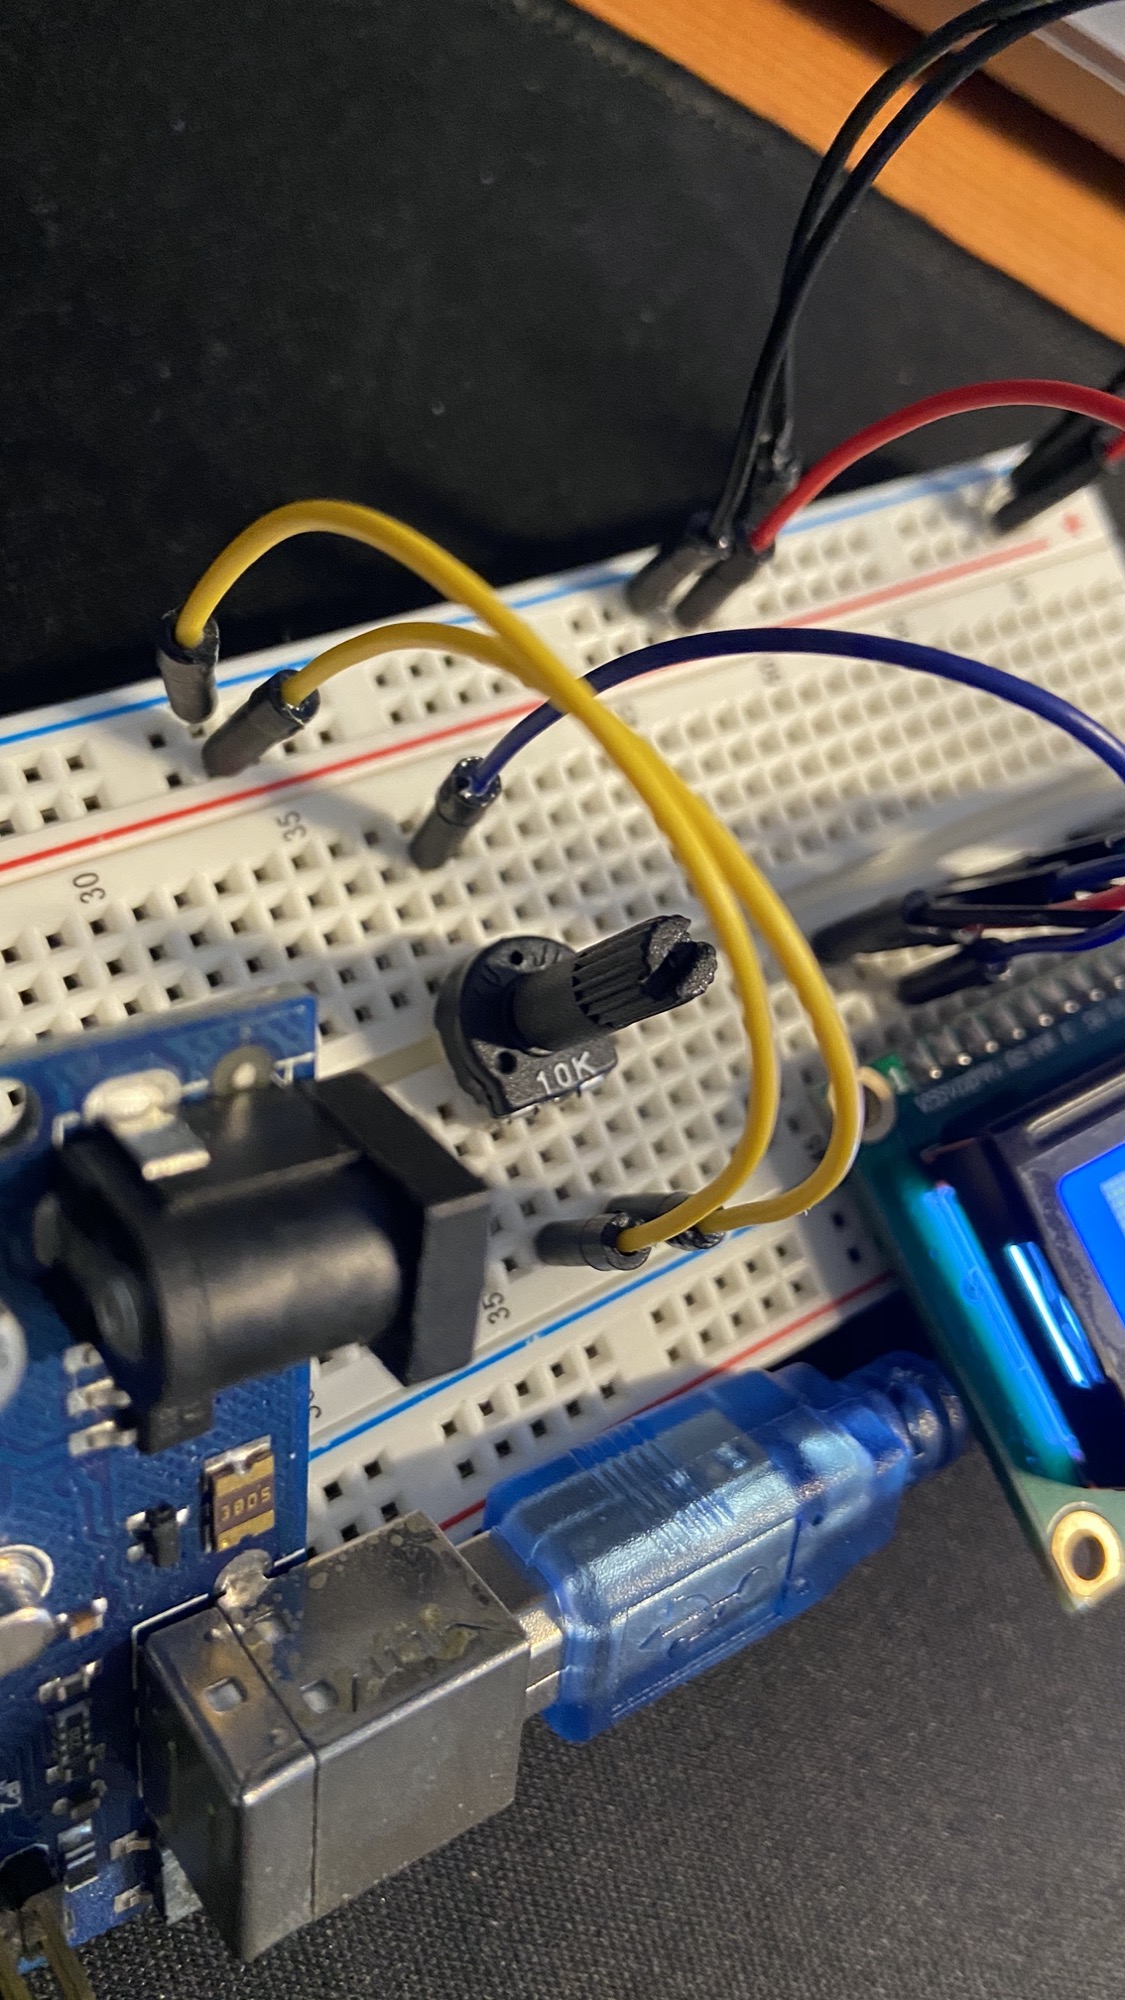
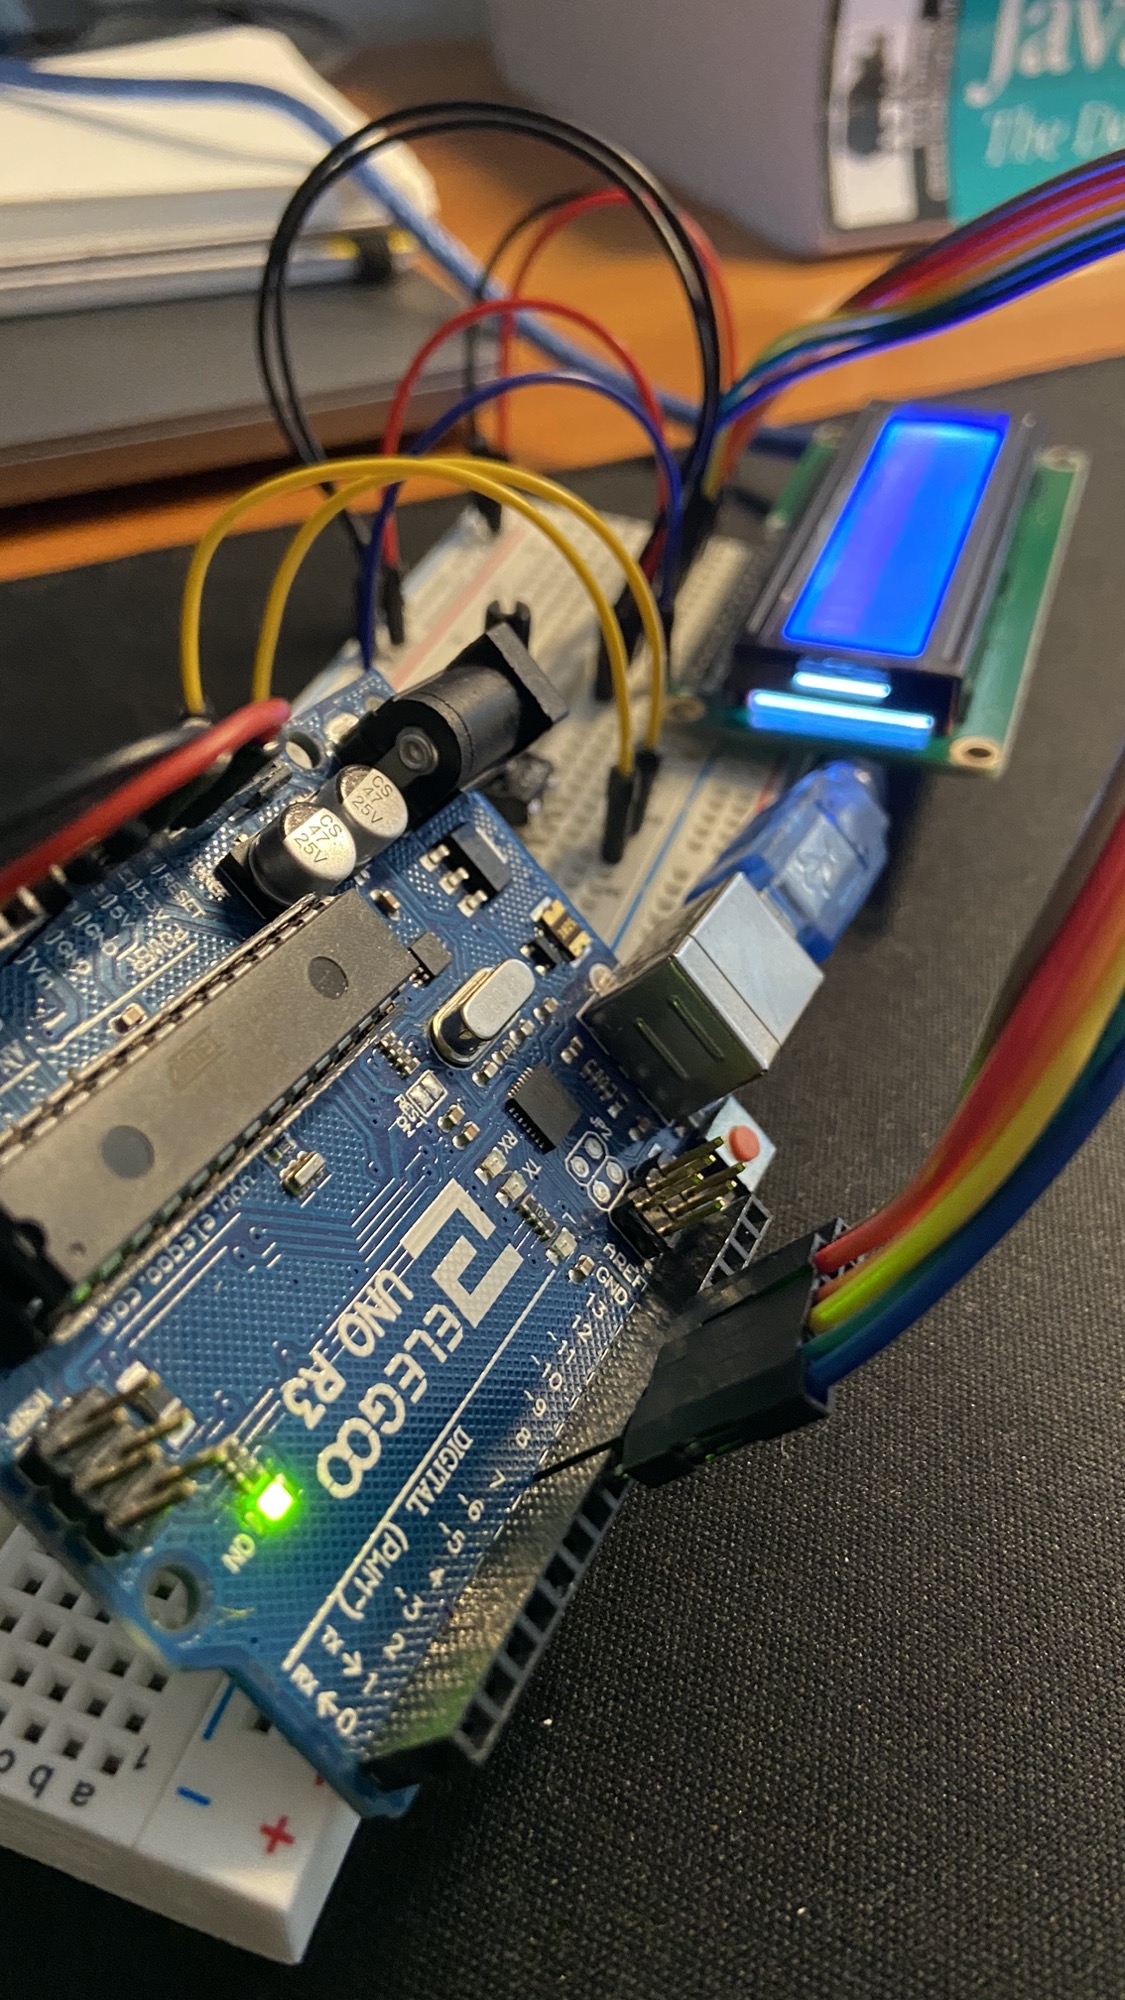
That’s it for the wiring.
Create a new lcd.js file and load this code:
const { Board, LCD } = require("johnny-five")
const board = new Board()

board.on("ready", function () {})
Now initialize a new LCD object from the LCD class.
The exact initialization procedure depends on the kind of display used. In my case, it was this:
const lcd = new LCD({ pins: [7, 8, 9, 10, 11, 12] })Finally, call the print() method to display a string:
const { Board, LCD } = require("johnny-five")
const board = new Board()

board.on("ready", function () {
  const lcd = new LCD({ pins: [7, 8, 9, 10, 11, 12] })
  lcd.print("Hello World!")
})
and run the program using node lcd.js to see it work:
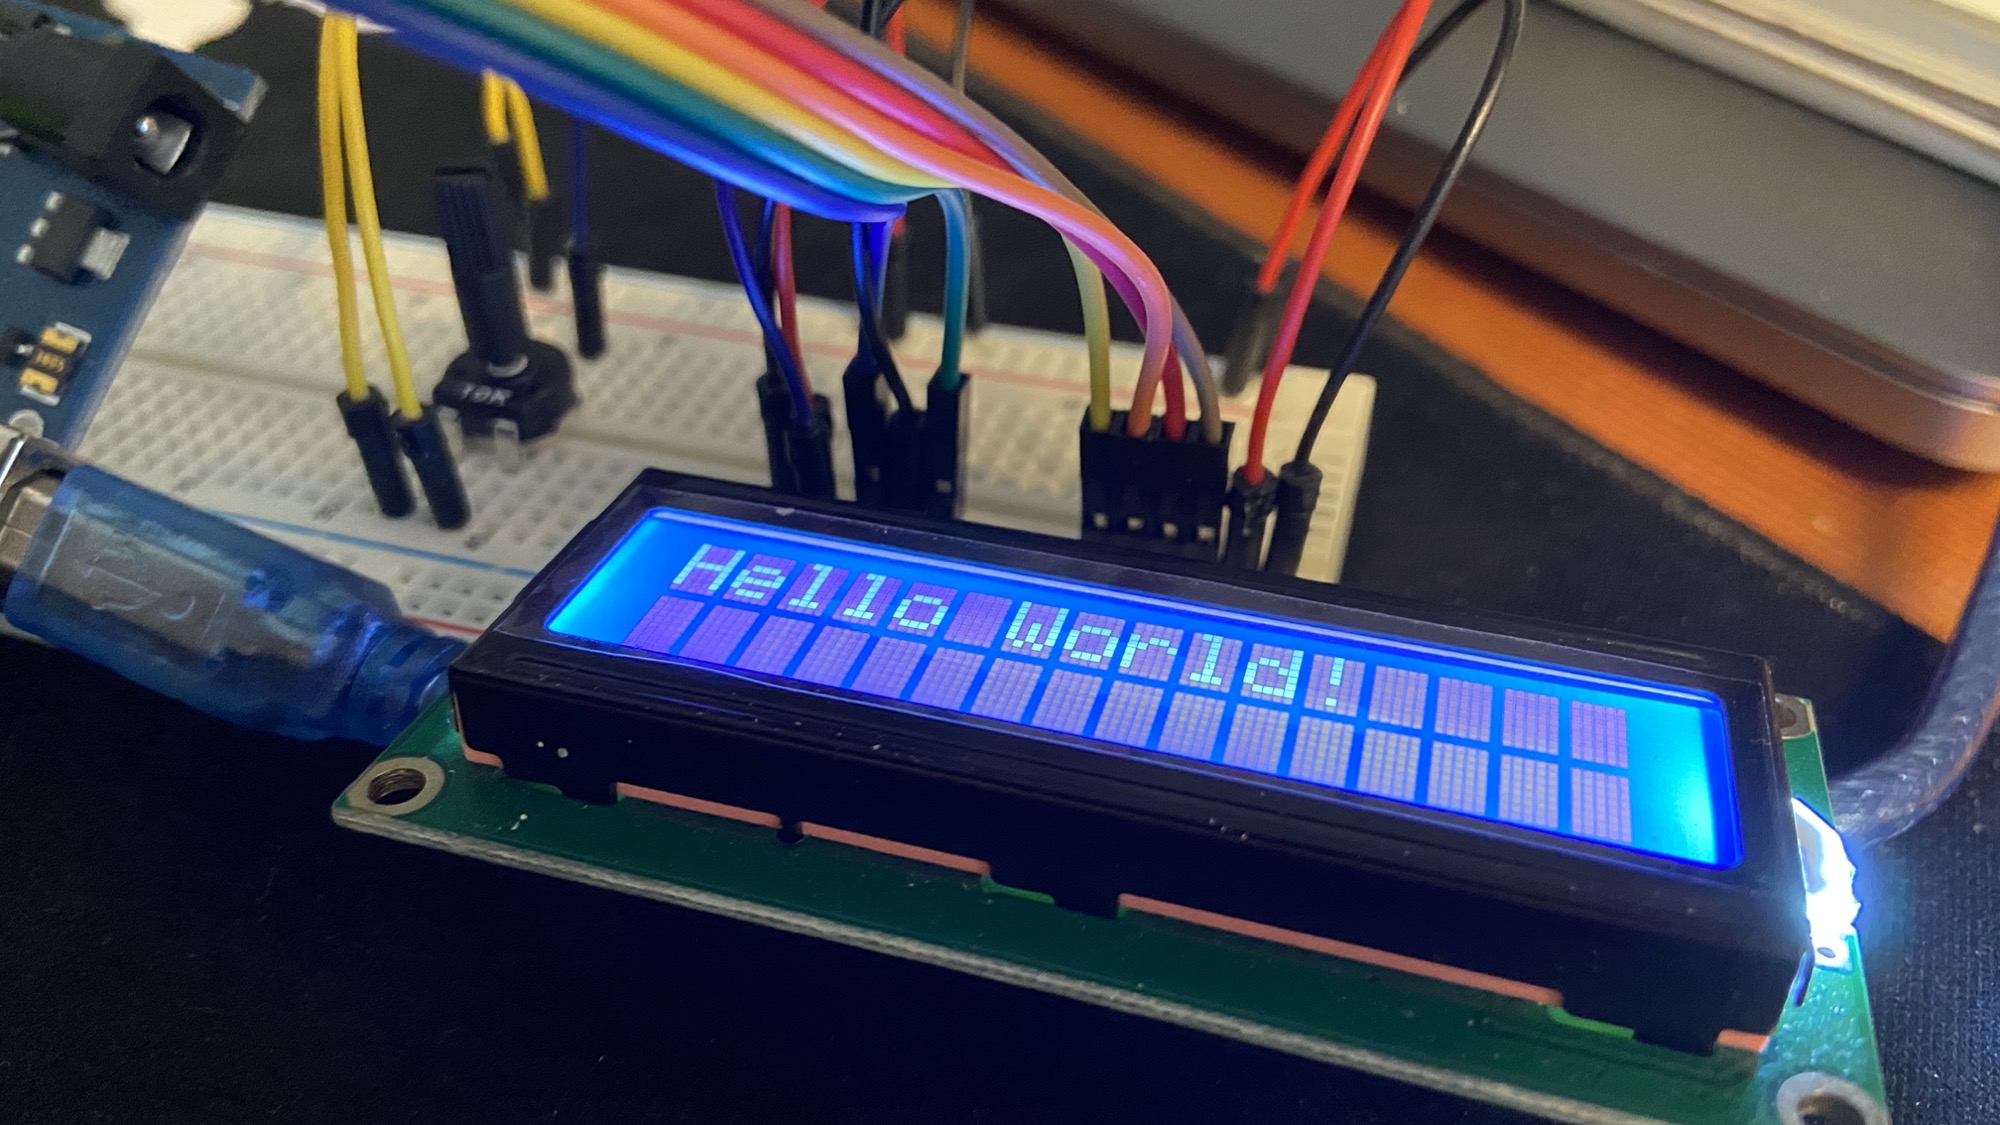
The LCD class also offers those cool methods:
clear()to clear the screencursor()to position the cursor at a specific placeoff()to disable the displayon()to enable the displayblink()to blink the cursornoBlink()to un-blink the cursorautoscroll()to turn on automatic scrolling when the message goes too long
You can find out more on http://johnny-five.io/api/lcd/.
Want me to talk about your product? You can sponsor this site.
Related posts about js: