Johnny Five, how to use a REPL
By Flavio Copes
Learn how to use the Johnny Five REPL to control hardware live from the terminal, requiring classes and chaining commands like lcd.clear().print().
This post is part of the Johnny Five series. See the first post here.
When you run a program using Johnny Five, the terminal gives us access to a REPL, a term that means Read-Evaluate-Print-Loop.

In other words, we can write commands in here, and they run on the board immediately.
This is great for experimenting. Instead of editing the program, saving, and running it again for every little change, you type a line and see the hardware react right away. When something works, you copy it into your program.
Let’s try by creating a repl.js file with this code:
const { Board } = require('johnny-five')
const board = new Board()
I am going to play with the LCD circuit made in the previous lesson.
Run the program with node repl.js:

Wait for the Repl Initialized message before typing. The board takes a moment to connect, and commands sent before that point can’t reach it.
Next, we’re going to write some commands in the REPL.
Start by requiring the LCD class:
const { LCD } = require('johnny-five')
Then initialize an lcd object from it:
const lcd = new LCD({ pins: [7, 8, 9, 10, 11, 12] })
Now write to the LCD display:
lcd.print('Hello!')You’ll see a big message coming back:
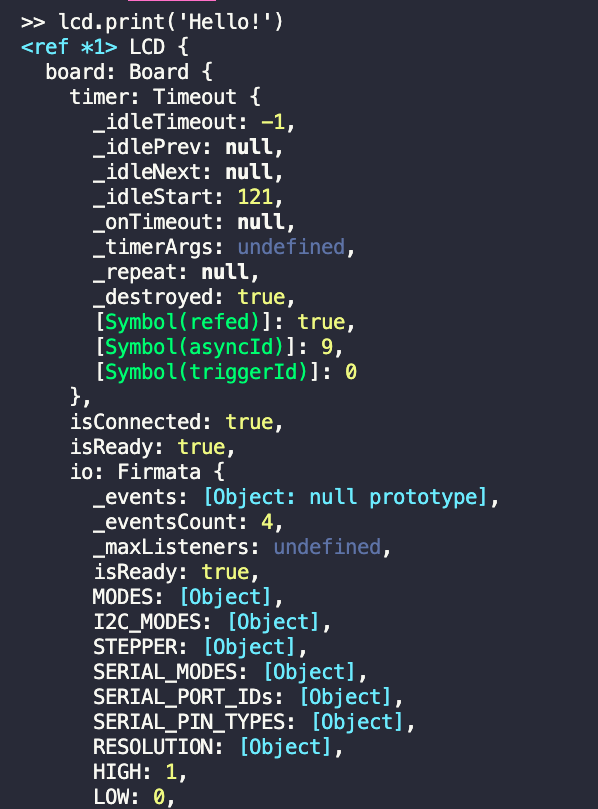
Because the command returns a reference to the LCD object. This is to let us chain commands together, like this:
lcd.clear().print('Hello!')If you don’t run clear(), any new thing you write is going to be appended to the one already there. Run the print twice in a row and you’ll see the text double up. Add clear() in front and the display resets first.
To write to the second row, you call cursor(1, 0), passing the row and the column (the default row is 0):
lcd.clear().print('Hello from')
lcd.cursor(1, 0).print('Johnny-Five!')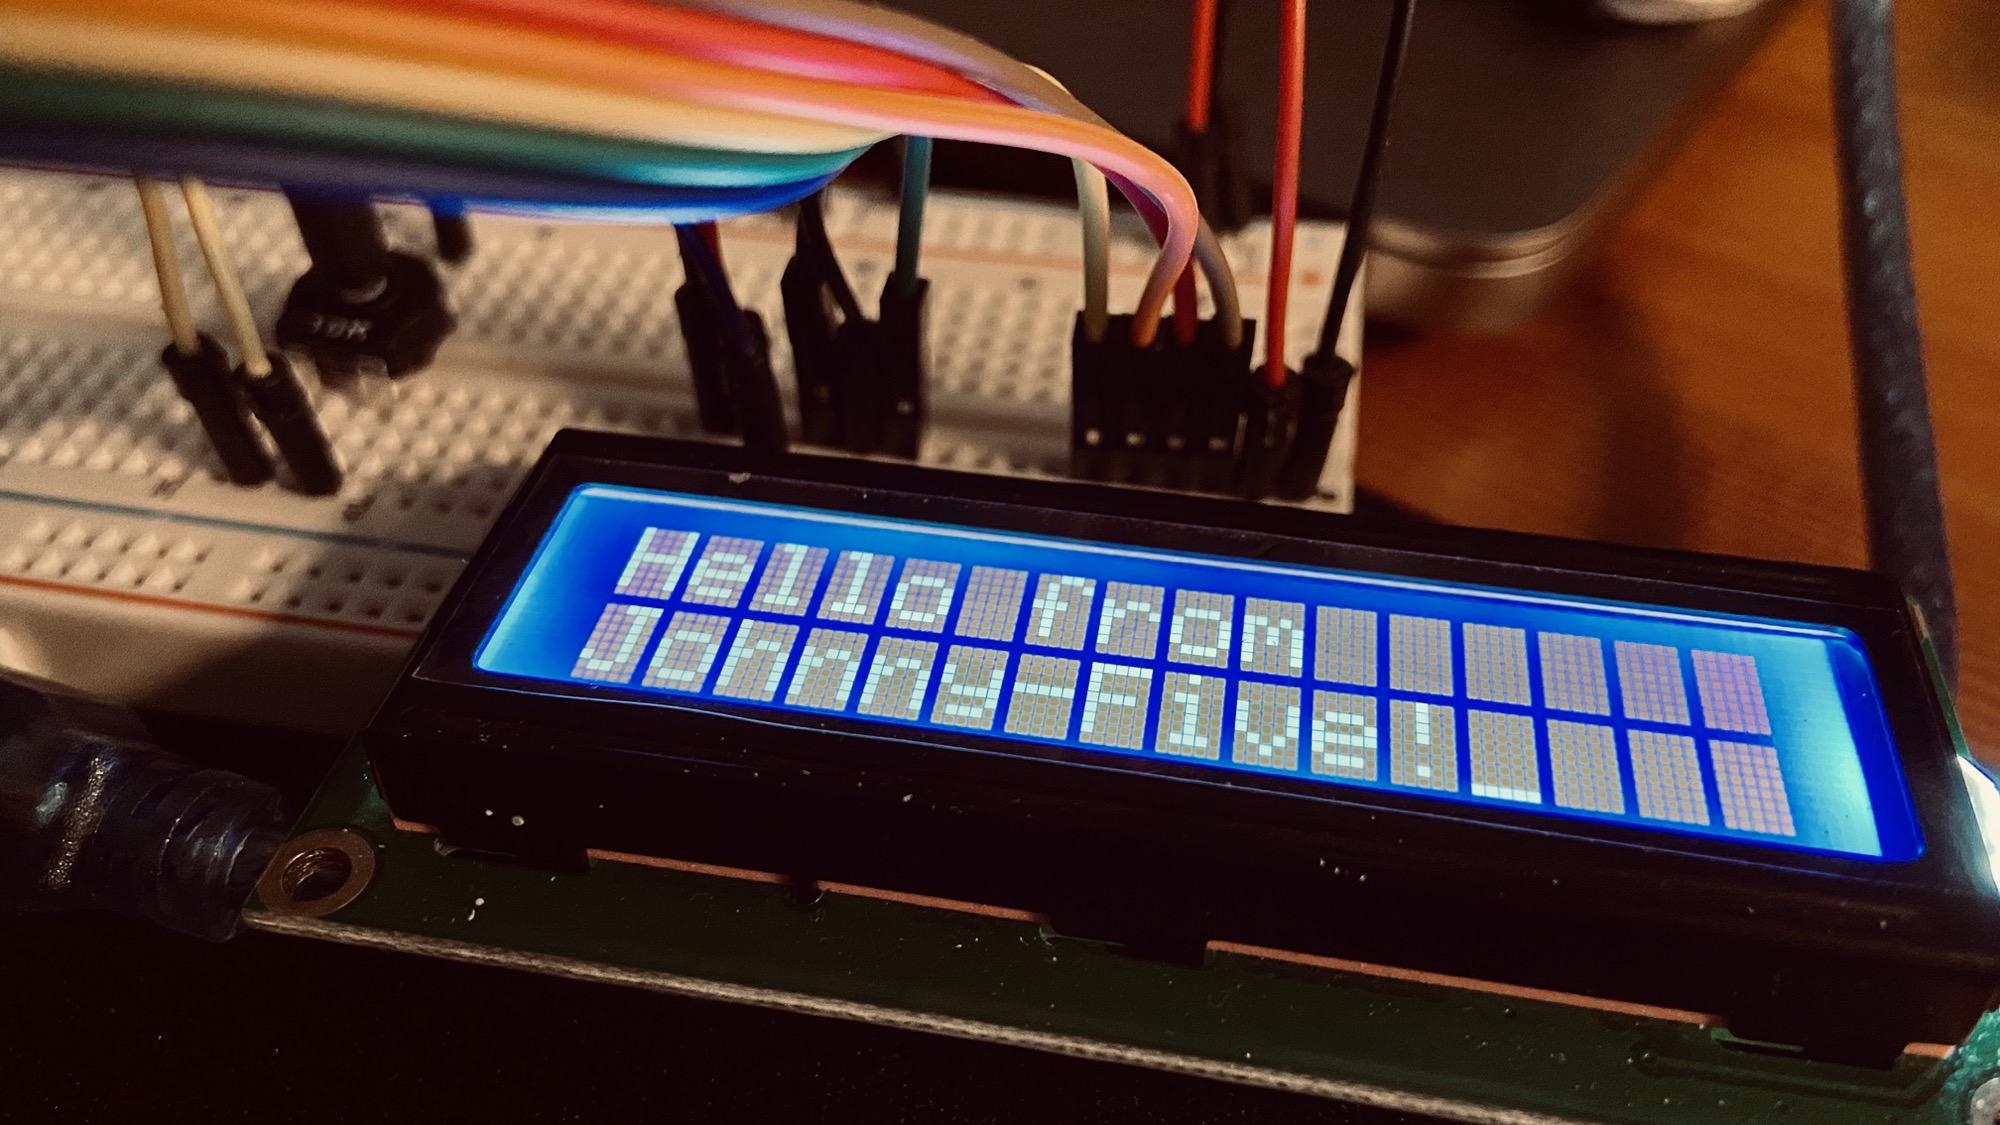
Exposing your program’s objects to the REPL
Objects you create inside the program are not visible in the REPL by default. If your program already initializes the LCD, you don’t want to create it a second time by hand.
Johnny Five solves this with repl.inject(), called on the board once it’s ready:
const { Board, LCD } = require('johnny-five')
const board = new Board()

board.on('ready', () => {
  const lcd = new LCD({ pins: [7, 8, 9, 10, 11, 12] })
  board.repl.inject({ lcd })
})
Now lcd is available in the REPL as soon as the board connects, and you can call lcd.clear().print('Hi!') directly.
Want me to talk about your product? You can sponsor this site.
Related posts about js: