State and actions
SwiftUI: alert messages
Learn how to show an alert in SwiftUI using the .alert() modifier and an isPresented boolean, so a message pops up when a condition becomes true.
Alerts are the quickest way to give feedback to the user. I also use them to debug: when I can’t see the console, an alert tells me a branch of code ran.
SwiftUI gives us the .alert() modifier. It shows an alert when a condition becomes true.
Let’s start from the counter we built in the Button lesson:
import SwiftUI

struct ContentView: View {
    @State var count = 0

    var body: some View {
        Button("Count: \(count)") {
            self.count += 1
        }
        .font(.title)
    }
}
When count reaches 10, I want an alert to pop up.
How do we do that?
An alert in SwiftUI is driven by a Bool. When it’s true, the alert is on screen. So I add a showAlert property to the view, and I set it in the button action:
struct ContentView: View {
    @State var count = 0
    @State var showAlert = false

    var body: some View {
        Button("Count: \(count)") {
            self.count += 1
            if self.count == 10 {
                showAlert = true
                self.count = 0
            }
        }
        .font(.title)
    }
}
When we reach 10, we set showAlert to true and reset the count to 0.
Now the alert itself. Add the .alert() modifier to the Button, and pass a binding to showAlert:
.alert(isPresented: $showAlert) {
    Alert(title: Text("Great!"), message: Text("You reached 10"))
}
The isPresented binding is the whole trick. The alert shows only while showAlert is true. When the user dismisses it, SwiftUI sets showAlert back to false for you. You never reset it by hand.
Here’s the full code:
struct ContentView: View {
    @State var count = 0
    @State var showAlert = false

    var body: some View {
        Button("Count: \(count)") {
            self.count += 1
            if self.count == 10 {
                showAlert = true
                self.count = 0
            }
        }
        .font(.title)
        .alert(isPresented: $showAlert) {
            Alert(title: Text("Great!"), message: Text("You reached 10"))
        }
    }
}
Run the app. The counter starts at 0. Tap the button and it goes up:
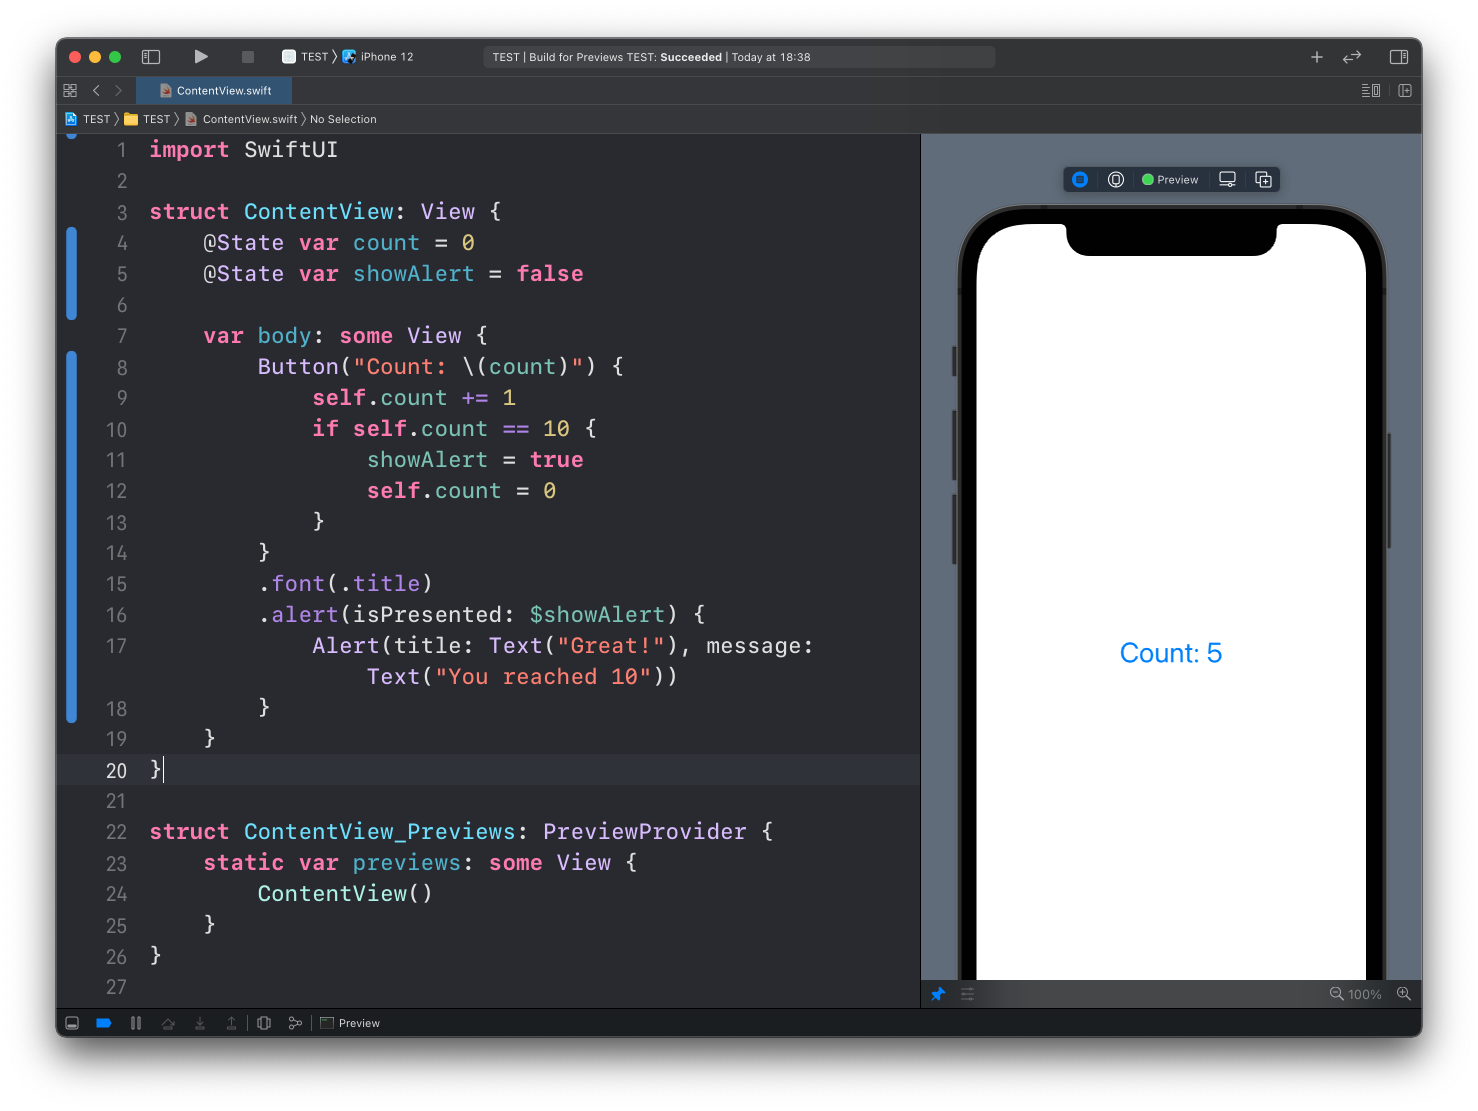
Until you reach 10:
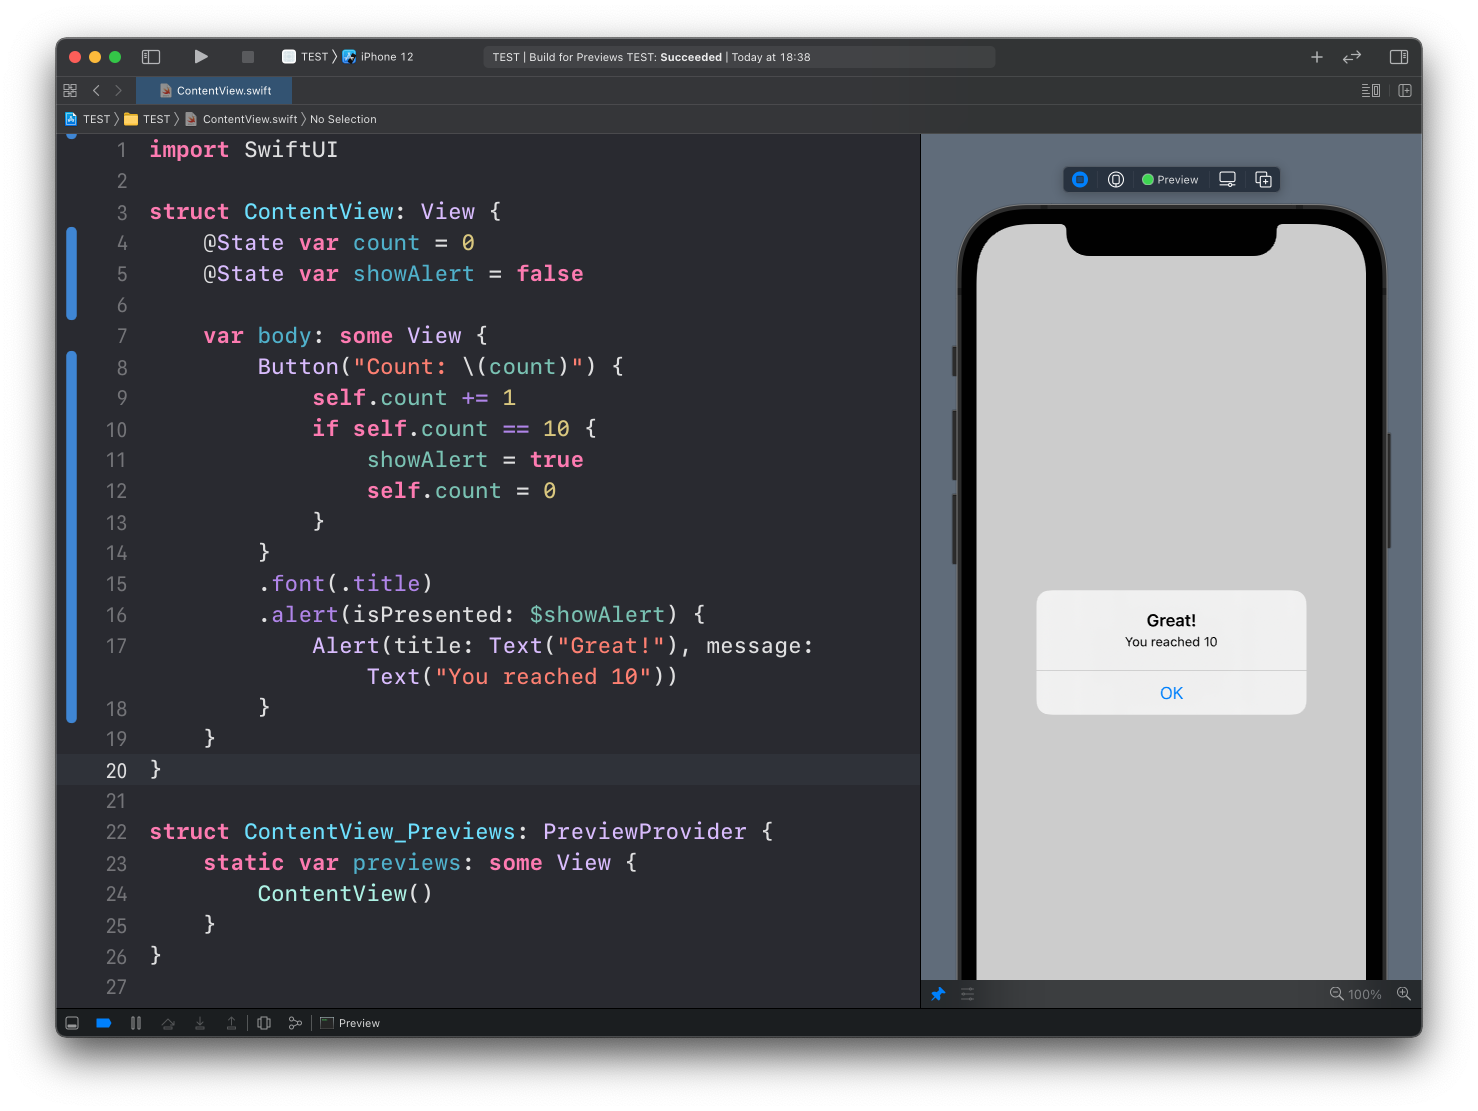
Tap OK and the counter starts again from 0:
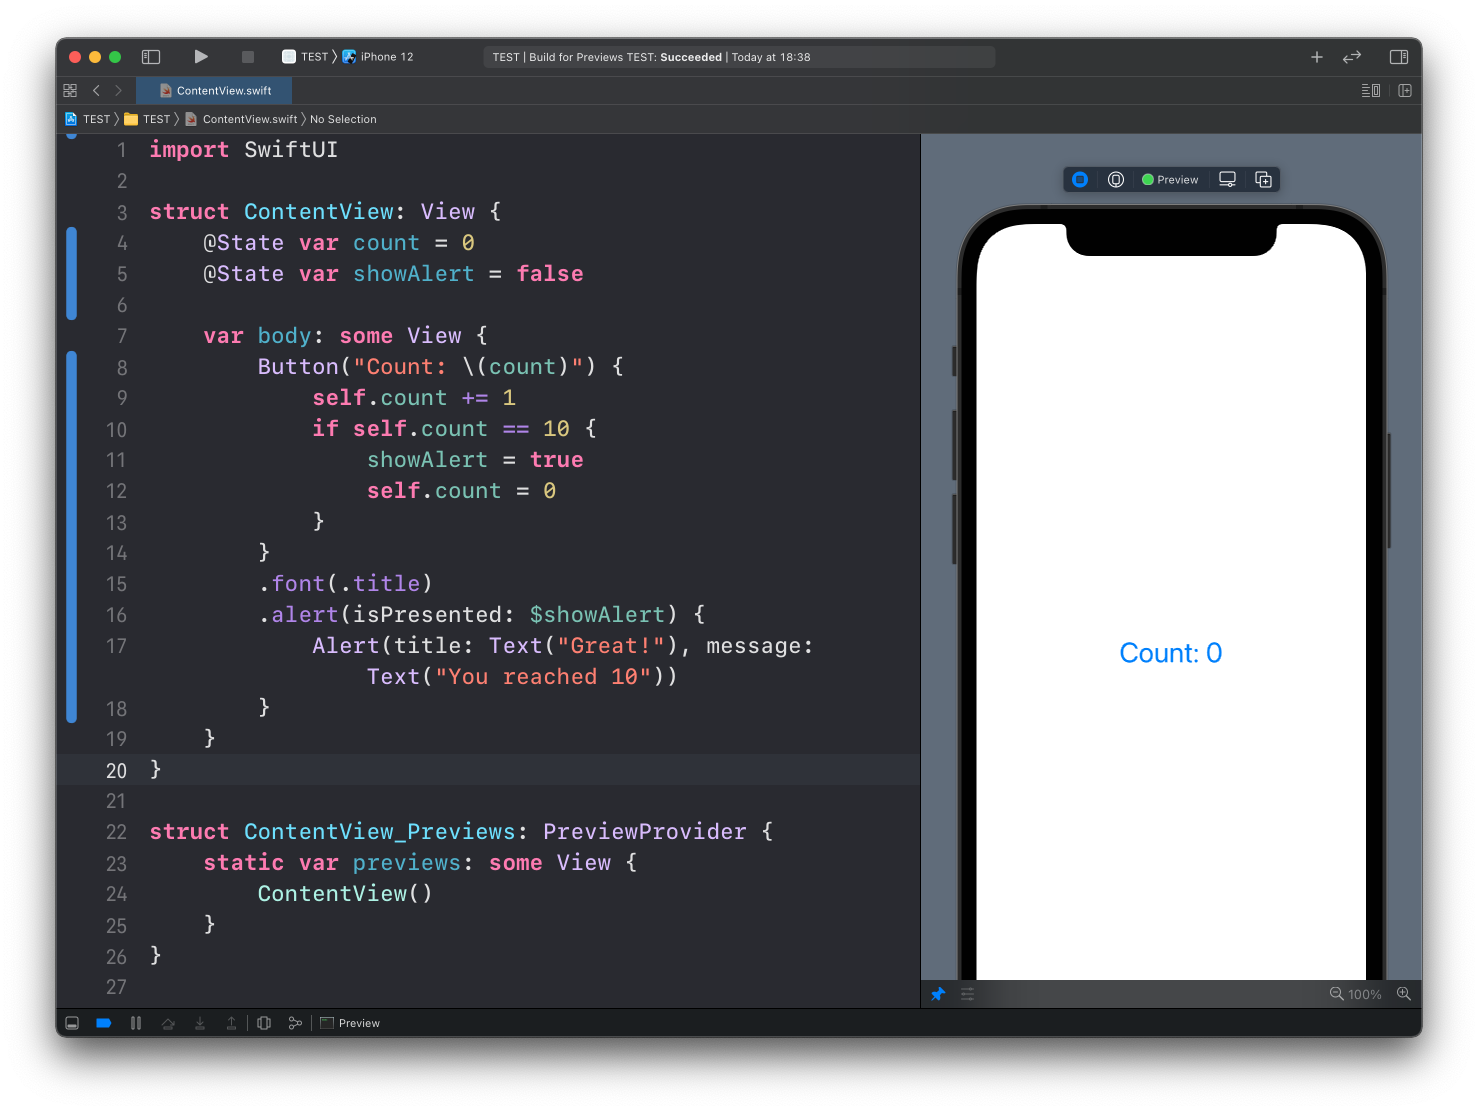
Notice we got a default OK button without asking for it. When you don’t specify any button, SwiftUI adds one that just dismisses the alert.
The newer syntax
The Alert(title:message:) value we used here is the original API, and it still works. Since iOS 15 there’s a newer form of the same modifier that takes the title as a string and lets you list buttons and a message as views:
.alert("Great!", isPresented: $showAlert) {
    Button("OK") { }
} message: {
    Text("You reached 10")
}
Same isPresented binding, same behavior. You’ll meet both forms in real code, so it’s good to recognize them. For new code, I’d go with this one.
Lesson completed