Collections and layout
SwiftUI: the ForEach view
Learn how to use the ForEach view in SwiftUI to loop over a range or an array and generate views, including how the id parameter identifies each item.
ForEach is how you turn a collection into views in SwiftUI. Give it an array or a range, and it creates one view per item.
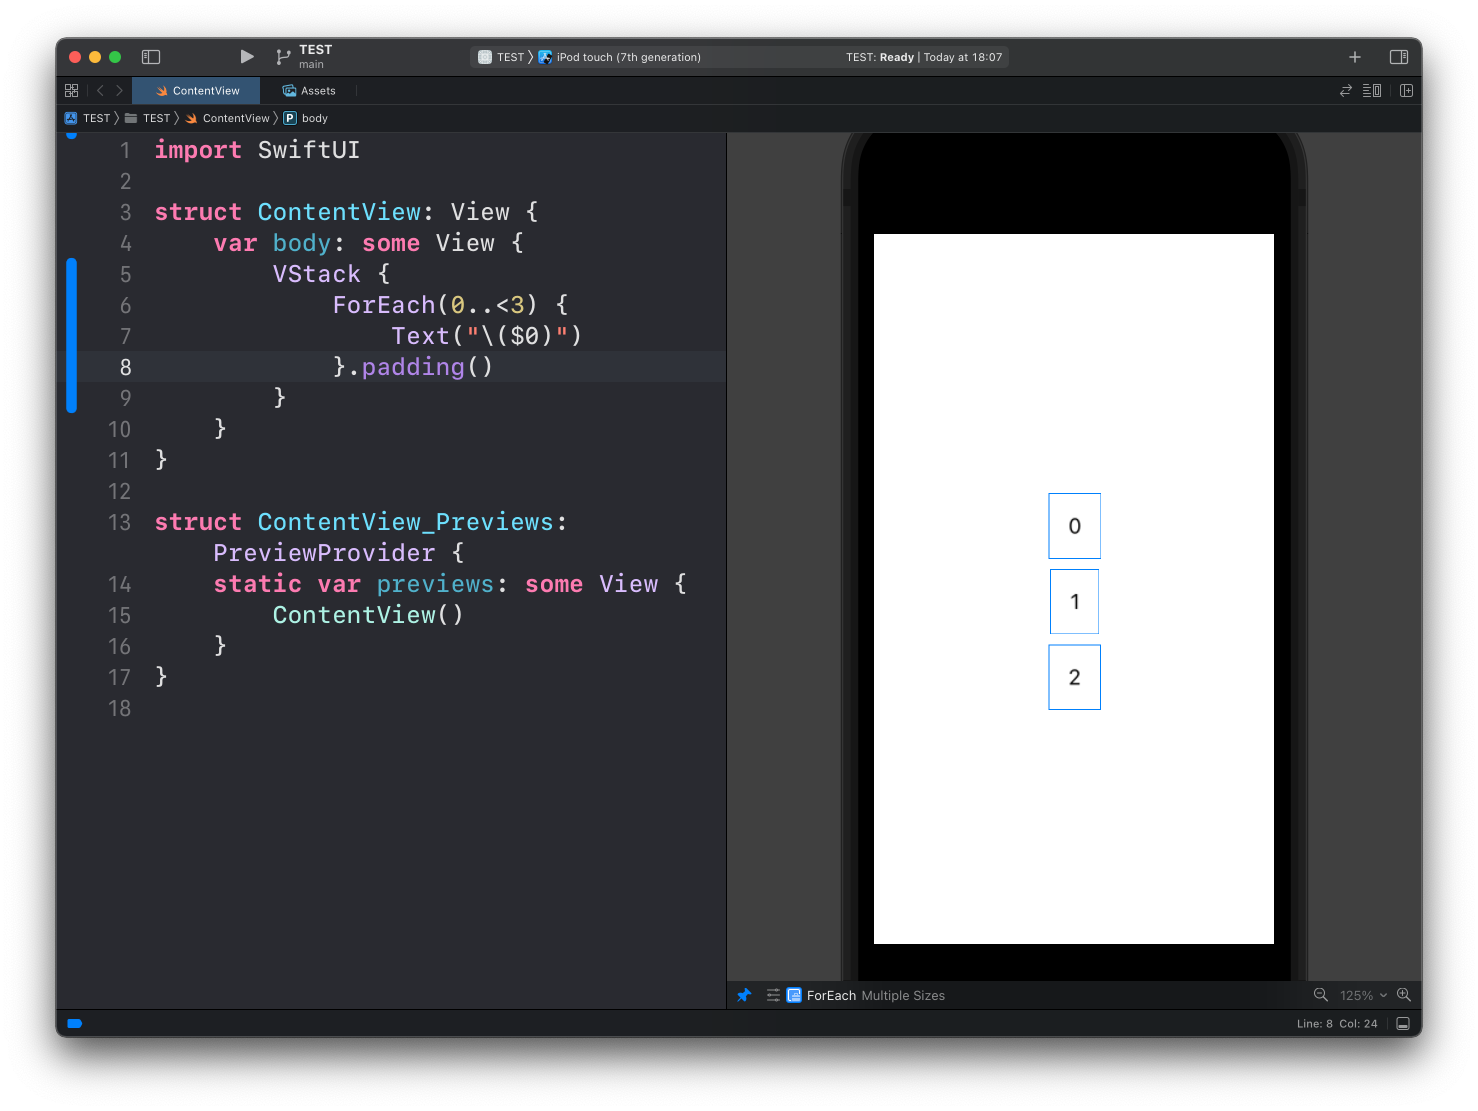
For example, here we create 3 Text views that print the numbers from 0 to 2:
ForEach(0..<3) {
    Text("\($0)")
}
$0is the first argument passed to the closure. Here it’s the current number, so 0, then 1, then 2.
Notice that ForEach is a view, not a loop statement. You can’t write a for loop inside body, but you can put a ForEach there.
On its own it doesn’t decide how the views are arranged. So I embed it in a VStack, otherwise the texts would overlap:
VStack {
    ForEach(0..<3) {
        Text("\($0)")
    }.padding()
}
Notice the
padding()modifier on theForEach. It’s applied to each generated view, so every number gets its own spacing.
ForEach inside a List
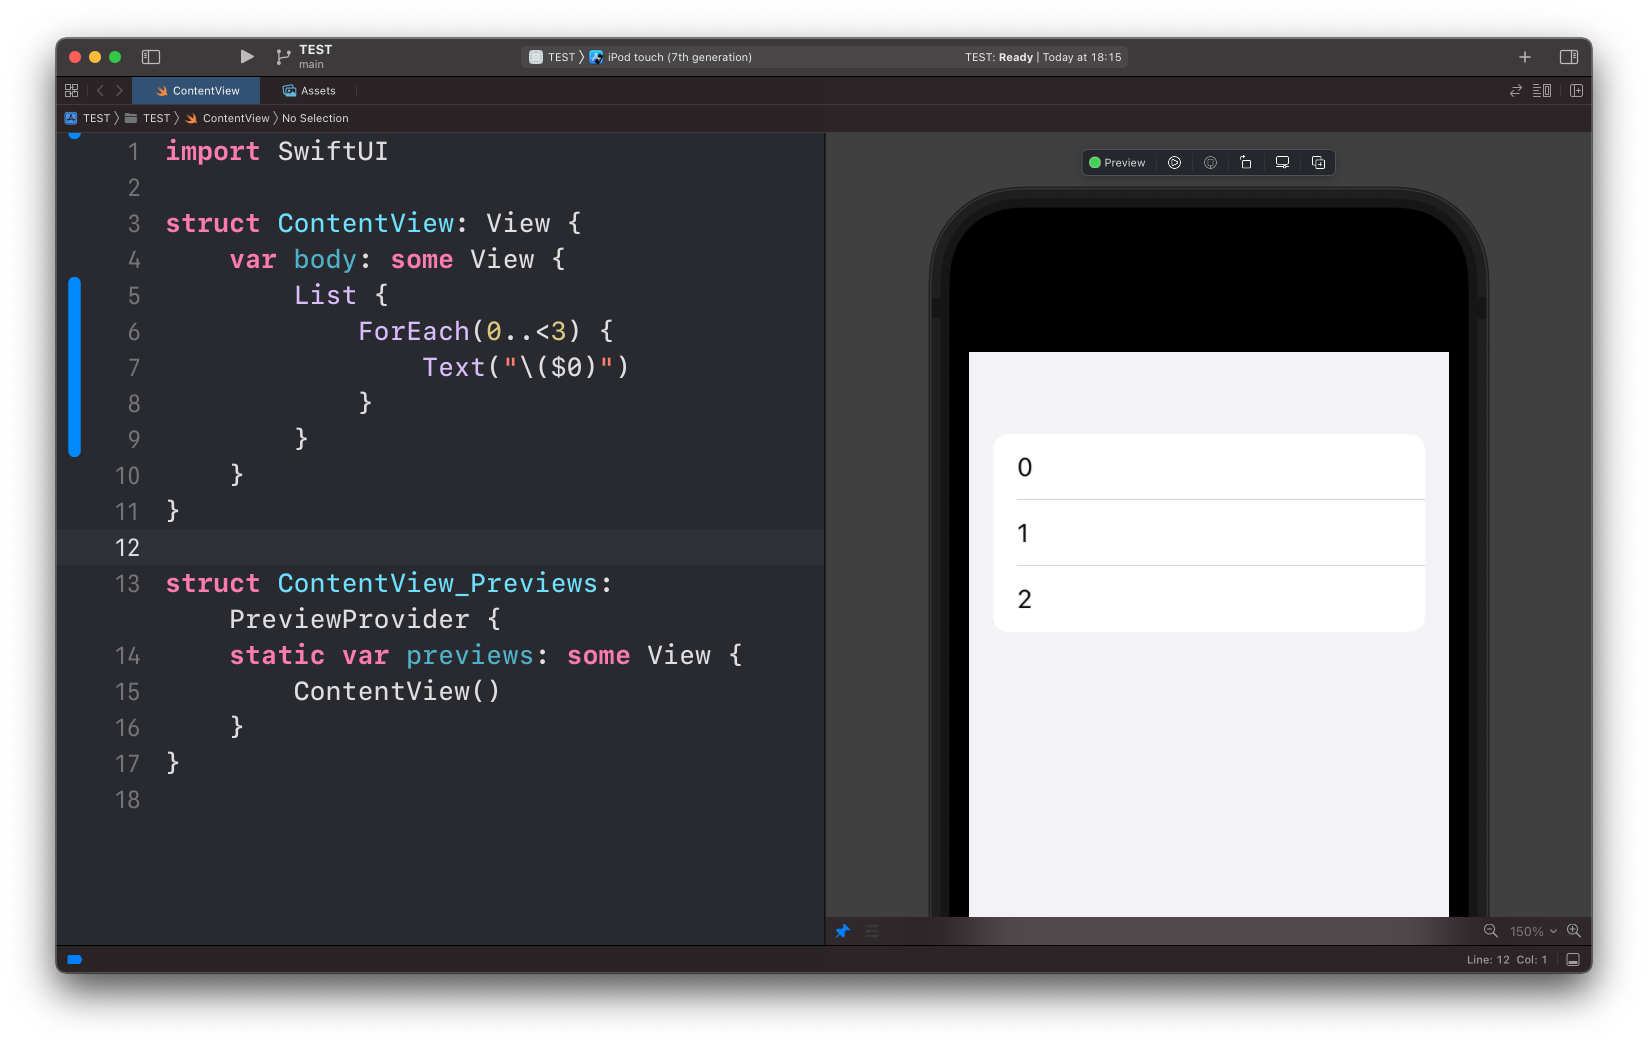
The most common place for ForEach is inside a List:
List {
    ForEach(0..<3) {
        Text("\($0)")
    }
}
This is so common that you can drop ForEach and hand the collection to List directly:
List(0..<3) {
    Text("\($0)")
}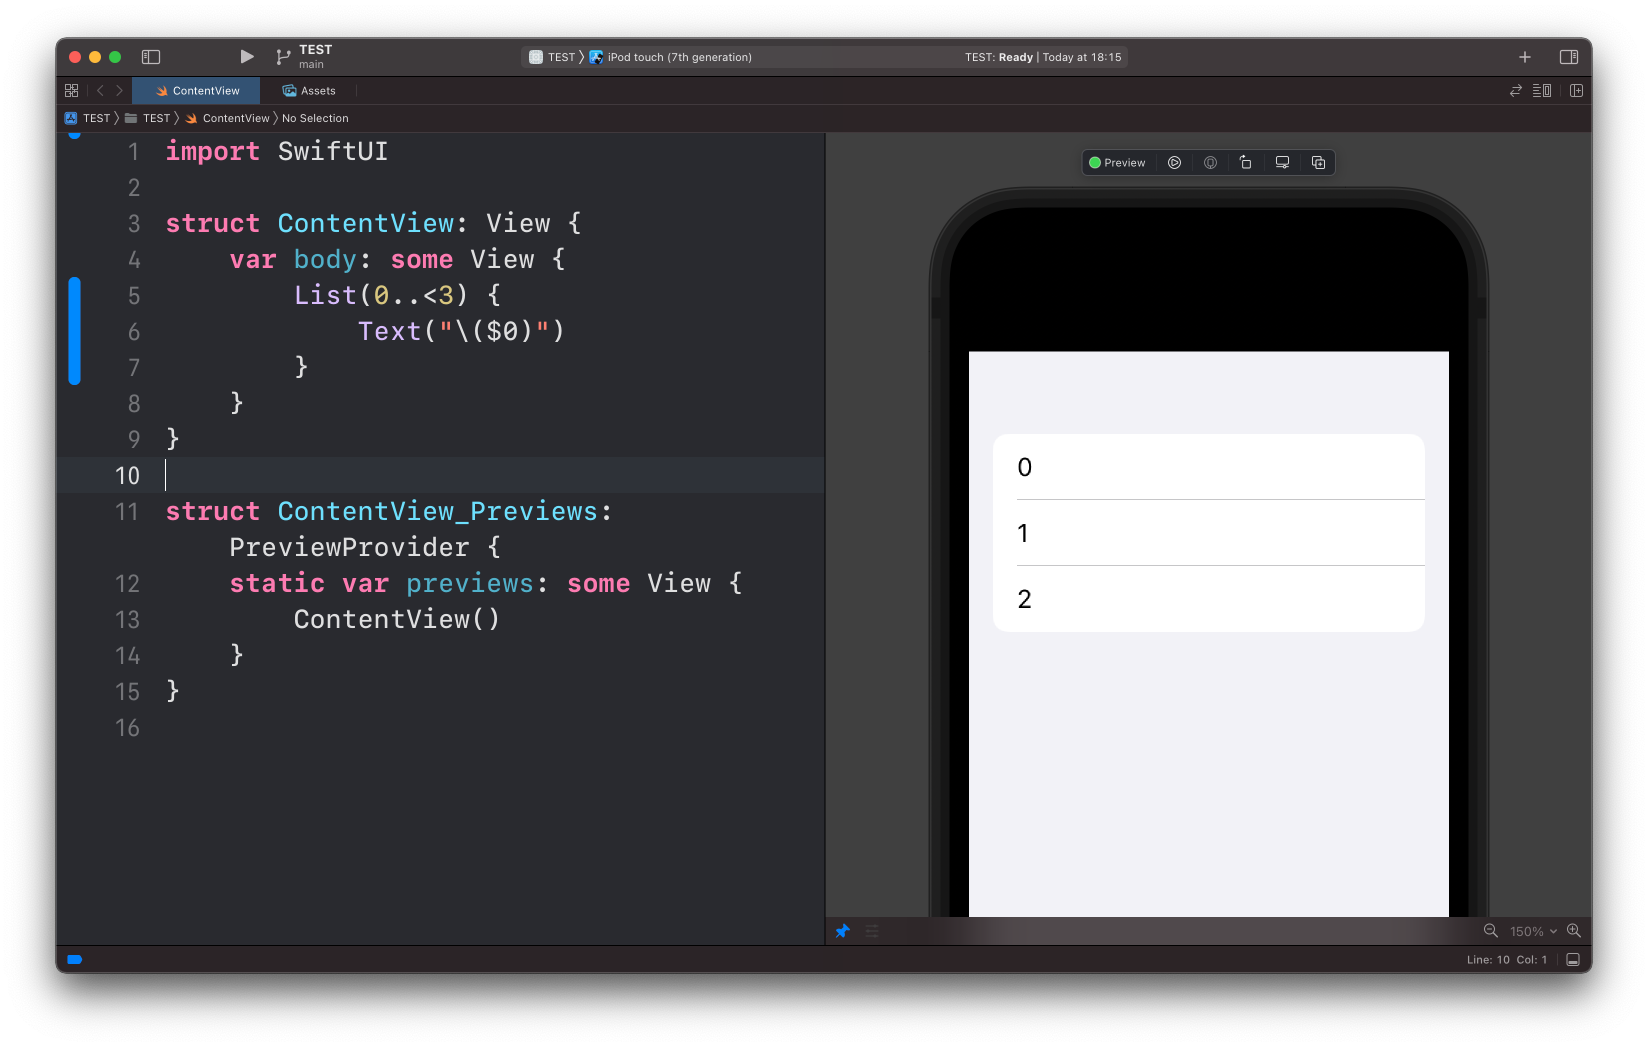
Same result, less code. I use the short form when the whole list is one collection, and the explicit ForEach when I need to mix static rows and generated rows in the same list.
Iterating over an array
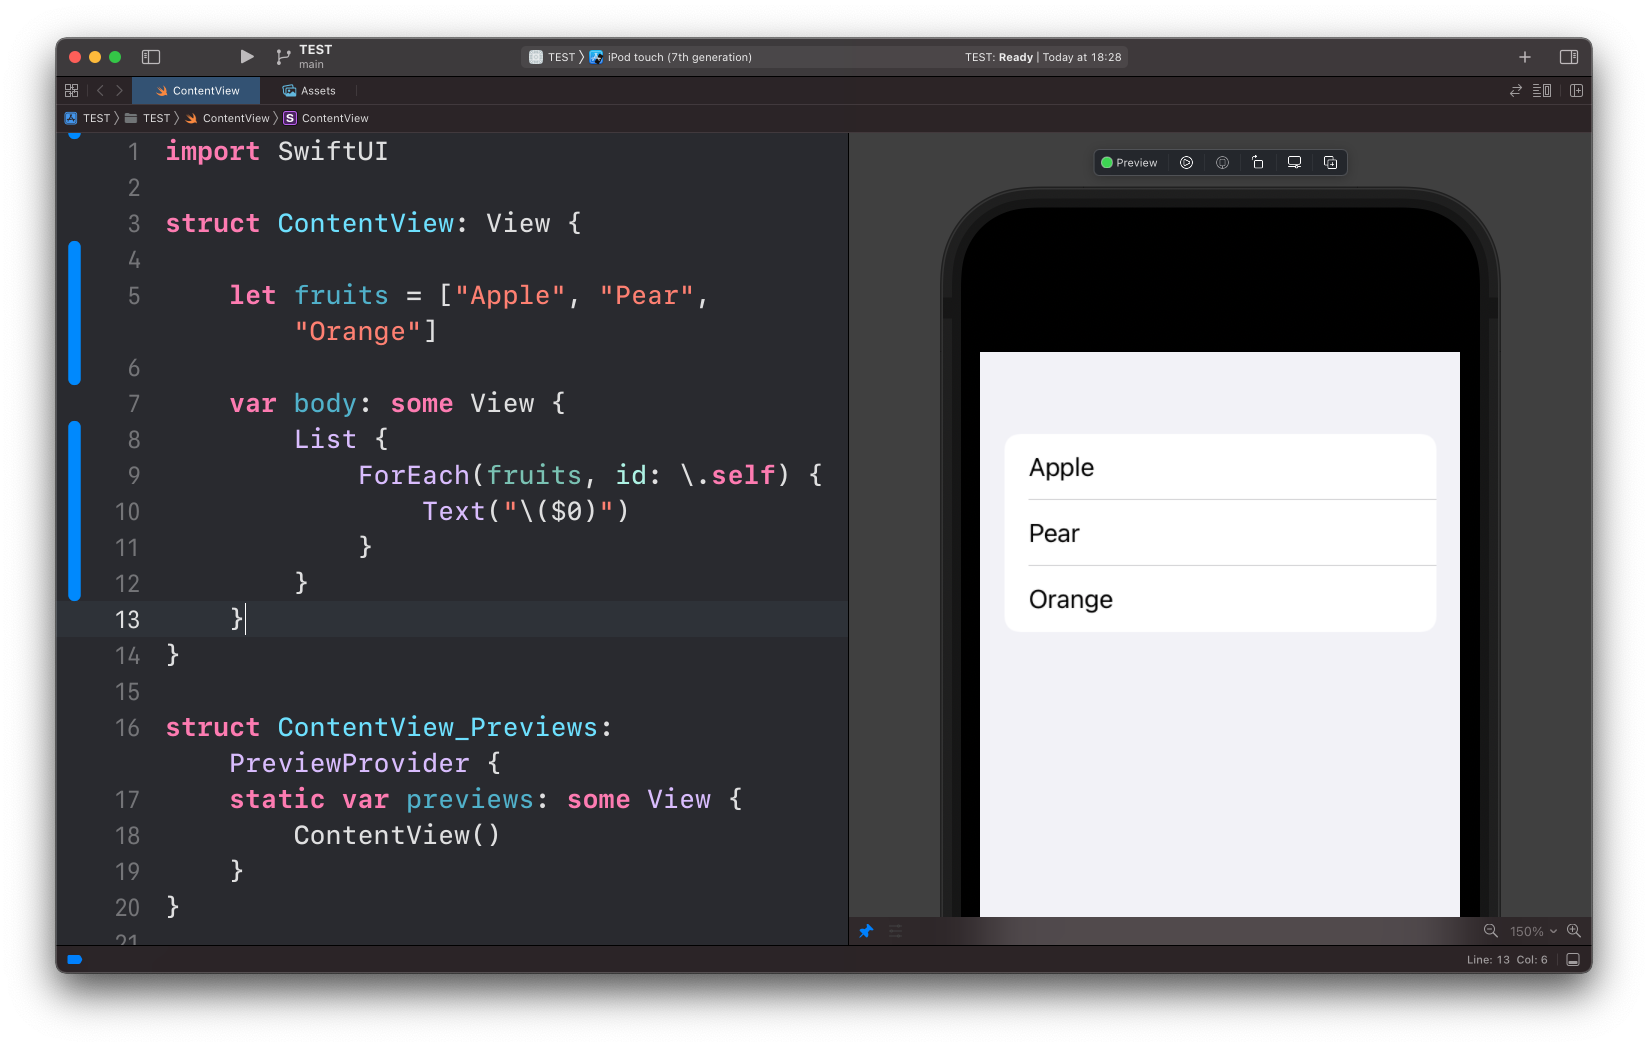
Those examples used the range 0..<3. Let’s iterate over an array instead:
let fruits = ["Apple", "Pear", "Orange"]

//...

List {
    ForEach(fruits, id: \.self) {
        Text("\($0)")
    }
}
Notice the new parameter: id.
SwiftUI needs a way to tell the items apart. When the array changes, it uses the id to figure out which rows were added, removed, or moved, and animates only those. With a range it doesn’t need help, because each number is already unique.
\.self says “use the value itself as the id”. That works for strings, numbers, and other built-in types, as long as there are no duplicates. Two "Apple" entries would share an id and confuse the list.
When you iterate over your own struct, you have two options. Pass a key path to a unique property, like id: \.isbn. Or make the struct conform to the Identifiable protocol, which means giving it an id property. Then you can drop the parameter and write ForEach(books). That’s the version I use in every real app.
Lesson completed