Forms and input
SwiftUI forms: Picker
Learn how to use the Picker control in SwiftUI to choose one option from a list, bind it with selection, and why it needs a NavigationView to work.
After TextField and Toggle, the next form control is Picker. It lets the user choose one option from a list.
We need three things: the options, a place to store the choice, and the picker itself.
First, an array with the options:
var cities = ["Rome", "Milan", "Venice", "Florence"]Then a property for the selected choice. We wrap it with @State, because it changes with the user’s input:
@State private var selected = "Rome"Finally the Picker view. It takes a label and a binding to the selected value. In the closure we add a Text for each option, using the ForEach view:
Picker("What's your favorite city?", selection: $selected) {
    ForEach(cities, id: \.self) {
        Text($0)
    }
}
Here’s the full ContentView:
struct ContentView: View {
    var cities = ["Rome", "Milan", "Venice", "Florence"]

    @State private var selected = "Rome"

    var body: some View {
        Form {
            Picker("What's your favorite city?", selection: $selected) {
                ForEach(cities, id: \.self) {
                    Text($0)
                }
            }
        }
    }
}
Run it. The row shows up with the default option, Rome:
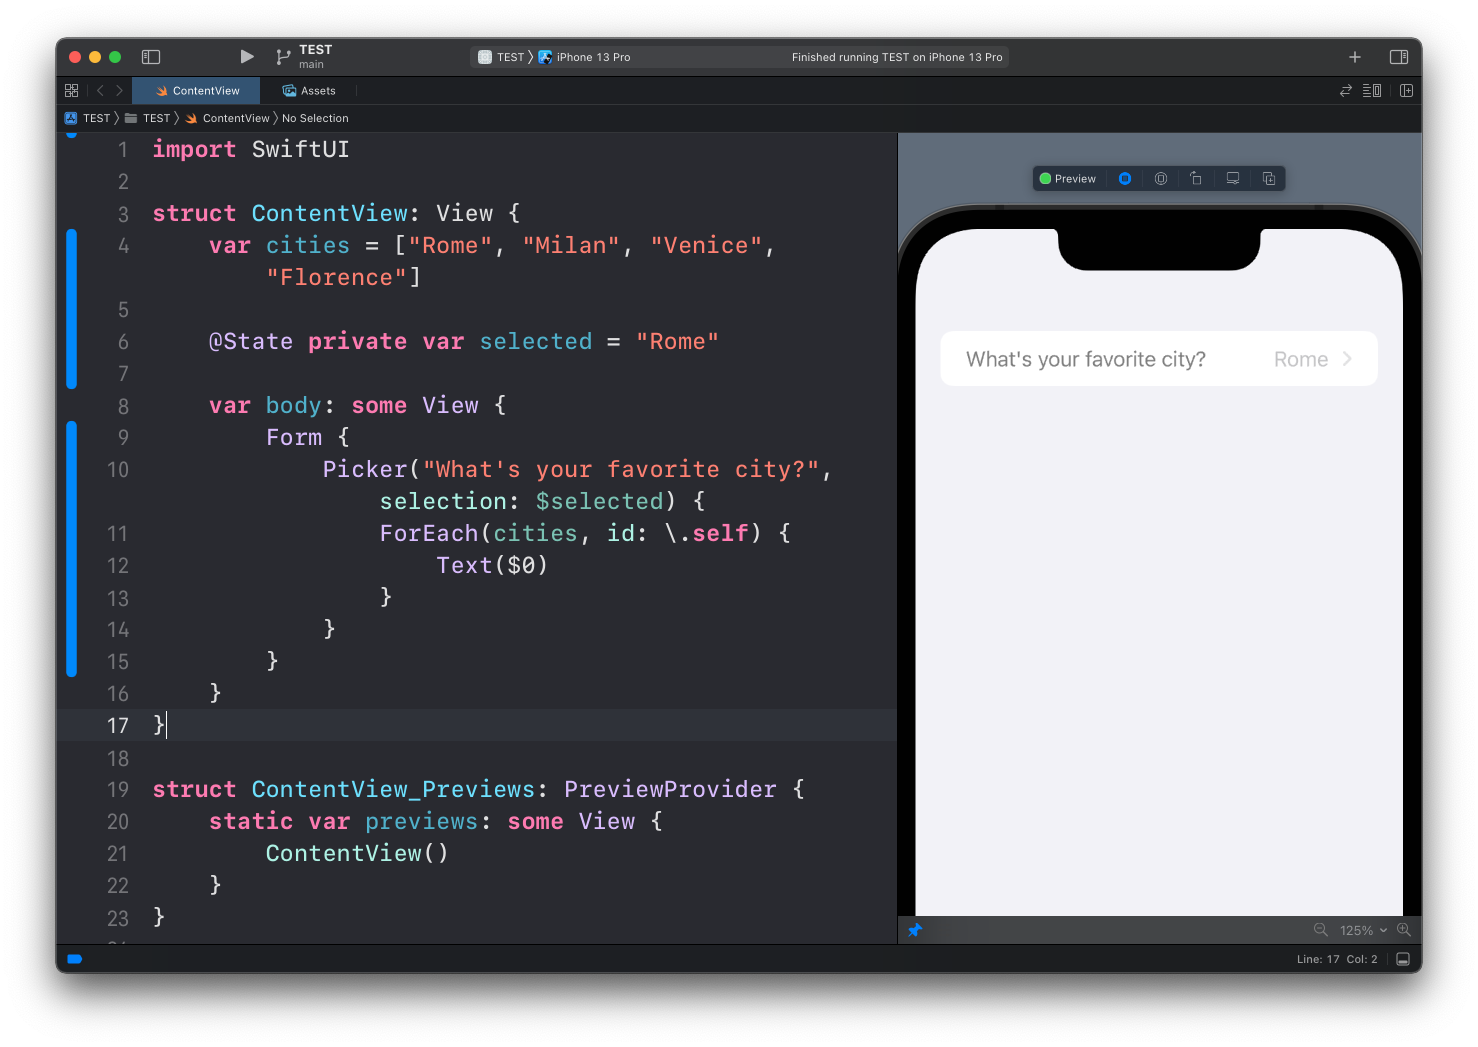
But the label is gray, and you can’t tap it. Not in the preview, not in the Simulator.
Why?
Because inside a form, this picker wants to push a second screen with the list of options, and it can’t do that without a navigation container. Wrap everything in a NavigationView:
struct ContentView: View {
    var cities = ["Rome", "Milan", "Venice", "Florence"]

    @State private var selected = "Rome"

    var body: some View {
        NavigationView{
            Form {
                Picker("What's your favorite city?", selection: $selected) {
                    ForEach(cities, id: \.self) {
                        Text($0)
                    }
                }
            }
        }
    }
}
NavigationViewis what these screenshots use. Apple has since deprecated it in favor ofNavigationStack, which works the same way here. We cover it in the NavigationStack lesson. On recent iOS versions a form picker may also open as a menu instead of pushing a screen; ask for the push behavior with.pickerStyle(.navigationLink).
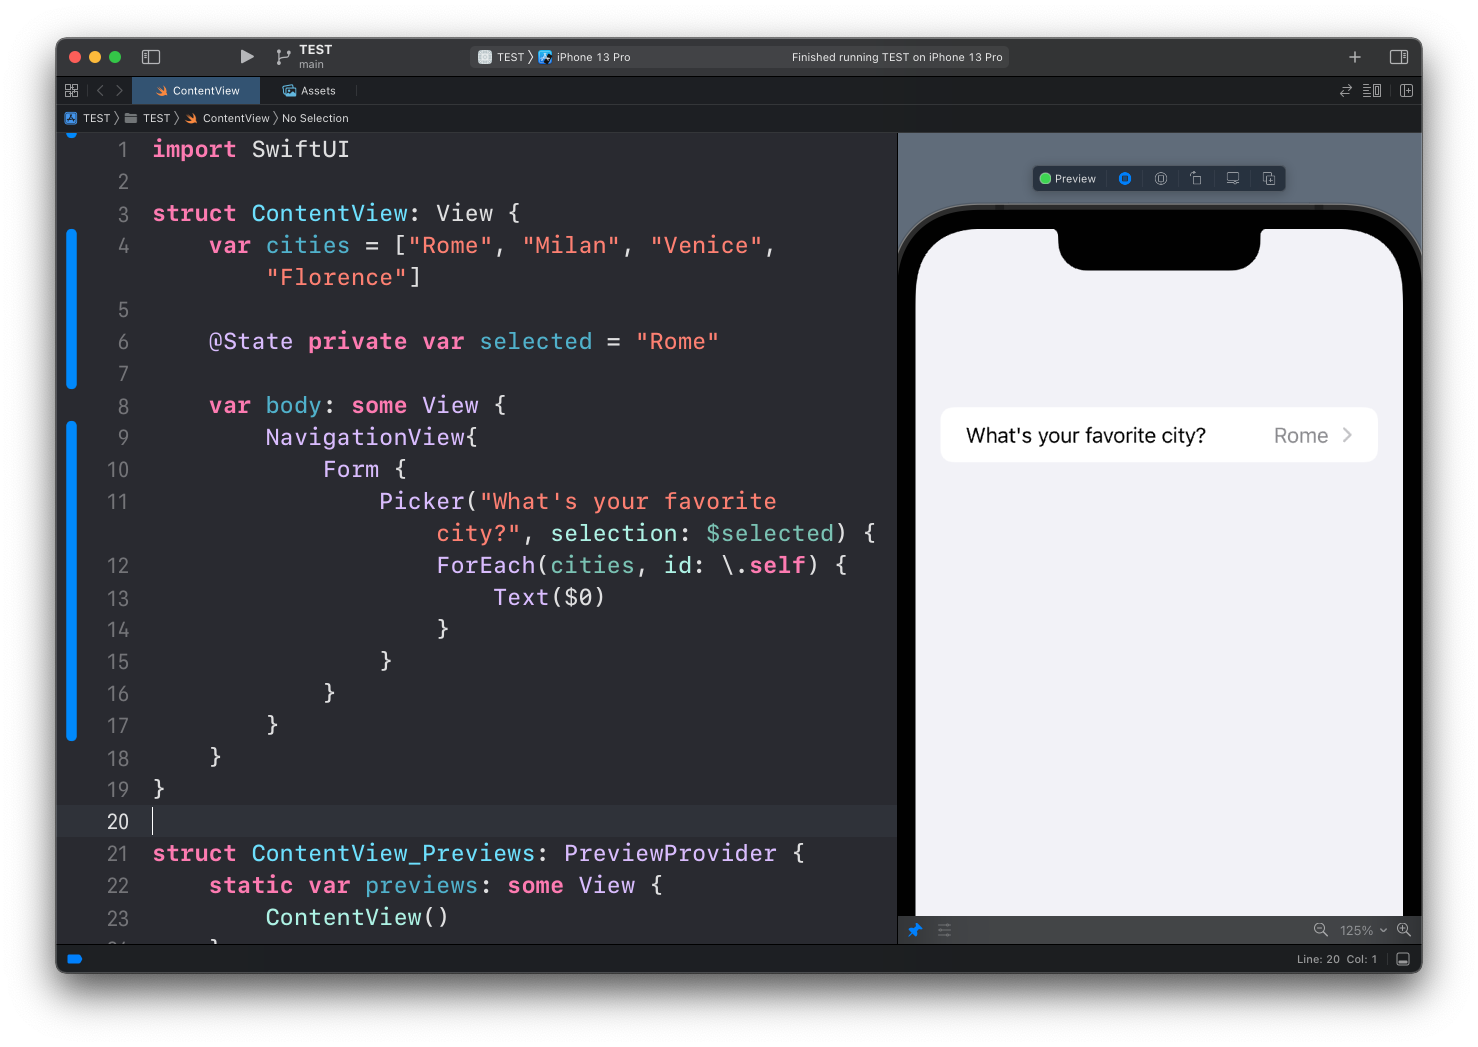
Run it again. The label turned black instead of gray:
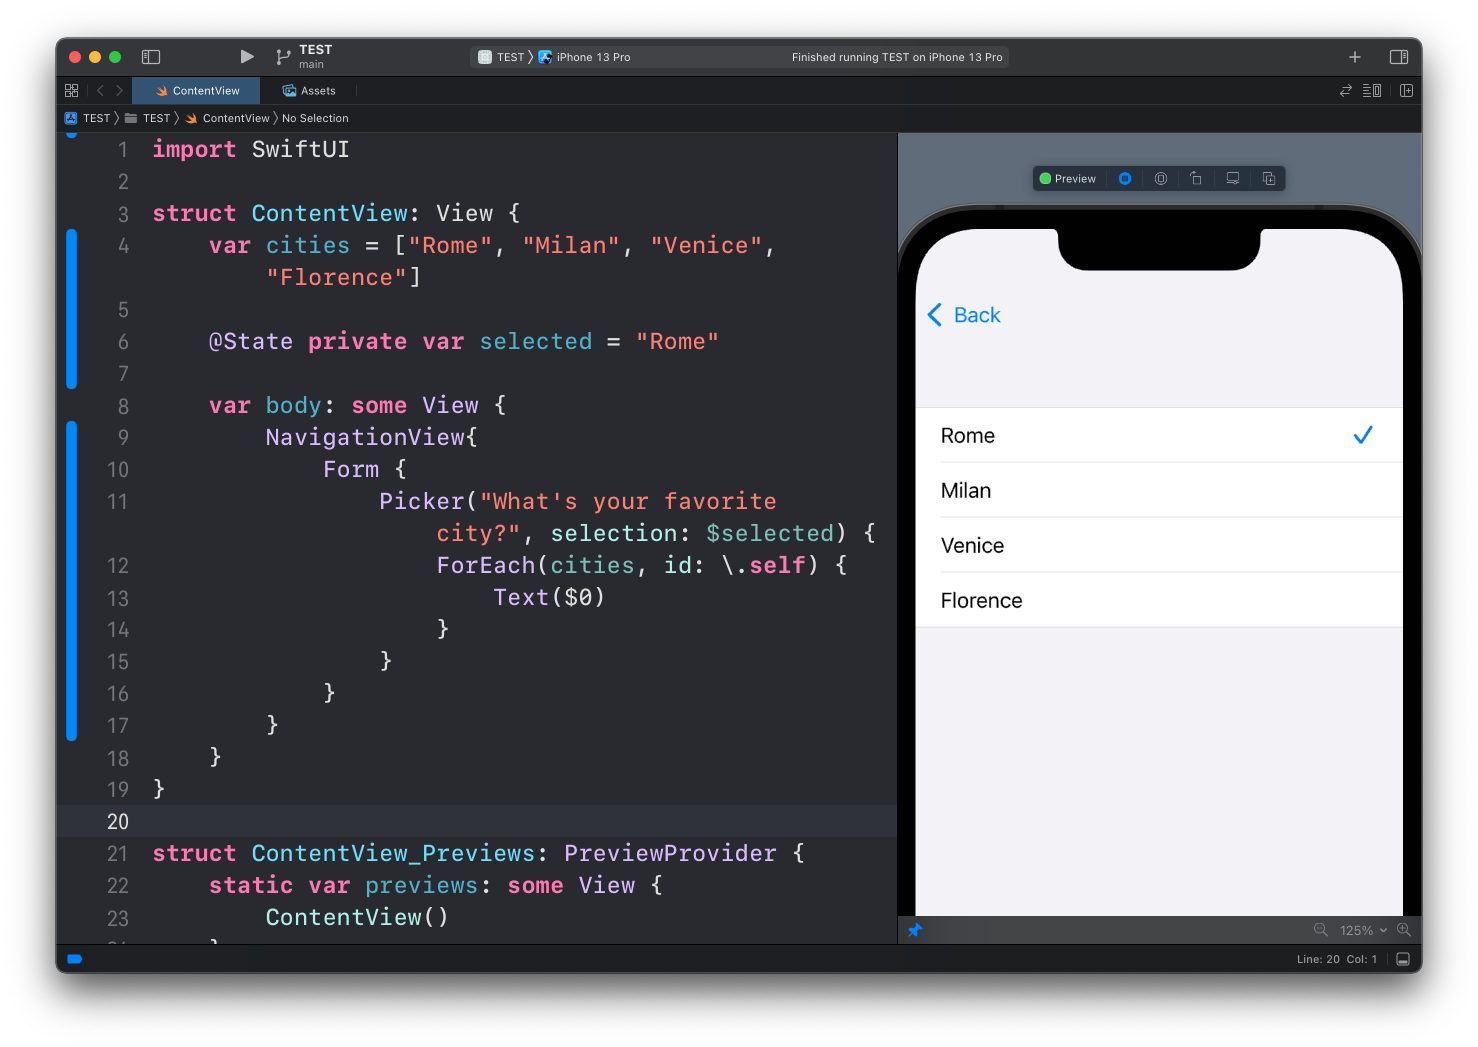
Tap it and you get the list of options, with a back link at the top:
Tap one, and the row now shows the option you picked instead of the default:
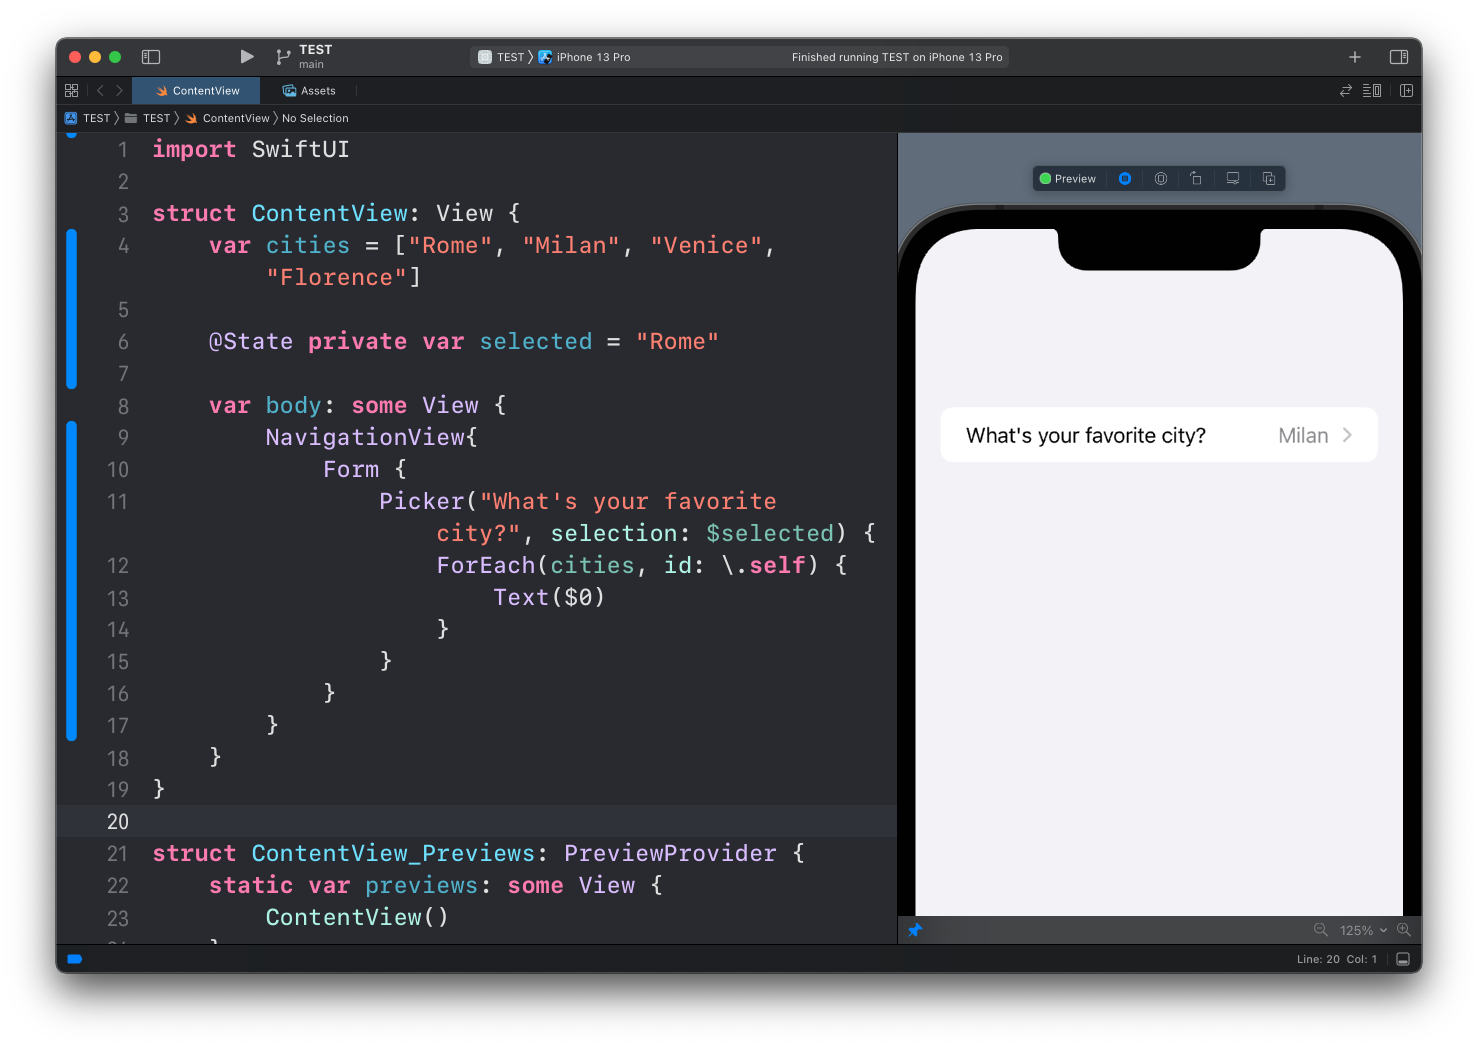
Behind the scenes, selected now holds "Milan". Any other view reading it updates too.
Options without an array
You don’t have to use an array. You can list Text views directly, but then each one needs the tag() modifier, so the picker knows which value to write into selected when that option is chosen:
struct ContentView: View {
    @State private var selected = "Rome"

    var body: some View {
        NavigationView {
            Form {
                Picker("What's your favorite city?", selection: $selected) {
                    Text("Rome")
                        .tag("Rome")
                    Text("Milan")
                        .tag("Milan")
                    Text("Venice")
                        .tag("Venice")
                    Text("Florence").tag("Florence")
                }
            }
        }
    }
}
With ForEach and id: \.self, the tags came for free: each string was its own tag. Here we set them by hand. The tag type must match the type of selected, a String in this case, or the picker silently refuses to update.
Lesson completed