SwiftUI foundations
SwiftUI: images
Learn how to display an image in SwiftUI with the Image view, from loading an asset or a system image to modifiers like resizable, frame, and clipShape.
To show an image in a SwiftUI view, use the Image view.
First you need to add the image to your project. Open Assets.xcassets in the Xcode project navigator, create a new image set, and drag the file in. I called mine Avatar.
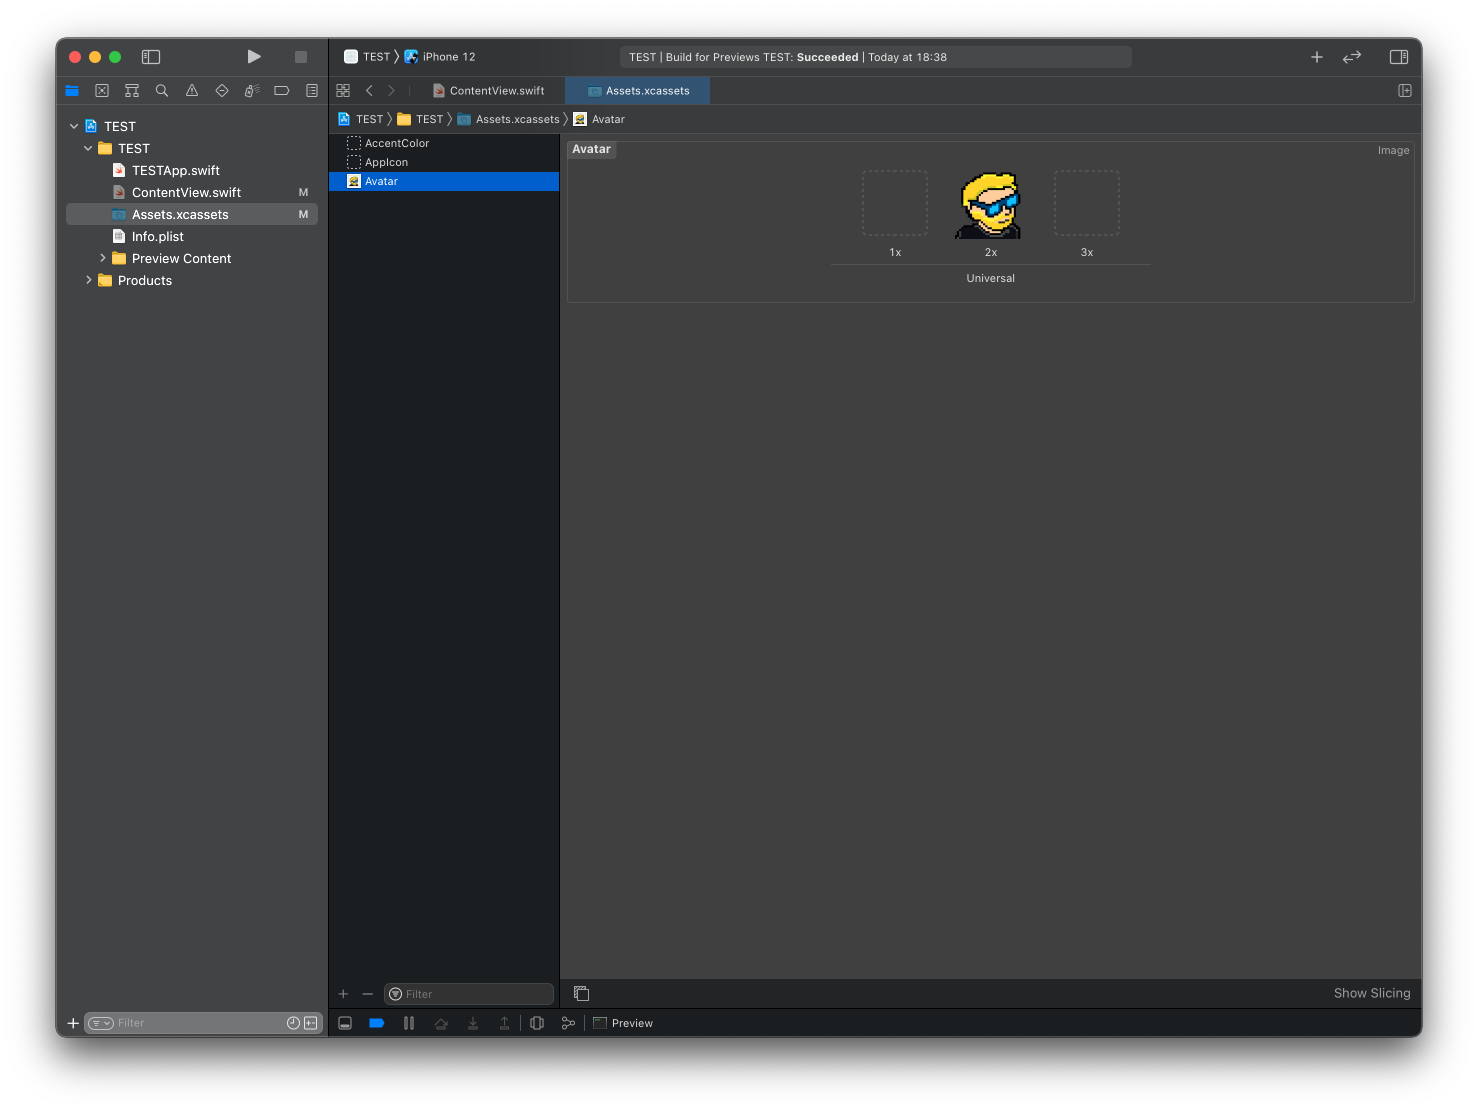
Then you reference it by name in your ContentView:
import SwiftUI

struct ContentView: View {
    var body: some View {
        Image("Avatar")
    }
}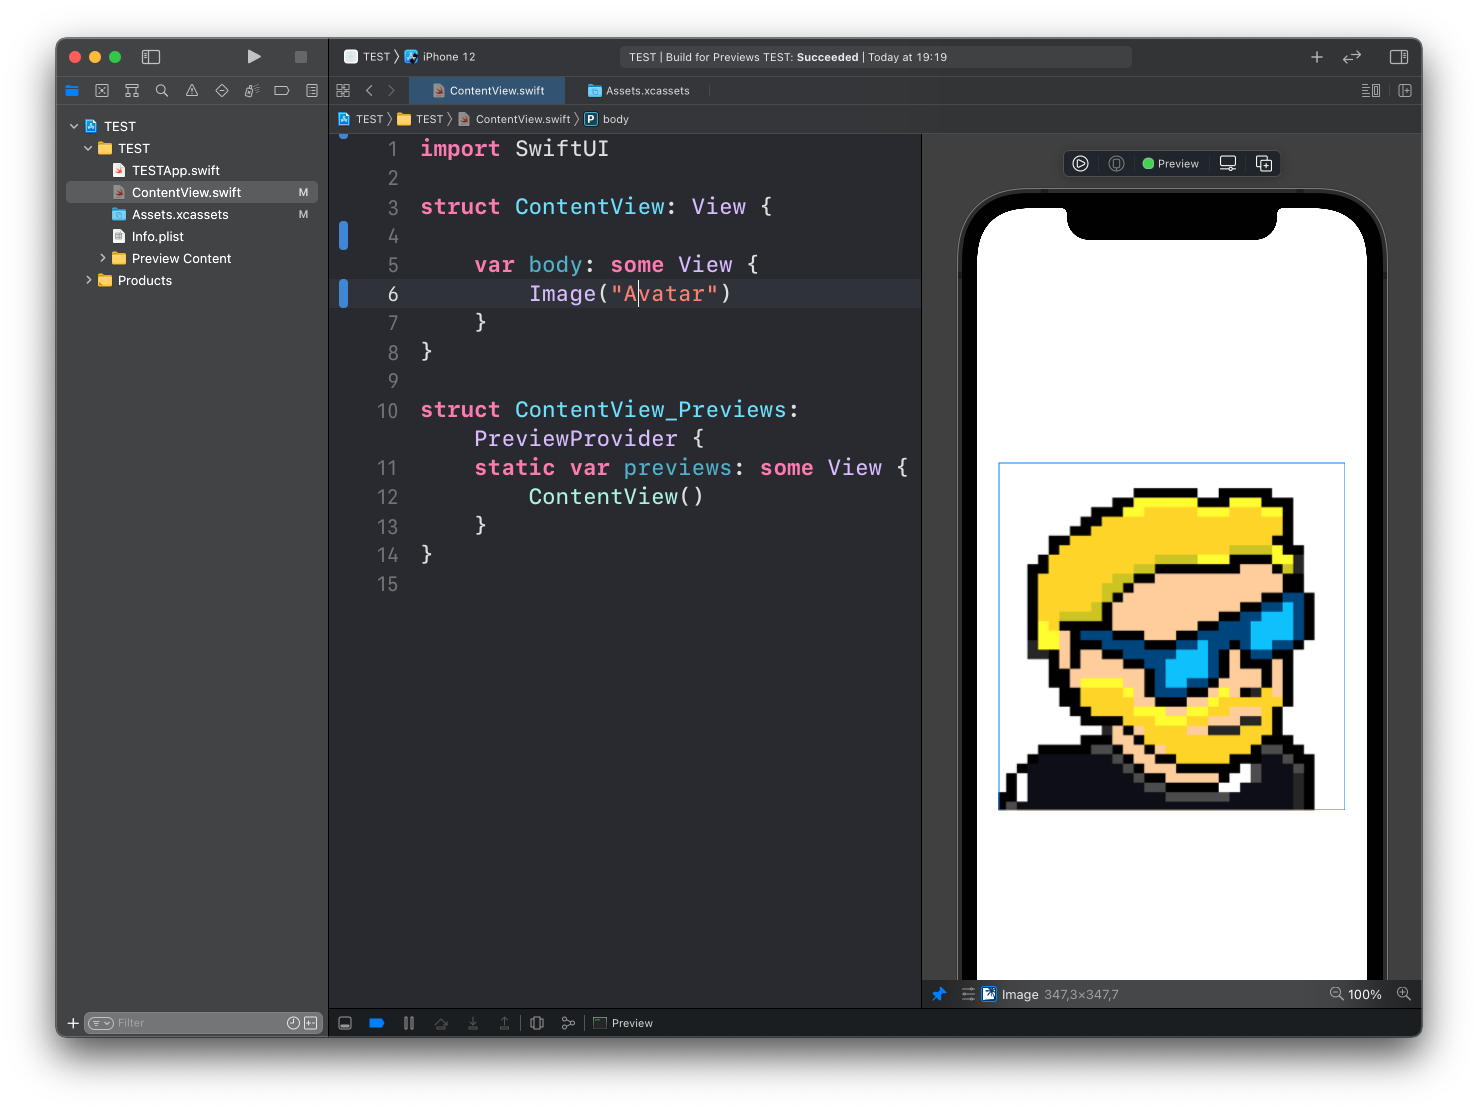
The image shows up at its natural size. Mine was tiny, so it looks pixelated. We’ll fix that in a moment.
System images
You don’t always need your own files. Apple ships thousands of icons called SF Symbols, and Image can load them with the systemName parameter:
struct ContentView: View {
    var body: some View {
        Image(systemName: "house")
    }
}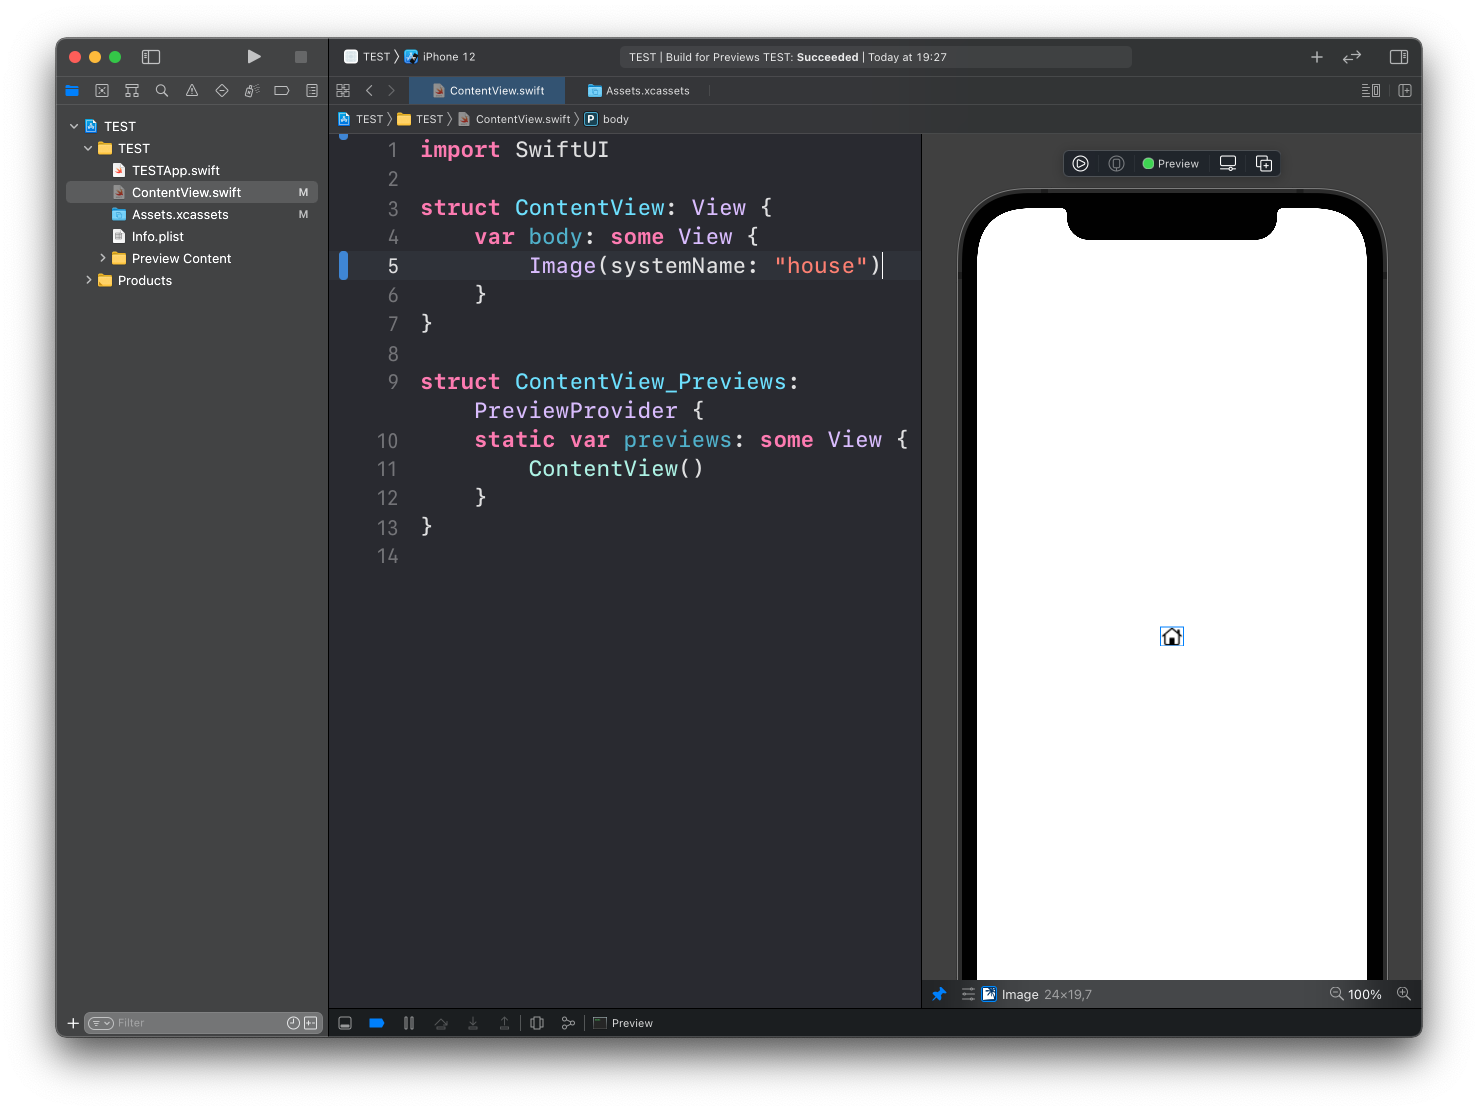
To find a symbol name, download the free SF Symbols app from Apple’s website and search there. Symbols behave like text: they scale with the font and take the foreground color.
Modifiers
Image has its own set of modifiers. The ones I use most:
.resizable()lets the image scale to fill the.frame()you give it.frame()sets its width and height.clipShape()clips the image to a shape, like a circle.border()draws a border in a color.overlay()layers another view in front of it.aspectRatio()sets how the image scales inside its frame.clipped()cuts off anything outside the frame
resizable() is the one that surprises people. Without it, frame() does nothing to the picture: the frame grows, the image stays the same size. So the pair almost always goes together:
Image(systemName: "house")
    .resizable()
    .frame(width: 100, height: 100)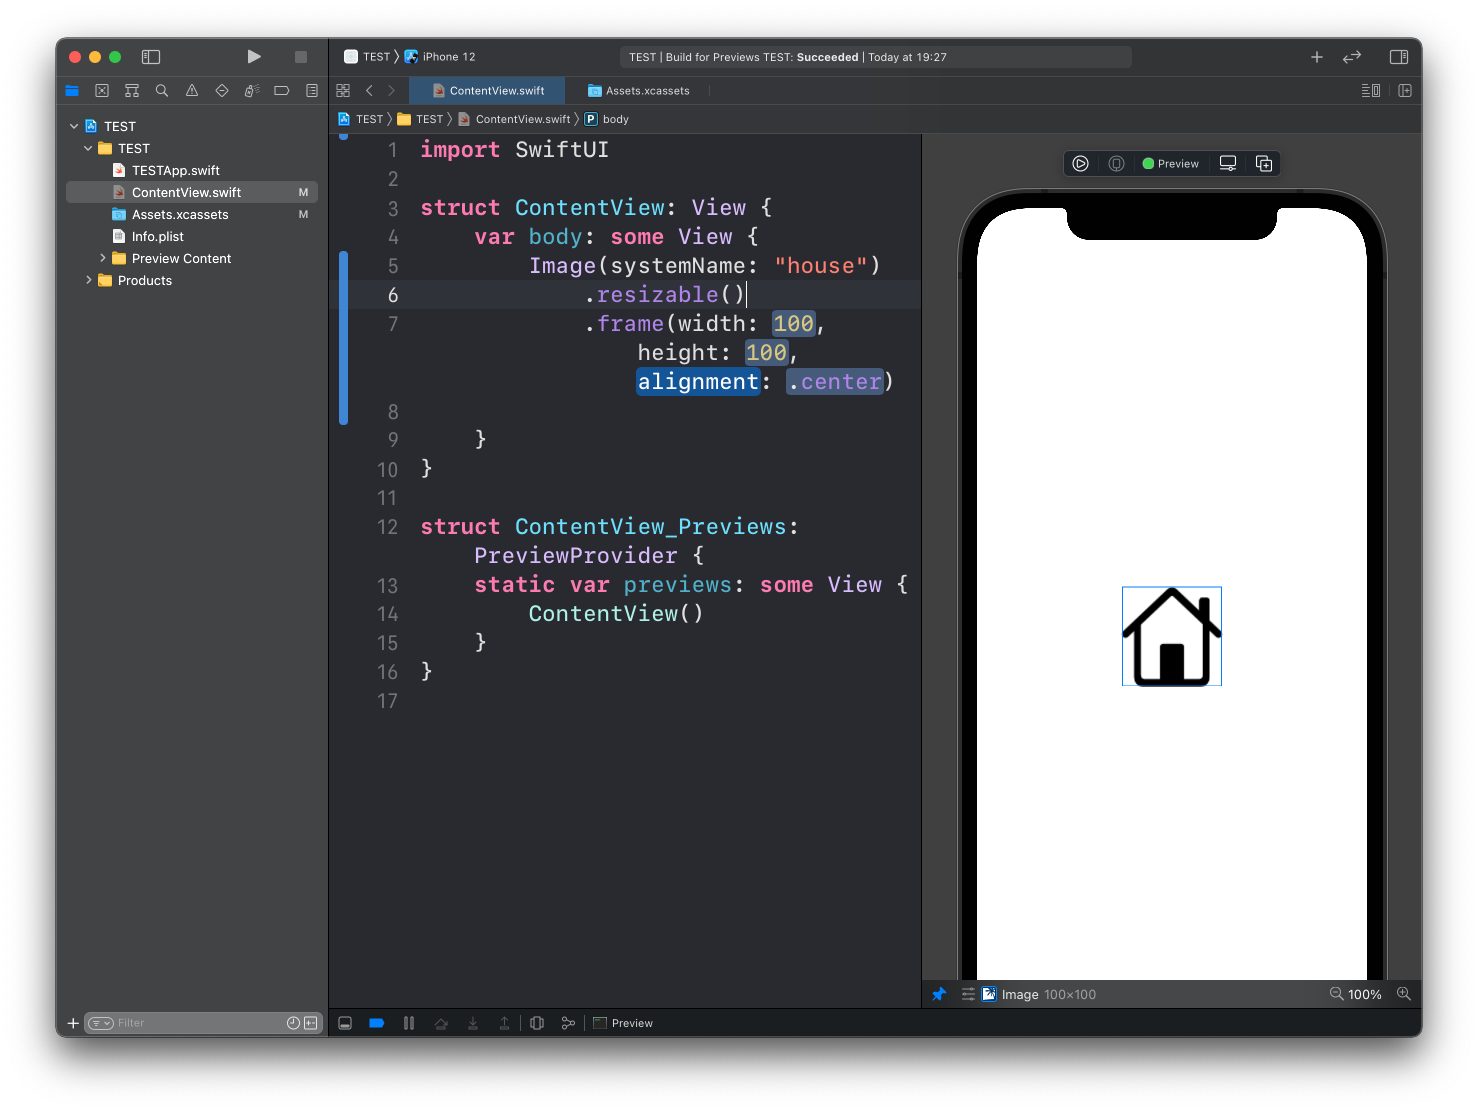
The house is now 100 points wide and tall.
A photo usually needs one more modifier, aspectRatio(), or it gets stretched to the frame. This is the classic round avatar:
Image("Avatar")
    .resizable()
    .aspectRatio(contentMode: .fill)
    .frame(width: 80, height: 80)
    .clipShape(Circle())
.fill scales the photo until it covers the whole 80 by 80 frame, which means part of it can spill outside. Circle() then trims everything into a circle, spill included. Use .fit instead when you want the whole photo visible, at the cost of some empty space in the frame.
Lesson completed