SwiftUI: NavigationView and NavigationStack
By Flavio Copes
Learn how NavigationView works in SwiftUI, why Apple replaced it with NavigationStack in iOS 16, and how to push screens with NavigationLink and NavigationPath.
NavigationView was the first way to move between screens in SwiftUI, and you’ll still find it in a lot of code and tutorials. I wrote this post with it in 2021, and the screenshots below come from that version.
Apple deprecated it when iOS 16 introduced NavigationStack and NavigationSplitView. It still compiles without warnings, and it’s the only option if your app supports iOS 15 or older. For new code, use NavigationStack.
I’ll show NavigationView first, then move the same example to NavigationStack.
NavigationView
The NavigationView view wraps the screen you want to navigate from:
NavigationView {

}
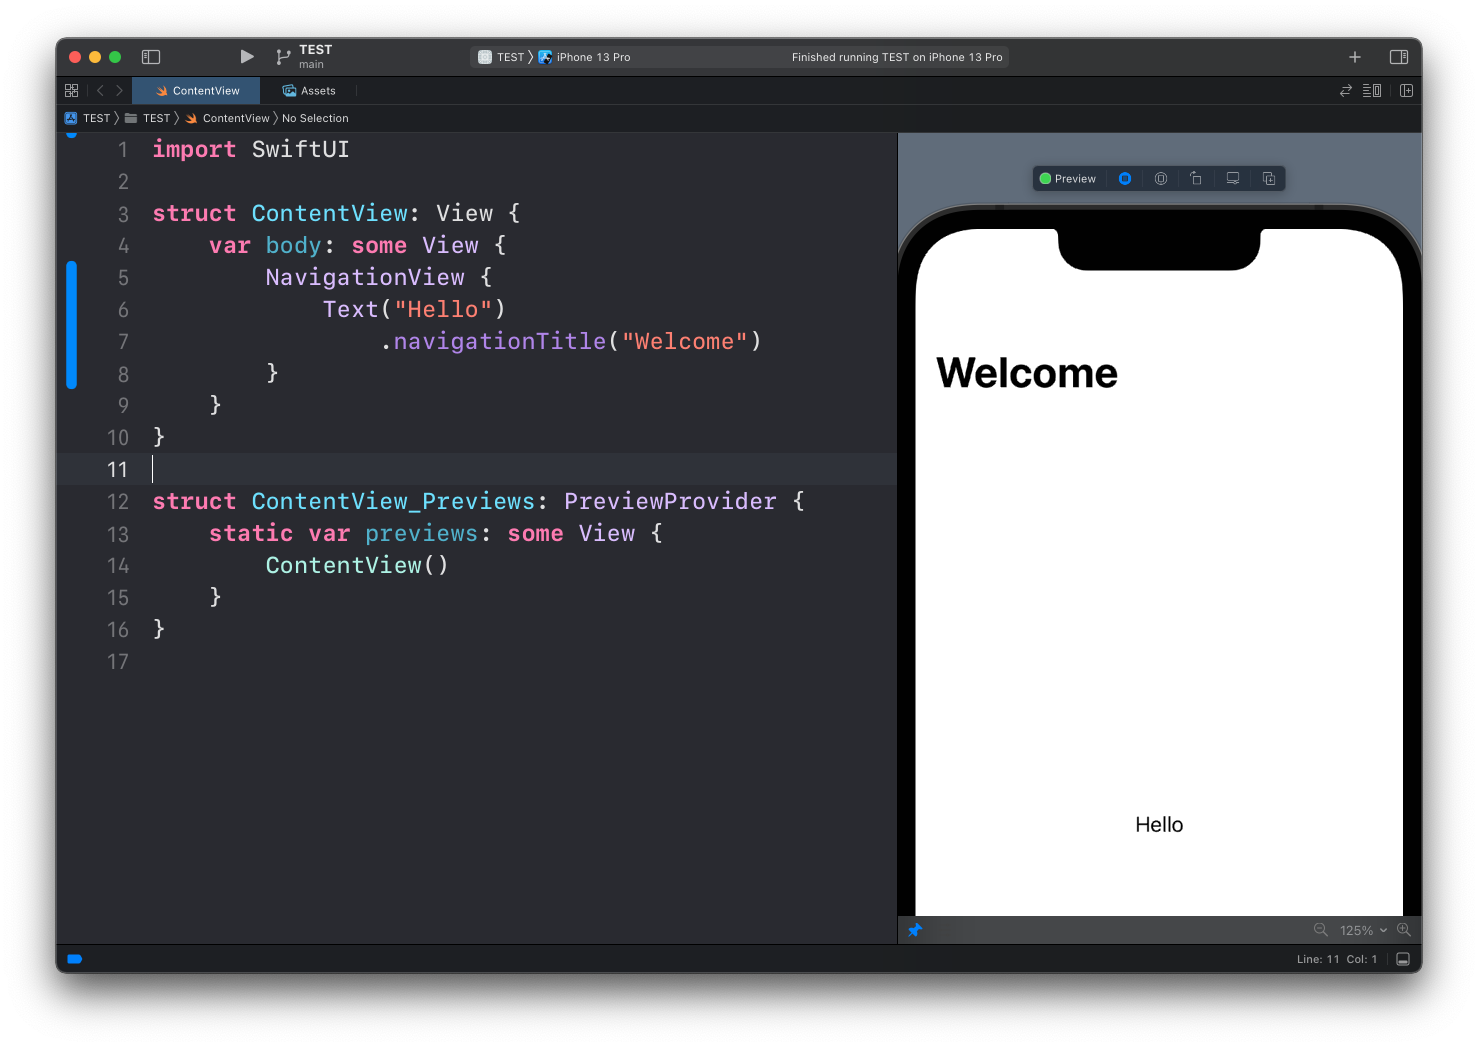
Once you wrap a view into a NavigationView you can add a title to the view with the navigationTitle() modifier:
NavigationView {
    Text("Hello")
        .navigationTitle("Welcome")
}
The main benefit, however, is that now we can make views be links that bring the user to other views.
First thing we do is creating another view. You can add it to the same file, or to another file in your project:
struct ThanksView: View {
    var body: some View {
        Text("Thanks for checking out the app!")
    }
}
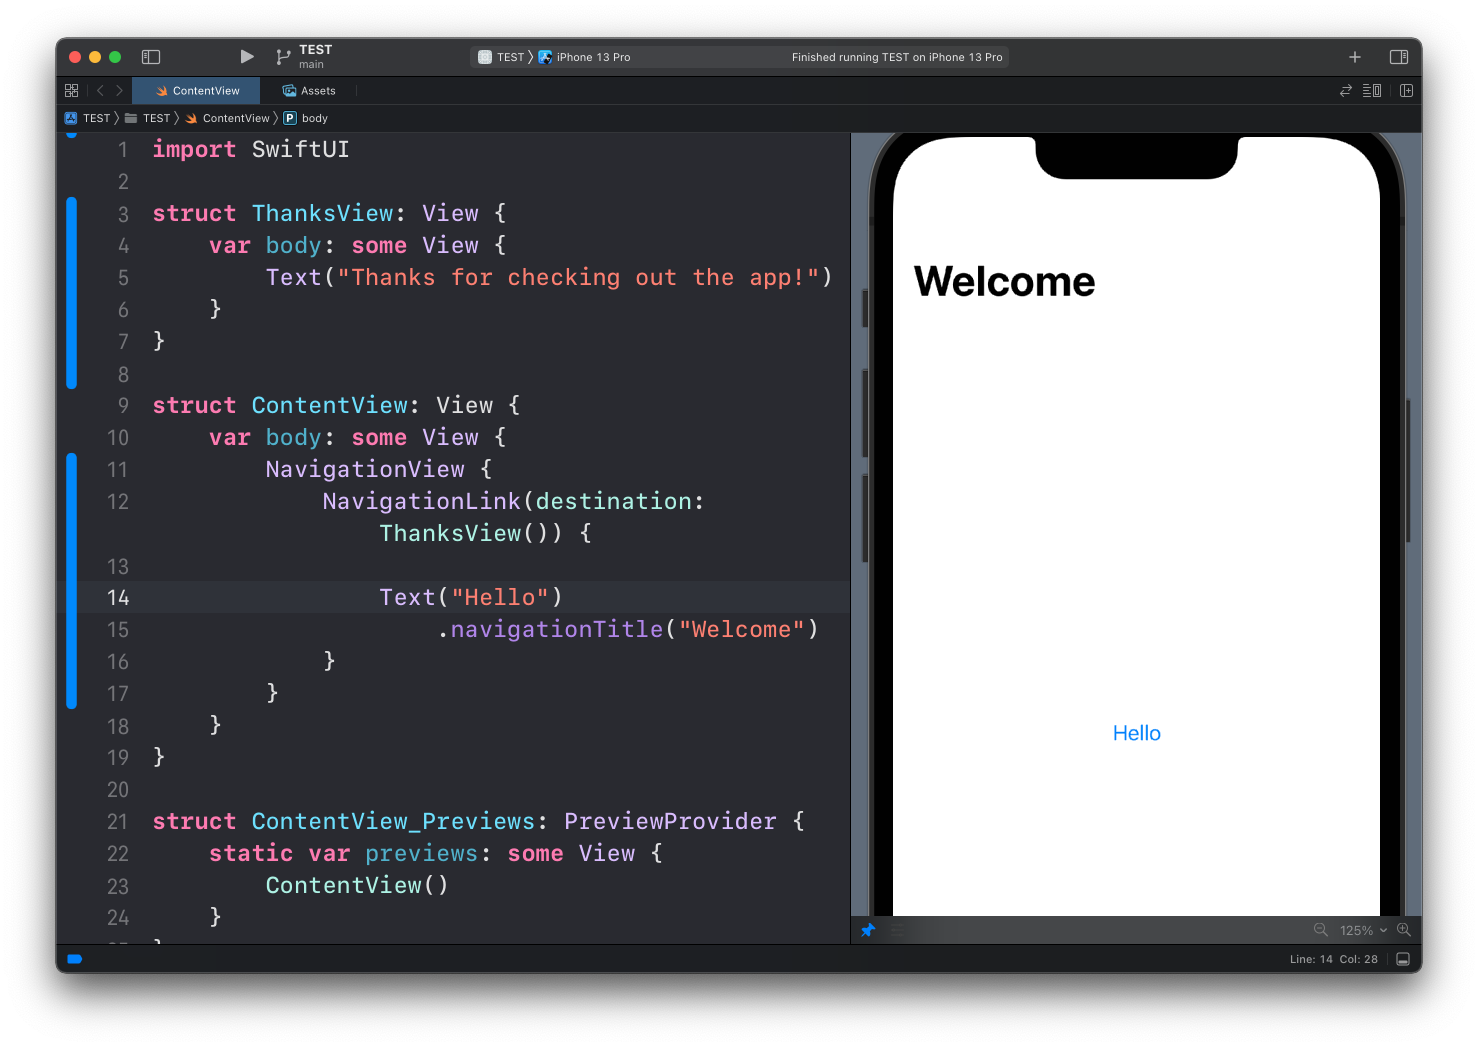
Then, wrap the “Hello” Text view into a NavigationLink view, where we set the destination parameter to ThanksView:
NavigationView {
    NavigationLink(destination: ThanksView()) {
        Text("Hello")
            .navigationTitle("Welcome")
    }
}
Now a lot of things are happening automatic: the Hello text turns blue and tappable:
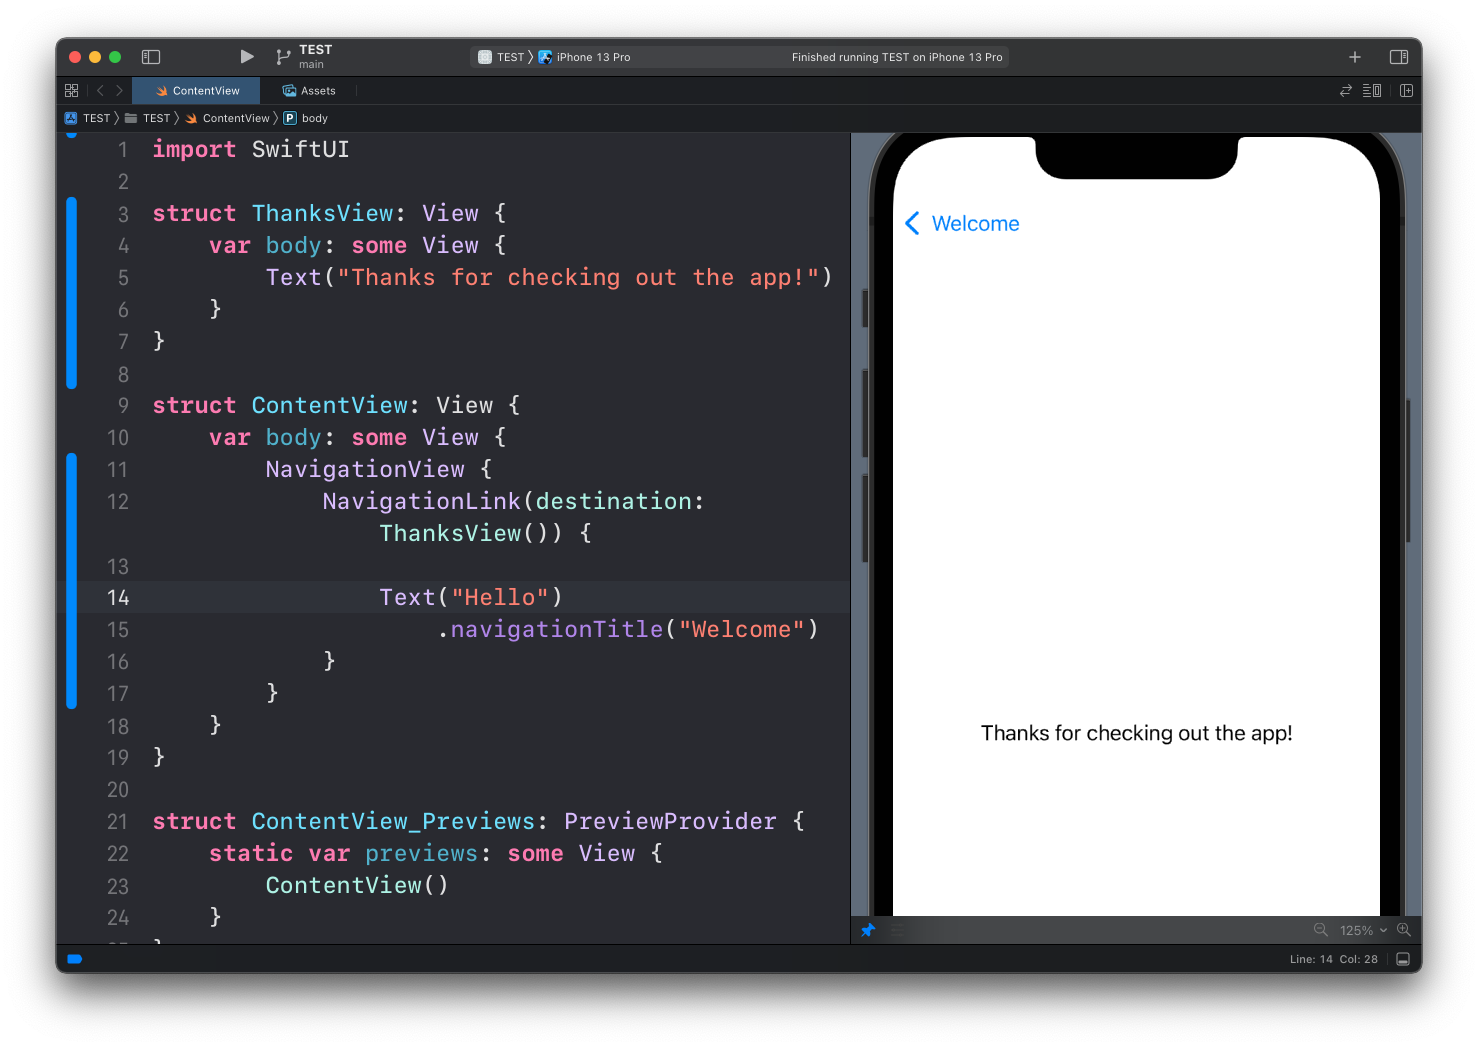
And once we tap on it, we’re shown the ThanksView and a link to get back to the original view. The text shown in the top left button comes from the navigationTitle modifier we set:
Here’s the full code used in the example:
import SwiftUI

struct ThanksView: View {
    var body: some View {
        Text("Thanks for checking out the app!")
    }
}

struct ContentView: View {
    var body: some View {
        NavigationView {
            NavigationLink(destination: ThanksView()) {
                Text("Hello")
                    .navigationTitle("Welcome")
            }
        }
    }
}
That’s one way to navigate between views, and I’d say the simplest one.
Sometimes before navigating to another view you want to perform some action. In this case, we can have a boolean property showThanks that we can set to true when we want the ThanksView to appear. We do so when the user taps a button. With NavigationView you did this with an empty NavigationLink bound to the boolean through isActive:
struct ContentView: View {
    @State private var showThanks = false

    var body: some View {
        NavigationView {
            VStack {
                NavigationLink(destination: ThanksView(), isActive: $showThanks) {}

                Button("Hello") {
                    showThanks = true
                }
                .navigationTitle("Welcome")
            }
        }
    }
}
The app looks exactly the same as before, but now when the user taps the button, we can do something, like logging the transition or anything else:
Button("Hello") {
    showThanks = true
    print("Transitioned to ThanksView")
}
Remember that
print()does not log in preview mode, only in the Simulator
The isActive initializer is deprecated in iOS 16, and unlike NavigationView itself, Xcode warns you about it as soon as your deployment target is iOS 16 or later.
Moving to NavigationStack
NavigationStack needs iOS 16 or later (macOS 13, watchOS 9, tvOS 16). If your app still targets iOS 15, stay with NavigationView. Otherwise you can swap the view name and the first example keeps working, NavigationLink(destination:) and navigationTitle() included:
NavigationStack {
    NavigationLink(destination: ThanksView()) {
        Text("Hello")
            .navigationTitle("Welcome")
    }
}
The programmatic push is where the code changes. Instead of an empty NavigationLink with isActive, you attach navigationDestination(isPresented:) to the content of the stack and pass it the same boolean:
struct ContentView: View {
    @State private var showThanks = false

    var body: some View {
        NavigationStack {
            VStack {
                Button("Hello") {
                    showThanks = true
                }
                .navigationTitle("Welcome")
            }
            .navigationDestination(isPresented: $showThanks) {
                ThanksView()
            }
        }
    }
}
The button and the showThanks flag are the same as before. The empty link is gone.
Typed destinations with NavigationPath
A boolean is enough when there is one screen to push. When the stack can show a few different screens, or a screen needs some data, you describe the destinations as values instead.
Model the routes as a Hashable enum, bind a NavigationPath to the stack, and tell the stack how to turn each value into a screen with navigationDestination(for:):
enum Route: Hashable {
    case thanks
    case detail(String)
}

struct ContentView: View {
    @State private var path = NavigationPath()

    var body: some View {
        NavigationStack(path: $path) {
            List {
                Button("Say thanks") {
                    path.append(Route.thanks)
                }
                Button("Open order") {
                    path.append(Route.detail("Order #42"))
                }
            }
            .navigationTitle("Welcome")
            .navigationDestination(for: Route.self) { route in
                switch route {
                case .thanks:
                    ThanksView()
                case .detail(let title):
                    Text(title)
                        .navigationTitle(title)
                }
            }
        }
    }
}
path.append(...) pushes a screen, and the back button removes the last value from the path. You can append again from a pushed screen to go deeper, or assign a fresh NavigationPath() to path to jump back to the root.
If you don’t need to run any code before the push, NavigationLink("Say thanks", value: Route.thanks) appends the same value when tapped. Inside a List that’s usually what you want, one link per row.
Apple’s Migrating to new navigation types guide covers the remaining cases, including NavigationSplitView for the two and three column layouts you get on iPad and Mac.
If you are new to SwiftUI, start with the introduction to SwiftUI.
Want me to talk about your product? You can sponsor this site.
Related posts about swift: