SwiftUI: images
By Flavio Copes
Learn how to display an image in SwiftUI with the Image view, from loading an asset or a system image to modifiers like resizable, frame, and clipShape.
You can display an image in a SwiftUI view by using the Image view.
First you need to add the image to a new image set in your Assets.xcassets file in the Xcode project navigator.
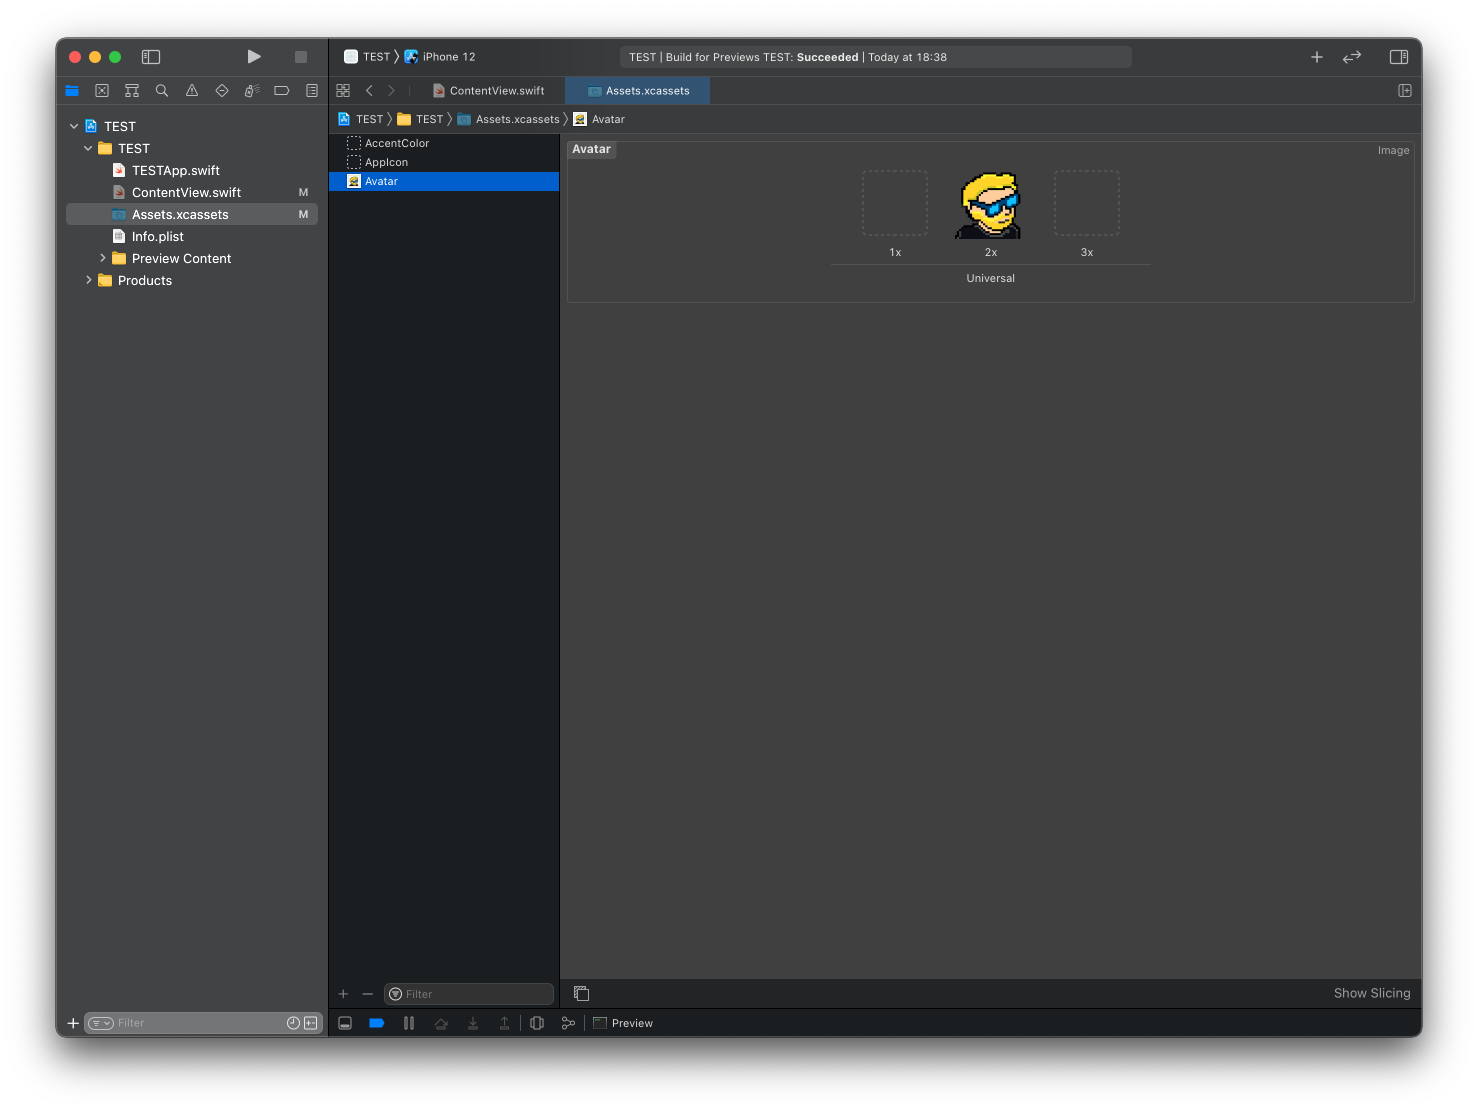
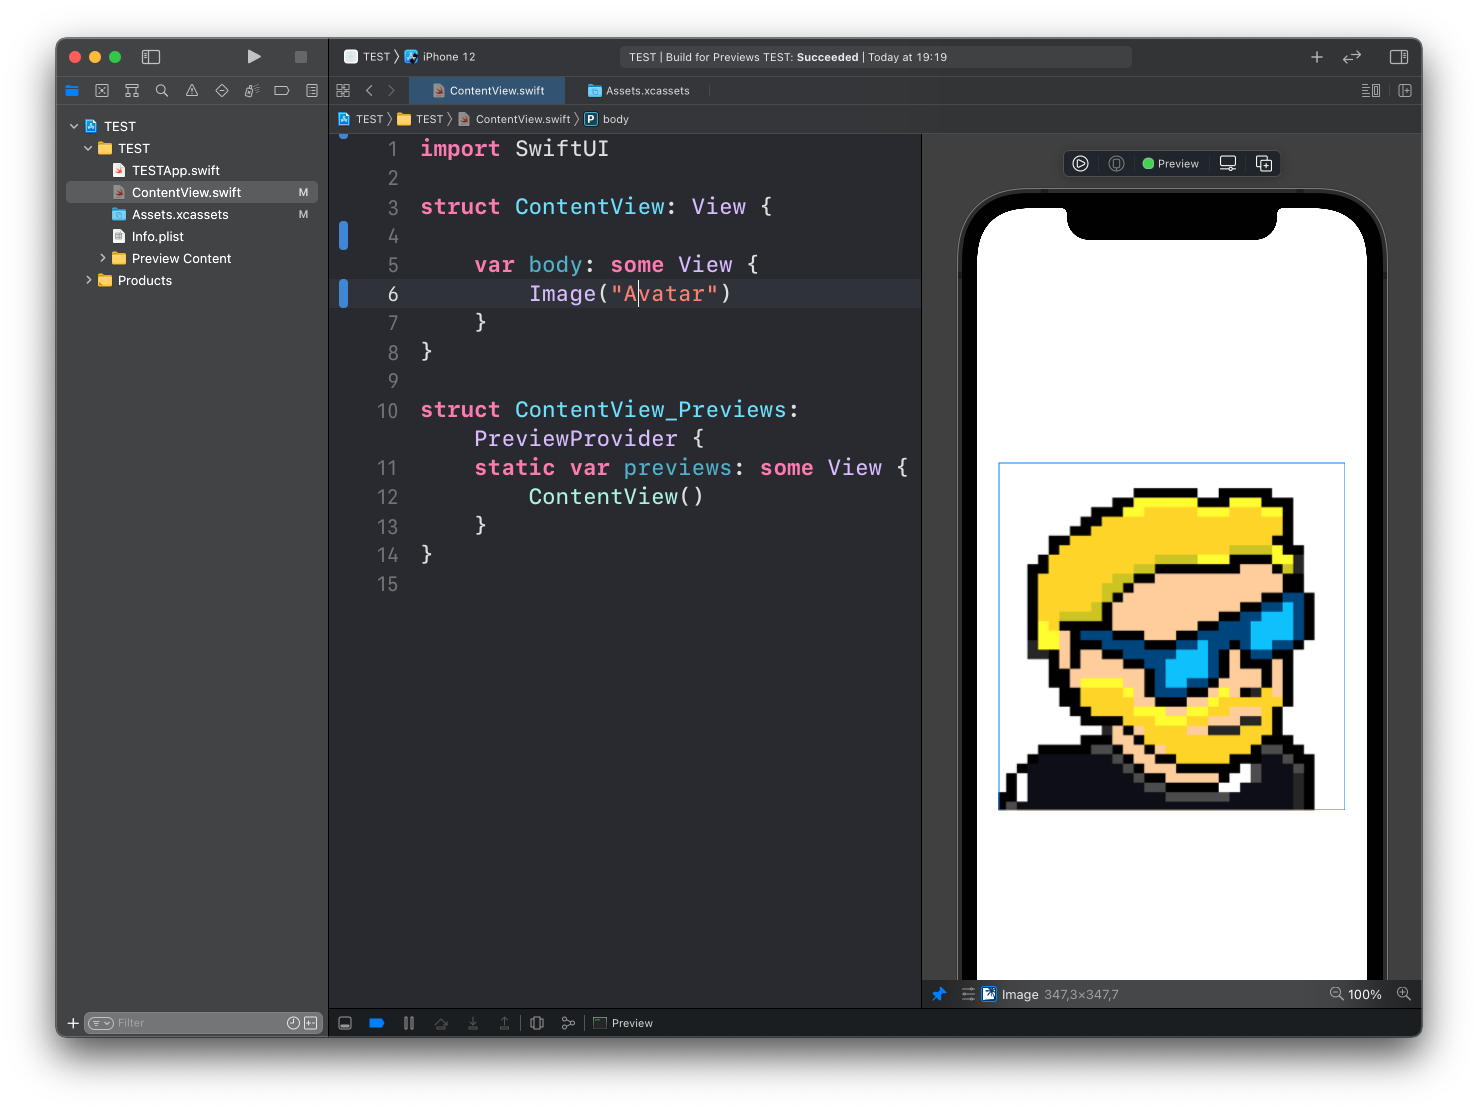
Then you can add the image to your ContentView like this:
import SwiftUI

struct ContentView: View {
  var body: some View {
    Image("Avatar")
  }
}
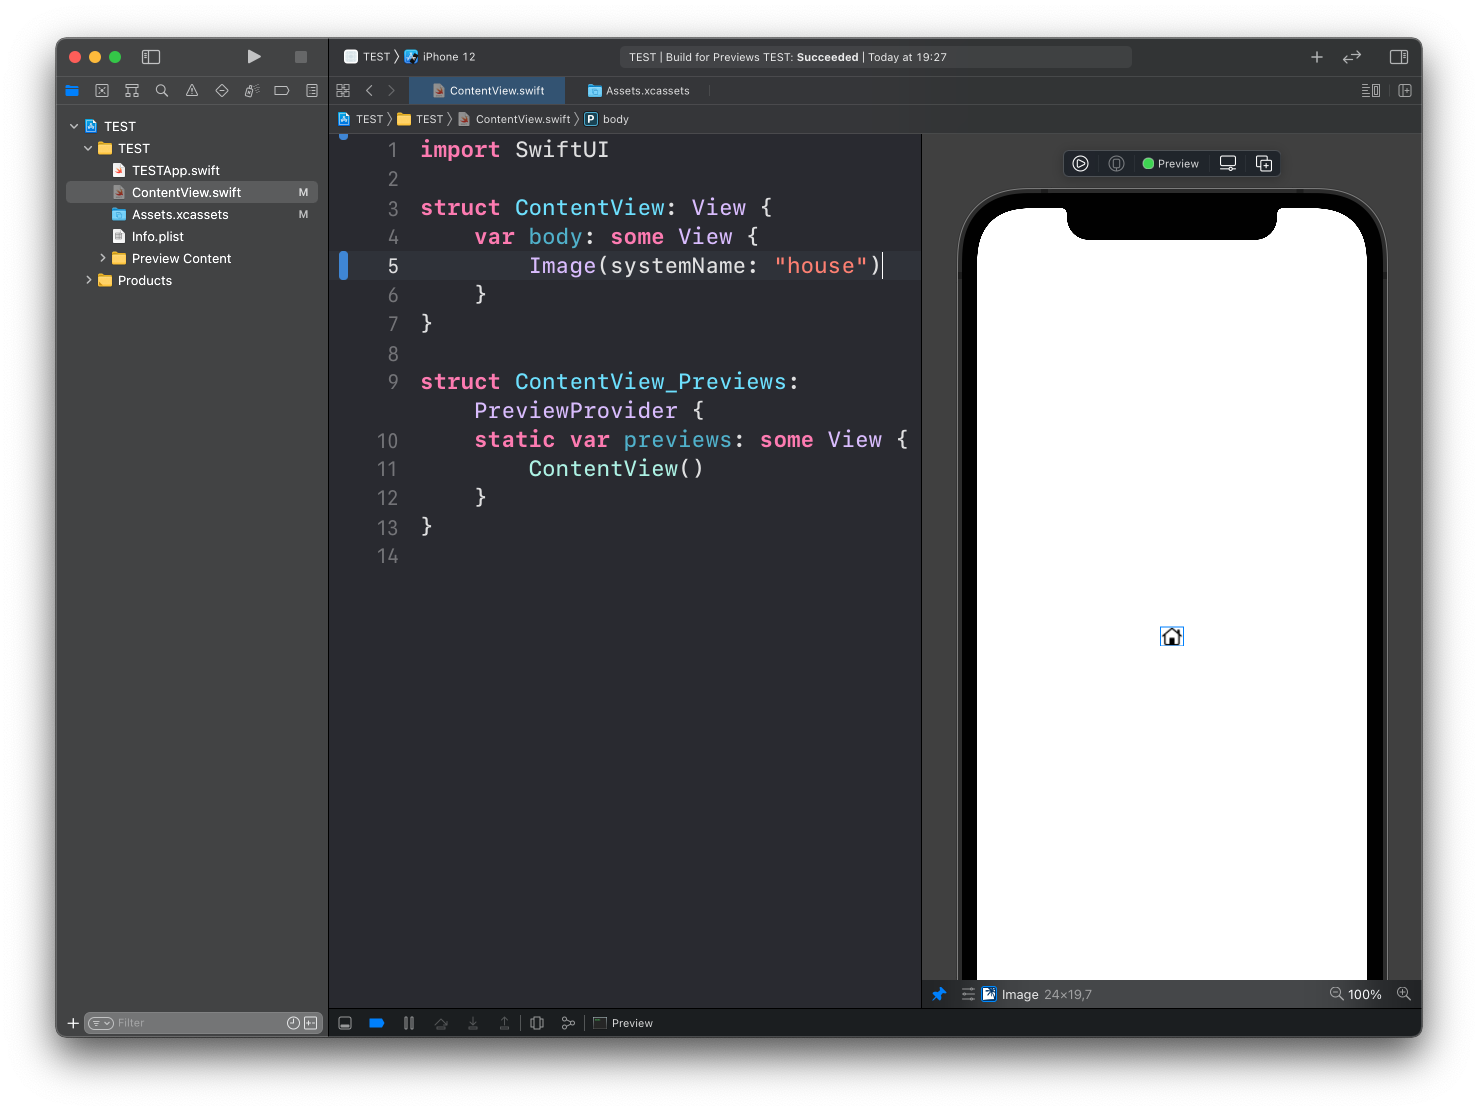
You can also use Image to show a system image, using the format Image(systemName:):
struct ContentView: View {
  var body: some View {
    Image(systemName: "house")
  }
}
Those icons come from Apple’s SF Symbols set, and I wrote a separate post on them.
Image modifiers
By default an Image is drawn at the size of the file. If you put a .frame() on it, the frame changes the space the view takes, but the picture stays the same size. To make the picture follow the frame you call .resizable() first:
Image("Avatar")
  .resizable()
  .frame(width: 120, height: 120)
The same works for a system image, when you want a bigger icon:
Image(systemName: "house")
  .resizable()
  .frame(width: 100, height: 100, alignment: .center)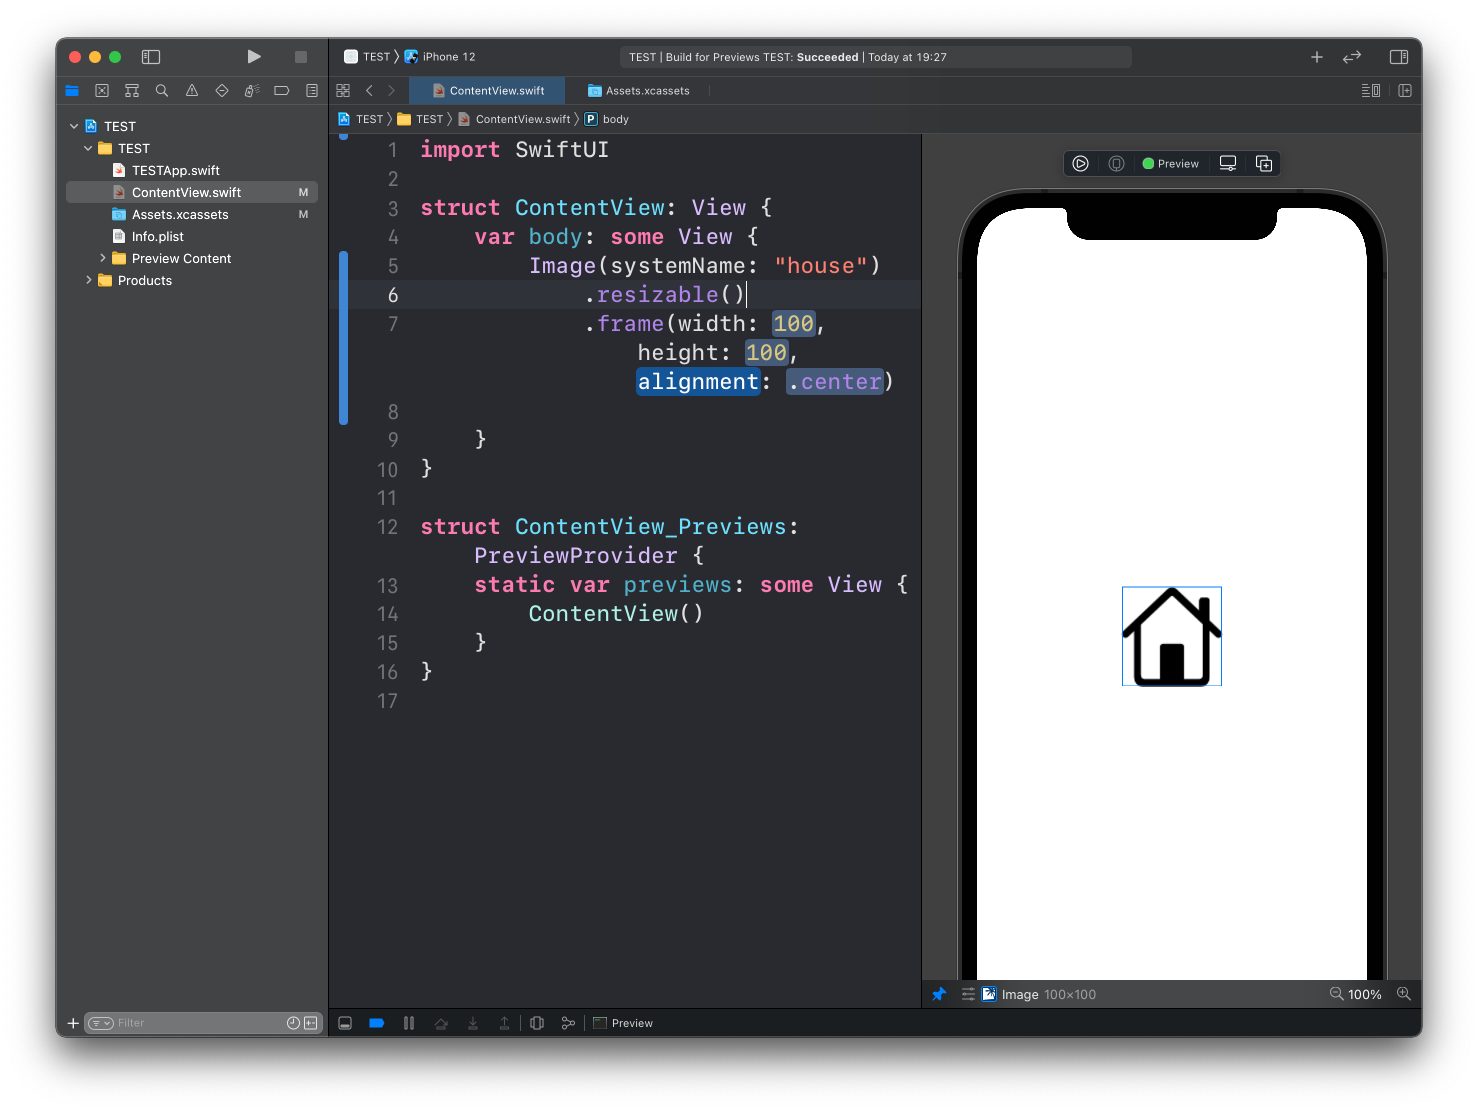
scaledToFit vs scaledToFill
A resizable image stretches to fill the frame, and if the frame has a different shape than the picture, the picture gets distorted. Two modifiers fix that.
.scaledToFit() keeps the whole image visible inside the frame. If the shapes don’t match you get empty space on the sides, or above and below:
Image("Avatar")
  .resizable()
  .scaledToFit()
  .frame(width: 200, height: 100)
  .border(.gray)
.scaledToFill() covers the whole frame instead. The parts of the image that don’t fit stick out past the frame, so you usually add .clipped() to cut them off:
Image("Avatar")
  .resizable()
  .scaledToFill()
  .frame(width: 200, height: 100)
  .clipped()
Use .scaledToFit() when the whole picture has to be visible, like a logo. Use .scaledToFill() for thumbnails and photos that must fill a box. Without .clipped(), the overflow paints over the views next to it.
The order matters. .resizable() is a method of Image, and after .frame() you no longer have an Image but a generic view, so .frame().resizable() does not even compile. Always .resizable() first, then fit or fill, then .frame().
Clip to a circle
.clipShape() cuts the image to a shape. For an avatar, that’s a Circle():
Image("Avatar")
  .resizable()
  .scaledToFill()
  .frame(width: 100, height: 100)
  .clipShape(Circle())
RoundedRectangle(cornerRadius: 12) gives you the card look, and Capsule() a pill.
A few other modifiers you’ll use on images:
.border()draws a line around the view bounds.overlay()layers another view on top, like a badge.aspectRatio()keeps a width to height ratio when the frame is flexible.clipped()hides anything drawn outside the frame
Loading a remote image
Image only loads local images. For a picture that lives on a server, SwiftUI has AsyncImage (iOS 15 and later). In its simplest form you give it a URL:
AsyncImage(url: URL(string: "https://picsum.photos/id/237/200"))
  .frame(width: 100, height: 100)
While the image downloads, SwiftUI shows a gray placeholder. If you want control over the loading and error states, use the version with a closure. It’s called once per phase of the download:
AsyncImage(url: URL(string: "https://picsum.photos/id/237/200")) { phase in
  switch phase {
  case .empty:
    ProgressView()
  case .success(let image):
    image
      .resizable()
      .scaledToFit()
  case .failure:
    Image(systemName: "photo")
      .font(.largeTitle)
  @unknown default:
    EmptyView()
  }
}
.frame(width: 100, height: 100)
.empty is the loading state. .success hands you a regular Image, so all the modifiers above apply to it. .failure is where you show a fallback icon.
Want me to talk about your product? You can sponsor this site.
Related posts about swift: