How to use Supabase as your PostgreSQL hosting
I recently found out you can use Supabase as your PostgreSQL hosting.
Supabase is a very interesting project. It’s not “just a database hosting” but it’s also one, so you can use it as that. It’s an app development platform built on top of PostgreSQL, and they offer a free connection pooler, which helps not exhausting the database connection limit with Prisma.
They allow up to 2 projects in the free account, so it’s worth trying it.
You can also work on a new project, then delete the old ones once you’re done.
Supabase markets itself as a Firebase alternative, and in addition to the database you have authentication, subscriptions, and a lot more you can explore later on.
NOTE: Supabase can also be self hosted, so your 2 projects limit will disappear, at the expense of having to manage your own infrastructure
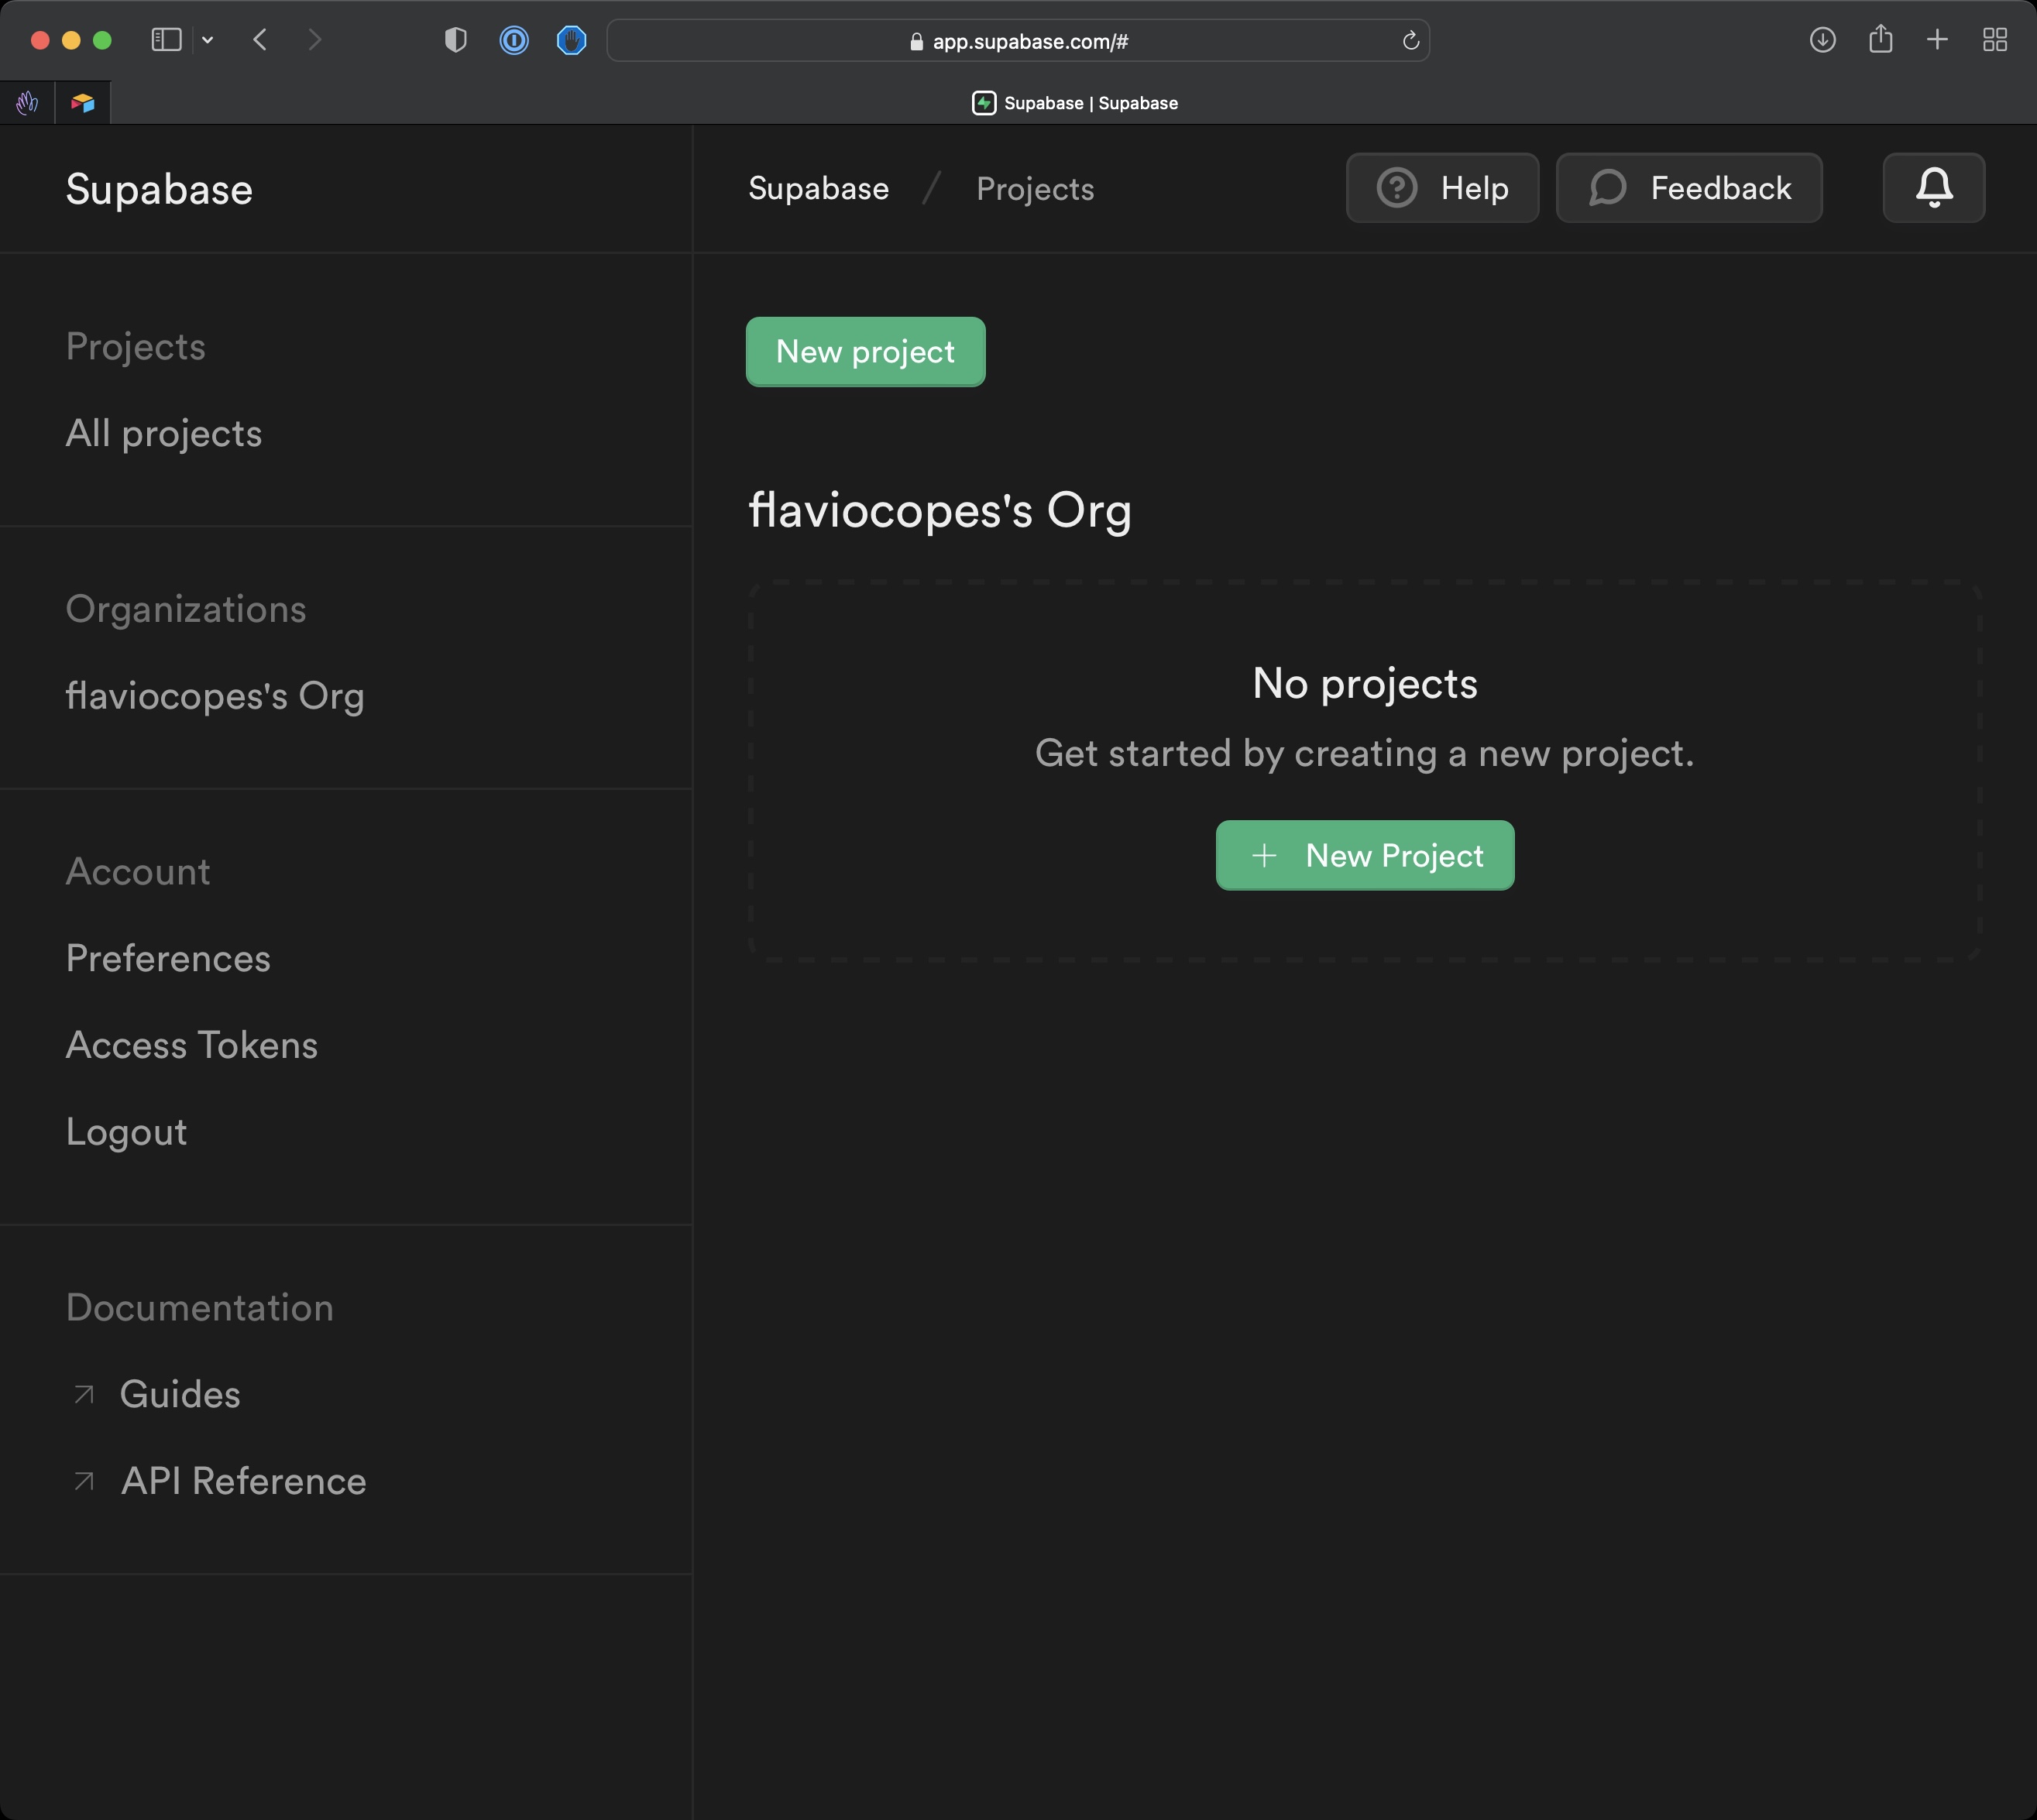
To set it up, first login with GitHub on supabase.com
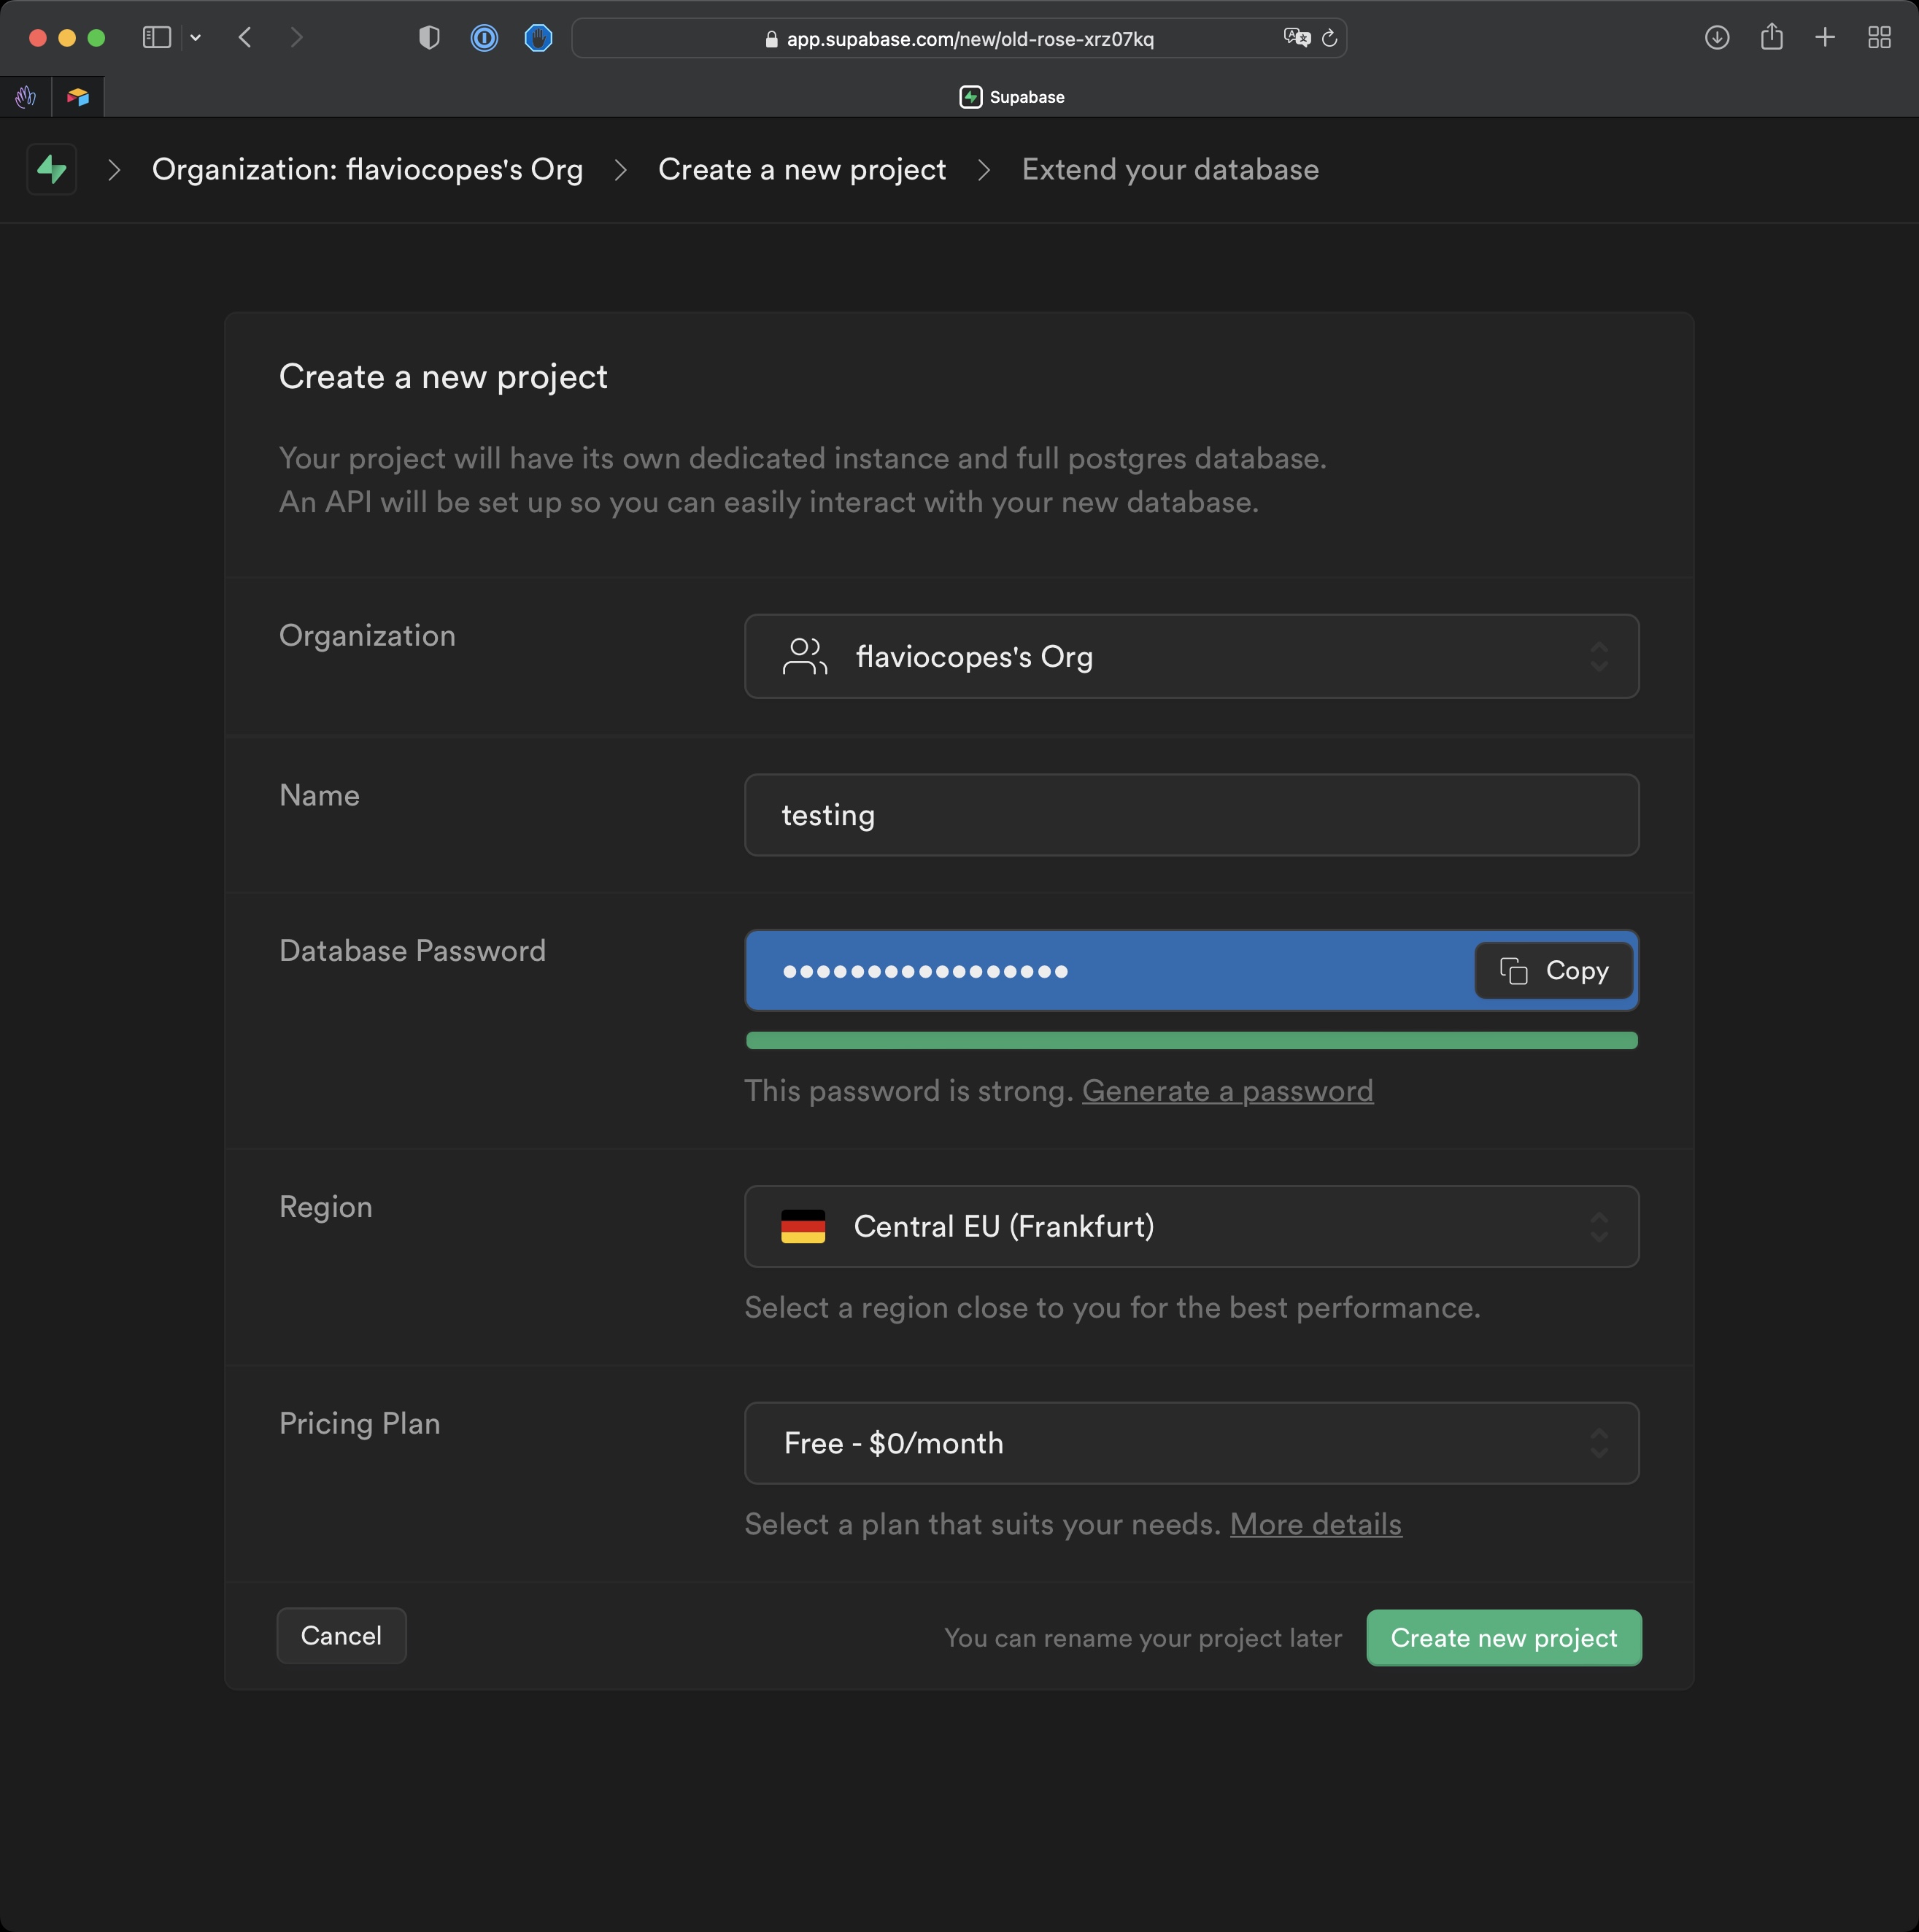
Create a new project


Then go into Settings → Database, scroll down and you’ll find the direct connection string to the database (click URI)

That’s what you will need to put in your .env file for the DATABASE_URL variable.
Remember to fill [YOUR-PASSWORD] with the password you set for the project when you created it on Supabase.
If you use Prisma now you can run npx prisma migrate dev to create the tables from the Prisma schema.
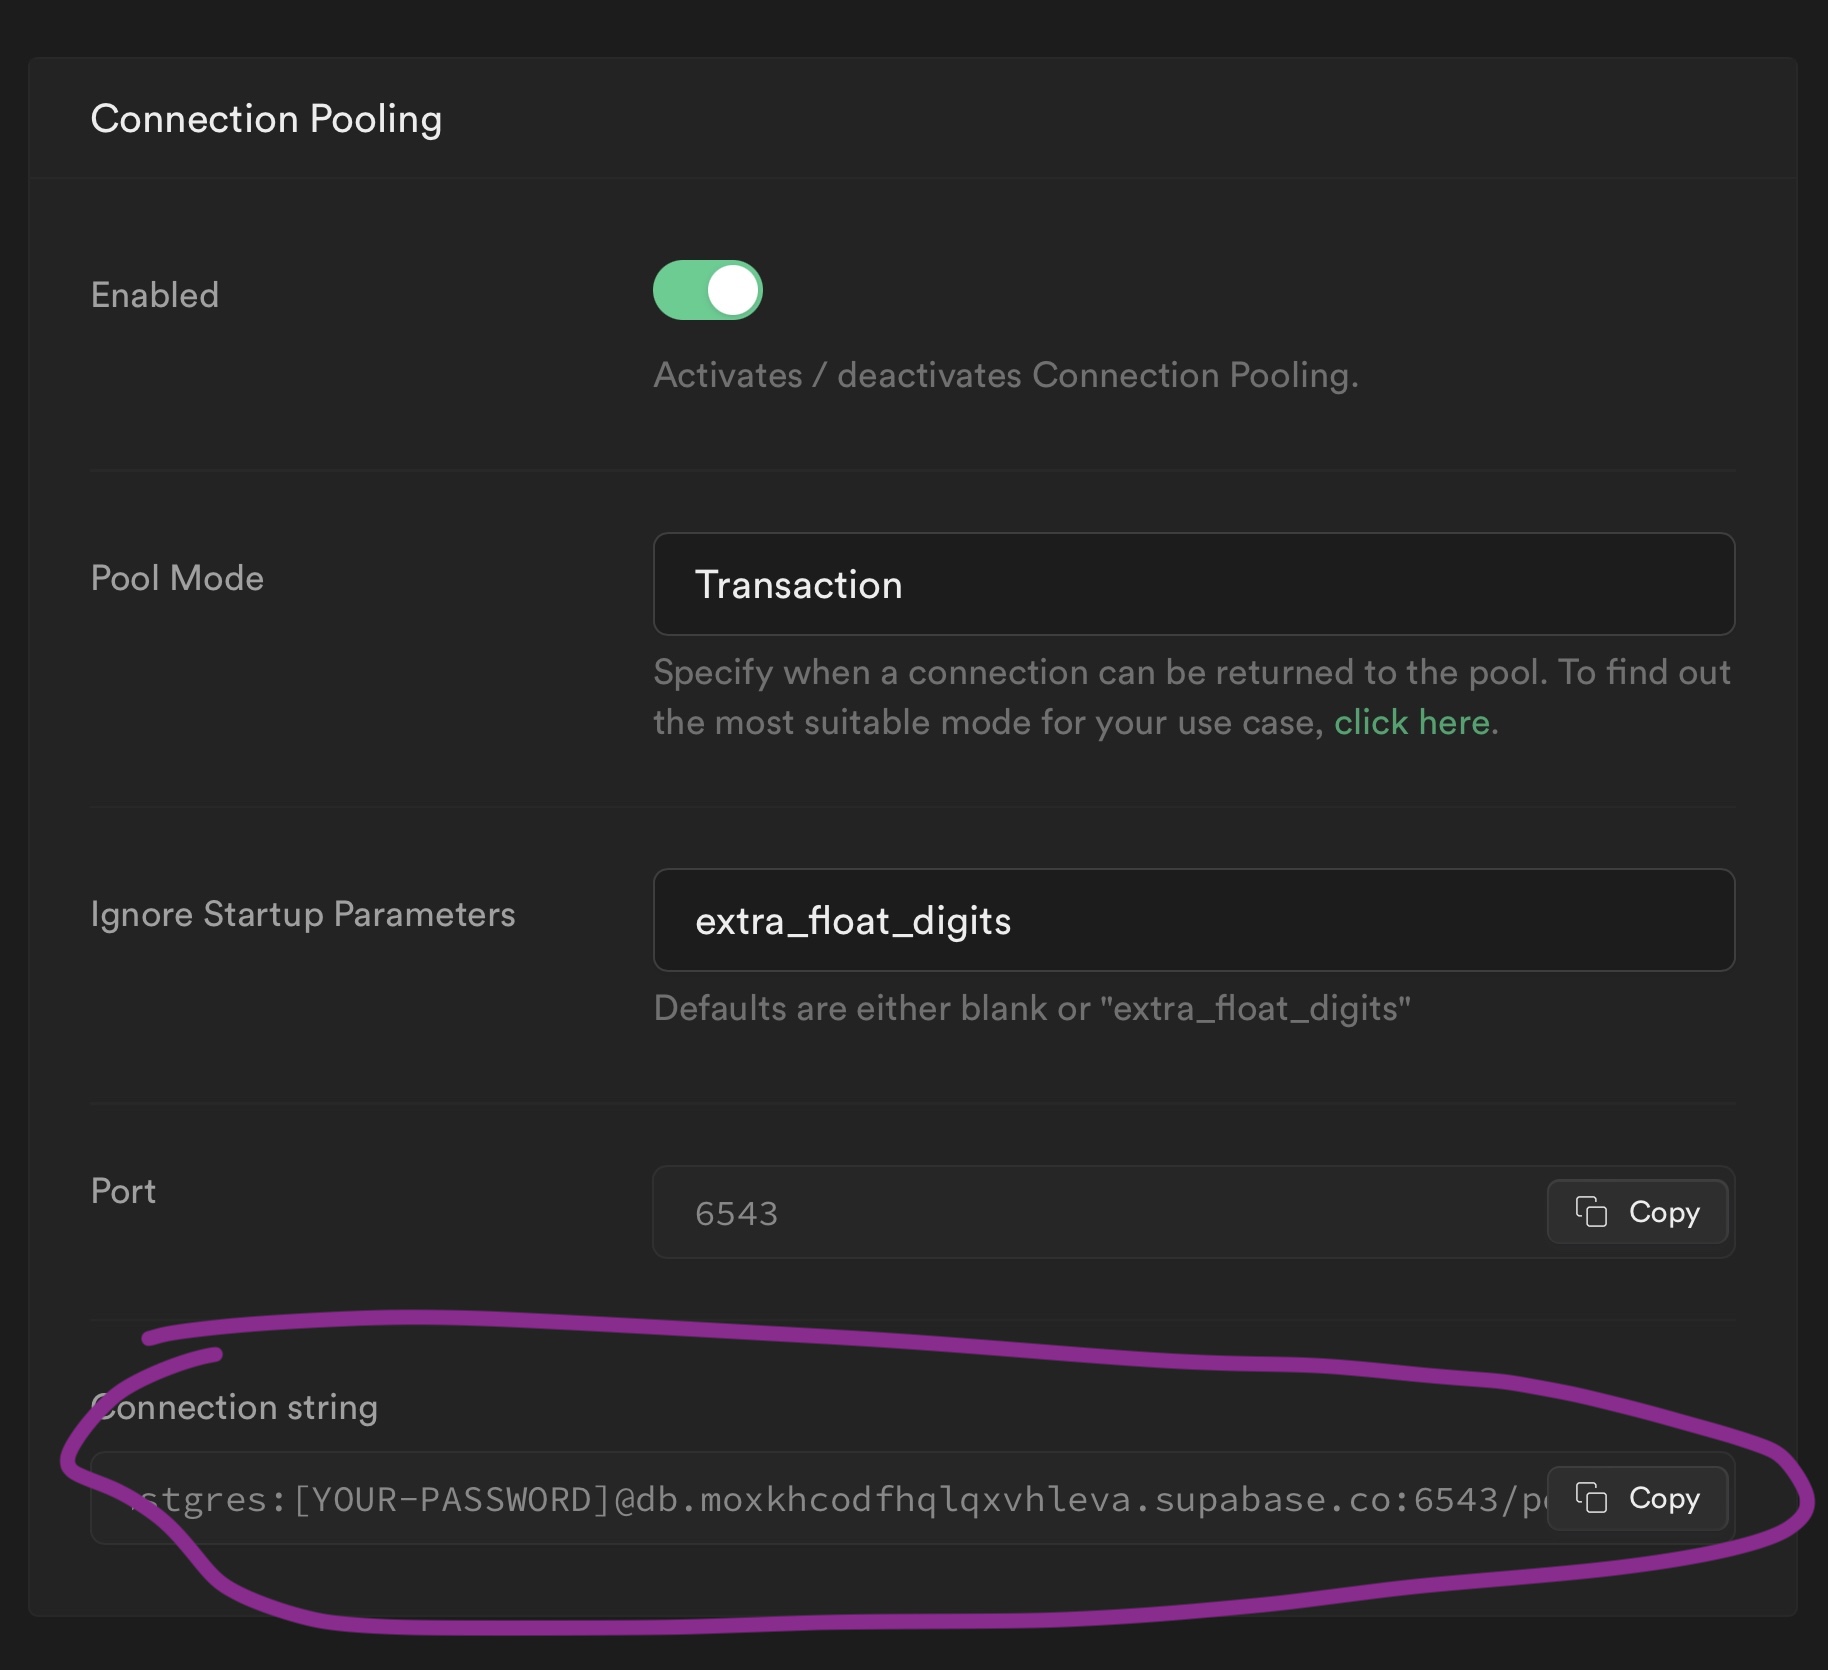
This would work already to connect to the database, but since Supabase offers a connection pooler, which helps us not exhaust the connections we can make to the database, why not use it?
If you use Prisma: the connection pool does not work when using npx prisma migrate dev, for that command you must use the direct database connection string as shown above. So remember to swap the DATABASE_URL value in case you need it.
Below, you’ll see the connection pooling connection string:

When you copy that to your .env file, add ?pgbouncer=true at the end as explained here.
download all my books for free
- javascript handbook
- typescript handbook
- css handbook
- node.js handbook
- astro handbook
- html handbook
- next.js pages router handbook
- alpine.js handbook
- htmx handbook
- react handbook
- sql handbook
- git cheat sheet
- laravel handbook
- express handbook
- swift handbook
- go handbook
- php handbook
- python handbook
- cli handbook
- c handbook
subscribe to my newsletter to get them
Terms: by subscribing to the newsletter you agree the following terms and conditions and privacy policy. The aim of the newsletter is to keep you up to date about new tutorials, new book releases or courses organized by Flavio. If you wish to unsubscribe from the newsletter, you can click the unsubscribe link that's present at the bottom of each email, anytime. I will not communicate/spread/publish or otherwise give away your address. Your email address is the only personal information collected, and it's only collected for the primary purpose of keeping you informed through the newsletter. It's stored in a secure server based in the EU. You can contact Flavio by emailing flavio@flaviocopes.com. These terms and conditions are governed by the laws in force in Italy and you unconditionally submit to the jurisdiction of the courts of Italy.