How to install a local SSL certificate in macOS
By Flavio Copes
Learn how to trust a local SSL certificate on macOS so Chrome stops warning on HTTPS, with mkcert as the easy path and Keychain Always Trust as the fallback.
You’ve written an app that should use HTTPS, but it’s not working: you’re getting a warning when you try to access it using HTTPS, even though you created a local certificate.
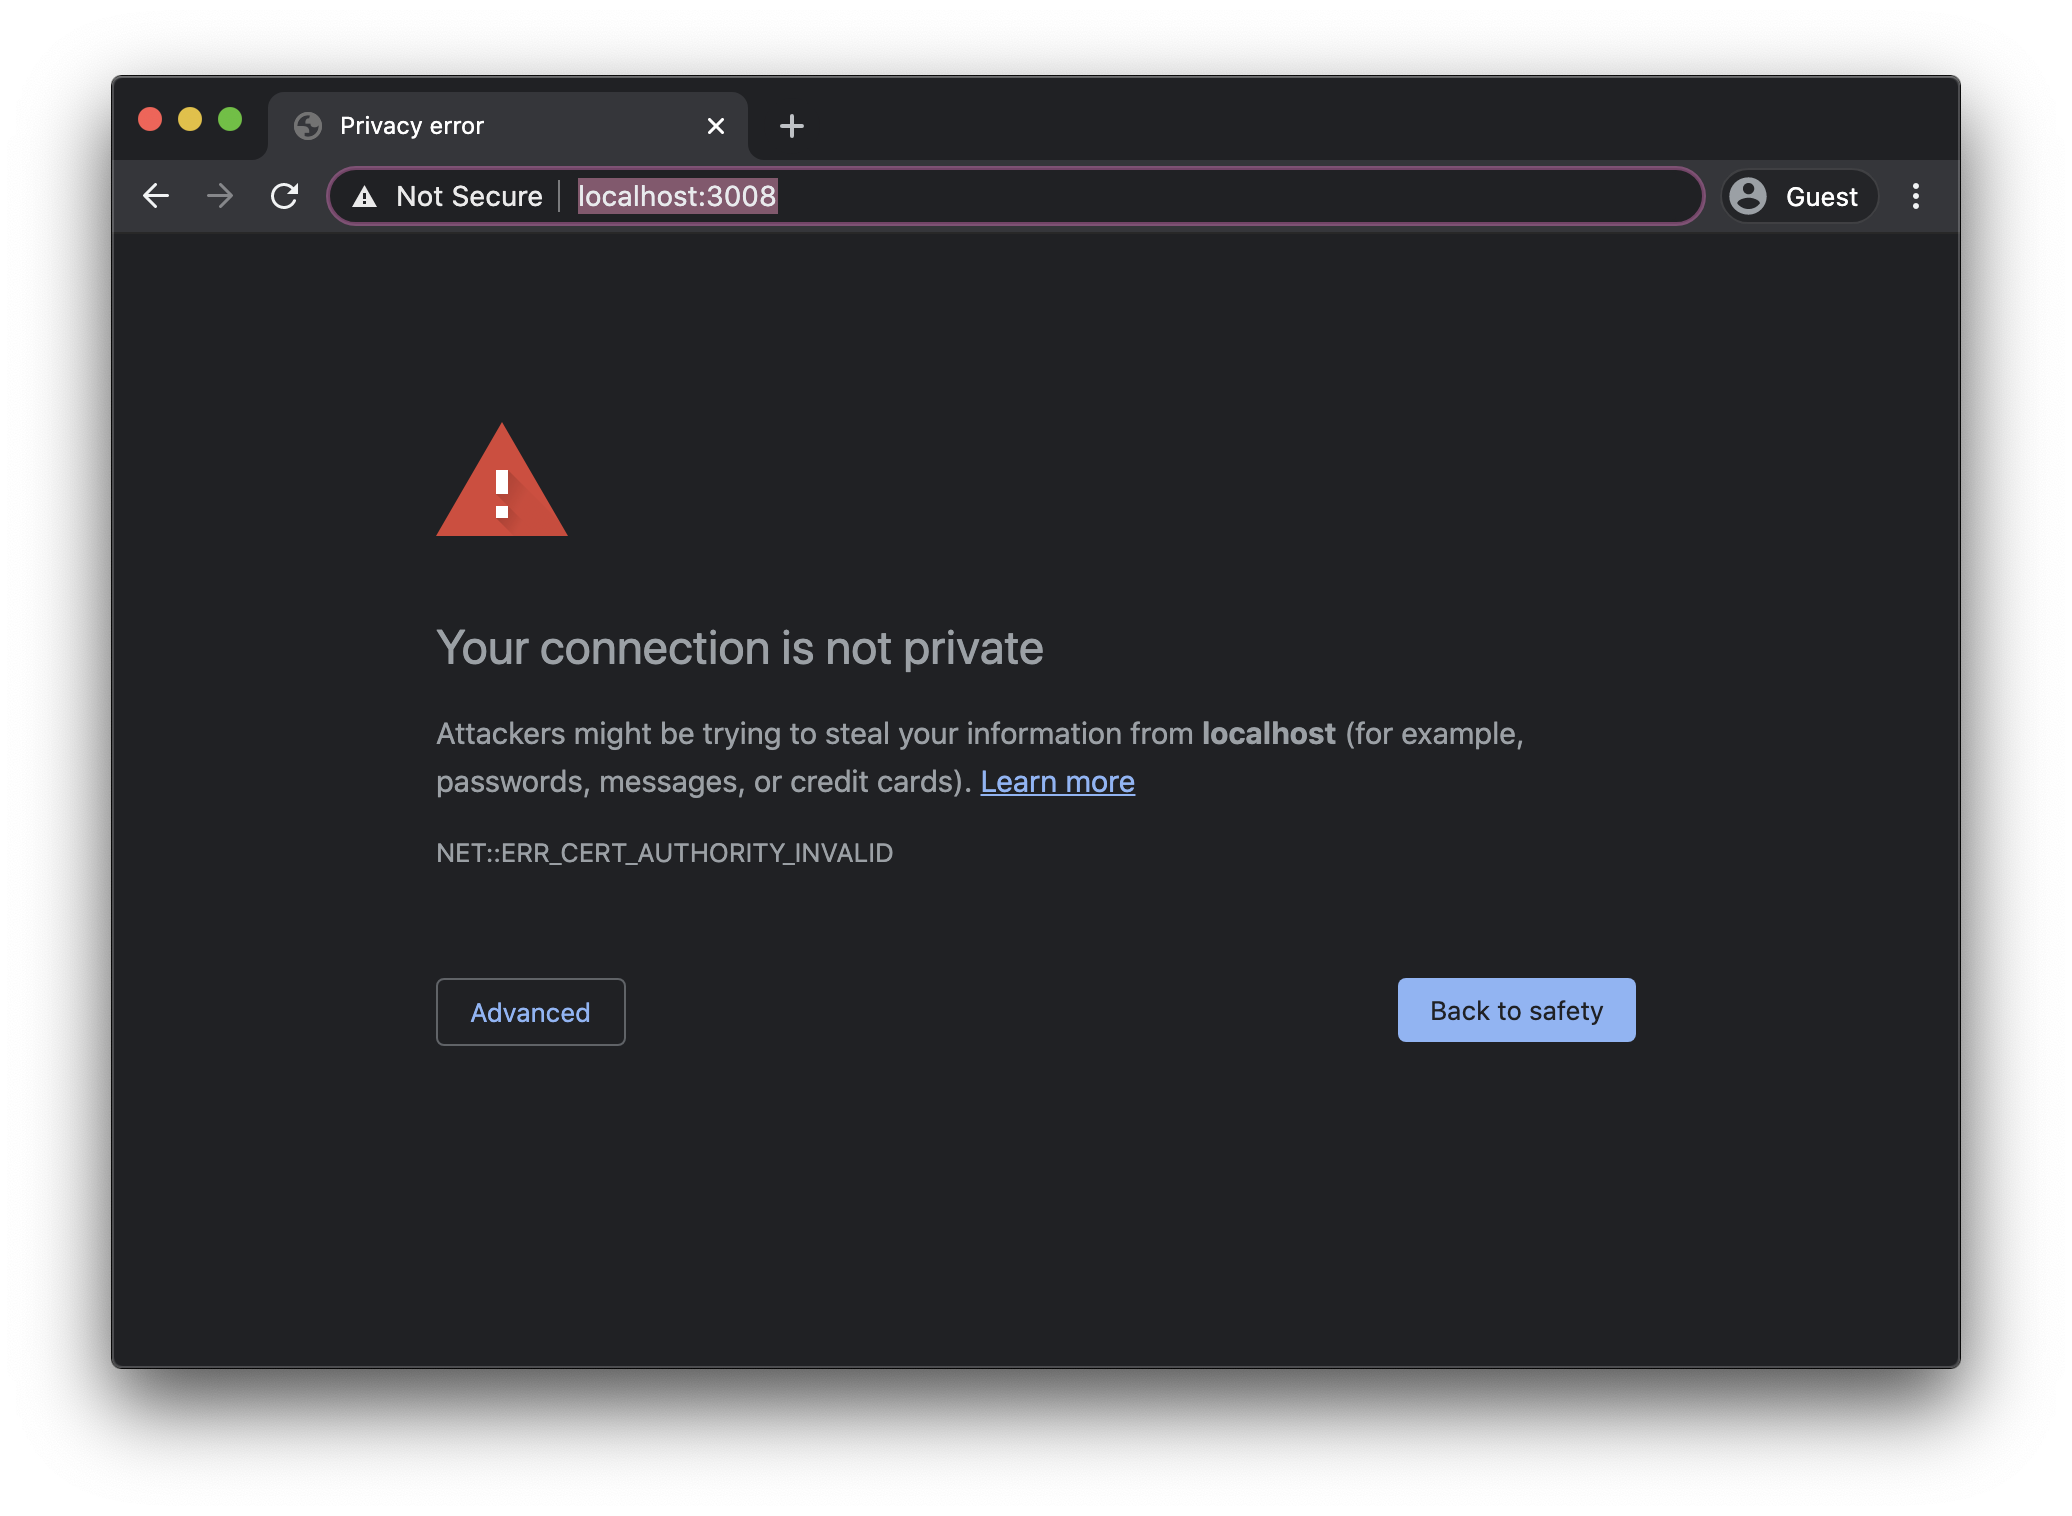
That’s because by default the browser does not trust local certificates.
Prefer mkcert (or similar)
The easiest path on a current Mac is a tool that creates a local certificate authority, trusts it system-wide, and issues certificates signed by it. mkcert is the common choice:
brew install mkcert
mkcert -install
mkcert localhost 127.0.0.1 ::1
Add brew install nss if you use Firefox. The last command creates two files, localhost+2.pem and localhost+2-key.pem. Point your local server at them and Chrome and Safari accept https://localhost with no warning.
If you’d rather stay in Node, devcert does something similar.
Manual path: System keychain + Always Trust
If you already have a self-signed certificate and want to trust it by hand, the goal is the same as in 2020: add it to the System keychain and set it to Always Trust.
Back then I exported the certificate from Chrome’s certificate panel by dragging its icon to the desktop. If you have the .cer or .pem file some other way, Keychain Access is all you need:
- Open Keychain Access.
- Drag your
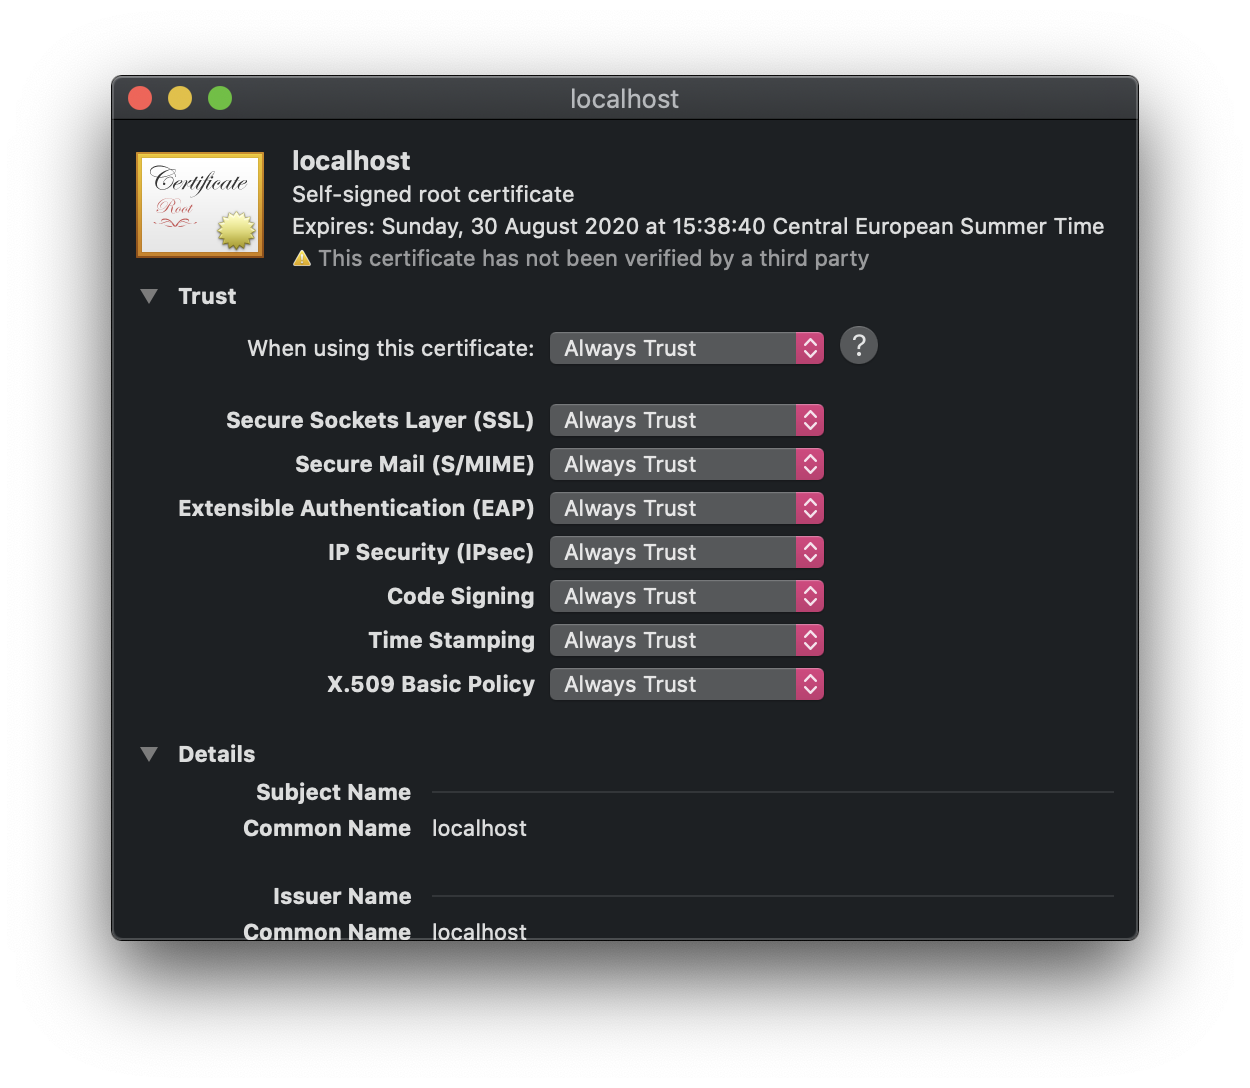
.ceror.pemfile into the System keychain (you’ll need an admin password). - Double-click the certificate, open Trust, set When using this certificate to Always Trust.
- Quit Keychain Access, restart Chrome, reload the page.
This is how those steps looked in 2020:
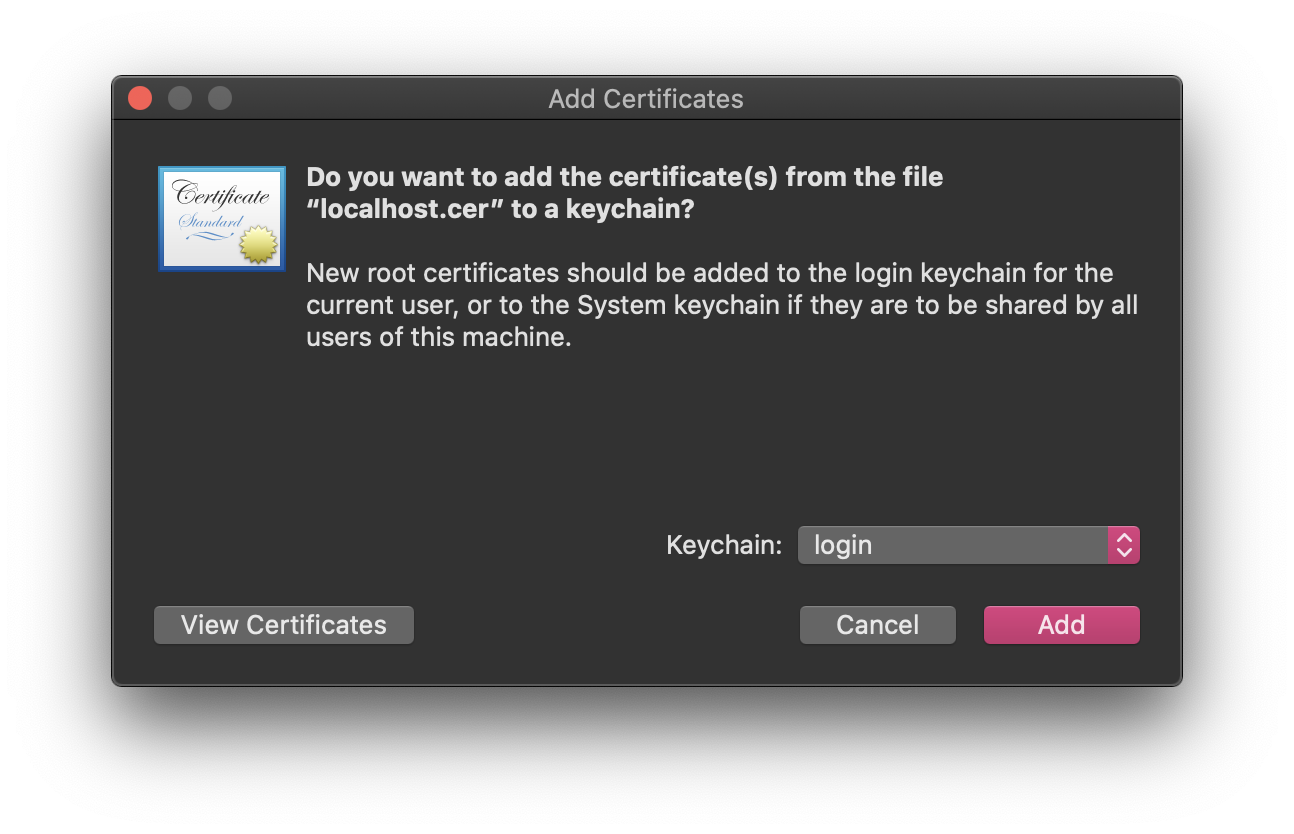
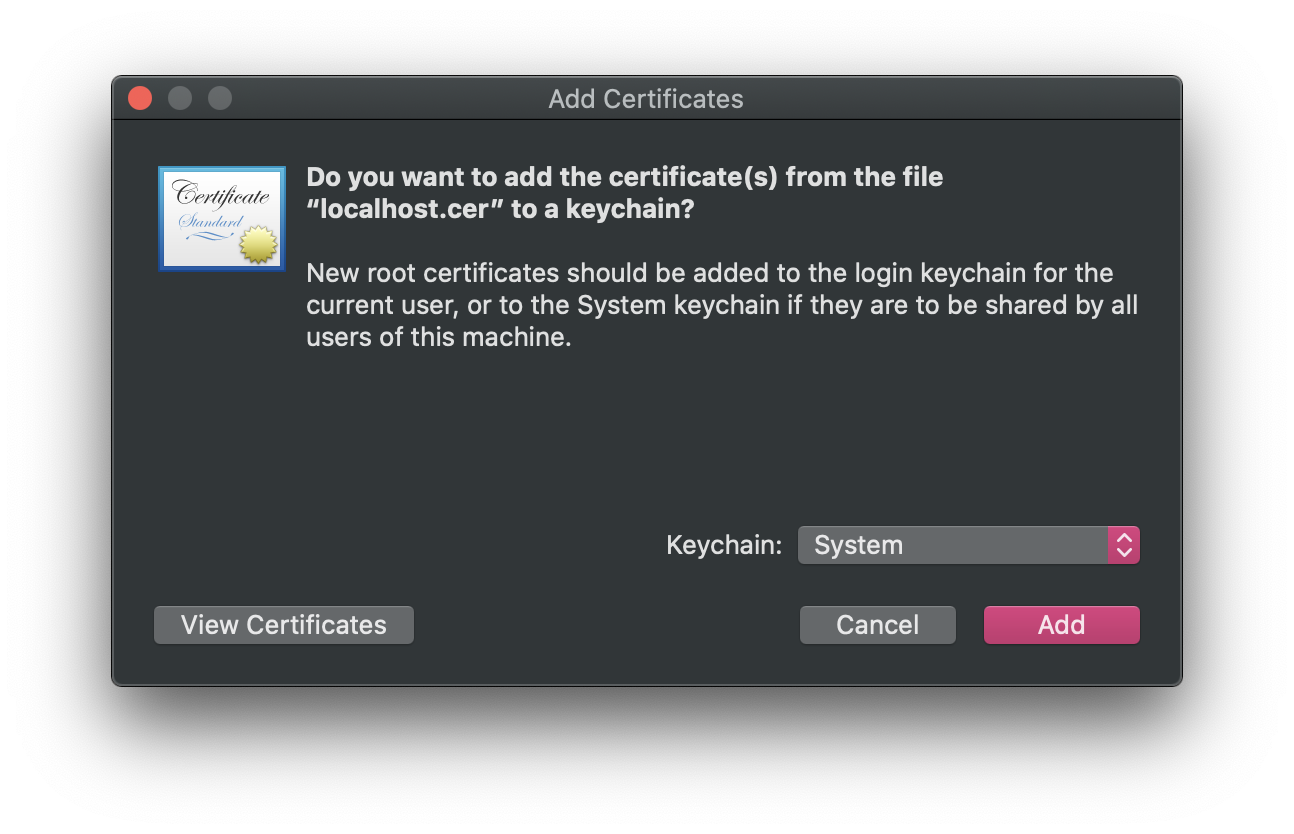
Where you see the Keychain: option, choose System instead of login:
Press Add, then open the cert and set Always Trust:
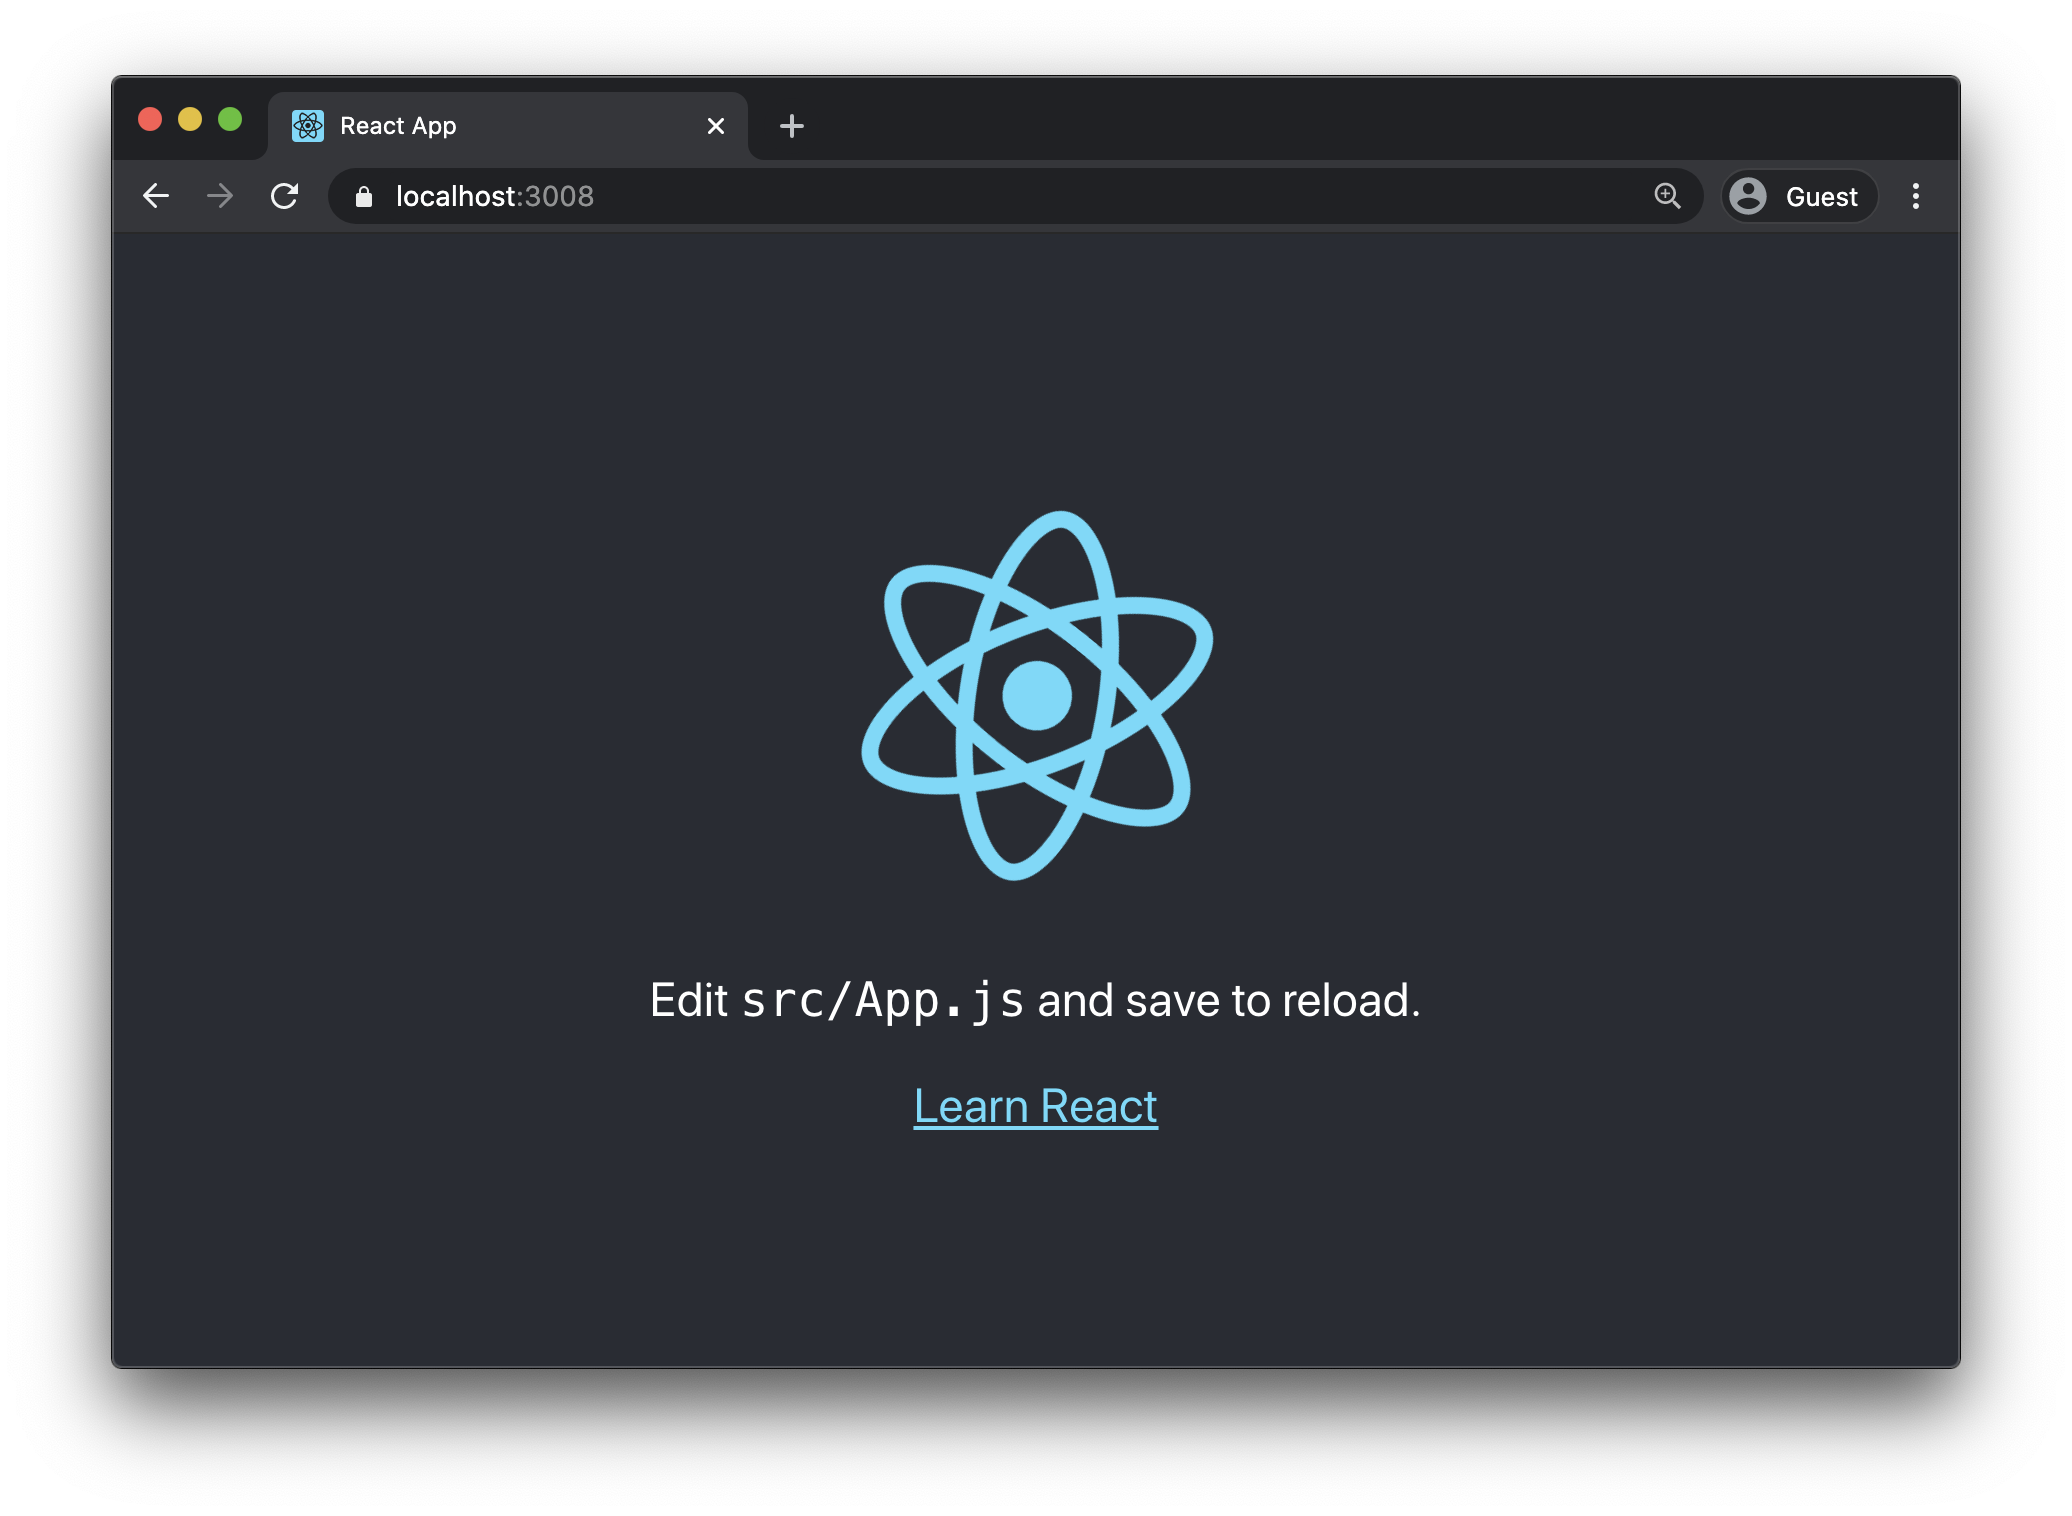
Reload the page in Chrome. The warning is gone:
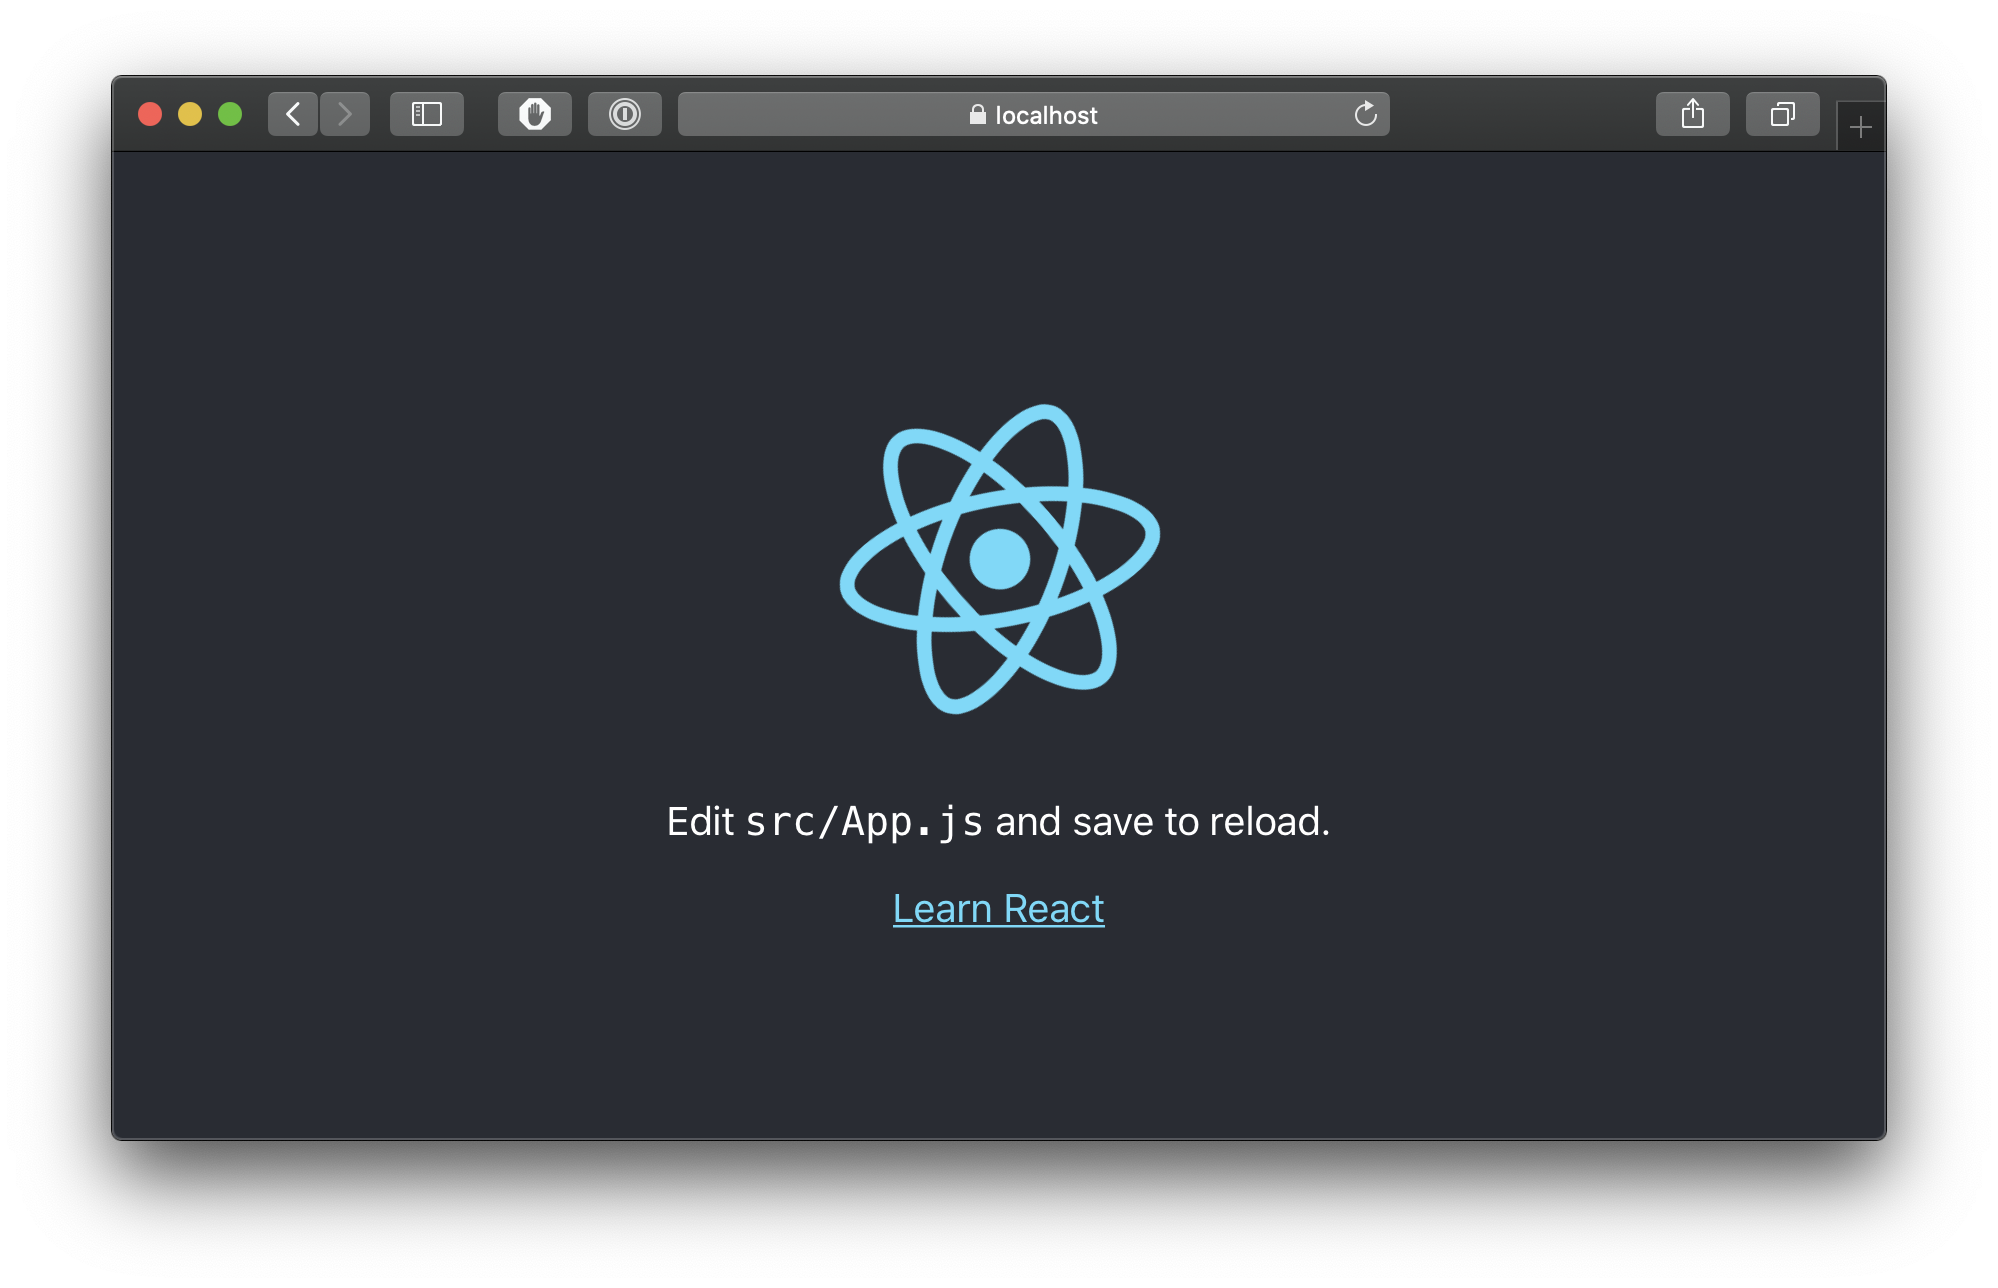
And it should now work across any browser you use on that Mac.
Want me to talk about your product? You can sponsor this site.
Related posts about mac: