Convert an image or resize it using macOS Shortcuts
By Flavio Copes
Learn how to convert any image to JPG or resize it on macOS using the Shortcuts app, set up as a Finder Quick Action you can trigger with a right-click.
For the longest time I’ve had an Automator script to convert images to JPG.
It’s something I do all the time, because the difference between PNG images and JPG for some things is huge. It depends on the image.
Sometimes converting an image to JPG can mean a 5x reduction in size. In other cases, not really. With big images, it’s worth a try.
(PNG is nicer because of the transparent background, but there’s a balance between file size and beauty).
macOS comes with a tool that replaced Automator as the automation app Apple invests in: Shortcuts. It arrived on the Mac with macOS Monterey, after being available on iOS and iPadOS for some time.
I had never used this app on those platforms. I never had the need to do anything fancy.
But after moving to a new Mac, I decided to re-do my little automations. I don’t have many. I just have one to convert any image to JPG, and another one to resize images to 1200px.
In this post I want to describe how to build the first.
Open Shortcuts:
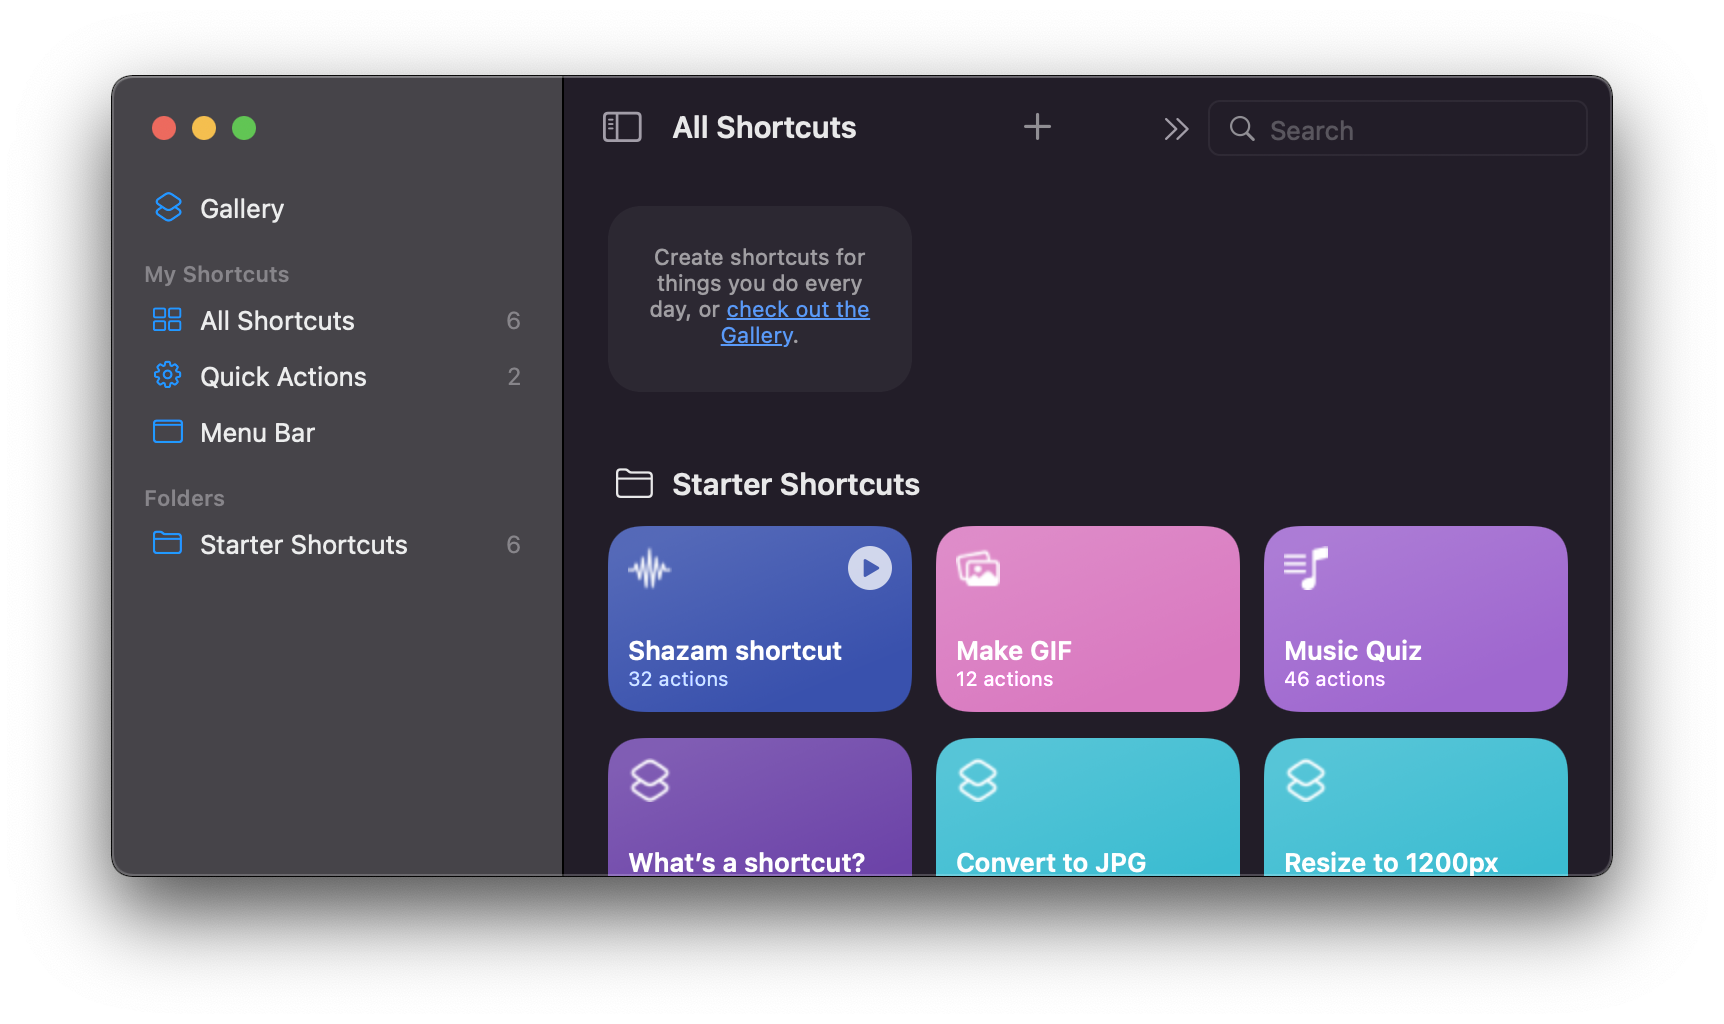
Click the + button, or from the menu select File -> New Shortcut.
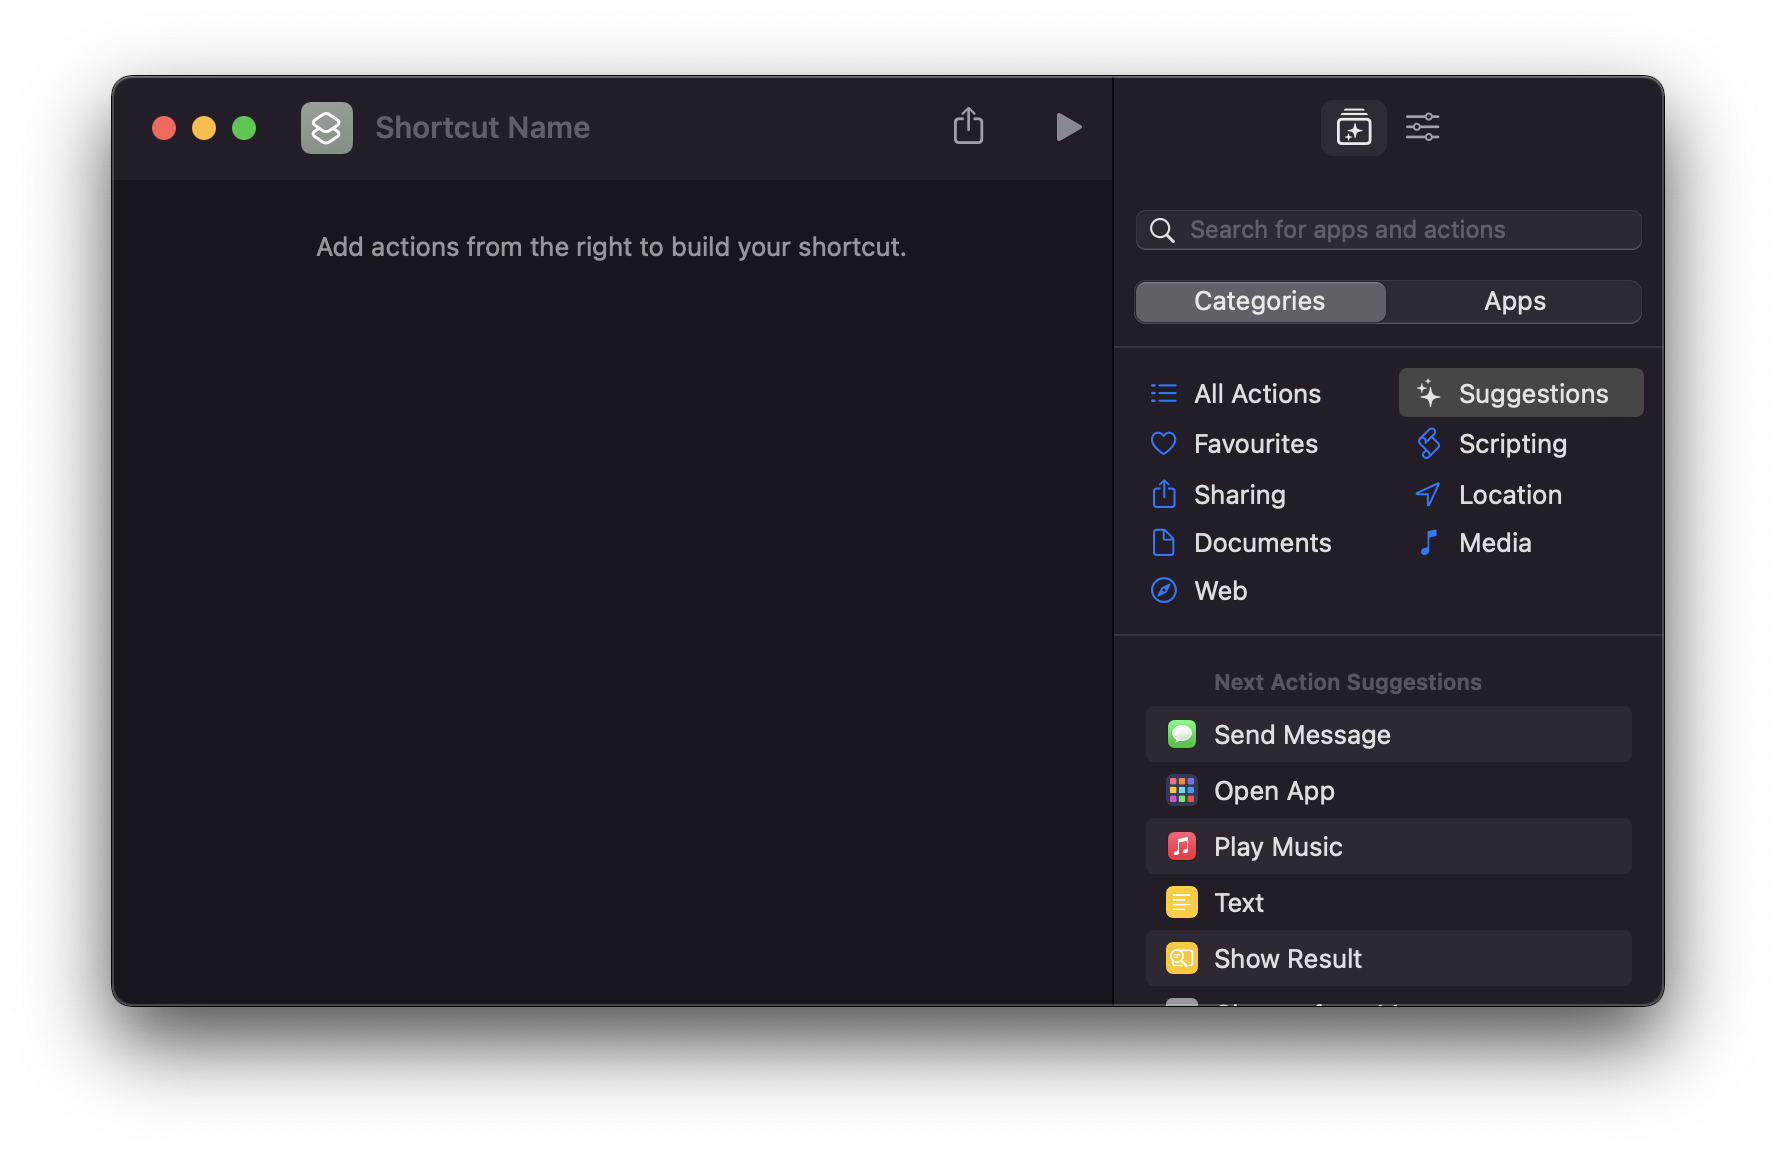
Now on the right you can choose an action. Search “finder” and select the “Get Selected Files in Finder” action:
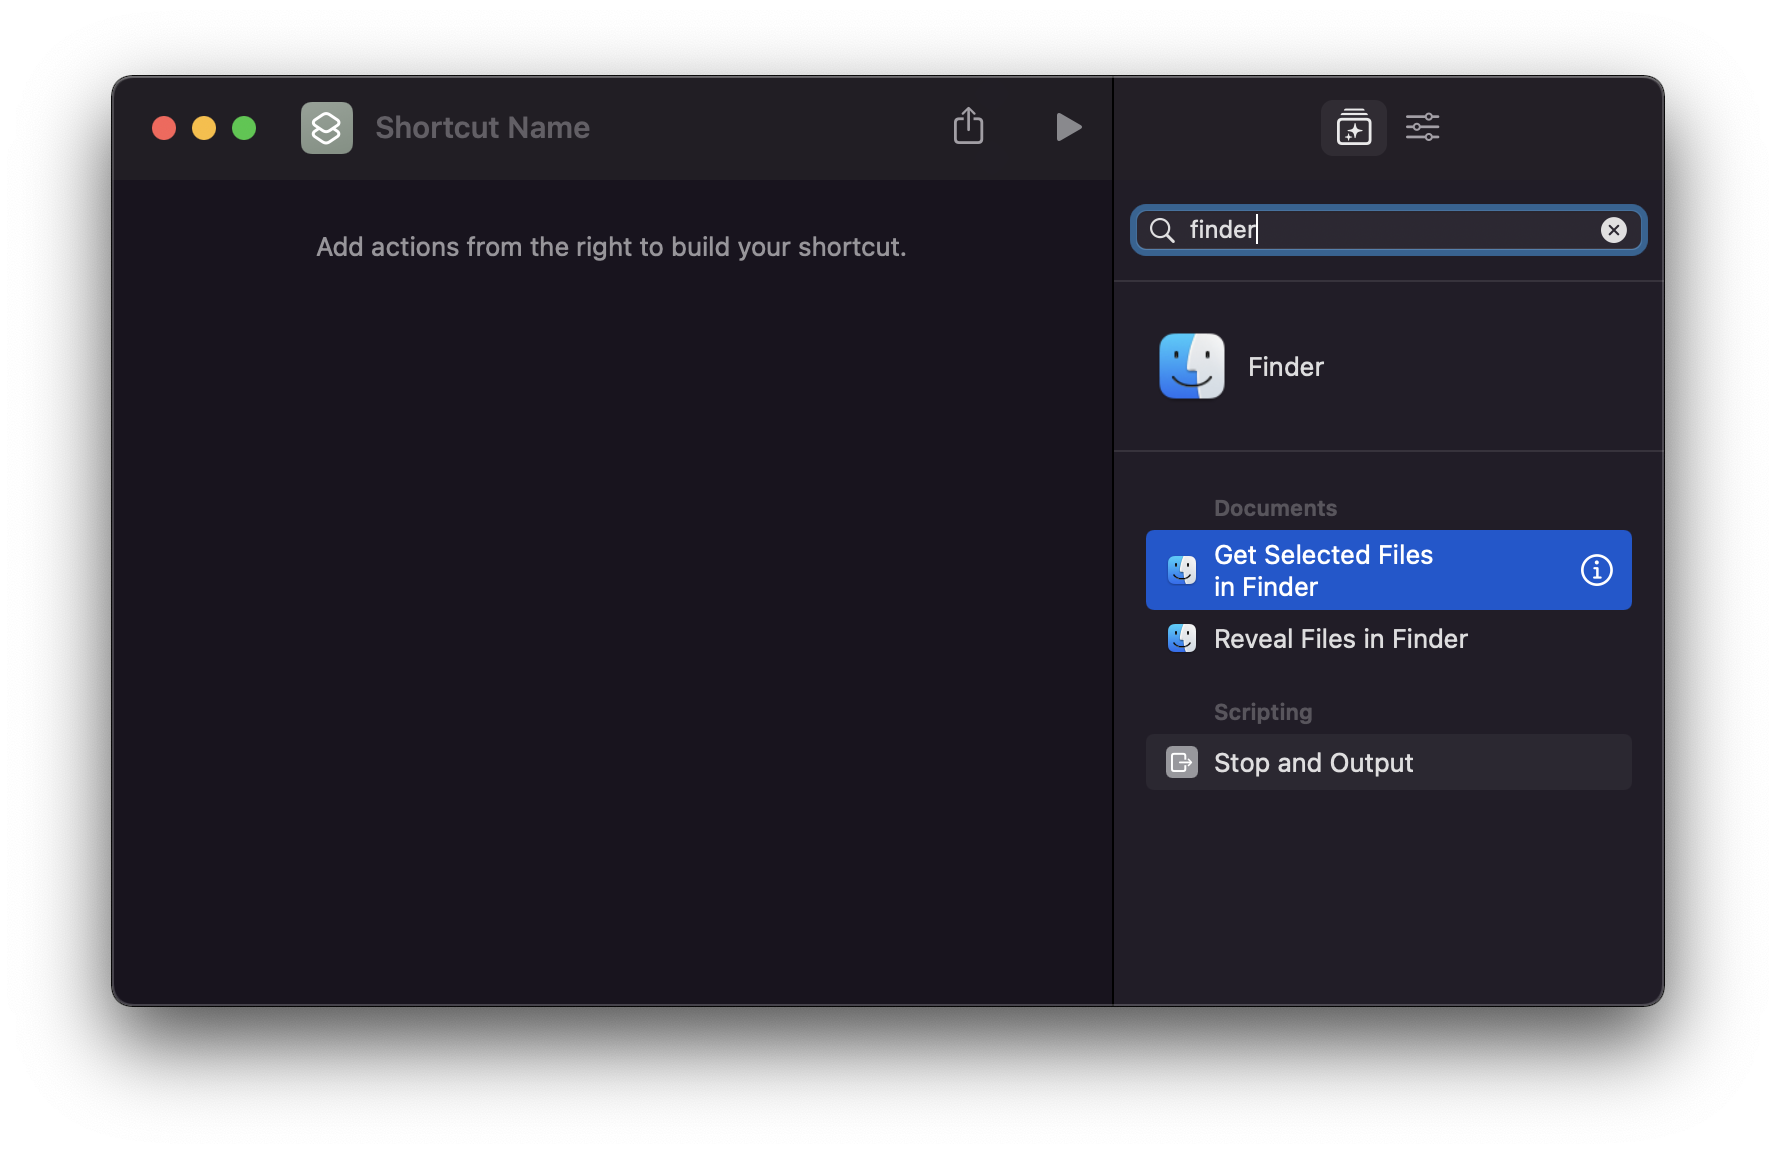
Drag it to the left part of the screen.
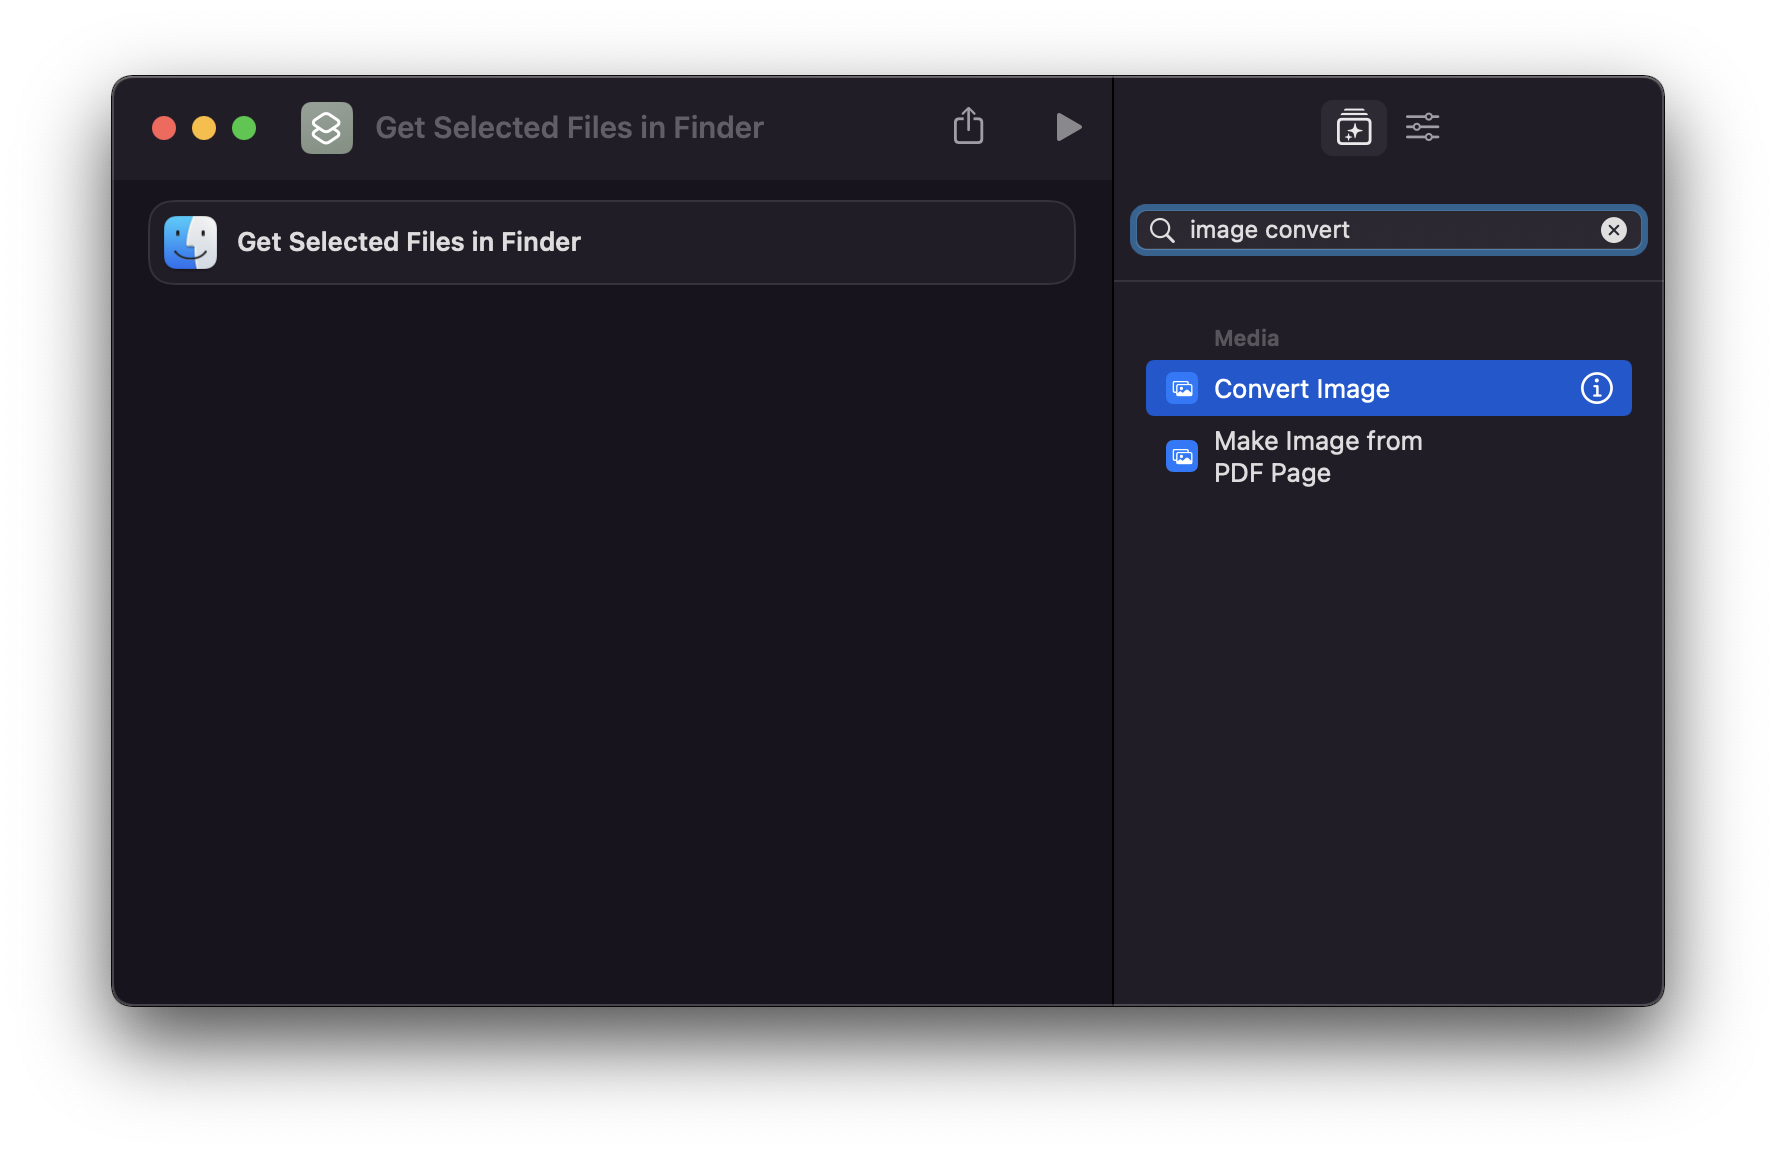
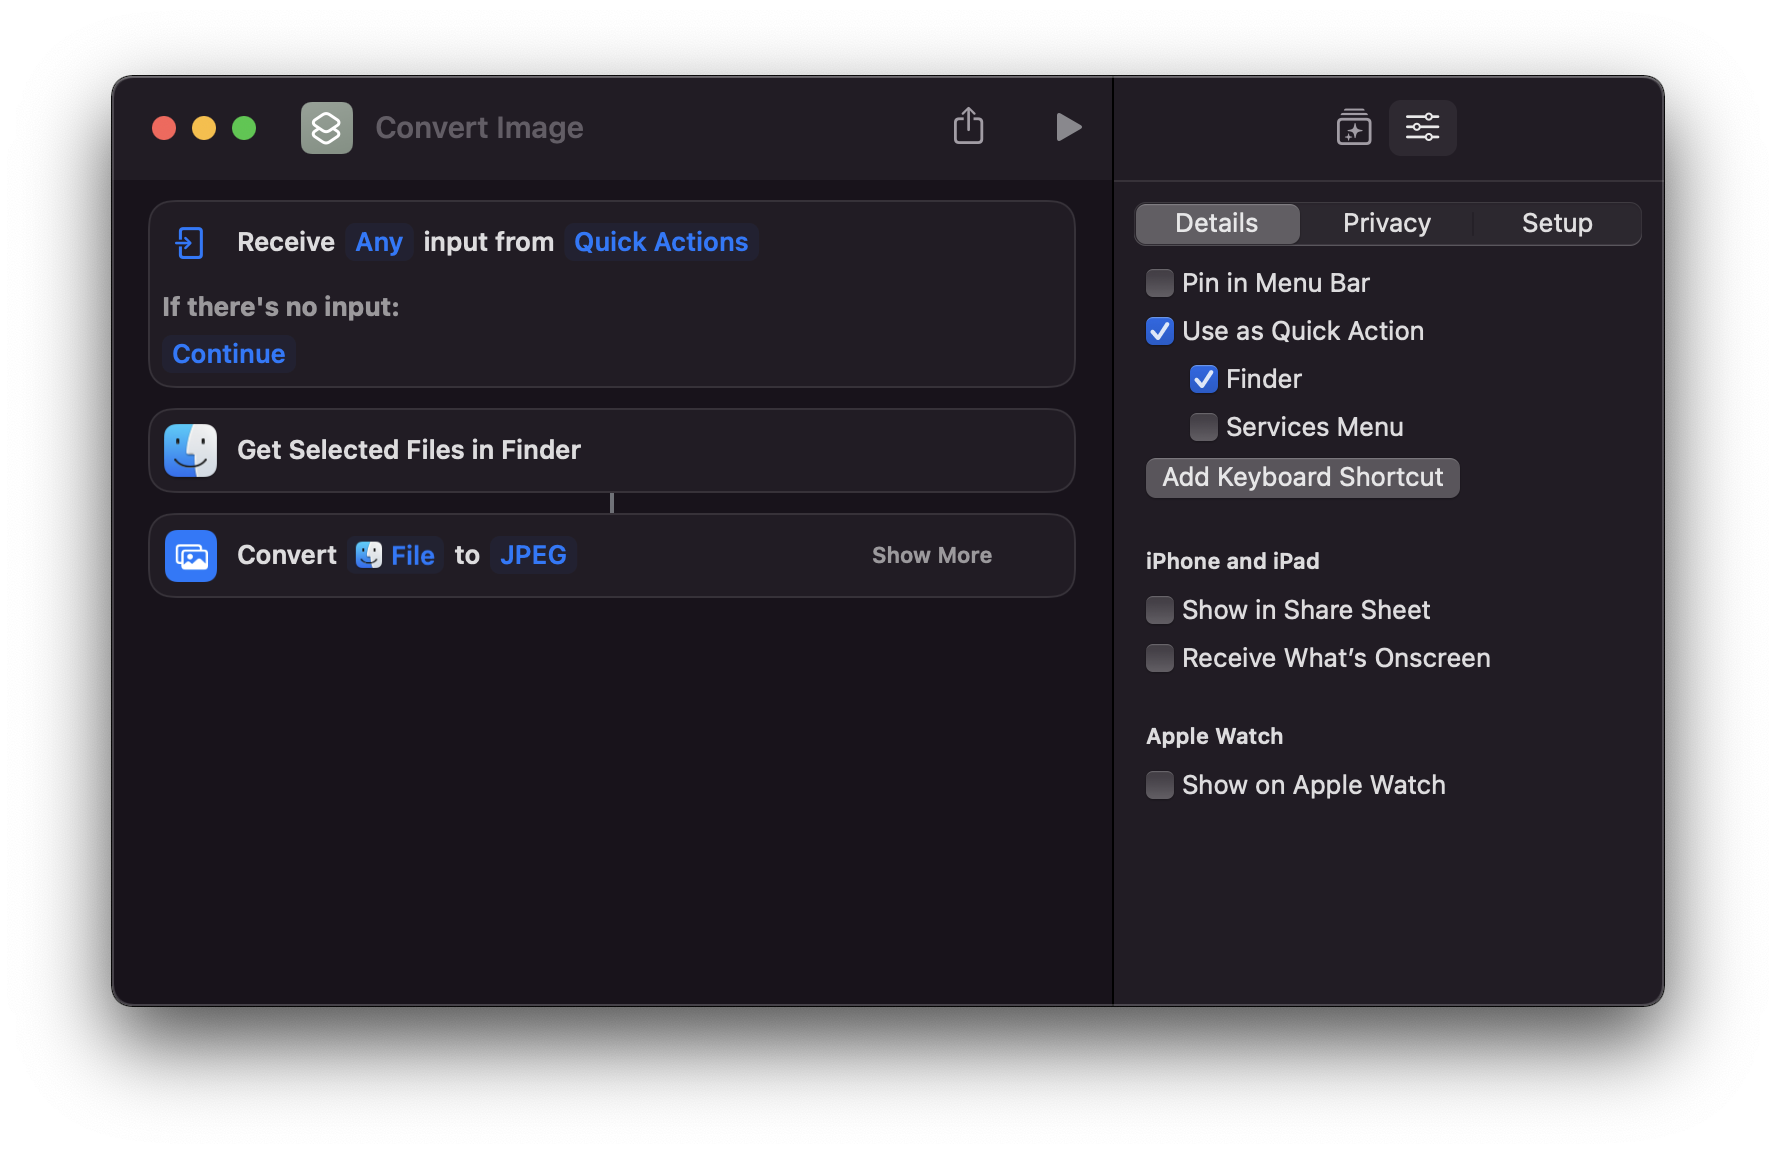
Now select “Convert Image”:
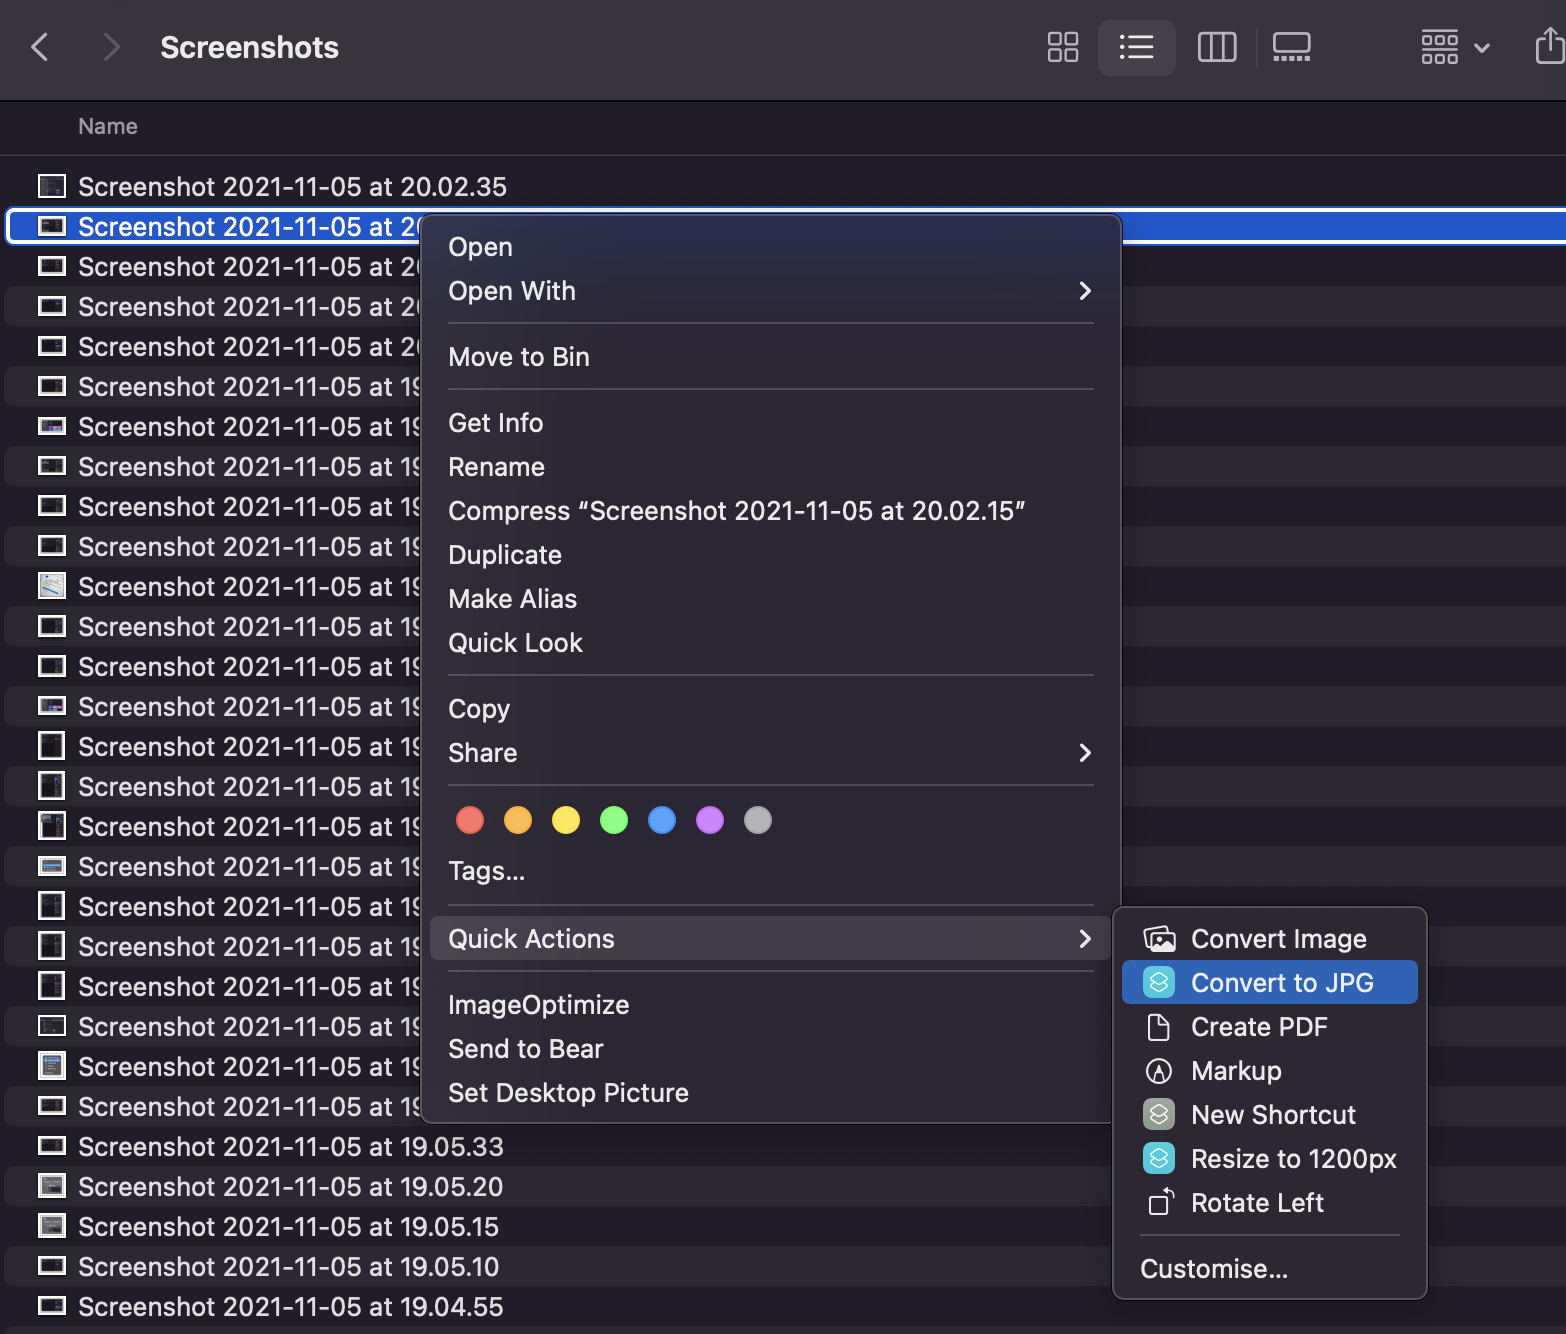
In the settings tab on the right you can choose to use this shortcut as a Quick Action in the Finder, so you can right-click an image and you’ll see the option to convert it to JPG:
Make sure you set it to receive only images by unselecting all the other file types in the first action:
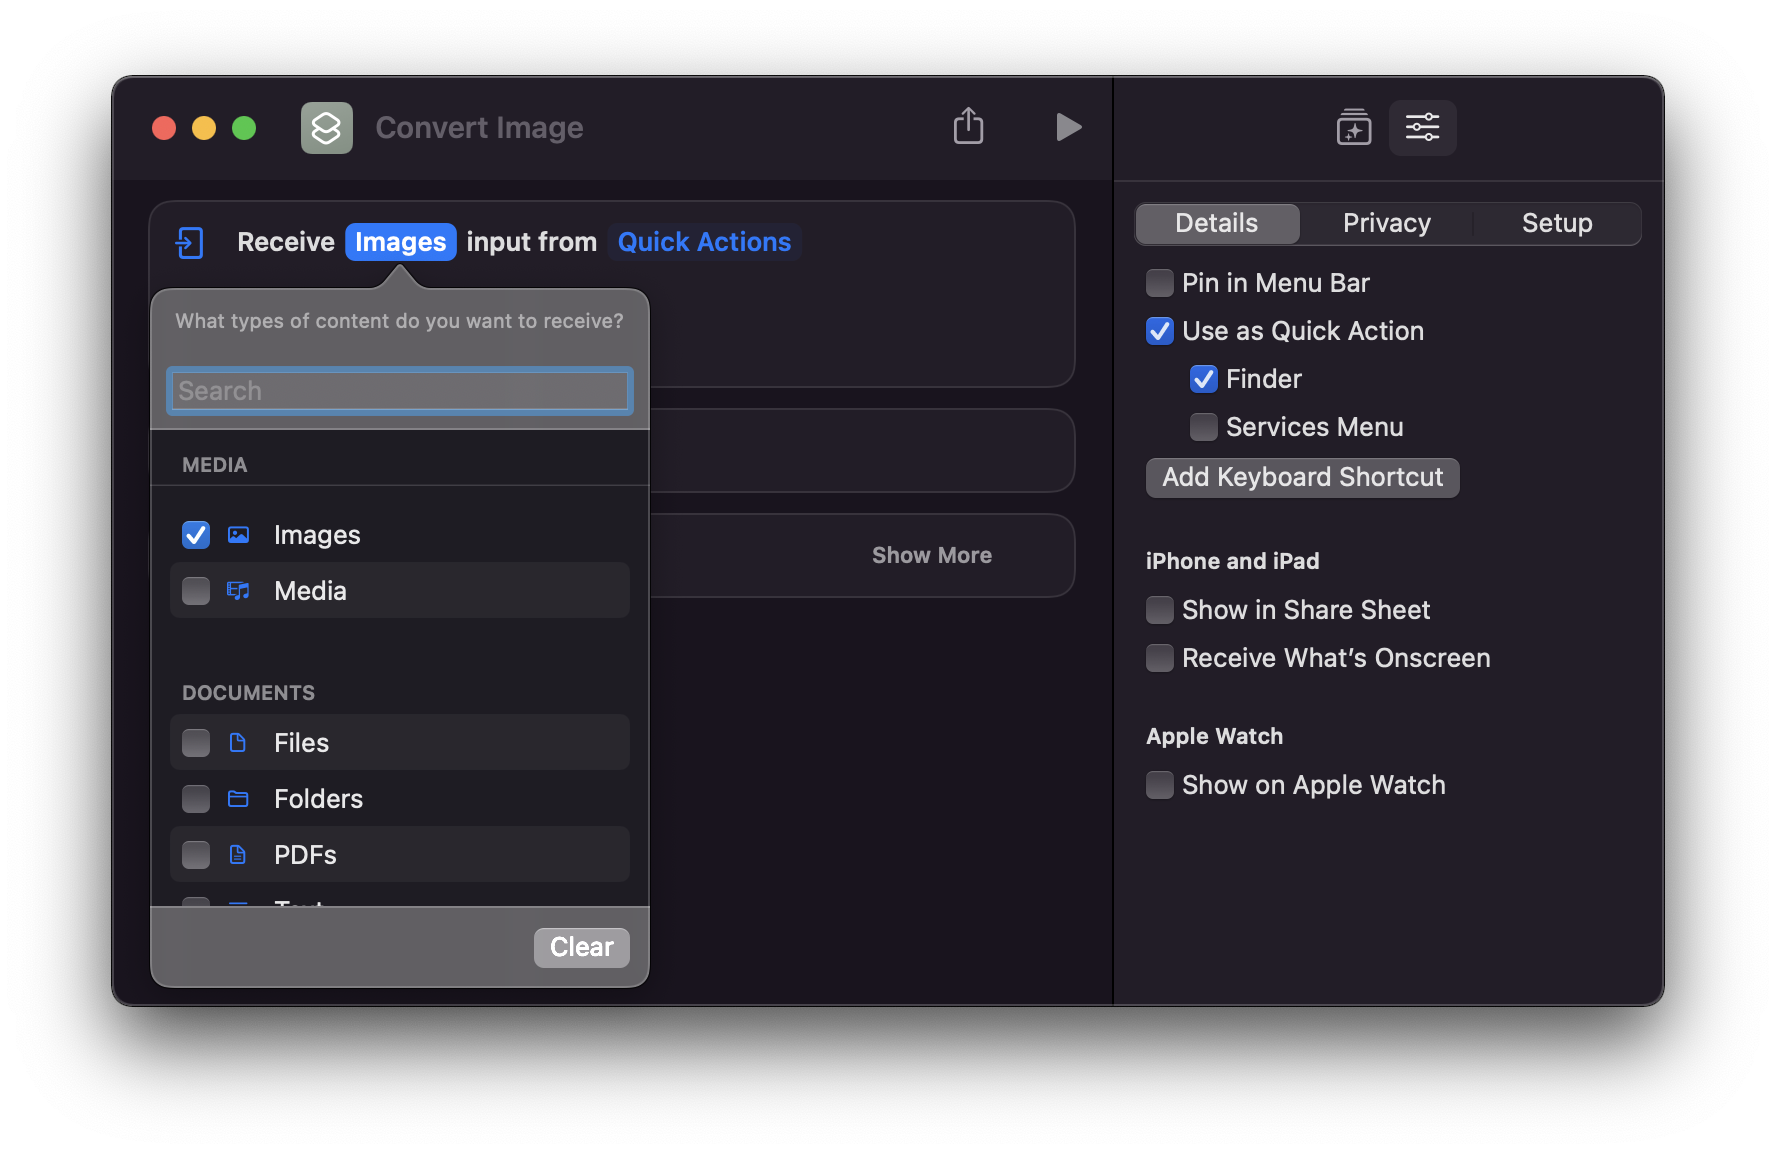
If you skip this step, the Quick Action also shows up when you right-click folders and PDFs, and picking it there does nothing useful.
Finally, add a “Move File” action to save the converted file to the desktop:
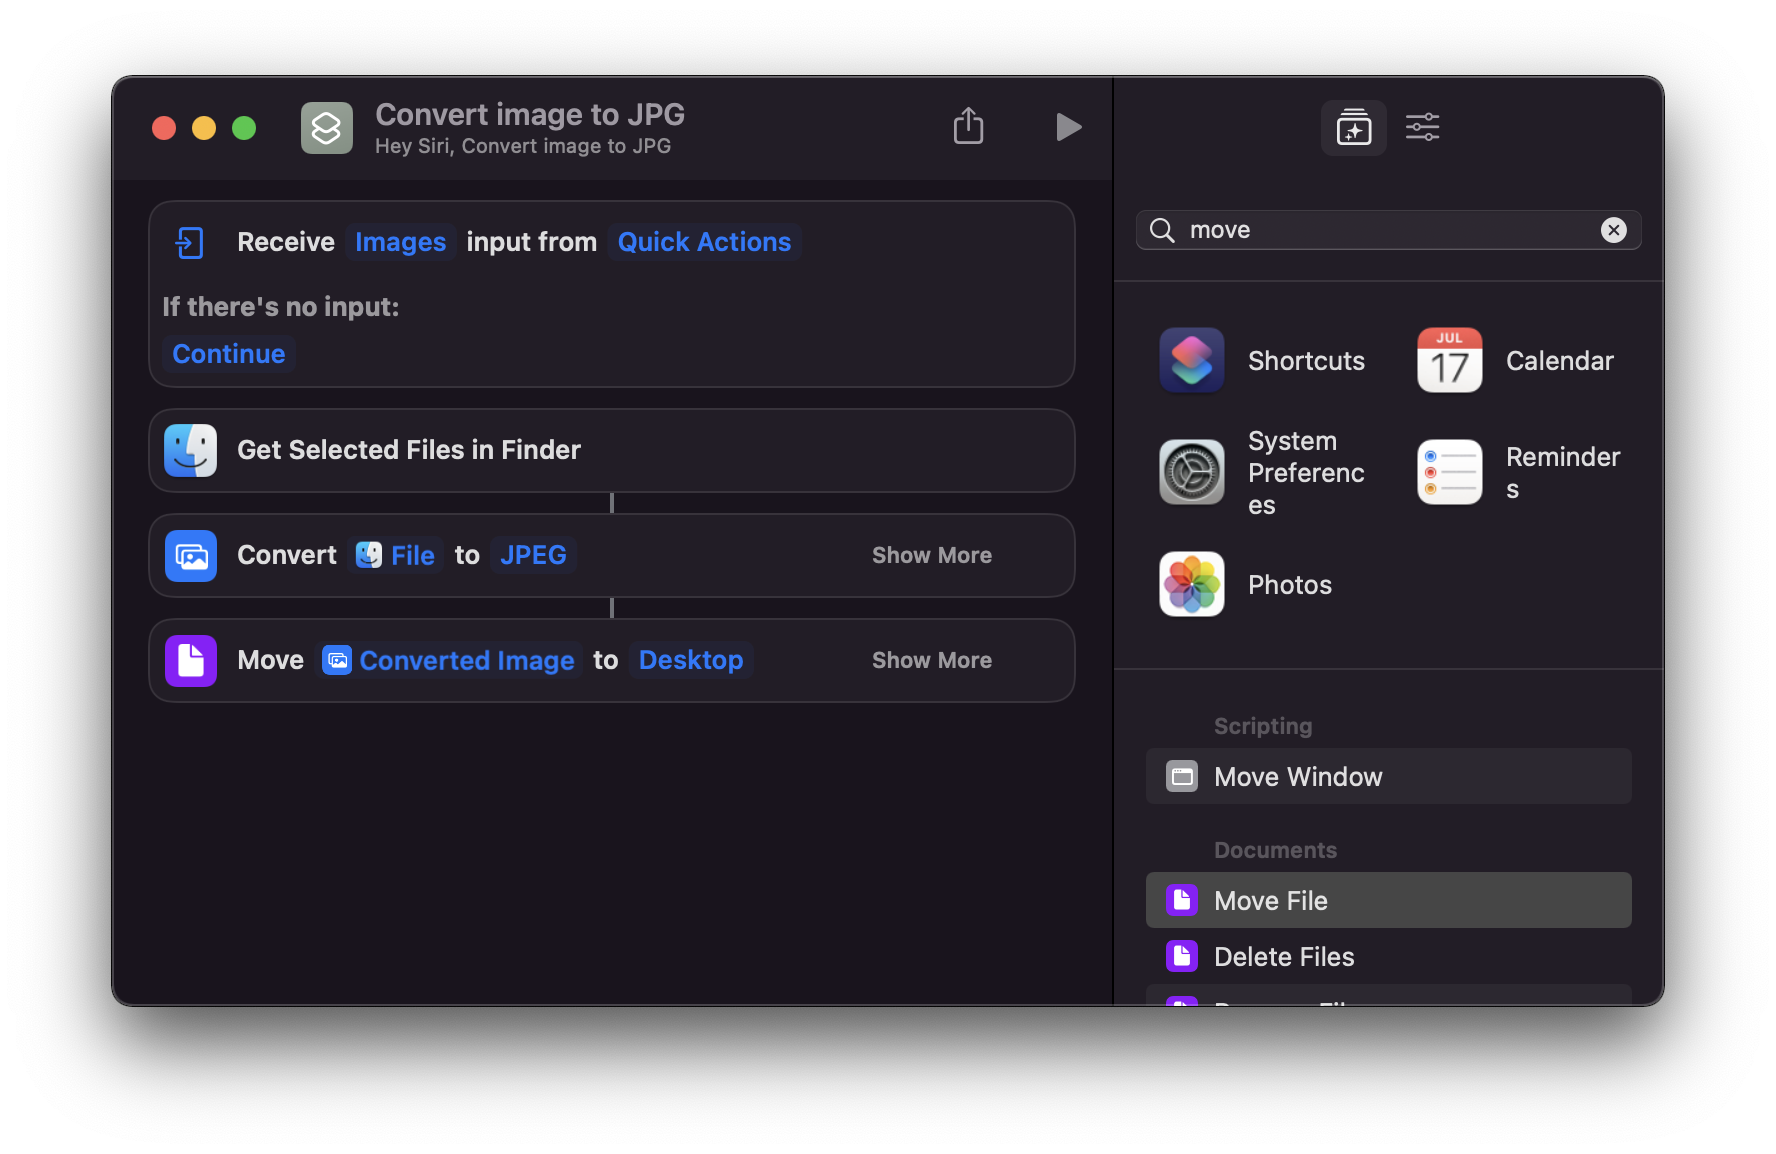
I didn’t find a way to save the JPG to the current folder and replace the selected file. Not a big deal: I grab the result from the desktop. If it ever gets too cumbersome, I can always re-do the workflow in Automator. But at least I now know how to use Shortcuts.
A bonus I discovered later: shortcuts can also run from the terminal.
shortcuts list
shortcuts run "Convert to JPG" -i photo.png
shortcuts list prints the names of every shortcut you have, and shortcuts run executes one, with -i providing the input file.
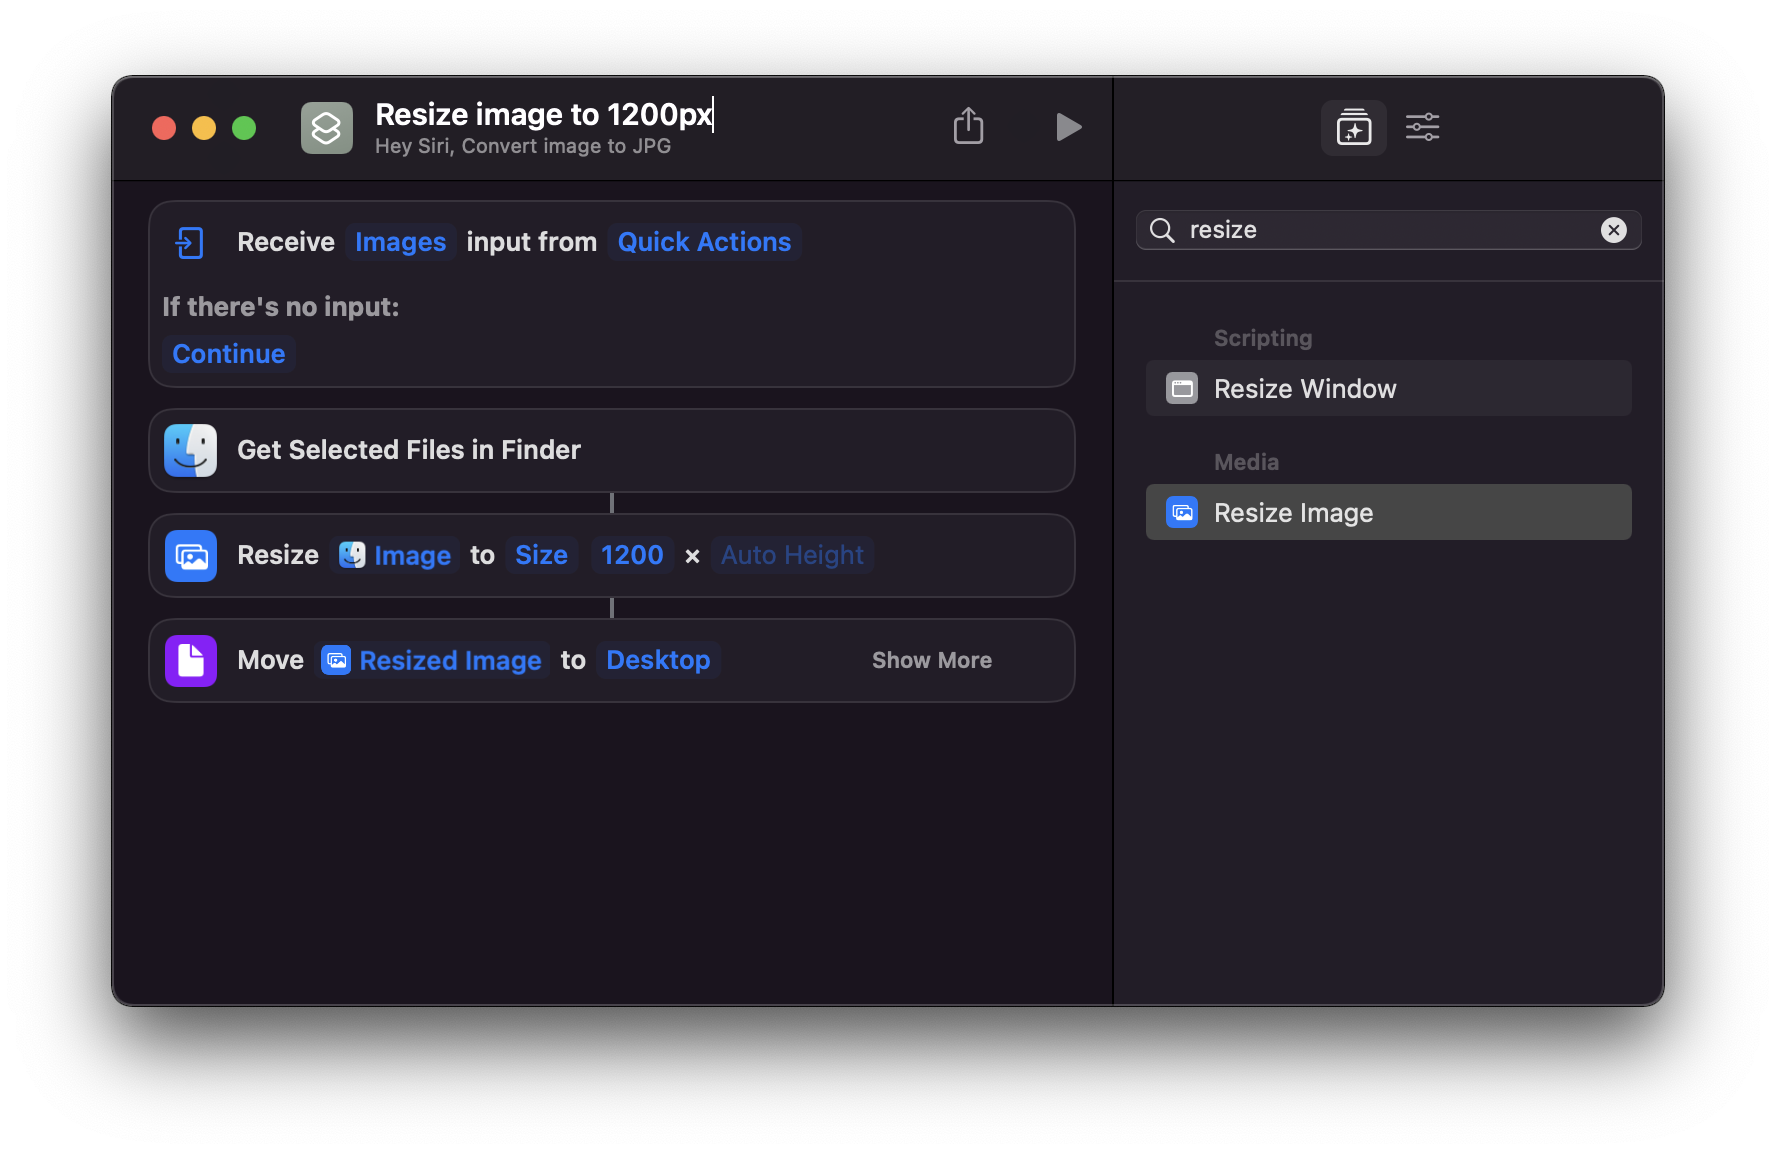
Here’s the shortcut to resize the image to 1200px:
Want me to talk about your product? You can sponsor this site.
Related posts about mac: