A deep dive into hey-cli
By Flavio Copes
hey-cli brings HEY email, contacts, calendars, todos, habits, time tracking, journal entries, automation, and AI agent workflows to your terminal.
hey-cli puts HEY in your terminal.
You can read and send email, search threads, manage The Screener, organize messages, and download attachments.
It also covers contacts, calendars, todos, habits, time tracking, and journal entries. You can use an interactive terminal app, request structured JSON from scripts, or install its embedded skill for coding agents.
An agent can access your email through hey-cli. You can also give it a separate HEY account of its own. The same documented command handles searching, reading, drafting, and organizing.
It is not a generic email client. It works with HEY and uses HEY’s own concepts, including the Imbox, The Feed, Paper Trail, Reply Later, Set Aside, Bubble Up, and The Screener.
I’ve used HEY since it launched, and it’s my favorite email tool. My email already lives there, so hey-cli gives me a new way to work with a system I know well.
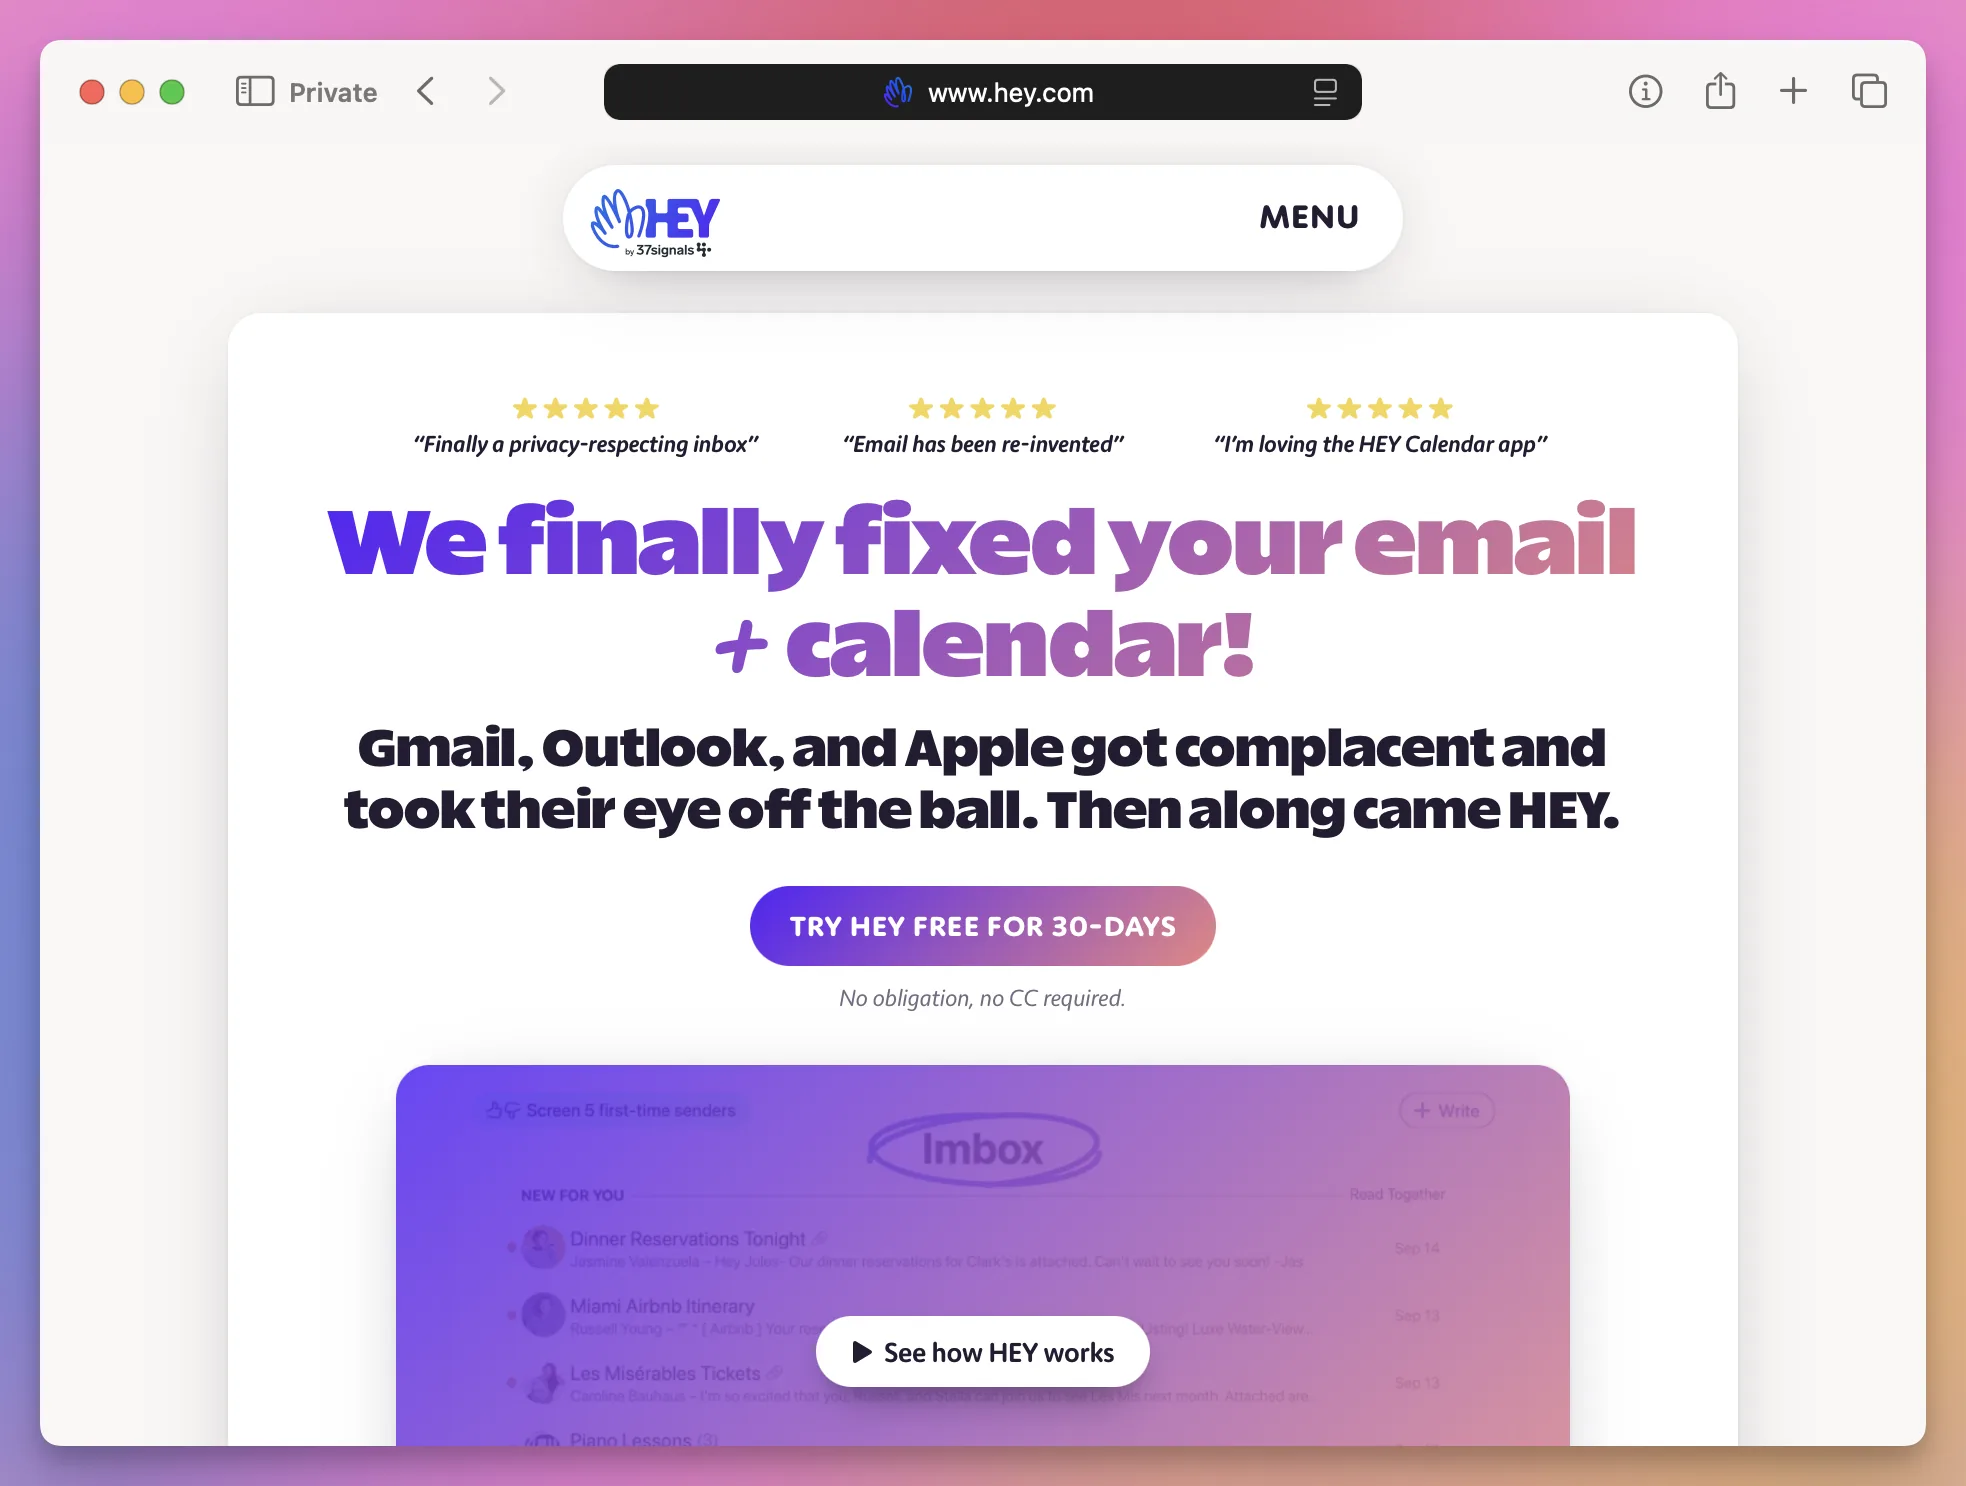
I’ll use macOS for the installation and terminal examples.
What is hey-cli?
hey-cli is both a CLI and a TUI.
A CLI runs one command, prints a result, and exits:
hey search "invoice"A TUI is an interactive application drawn inside your terminal:
hey tuiThe CLI is useful when you know what you want to do. It also works well in scripts and with AI agents.
The TUI is useful when you want to browse. You can move between mail, contacts, calendars, and your journal without remembering every command.
Both interfaces use the same HEY account.
How hey-cli is built
hey-cli is written in Go and distributed as one executable file.
You do not need Node.js, Python, Ruby, or a separate runtime. The macOS installer downloads the correct binary for your Mac.
The project uses:
- Cobra for the command structure
- Bubble Tea for the terminal interface
- the HEY Go SDK for HEY operations
- Action Cable connections for live updates
- the macOS Keychain for stored credentials
Bubble Tea is also the UI layer behind SSH apps like superlogical.jobs (with Wish for the SSH server).
There are separate macOS builds for Apple silicon and Intel Macs. The installer reads your architecture and chooses the correct one.
The project is open source under the MIT license. Basecamp publishes the source, release scripts, tests, and agent skill in the same repository.
What you need
hey-cli runs on macOS, Linux, WSL2, and Windows.
This tutorial uses macOS, so the installation steps focus on a Mac.
You only need 2 things:
- a HEY account
- a terminal
You do not need to install Go when using a release.
If terminal commands are new to you, my free Shell Commands Course explains paths, commands, pipes, files, environment variables, and processes.
Install hey-cli on macOS
The official installation command is:
curl -fsSL https://hey.com/install-cli | bashcurl downloads the official installer. The -f option stops on an HTTP error, -sS hides normal progress but keeps errors visible, and -L follows redirects.
The pipe sends the script to Bash.
The installer then:
- detects macOS
- detects Apple silicon or Intel
- finds the latest release
- downloads the matching archive
- verifies its SHA-256 checksum
- verifies the Sigstore signature when a supported
cosignis installed - extracts the
heyexecutable - adds its directory to your
PATHwhen needed - checks that the installed command runs
This is what a successful installation looks like:
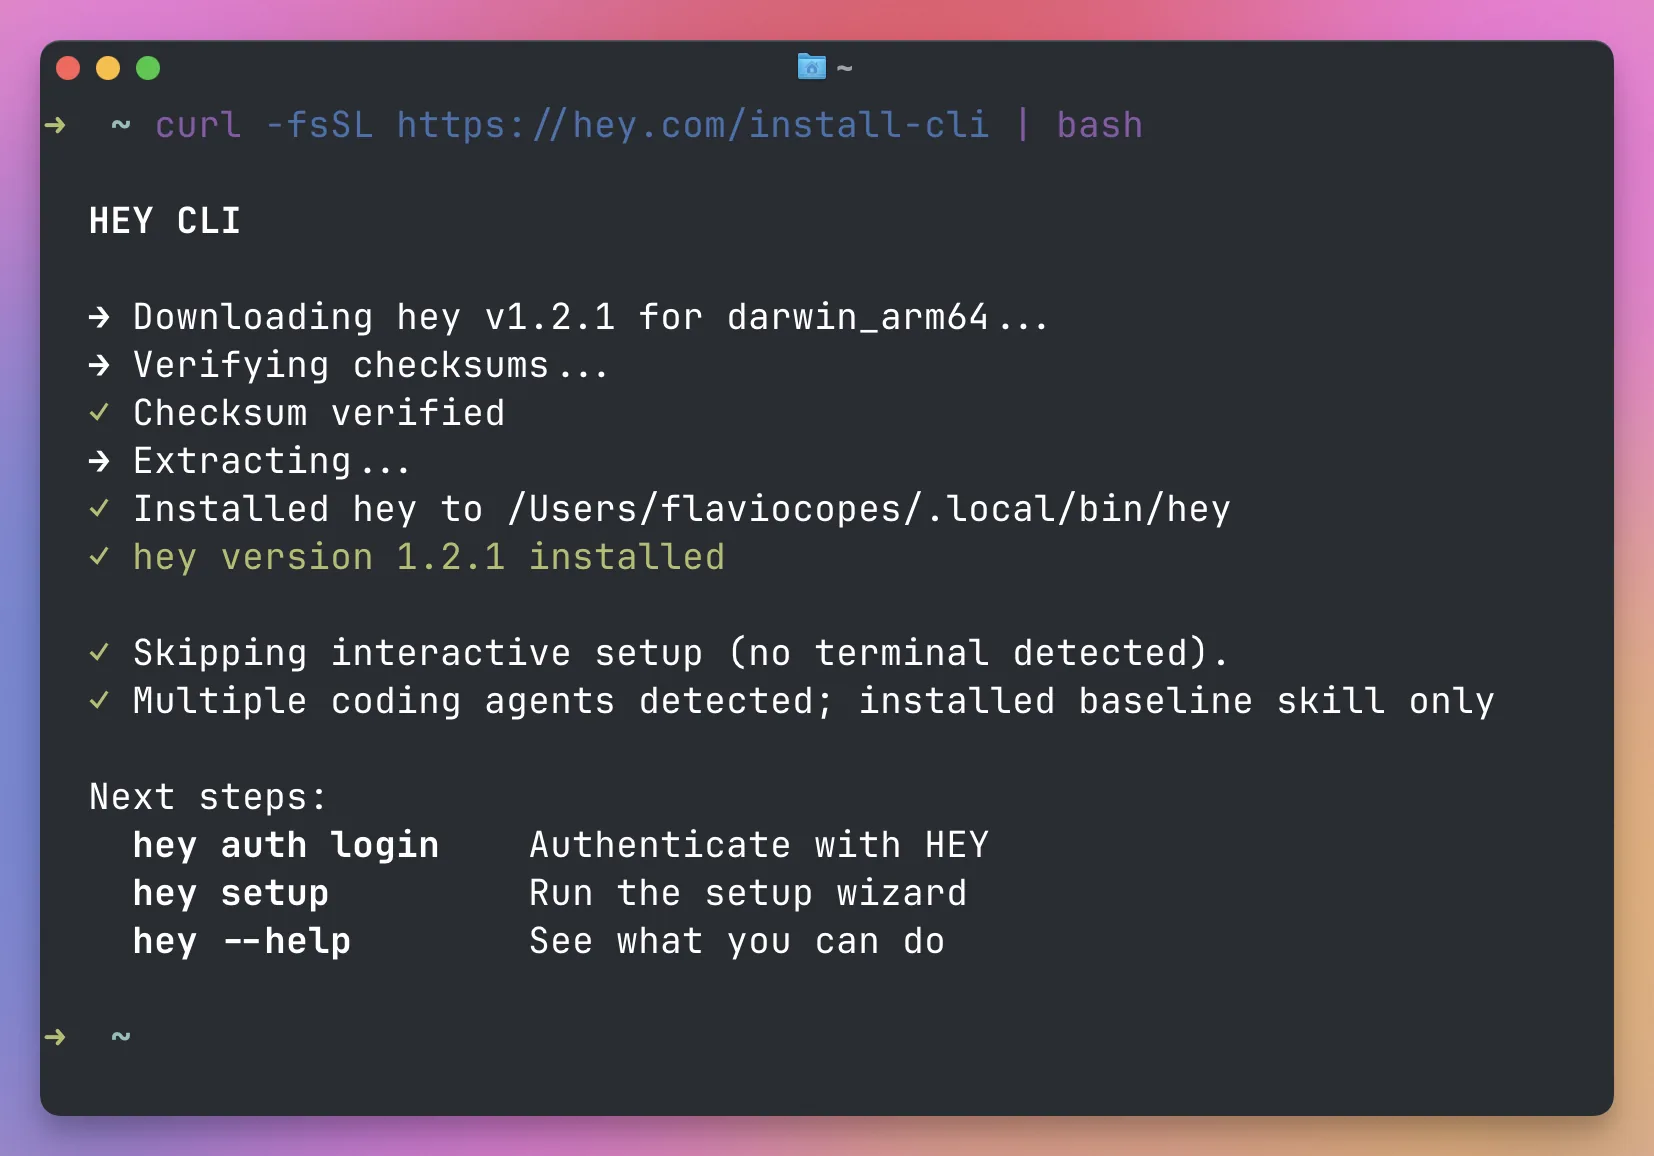
On macOS, the default install directory is usually:
~/.local/binIf ~/bin or ~/.local/bin is already in your PATH, the installer prefers the one already configured.
Zsh is the default shell on current macOS versions. When the chosen directory is missing from PATH, the installer adds it to ~/.zshrc.
Reload the file after installation:
source ~/.zshrcOr close the terminal and open it again.
If you use Fish
The installer detects Fish too.
If ~/.local/bin is not already in your PATH, it adds this line to ~/.config/fish/config.fish:
fish_add_path "$HOME/.local/bin"Open a new terminal, or reload the Fish configuration:
source ~/.config/fish/config.fishNow check where the command is installed:
command -v heyThen check the version:
hey versionWhy setup does not start inside the installer
The install command sends a script through a pipe. This means Bash does not have an interactive input terminal during installation.
The installer finishes safely instead of trying to open a setup prompt through that pipe. It prints the next commands to run.
Start the setup yourself:
hey setupYou can also run the bare command:
heyOn the first interactive run, hey starts the setup flow when you are logged out.
Choose a different installation directory
You can tell the installer where to place the executable.
For example, install into ~/bin:
curl -fsSL https://hey.com/install-cli | HEY_BIN_DIR="$HOME/bin" bashThe environment variable belongs on the bash side of the pipe. That is the process running the installer.
Install without connecting a coding agent
The piped installer already skips the interactive setup wizard. It still installs the HEY skill without prompting. When it detects exactly one coding agent, it also connects that agent. When it detects several, it connects none and prints the per-agent setup commands instead.
Set HEY_SETUP_AGENT=none if you want installation to leave agent integrations unchanged:
curl -fsSL https://hey.com/install-cli | HEY_SETUP_AGENT=none bashIf you save the installer and run it interactively instead of piping it, HEY_SKIP_SETUP=1 skips its setup wizard.
Install with Homebrew
You can use Homebrew instead of the installer script:
brew install --cask basecamp/tap/heyHomebrew manages the installed files and shell completions for you.
There is one practical difference when updating. A Homebrew installation follows Homebrew’s version. The hey upgrade command delegates the update to Homebrew instead of replacing the executable itself.
I would use the official installer on a personal Mac. It has fewer moving pieces and can update itself.
I would use Homebrew when I already manage all command-line tools through Homebrew and want one consistent upgrade workflow.
Use one method. Do not install the same command with both.
Sign in to HEY
The normal login uses browser-based OAuth.
Run:
hey auth loginhey-cli opens your browser. Sign in to HEY, approve access, then return to the terminal.
The first-run setup command does this too:
hey setupThe full setup also installs shell completions and offers to connect supported coding agents.
If you only want the HEY command and do not want agent integrations, run:
hey setup --skip-agentsCheck the current session with:
hey auth statusLog out with:
hey auth logoutOn macOS, hey-cli stores credentials in the system keyring, which means the Keychain. If the keyring is unavailable, it can fall back to ~/.config/hey-cli/credentials.json.
My advice is to use the browser login. Avoid putting a token directly in a shell command because that command can remain in your shell history.
Open the terminal interface
Start the interactive interface with:
hey tui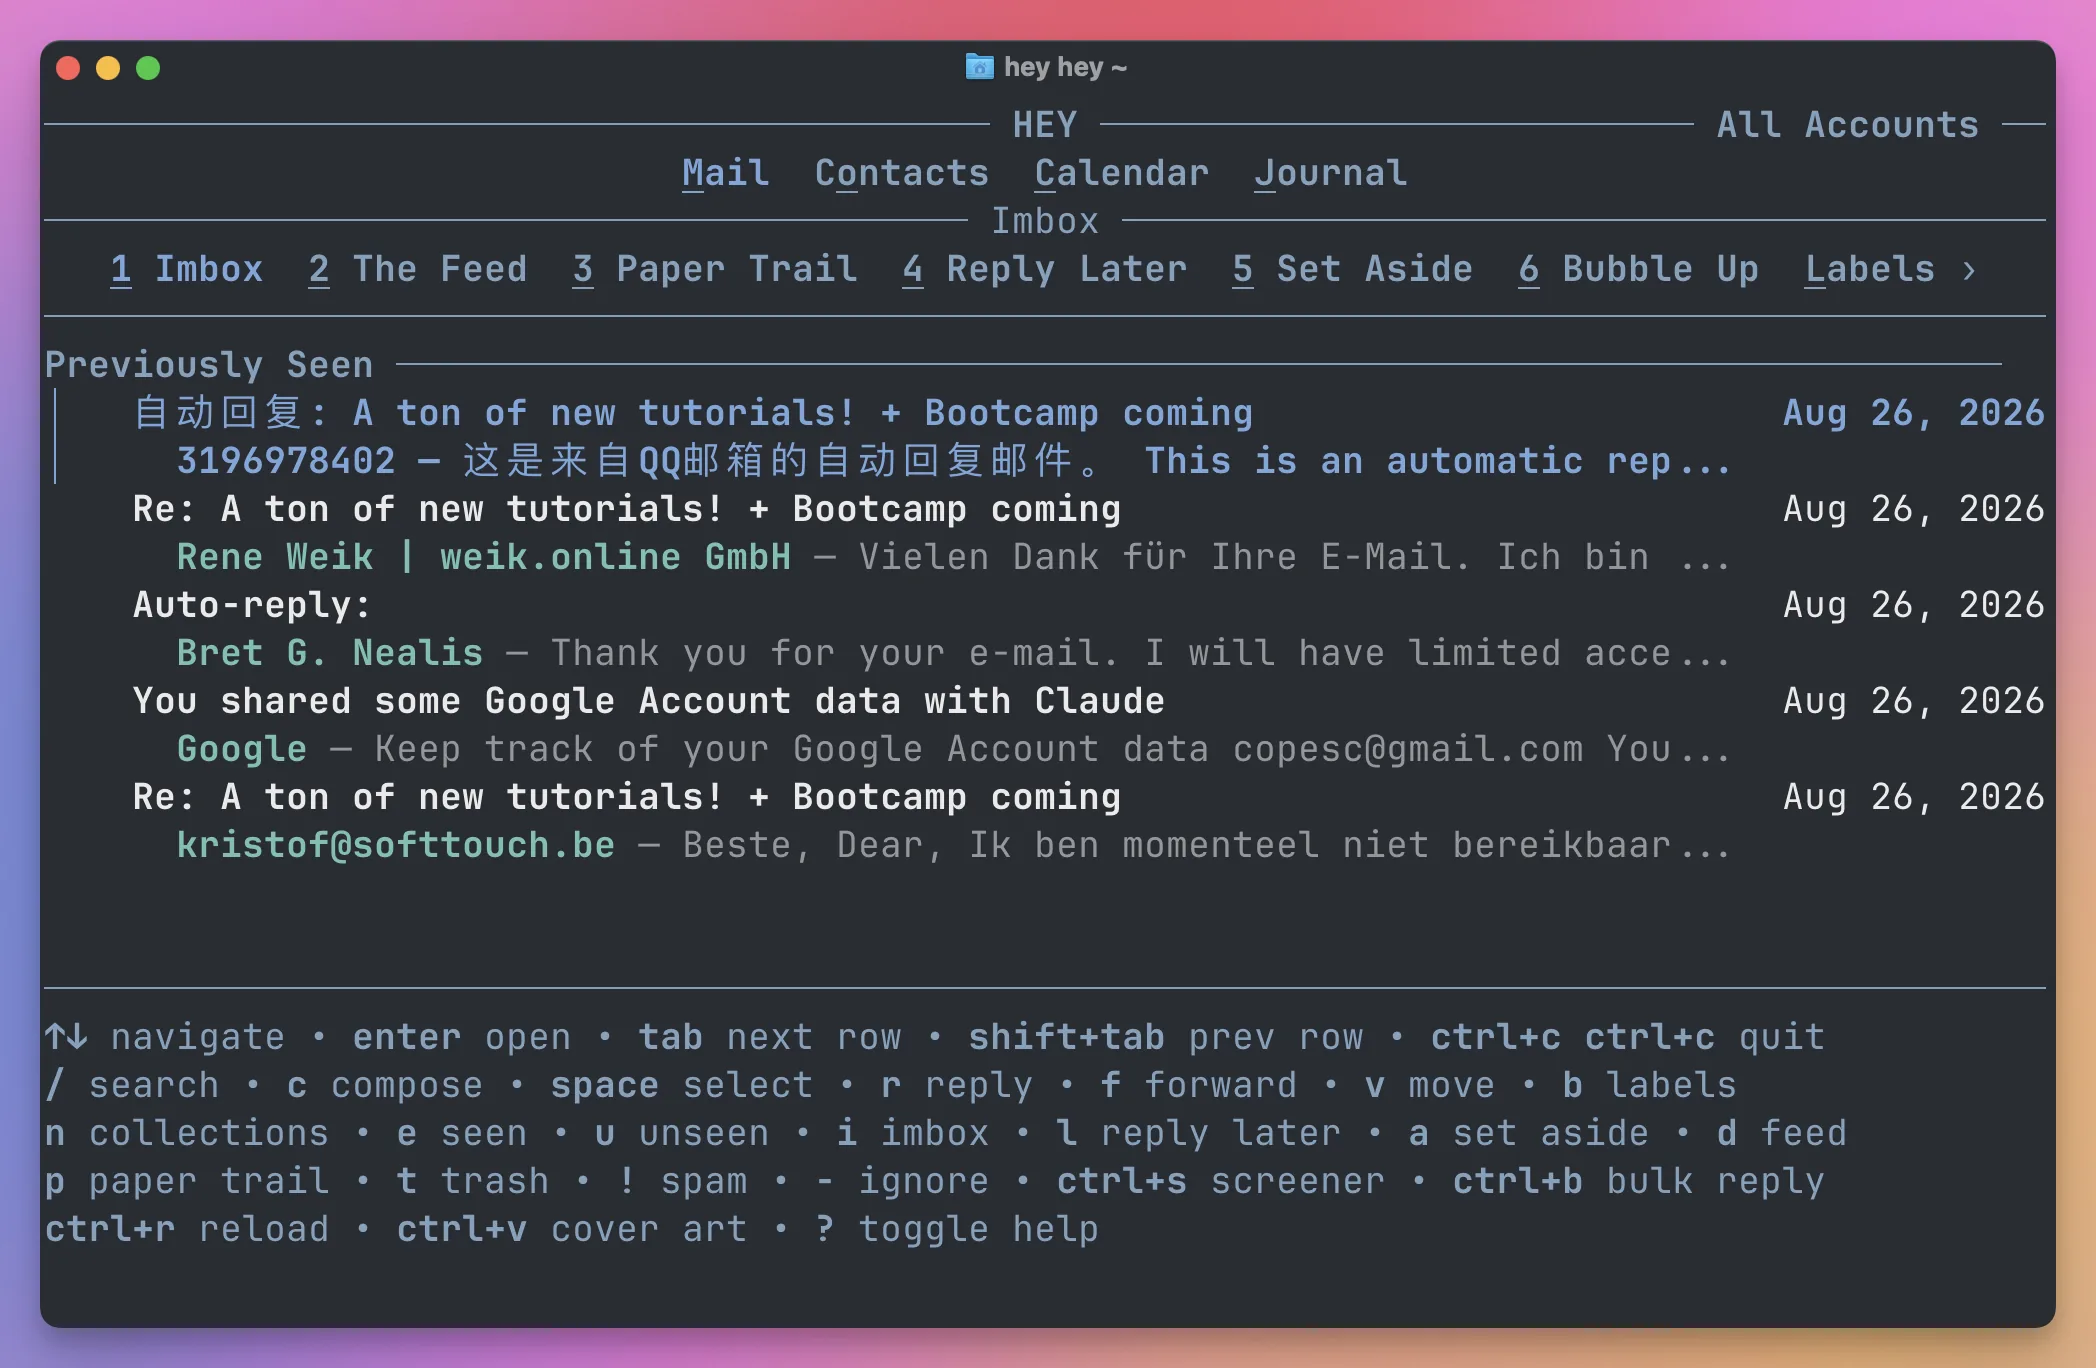
The TUI has 4 main areas:
- Contacts
- Calendar
- Journal
Press ? to show or hide the shortcut bar.
In Mail, use the arrow keys to move through threads and Enter to open one. The list loads more threads as you reach the bottom.
Some useful shortcuts are:
/orssearchesrrepliesfforwardsvmoves a threademarks it seenumarks it unseenimoves it to the Imboxlmoves it to Reply Lateramoves it to Set Asidedmoves it to The Feedpmoves it to Paper Trailtmoves it to Trash!marks it as spam-ignores future activity+stops ignoring it
Press Ctrl+S to open The Screener. Press Shift+O for Contacts, Shift+C for Calendar, Shift+L for Labels, and Shift+K for Collections.
You can also start the TUI on a specific destination:
hey tui --topic 123
hey tui --screener
The first command opens the thread with topic ID 123. The second opens The Screener.
The TUI keeps its visible mail and calendar data updated through live connections. If the connection drops, it shows an offline status and reconnects.
Find the available commands
Start with the main help:
hey --help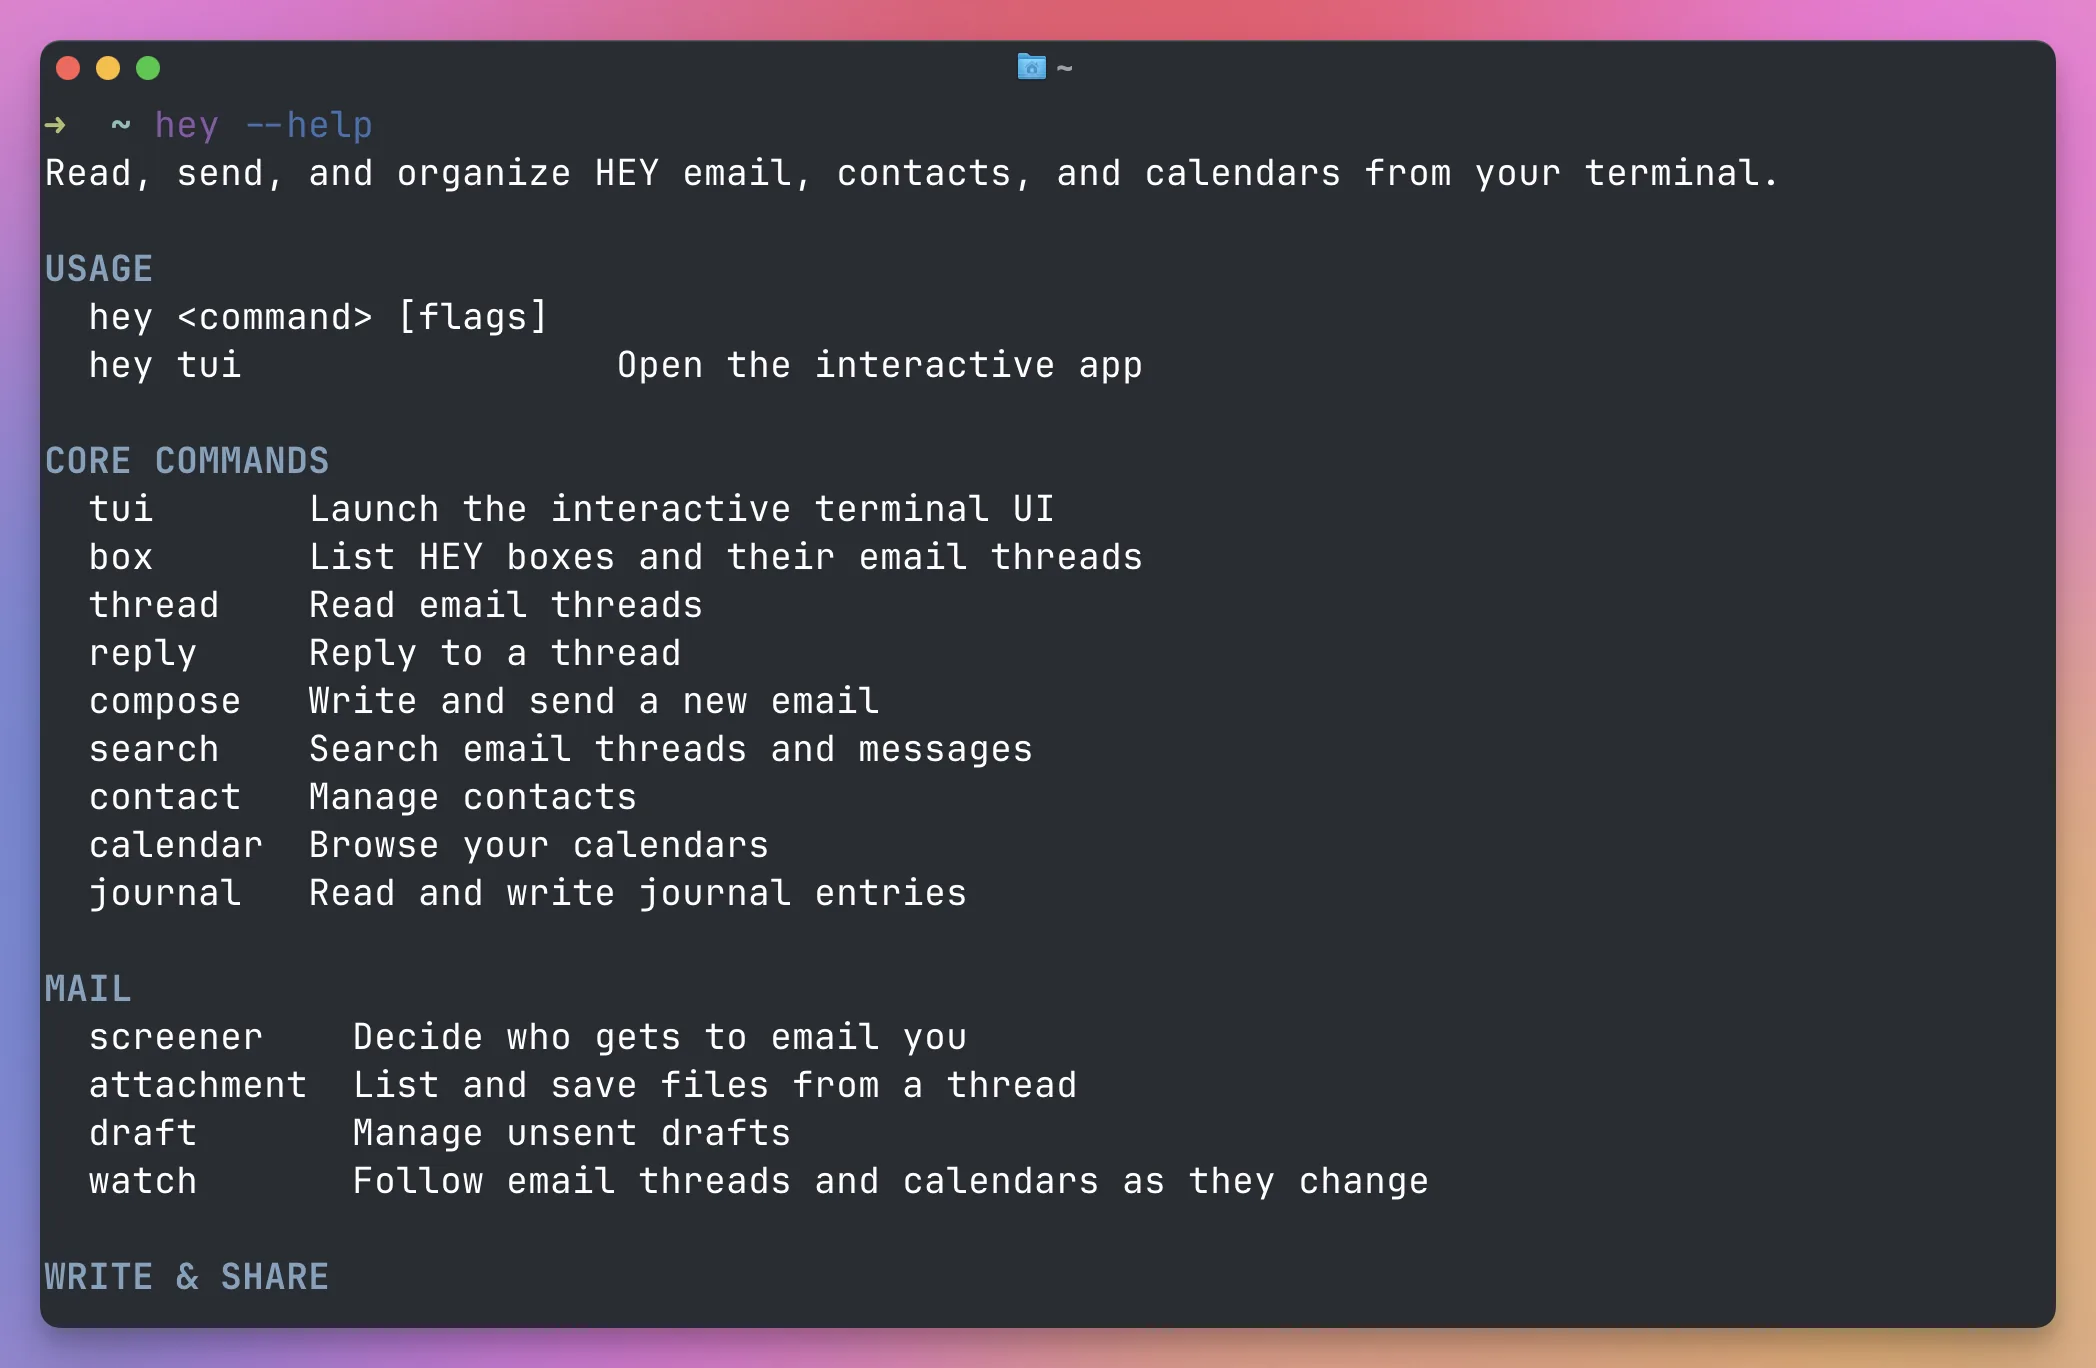
Every command has its own help page:
hey compose --helpTo see the complete executable command catalog, run:
hey commandsThis is especially useful because hey-cli has many commands. You do not have to memorize them.
There are also focused help topics:
hey help output
hey help exit-codes
hey help environment
hey help linked-accountsWork with email from the command line
Let’s start with the most common email workflow.
List your boxes
List the available mailboxes:
hey box list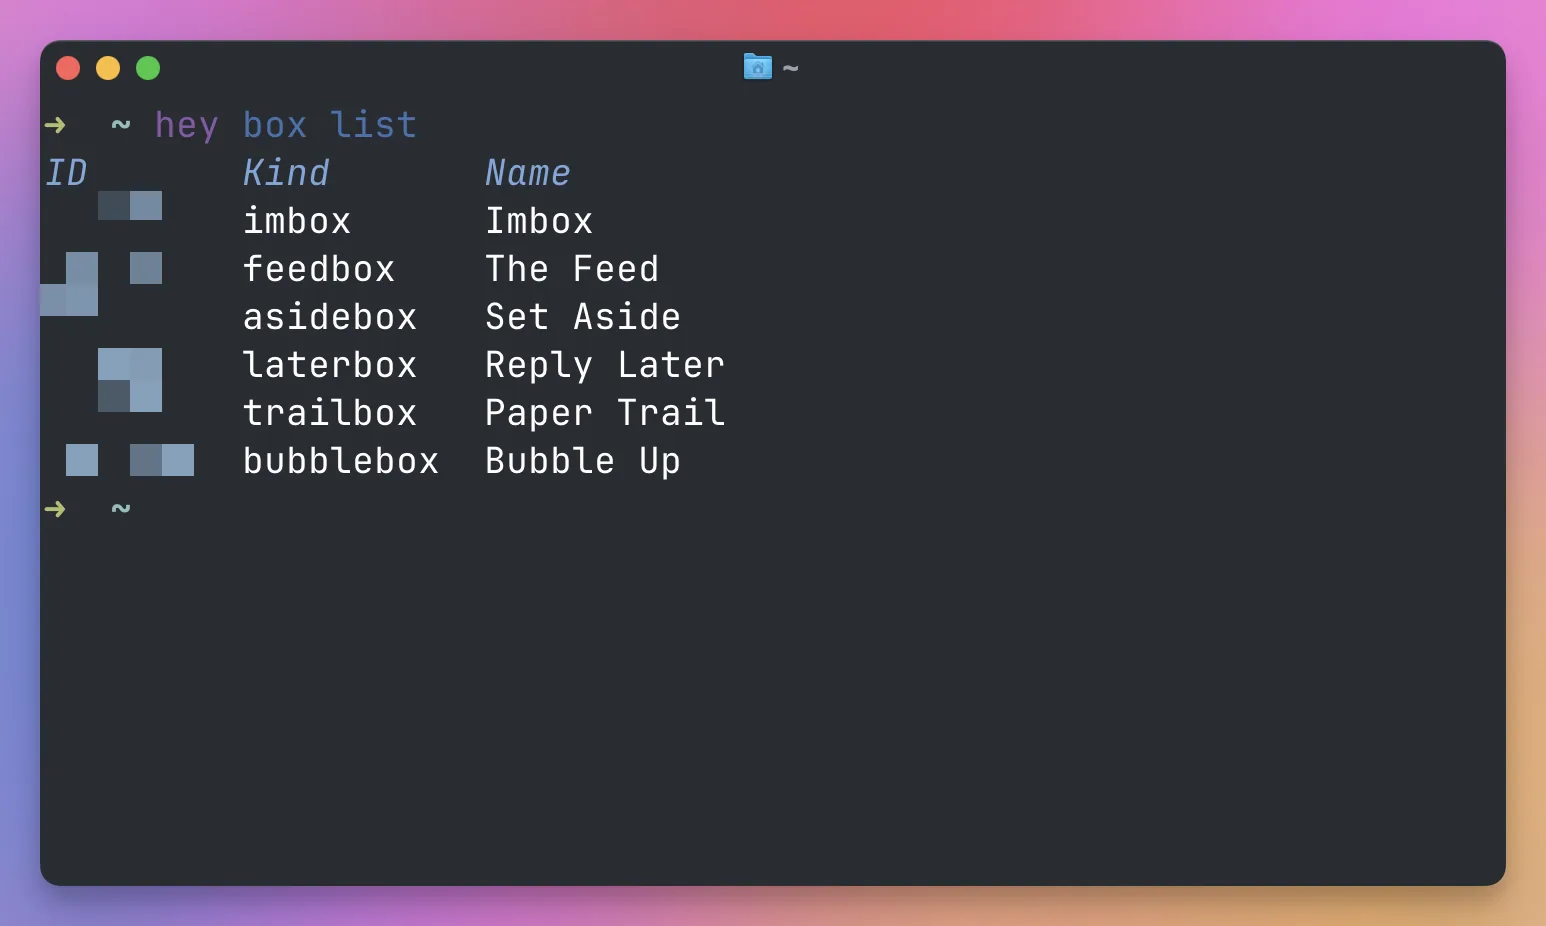
Open the Imbox:
hey box view imboxYou can pass a box name or ID.
The command prints a readable table when it runs in a terminal. Add --json when you need every field:
hey box view imbox --jsonUnderstand the 2 email IDs
HEY exposes 2 IDs that look similar but have different jobs.
The posting id identifies the item inside a box. Use it for organization actions such as moving, labeling, or marking a thread as seen.
The topic_id identifies the email conversation. Use it to read, reply, forward, and share a thread.
The JSON output includes both. If a command says it needs a thread ID, it usually means topic_id. If it changes the item inside a box, it usually needs id.
Read a thread
Read a complete thread using its topic ID:
hey thread read 123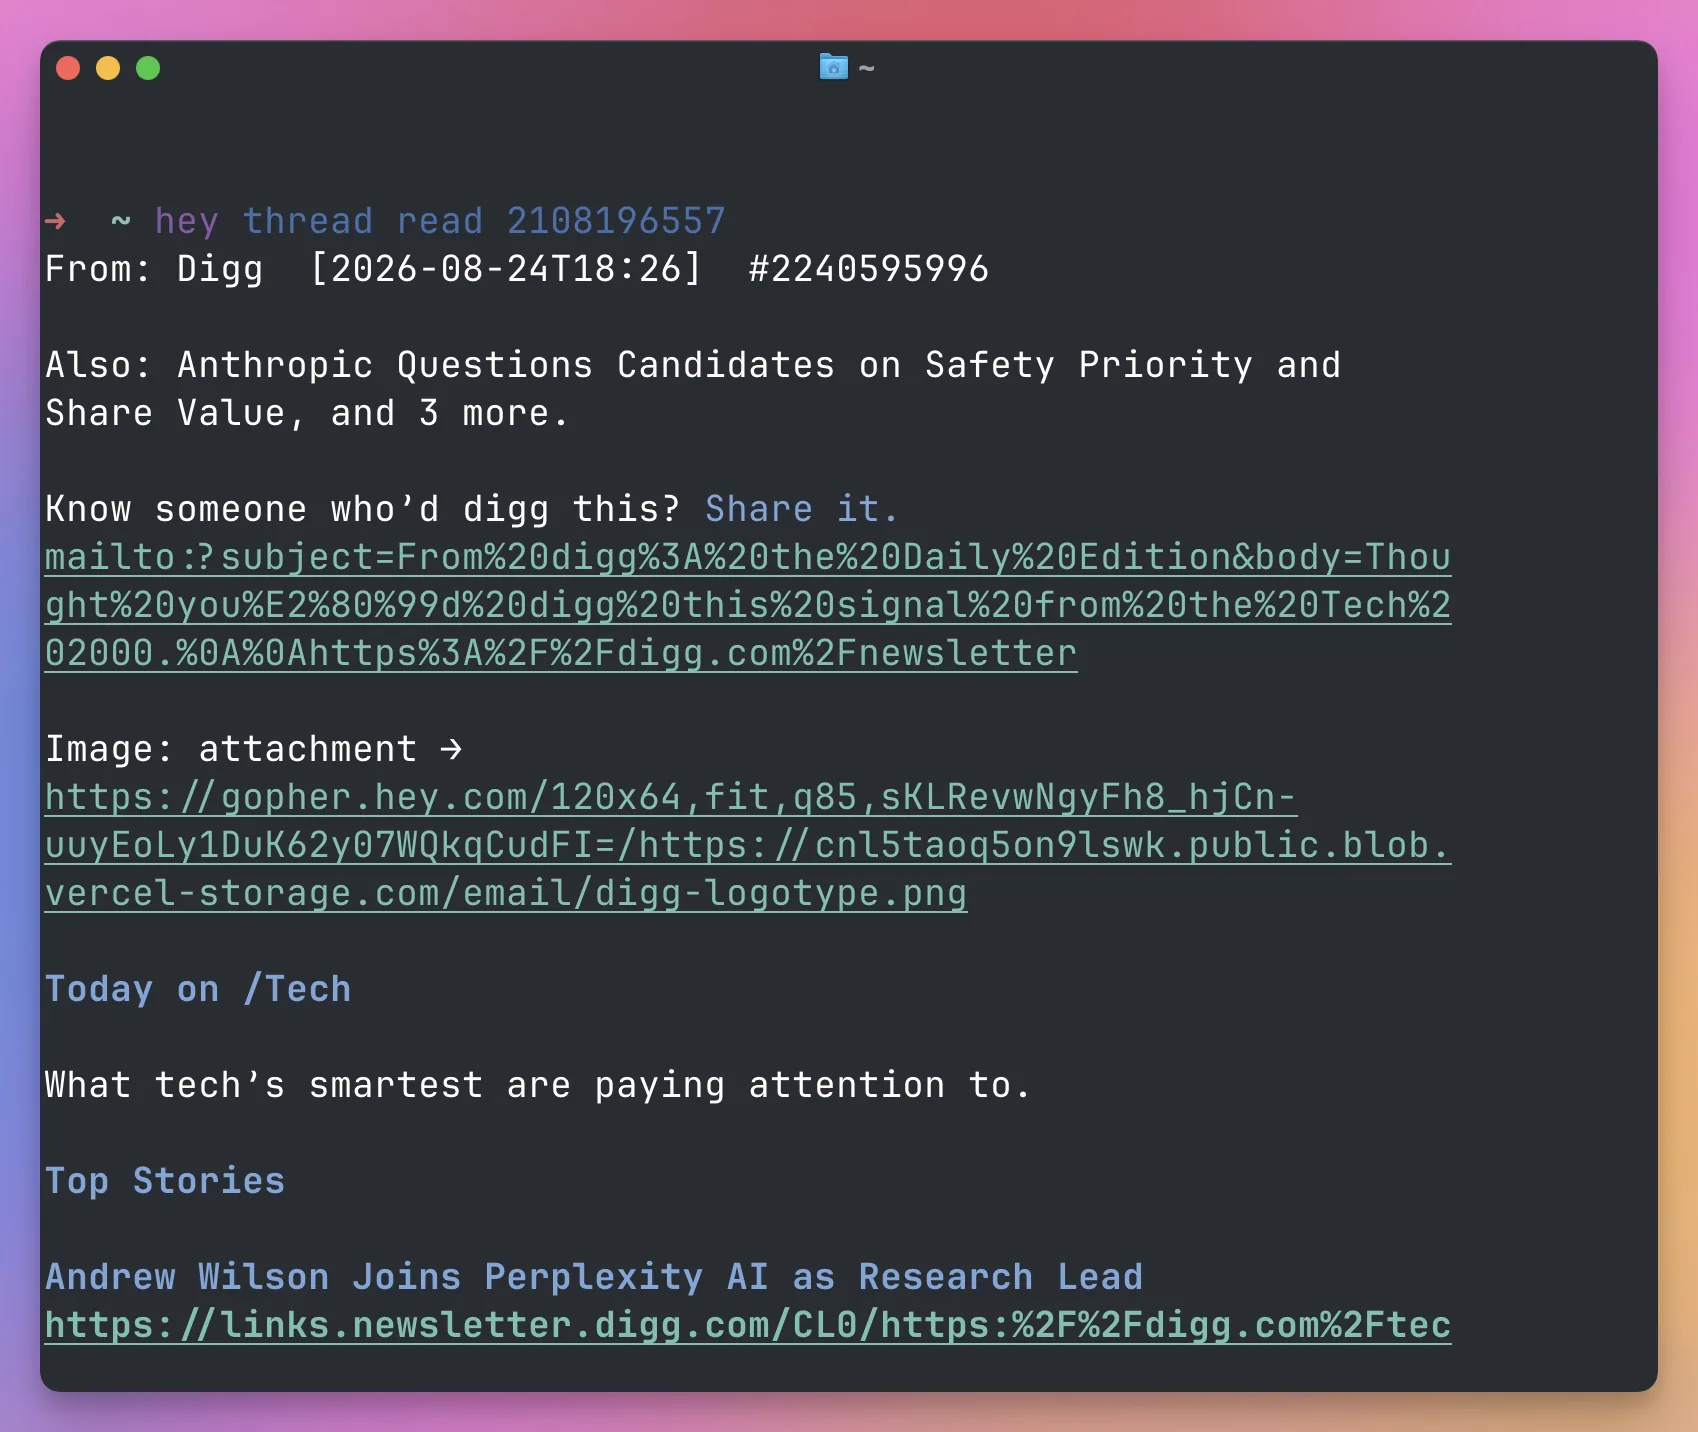
Entries appear from oldest to newest.
To save the thread as Markdown, run:
hey thread read 123 --markdown > thread-123.mdThis format is useful for notes and AI agents. Headings, lists, quotes, code blocks, and links remain structured.
You can also save HEY’s original HTML:
hey thread read 123 --html > thread-123.htmlHTML output is only allowed when writing to a pipe or file. hey-cli refuses to dump raw HTML directly into your terminal.
Search email
Search with plain text:
hey search "quarterly planning"You can refine the search:
hey search --from jane@example.com --date last_30_daysSee the values accepted by date, box, label, and attachment filters:
hey search filtersSearch results include the topic ID you need to read the full conversation.
Write a new email
Compose an email from the command line:
hey compose --to jane@example.com --subject "Lunch plans" -m "Tuesday works for me."If you omit -m, hey-cli opens your $EDITOR:
hey compose --to jane@example.com --subject "Lunch plans"Set your preferred editor through the normal shell variable. For example:
export EDITOR=nanoMessage bodies use Markdown. You can write headings, lists, links, quotes, bold text, and fenced code blocks.
Add an attachment with --attach:
hey compose --to jane@example.com --subject "Q3 report" -m "The report is attached." --attach ./report.pdfThe flag is repeatable when you need several files.
Reply and forward
Reply using the topic ID:
hey reply 123 -m "Friday works for me."Forward the latest message in a thread:
hey forward 123 --to jane@example.com -m "For your review"hey-cli asks HEY for the correct reply recipients. It removes your own addresses, aliases, and catch-all addresses from the recipient list.
Reply to several threads at once
Sometimes the same short answer fits many threads. bulk-reply sends one reply to all of them. It takes posting IDs.
Always preview first:
hey bulk-reply preview 12345 67890The preview shows each thread and the exact recipients before anything is sent.
Then send:
hey bulk-reply send 12345 67890 -m "Thanks for the update."The response includes a delivery ID. While HEY’s undo window is open, that ID can recall the whole bulk reply:
hey bulk-reply undo 98765The TUI does this too. Select threads with Space, press Ctrl+B to preview the recipients, and recall a delayed bulk reply with Ctrl+U.
Use drafts as a review step
Add --draft to save instead of sending:
hey compose --to jane@example.com --subject "Board update" -m "Numbers to follow." --draftThe command returns the new draft ID.
List and inspect drafts:
hey draft list
hey draft show 12345
Edit a field without replacing the others:
hey draft edit 12345 --subject "Board update for August"Send the reviewed draft:
hey draft send 12345Or delete it:
hey draft delete 12345An agent can prepare a draft, and a person can review it in any HEY app before sending.
The CLI cannot schedule a message for an exact future time. Set that schedule in a HEY app. A schedule already attached to a draft survives CLI edits.
Save attachments
List the attachments in a thread:
hey attachment list 123Each attachment gets an ID containing its message and position, such as 456:1.
Save one using that ID:
hey attachment save 456:1hey-cli keeps the original filename and refuses to replace an existing file unless you pass --force.
Share a thread
HEY can create a public link for a thread:
hey share 123Anyone with the link can read the whole conversation, including future replies. Use it carefully.
Turn the link off with:
hey unshare 123Organize your email
Mark one or more posting IDs as seen:
hey seen 12345 67890hey unseen reverses it.
Move a posting to The Feed:
hey move 12345 --to feedMove several postings to Paper Trail:
hey move 12345 67890 --to "paper trail"Bubble a thread back to the top of the Imbox tomorrow:
hey bubble up 12345 --tomorrowList scheduled Bubble Up threads:
hey bubble listCancel a scheduled Bubble Up with hey bubble pop 12345.
Trash, spam, and ignore have their own top-level commands:
hey trash 12345
hey spam 12345
hey ignore 12345
Marking a thread as spam also trains HEY’s filters. An ignored thread stays in its box, but new replies stop demanding your attention. hey stop-ignoring reverses it.
You can also manage labels, collections, workflows, clips, and reusable snippets.
For example, create a label and apply it to a posting:
hey label create "Travel receipts" 12345Create a collection:
hey collection create "Kitchen remodel" --summary "Plans and decisions"Create a reusable email snippet:
hey snippet create --name "Scheduling reply" --content "Tuesday works for me."Clips and snippets are different. A clip is a passage saved from an email you received. A snippet is reusable content you insert into a message you write.
Manage The Screener
The Screener holds mail from first-time senders until you decide what to do.
See how many people are waiting:
hey screener list --countList the queue:
hey screener listApprove a sender using the clearance ID returned by the list:
hey screener approve 91Deny a sender:
hey screener deny 91Marking a denied sender as spam also trains HEY’s filter:
hey screener deny 91 --spamUse the spam option carefully. It has a stronger effect than a normal denial.
Manage contacts
The TUI has a Contacts area, and the CLI covers contacts too.
List them:
hey contact list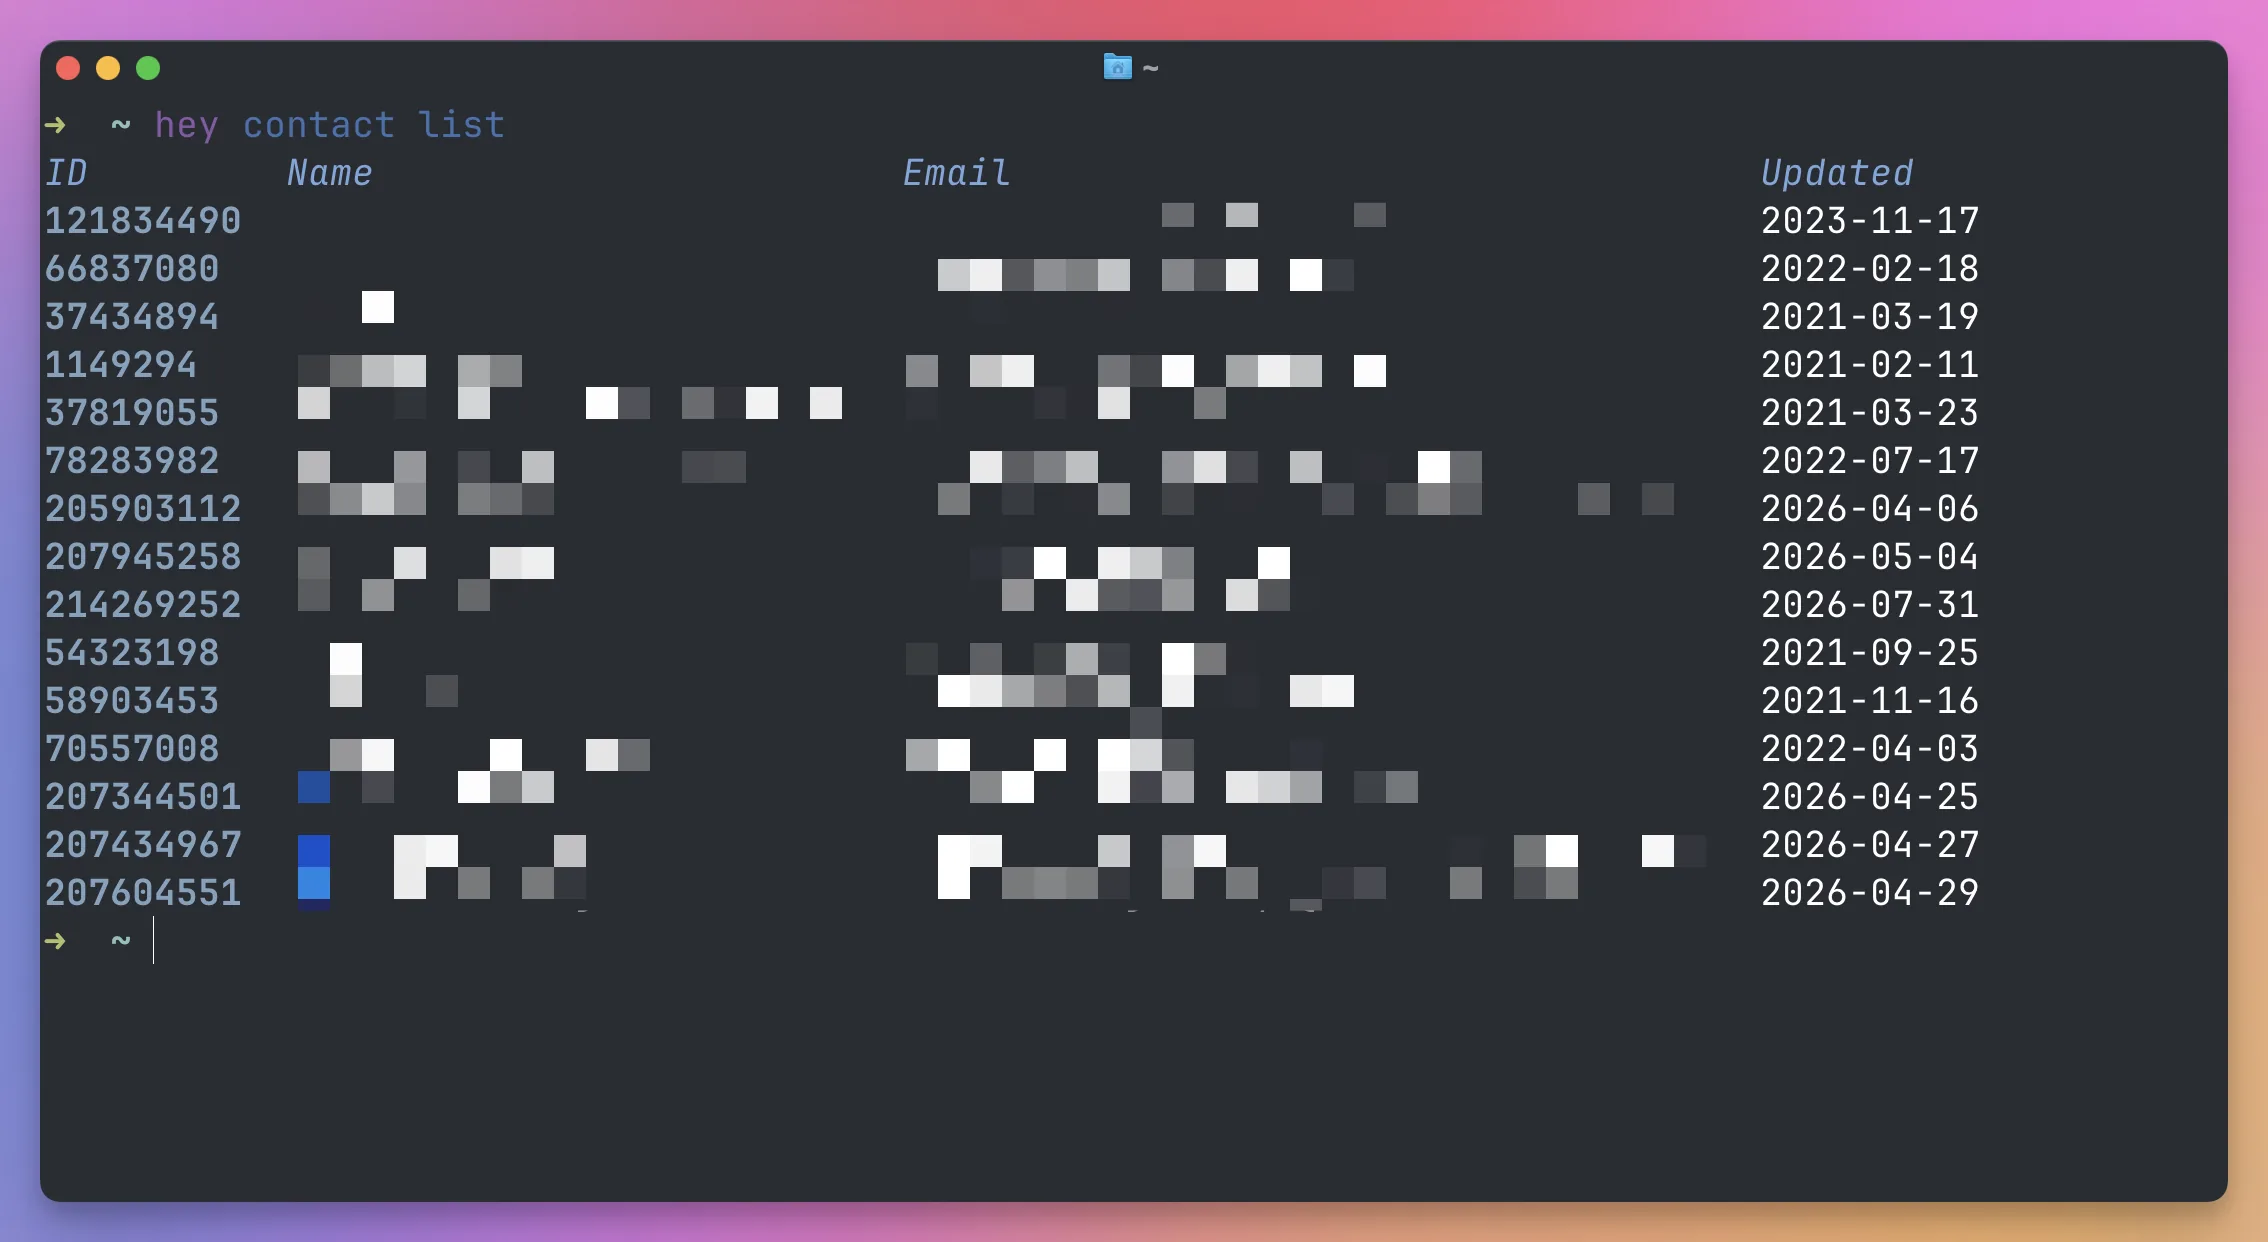
Add one:
hey contact add --name "Jane Doe" --email jane@example.comEach contact can carry a private note that only you see:
hey contact note set 12345 "Prefers email over calls"HEY hides contacts instead of deleting them:
hey contact hide 12345A hidden contact leaves lists, autocomplete, and search, but stays available by ID. hey contact show-again 12345 brings it back.
You can also bundle a contact’s mail into one Imbox row with hey contact bundle 12345, and list it separately again with hey contact unbundle 12345.
Work with linked HEY accounts
One HEY identity can have several linked mail accounts.
List them:
hey account listChoose a default account:
hey account use 12345Return to the combined view:
hey account use allOverride the account for one command:
hey --account 12345 box listMail commands follow the selected account. Calendars, todos, habits, time tracking, and journal entries remain identity-wide.
In the TUI, press Ctrl+A to switch between All Accounts and each linked account.
Use structured output
hey-cli is designed for both people and programs.
At a terminal, it prints styled human output. When stdout is redirected or piped, it defaults to a JSON response envelope.
You can request JSON explicitly:
hey box list --jsonUse --quiet to print the result data without the outer response envelope:
hey box list --quietUse --ids-only when another command only needs IDs:
hey box list --ids-onlyUse --count for a number:
hey screener list --counthey-cli also includes a jq-compatible filter. You do not need the separate jq command for basic filtering:
hey box list --jq '.data[] | {id, name}'Combine --quiet and --jq to filter the result data directly:
hey box list --quiet --jq '.[].id'The CLI uses stable exit codes. Authentication failures return 3, missing resources return 2, network failures return 6, and rate limits return 5.
This makes scripts more reliable. They can tell the difference between “not logged in,” “not found,” and “the network is down.”
Watch for live changes
The watch command keeps running and prints one JSON object for every change:
hey watchWatch only for new mail in the Imbox:
hey watch --box imbox --events new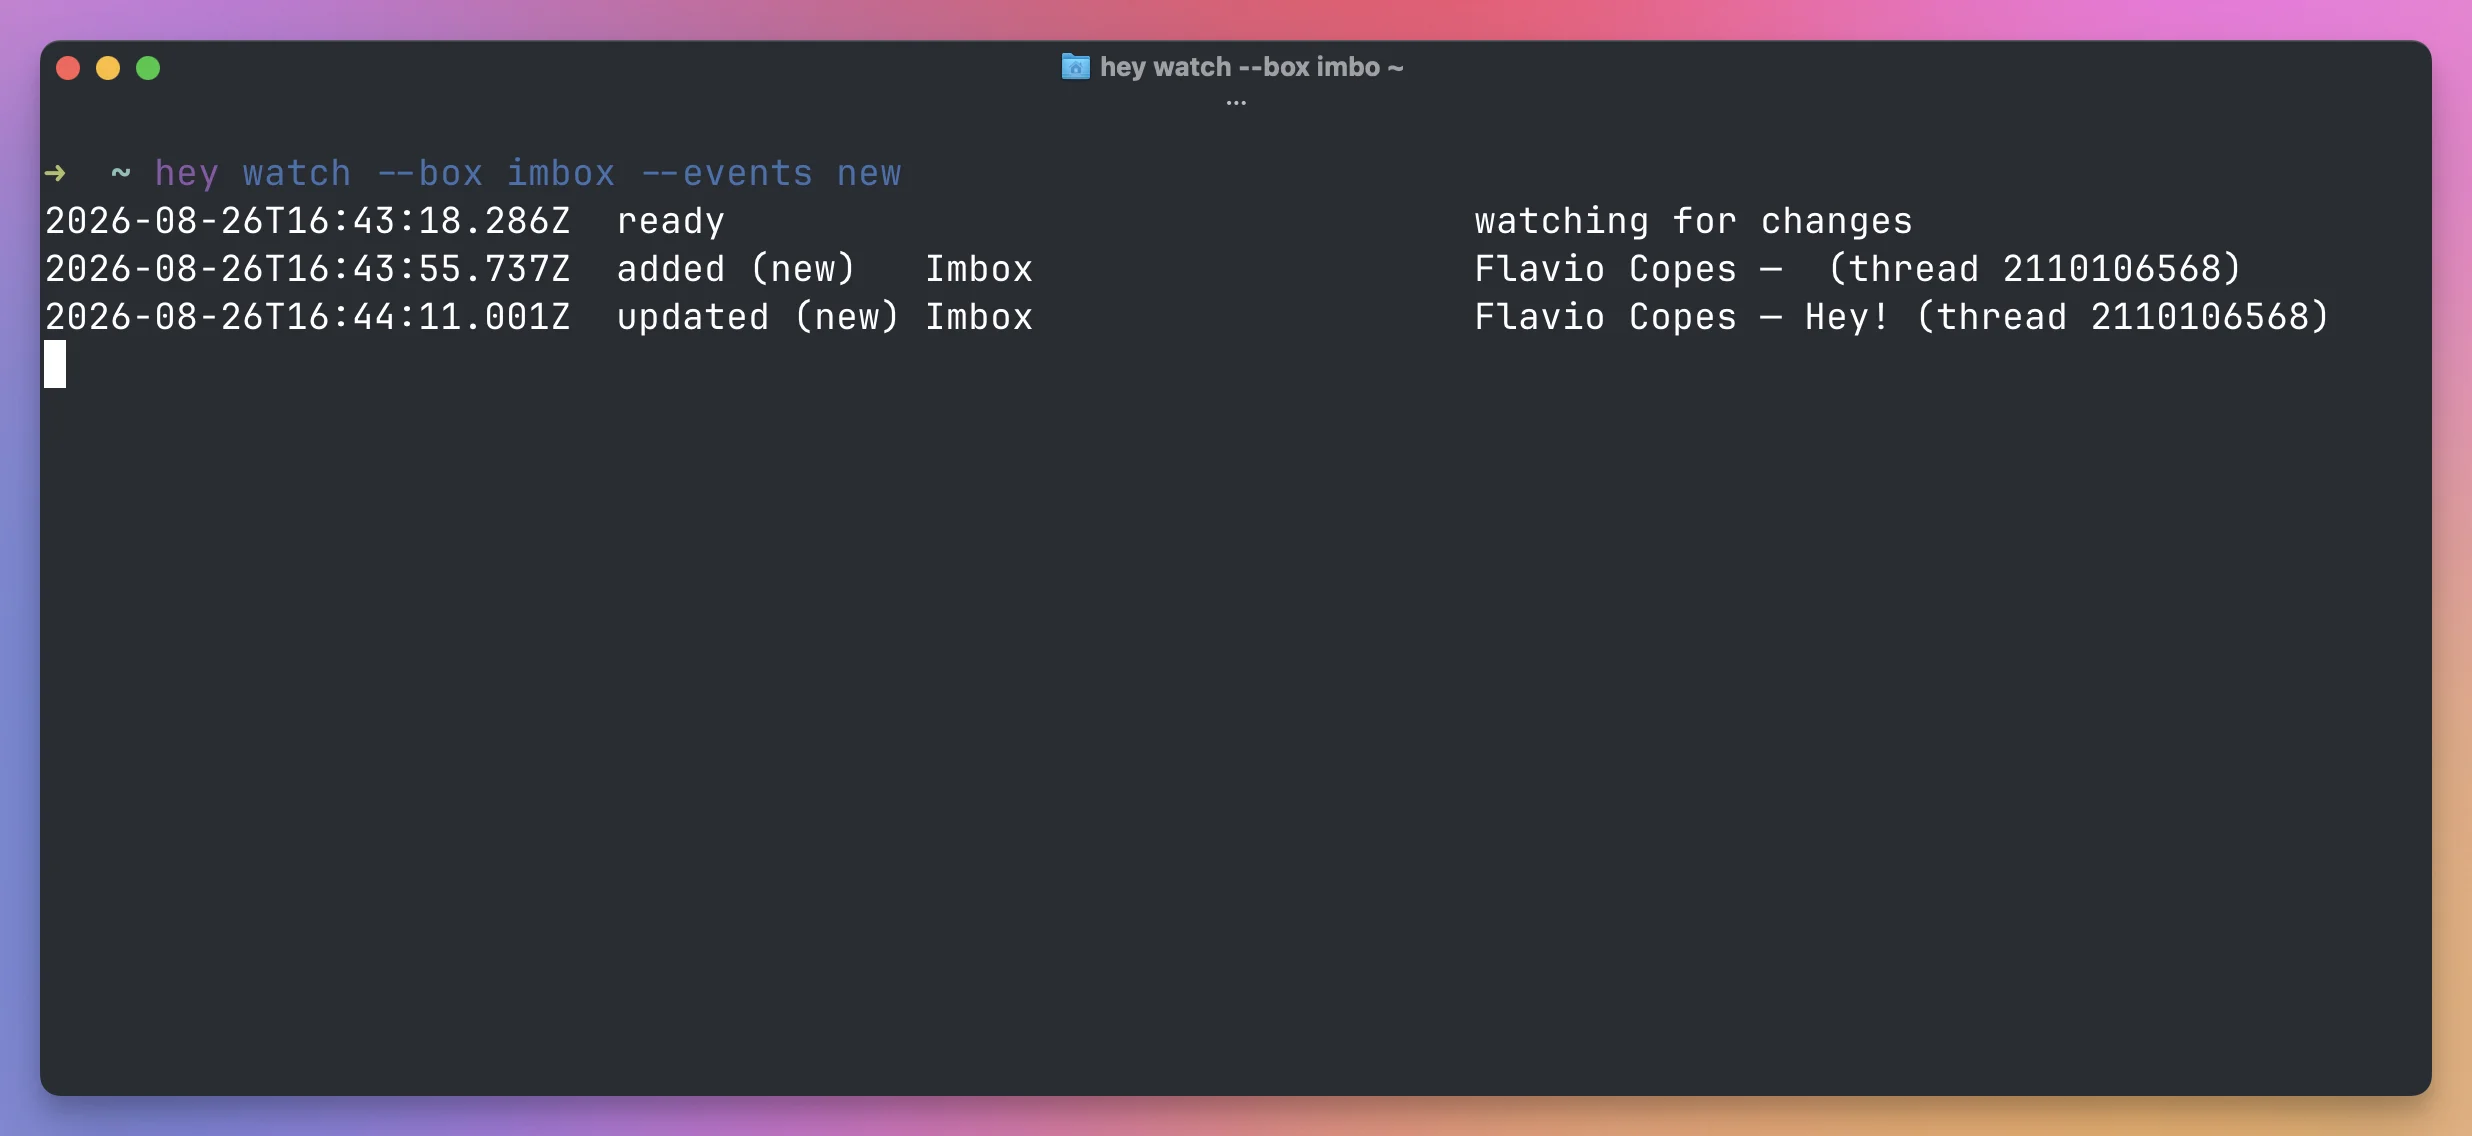
Wait for one new message, then exit:
hey watch --box imbox --events new --exit-on-first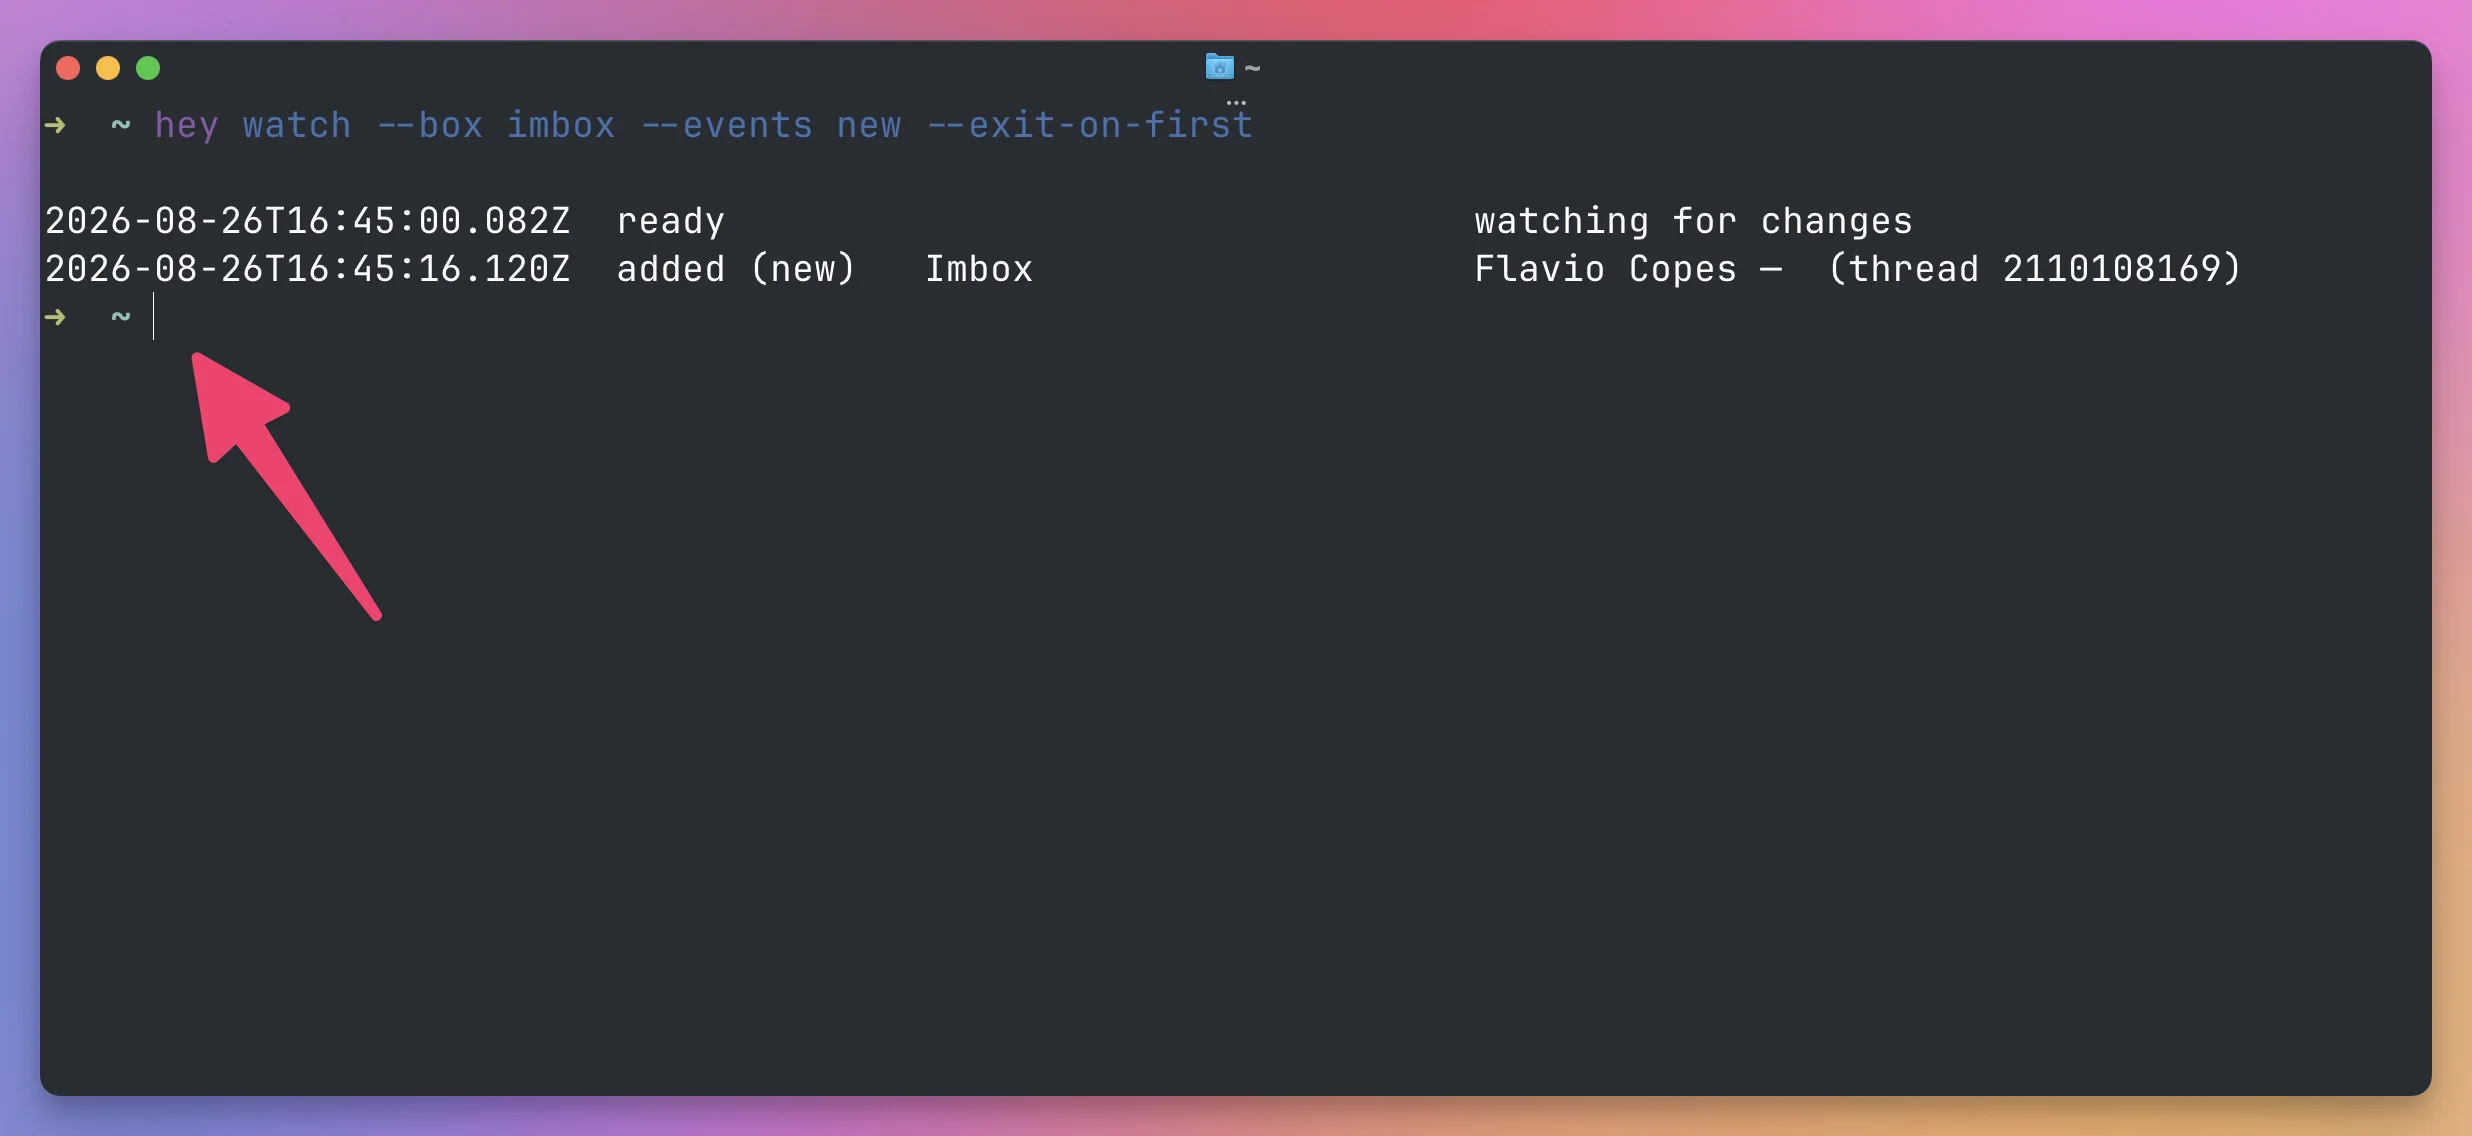
This is useful in an automation. A script can block until something arrives, handle it, then stop.
You can also ask watch to run a command for every event. Use --run-sync when events must be processed in order, or --run-async when separate events can overlap.
Both modes send the JSON event to the child command through standard input. They also set environment variables such as HEY_CHANGE, HEY_BOX_ID, HEY_POSTING_ID, and HEY_THREAD_ID.
If you want to build reliable automations around this, my free Shell Scripting and Automation Course covers input validation, exit codes, logs, retries, locks, and testing.
Manage calendars and personal data
hey-cli is not limited to mail.
Calendar events
List your calendars:
hey calendar listList upcoming events:
hey event listAdd an event:
hey event add "Design review" --starts-on 2026-09-02 --start-time 14:00 --end-time 15:00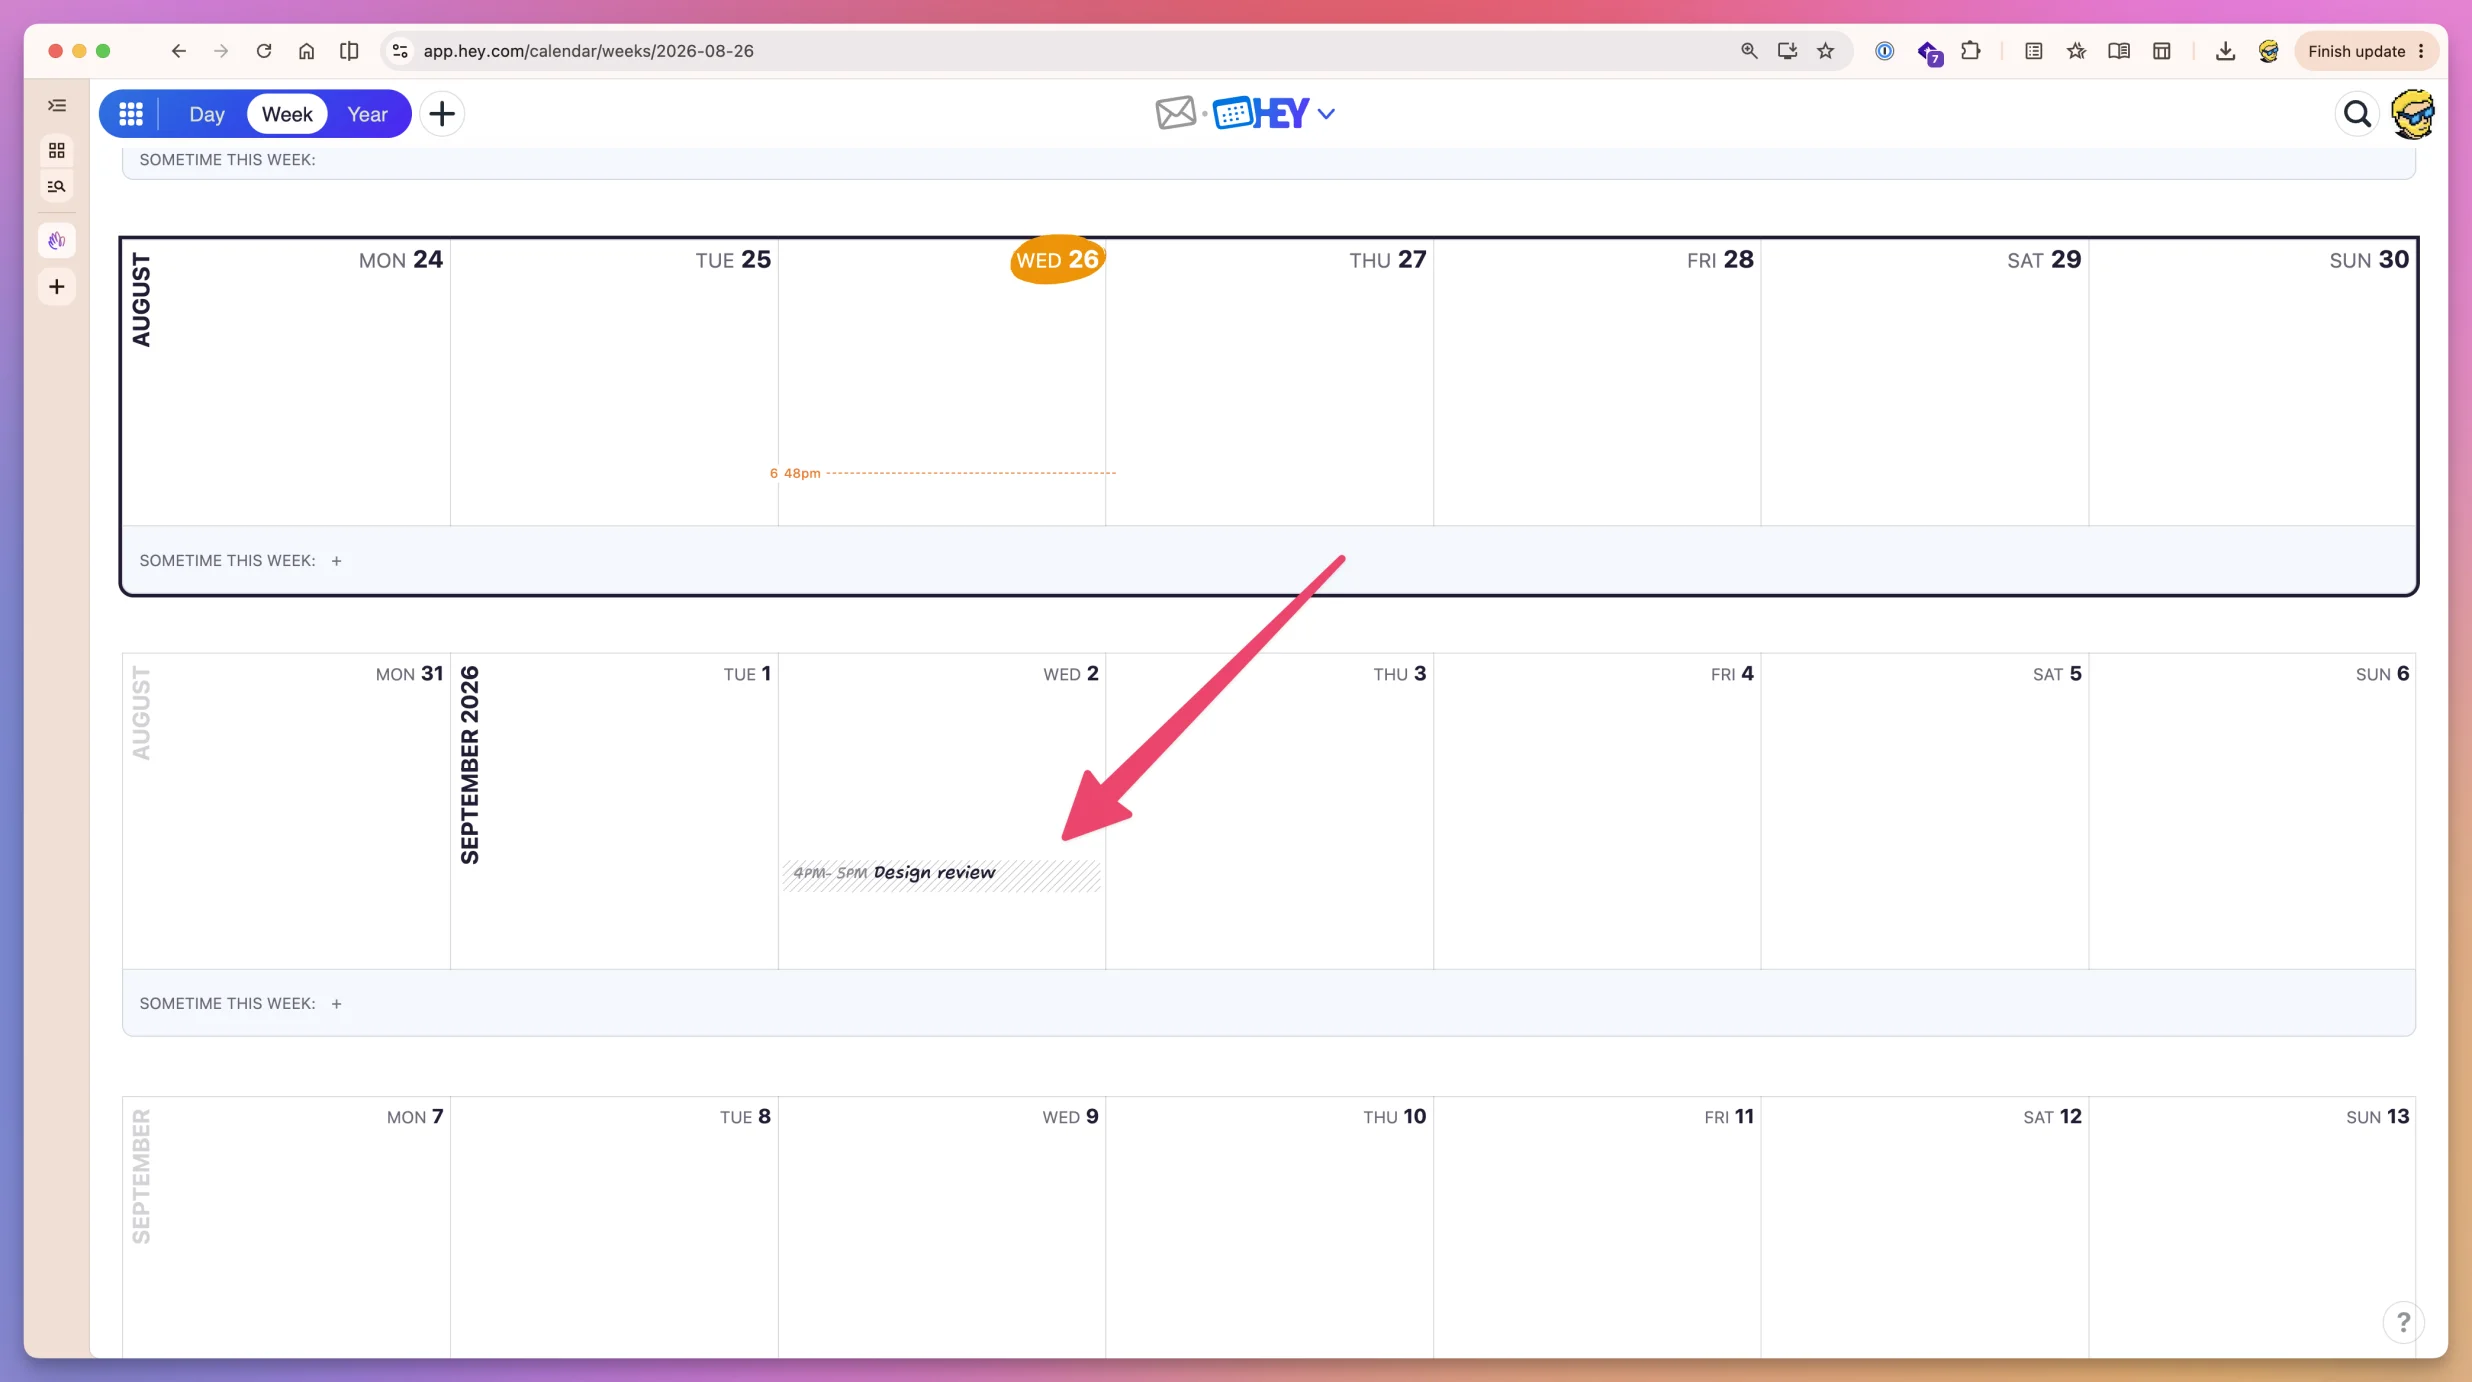
Without a start time, the event lasts all day. With a start time but no end time, it lasts one hour.
Edit only the title:
hey event edit 4821 --title "Design review moved"Delete the event:
hey event delete 4821Todos
List todos:
hey todo listAdd and complete one:
hey todo add "Buy milk"
hey todo complete 1
Undo the completion:
hey todo uncomplete 1Habits
Create a habit for Mondays, Wednesdays and Fridays:
hey habit create "Practice piano" --icon music --color green --days mon,wed,friMark today’s habit complete:
hey habit complete 1List the habits for the week containing a date:
hey habit list --date 2026-09-02Time tracking
Start and stop a timer:
hey timetrack start
hey timetrack stop
Stop a running timer and file it under a category:
hey timetrack stop --category "Client work"See the current timer:
hey timetrack currentExport completed entries to CSV:
hey timetrack export > tracked-time.csvThe export does not include a timer that is still running.
Journal
Read today’s journal entry:
hey journal readWrite an entry:
hey journal write "Finished the first prototype today."Omit the text to use your editor:
hey journal writeThe editor opens with the existing entry. Saving an empty file removes that day’s entry.
Connect hey-cli to a coding agent
hey-cli contains an agent skill inside the executable. An agent can use its documented command interface and request structured output, without a custom HEY integration to build and maintain.
The setup wizard detects supported agents and offers to connect them. You can also do it yourself.
For Codex, run:
hey setup codexFor Claude Code, run:
hey setup claudeInstall only the shared skill:
hey skill installThe skill teaches the agent how to use the command, choose IDs, request structured output, and follow HEY workflows.
hey-cli only updates skill directories it owns. A managed directory carries a .managed-by-hey-cli marker. If you already created a custom hey skill, the installer refuses to overwrite or claim it.
Run this to inspect the health of the integration:
hey doctorAn agent can then search email, read a thread, prepare a draft, inspect a calendar, or update a todo through the same hey command.
The agent can access the HEY data and actions available to your signed-in account.
Use the same care you would use with any tool connected to email. Review the agent’s permissions, keep sending behind a draft when possible, and do not expose bearer tokens in prompts or logs.
Configuration and local trust
Show the active configuration with:
hey config showThe global configuration lives under:
~/.config/hey-cliA project can provide local settings in .hey/config.json.
That file could change the HEY server or selected account. hey-cli does not trust it silently.
The first interactive command asks whether to use the local values once, trust them, or cancel. A non-interactive or JSON command fails closed until you trust the file from that directory:
hey config trust-localThis protects scripts and agents from a repository that tries to redirect the CLI to another server.
Review trusted local configurations with:
hey config trusted-localsRemove trust with:
hey config untrust-localInstall shell completions
The setup wizard normally installs shell completions.
You can run the installer yourself:
hey shell-completion installIt detects the shell from $SHELL.
To select Fish explicitly, run:
hey shell-completion install fishThis writes the completion file to ~/.config/fish/completions/hey.fish.
For Zsh, it writes a completion file into a directory on your fpath. If none is available, it uses ~/.local/share/zsh/site-functions/_hey and tells you how to add that directory.
Completion files are also ownership-aware. hey-cli does not replace a file it did not create unless you pass --force.
Upgrade hey-cli
Check the installed version:
hey versionUpgrade to the latest release:
hey upgradeFor a binary installed by the official script, the upgrade downloads the new release, verifies it, replaces the executable, and checks the installed version.
The replacement is transactional. If something fails, hey-cli restores the previous executable when possible.
For Homebrew installations, the command delegates to Homebrew.
Run the health checker after an update or when something feels wrong:
hey doctorIt checks authentication, configuration, updates, shell completions, and agent integrations.
Remove hey-cli
Before removing the program, log out and remove the managed agent integrations:
hey auth logout
hey setup agents --remove
If you installed it with Homebrew, uninstall the cask:
brew uninstall --cask basecamp/tap/heyIf you used the official installer, first find the executable:
command -v heyRemove that exact file after checking the path. Do not delete the whole containing directory because it may hold other commands.
The installer may also have added its binary directory to ~/.zshrc. Remove that line only if no other tool uses the same directory.
How I would use hey-cli
I see 2 different ways to use hey-cli with agents.
Give an agent its own email address
One option is to give an agent a separate HEY address and let it run an email workflow on its own.
For example, Waiting Lists depends on email across the entire product lifecycle. People join a list, receive launch updates, ask questions, and reply with feedback.
An agent with its own address could send onboarding and follow-up messages. It could also read incoming replies, analyze feedback, manage contacts, and keep every conversation organized. It could watch for new mail and react without using my personal inbox:
app event → agent sends email → person replies → agent analyzes reply → next actionI would keep its scope narrow. It would use its own address, follow clear rules, and only work with the contacts for that app.
Let an agent help with my email
The other option is to use an AI agent to handle my email under my supervision.
Because HEY is already my email tool, I would use hey-cli as another interface for it. I would not try to replace the HEY apps completely.
I would use the TUI for quick mail checks while working in the terminal. For more precise work, I would use the CLI.
I could ask an agent to search my email, summarize threads, analyze received messages, manage contacts, and prepare drafts. I would review important actions, especially anything that sends email from my address.
The workflow would look like this:
search → read → prepare draft → human review → sendI would also use hey screener list --count for a small status check. It gives me one number without opening the whole queue.
I would use hey watch only for a real automation that needs live events. I would not keep it running just because I can. Email does not need to interrupt every minute of the day.
I would not let an agent send arbitrary email automatically from my personal address. Full autonomy belongs on a separate, app-specific account. For my inbox, the draft workflow gives us a useful checkpoint.
Where hey-cli is not a good fit
hey-cli only works with HEY. It is not an IMAP client for Gmail, Fastmail, or a mail server you run yourself.
It also does not make the visual HEY apps obsolete.
I would still use the web or native app when I want a large calendar view, a visual inbox session, or careful drag-and-drop organization.
The CLI is strongest when the action is clear:
- find this thread
- draft this reply
- move these messages
- save this attachment
- list today’s events
- start a timer
- wait for one new message
It is also a young project with a large command surface. Commands and features can evolve, so use hey --help and the official repository as the current reference.
Want me to talk about your product? You can sponsor this site.