Arduino project: blink a LED
By Flavio Copes
Build your first Arduino project: blink a LED. You will wire a circuit and write a program with pinMode, digitalWrite, and delay, then upload it via USB.
I introduced Arduino in Introduction to Arduino.
In this tutorial I want to build the first Arduino project. We’ll turn a LED light ON and OFF.
You will learn how to create your first Arduino program, upload it to the Arduino board via USB, and how to write to a digital I/O pin.
It’s a very simple project, but you’ll learn a lot of stuff about Arduino if it’s your first time.
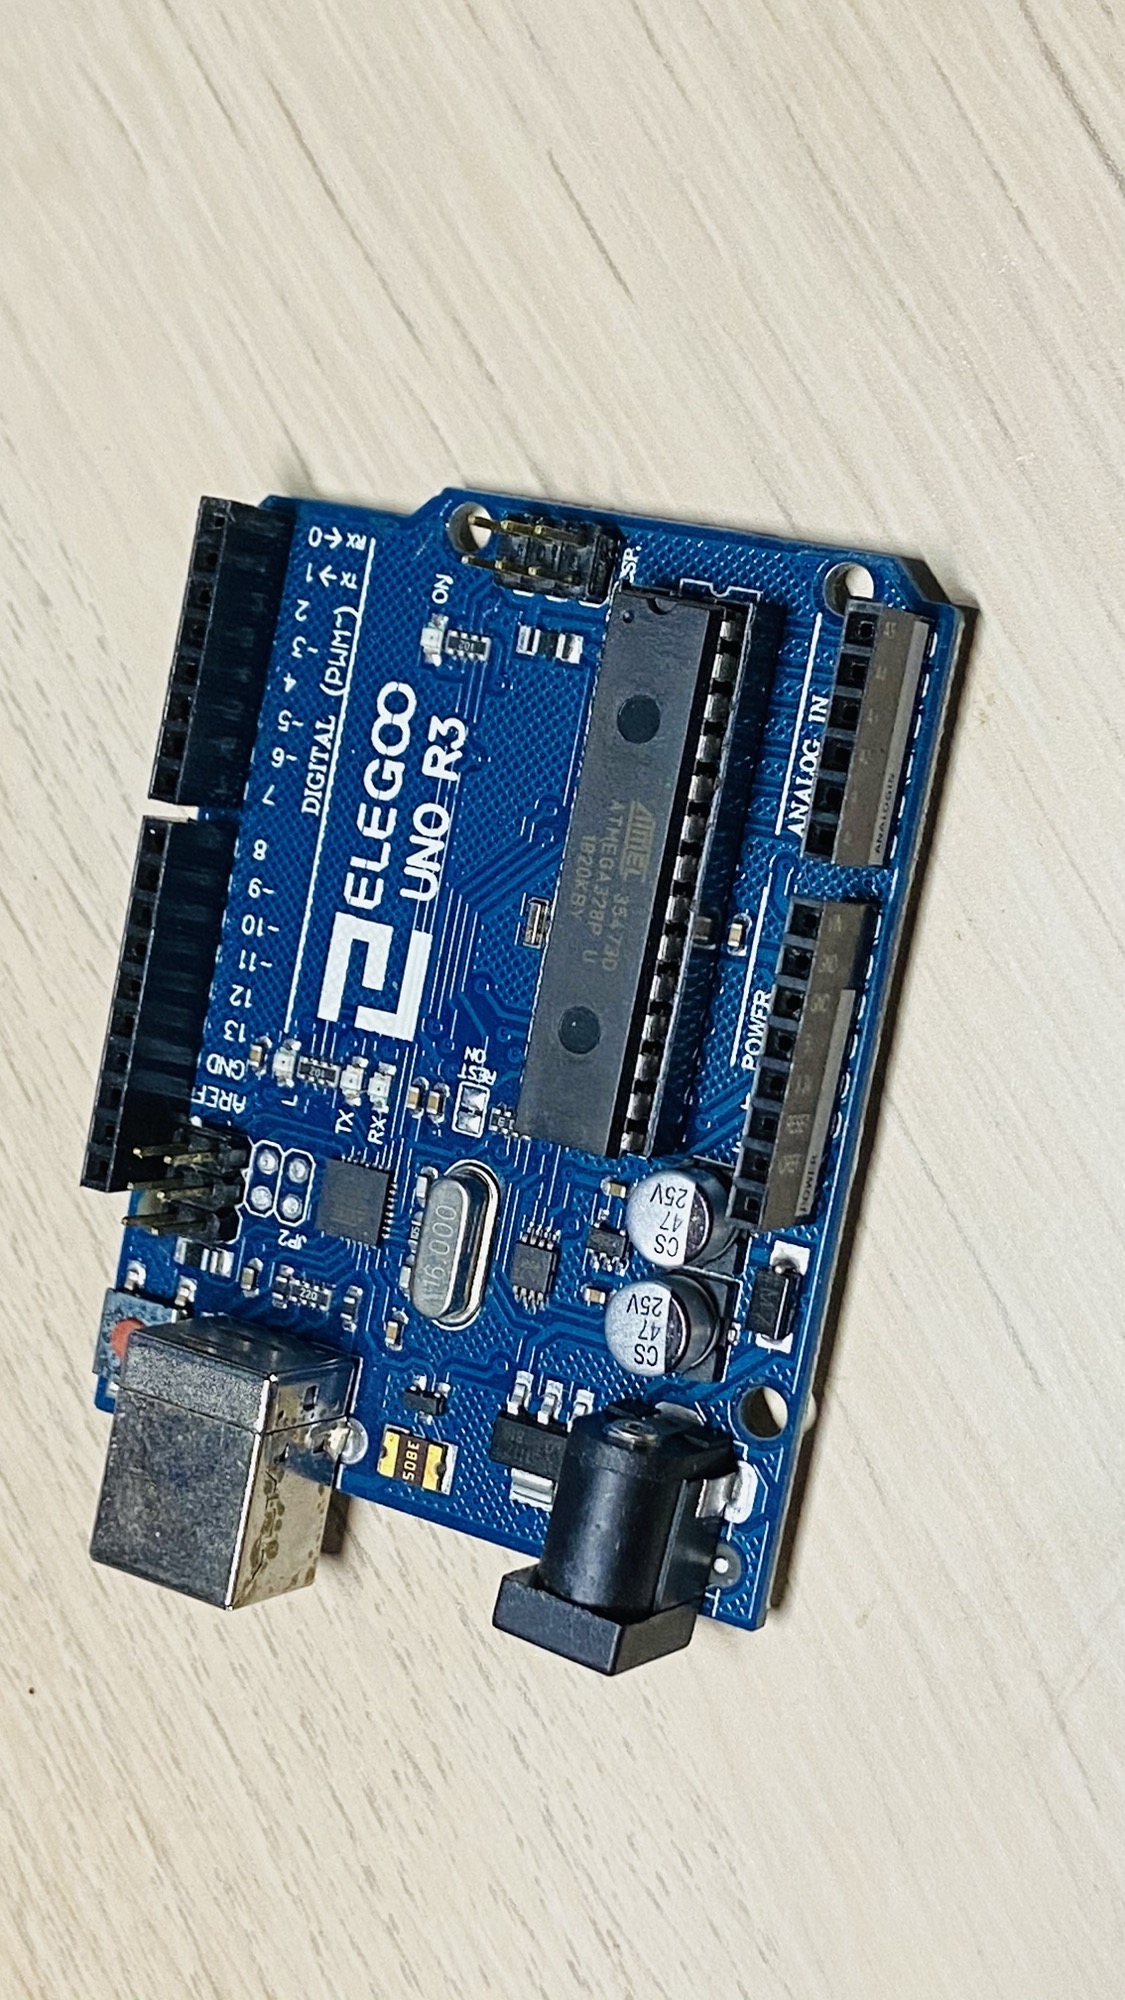
I will do the tutorial using an Arduino Uno rev 3 clone board.
If you already have an Arduino board, you can use the one you’ve got. The important thing to note here is that the board should work at 5V I/O pins.
Some boards, for example the Arduino MKR WiFi 1010, works exclusively with 3.3V I/O pins. If that’s your board, there’s no problem but take in mind there’s this difference in voltage.
Here’s the board:
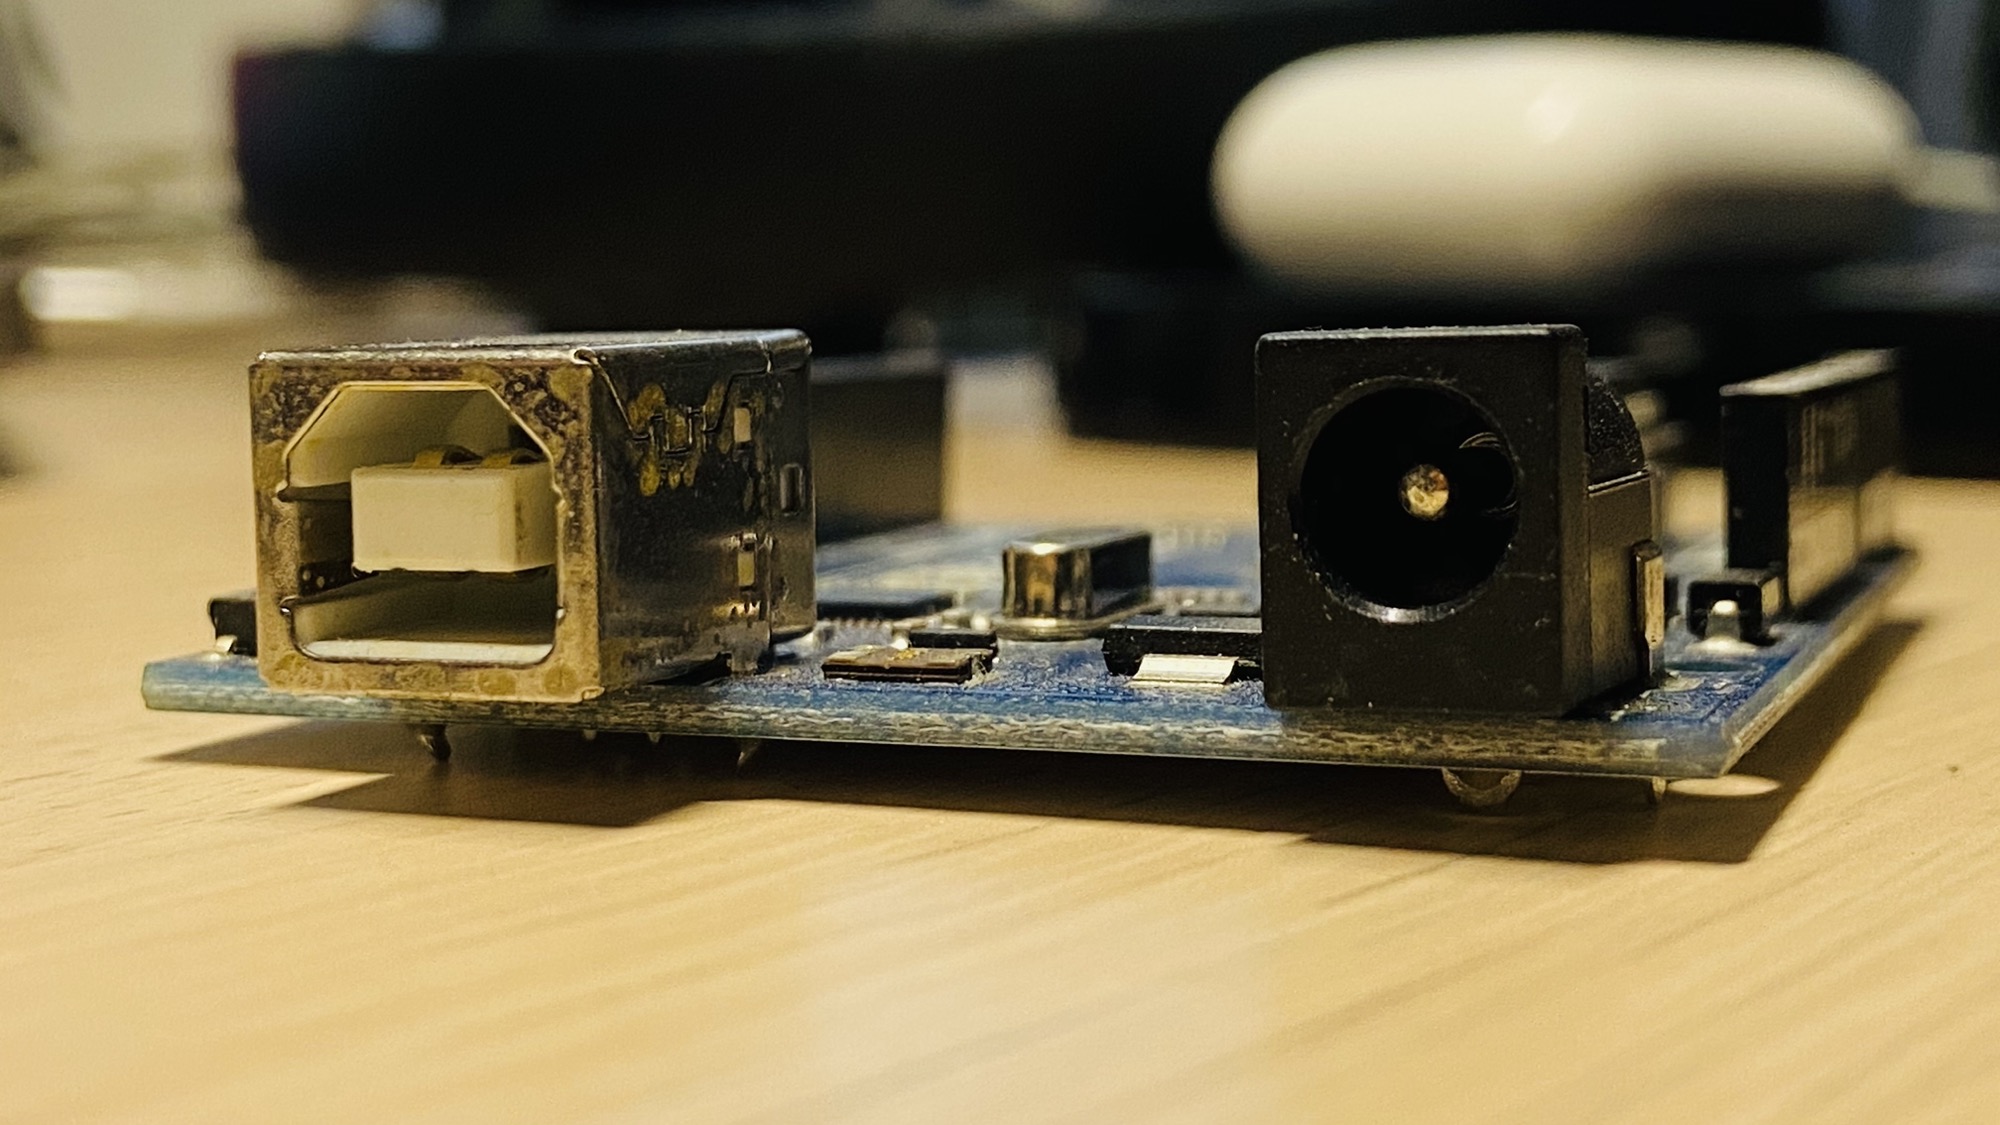
We can power it with a USB-B port, or a battery (a 9V battery works great, as the recommended input voltage is 7-12V):
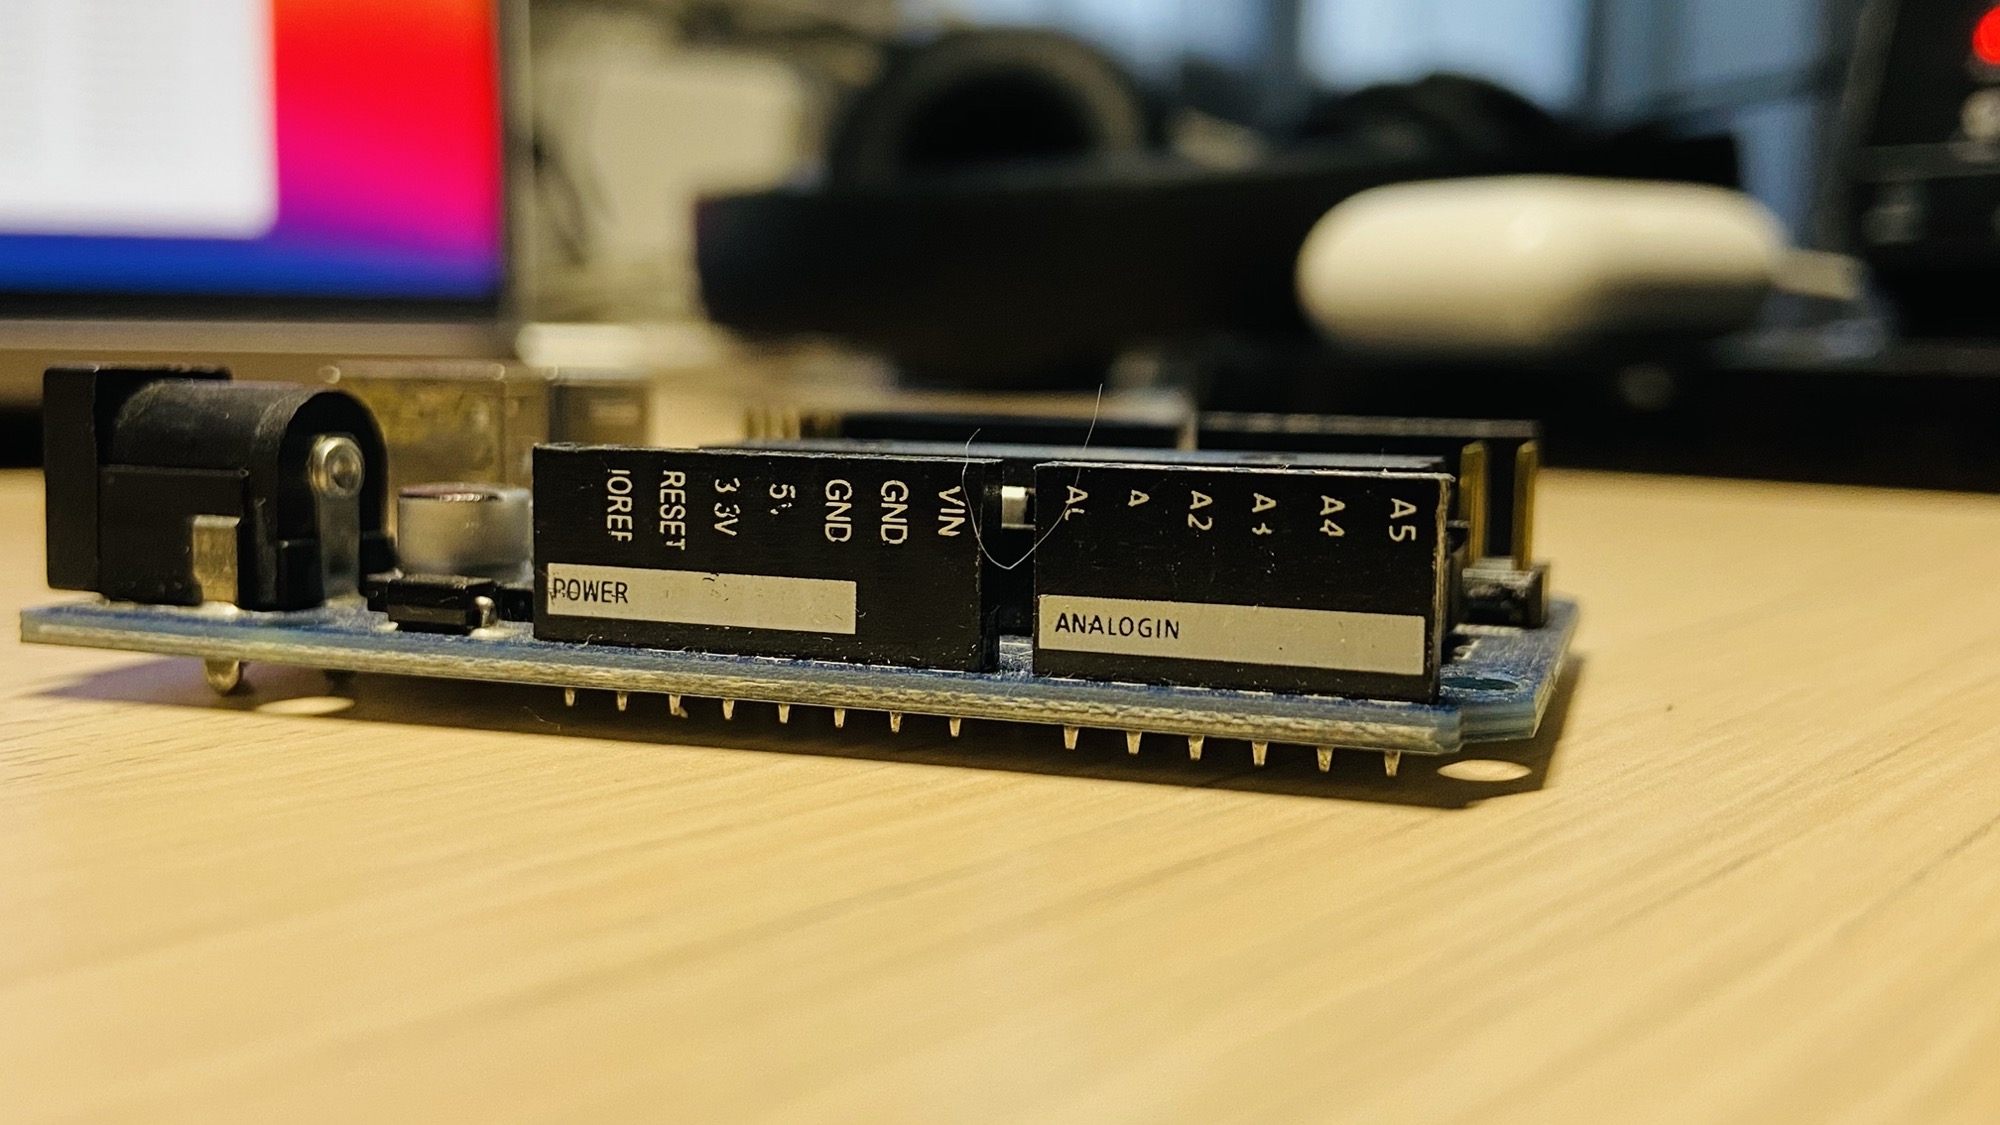
We have a set of power pins and analog I/O pins on one side:
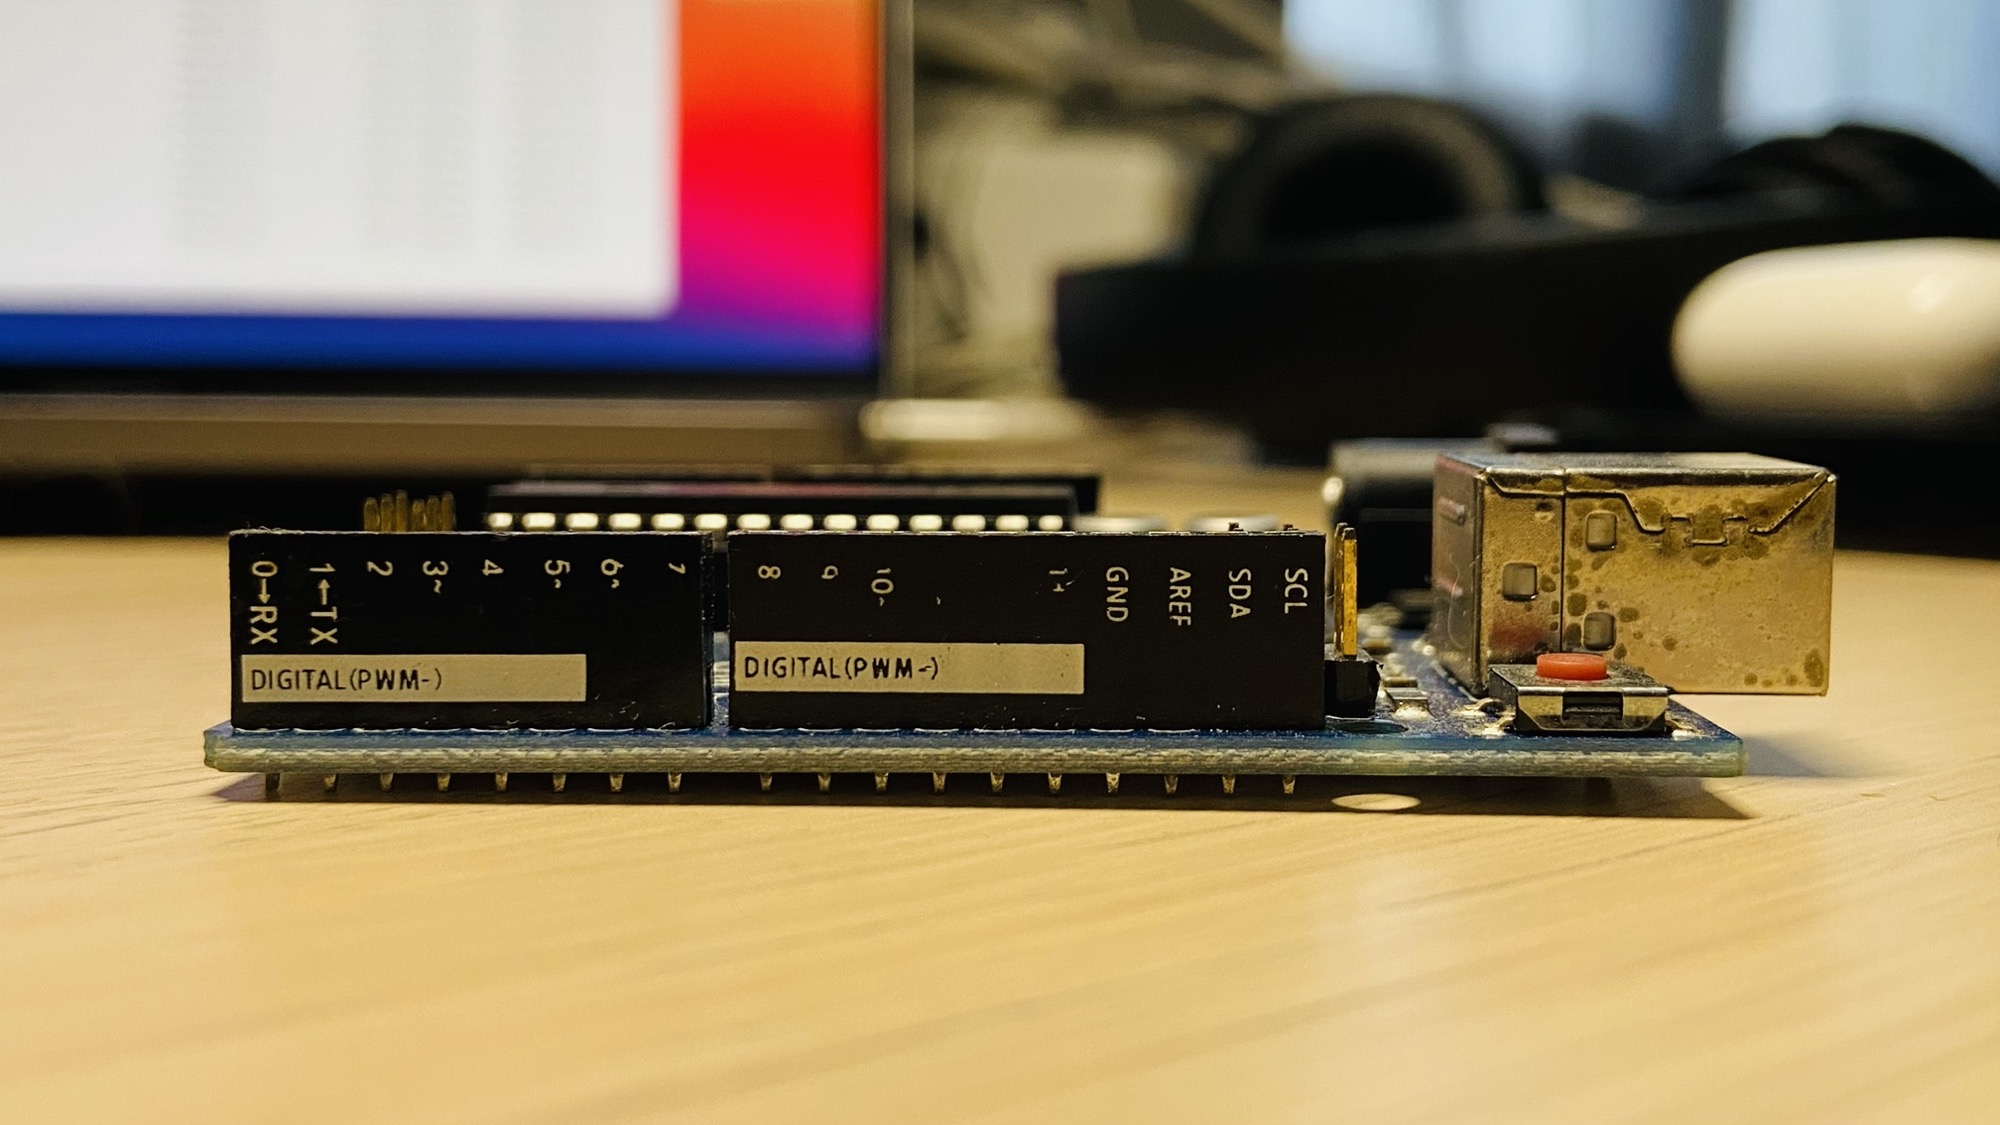
And a set of digital I/O pins on the other side:
Let’s build a simple circuit that lights a LED. We use a 1kΩ resistor, a yellow 5mm LED, and we connect it to - and + as usual:
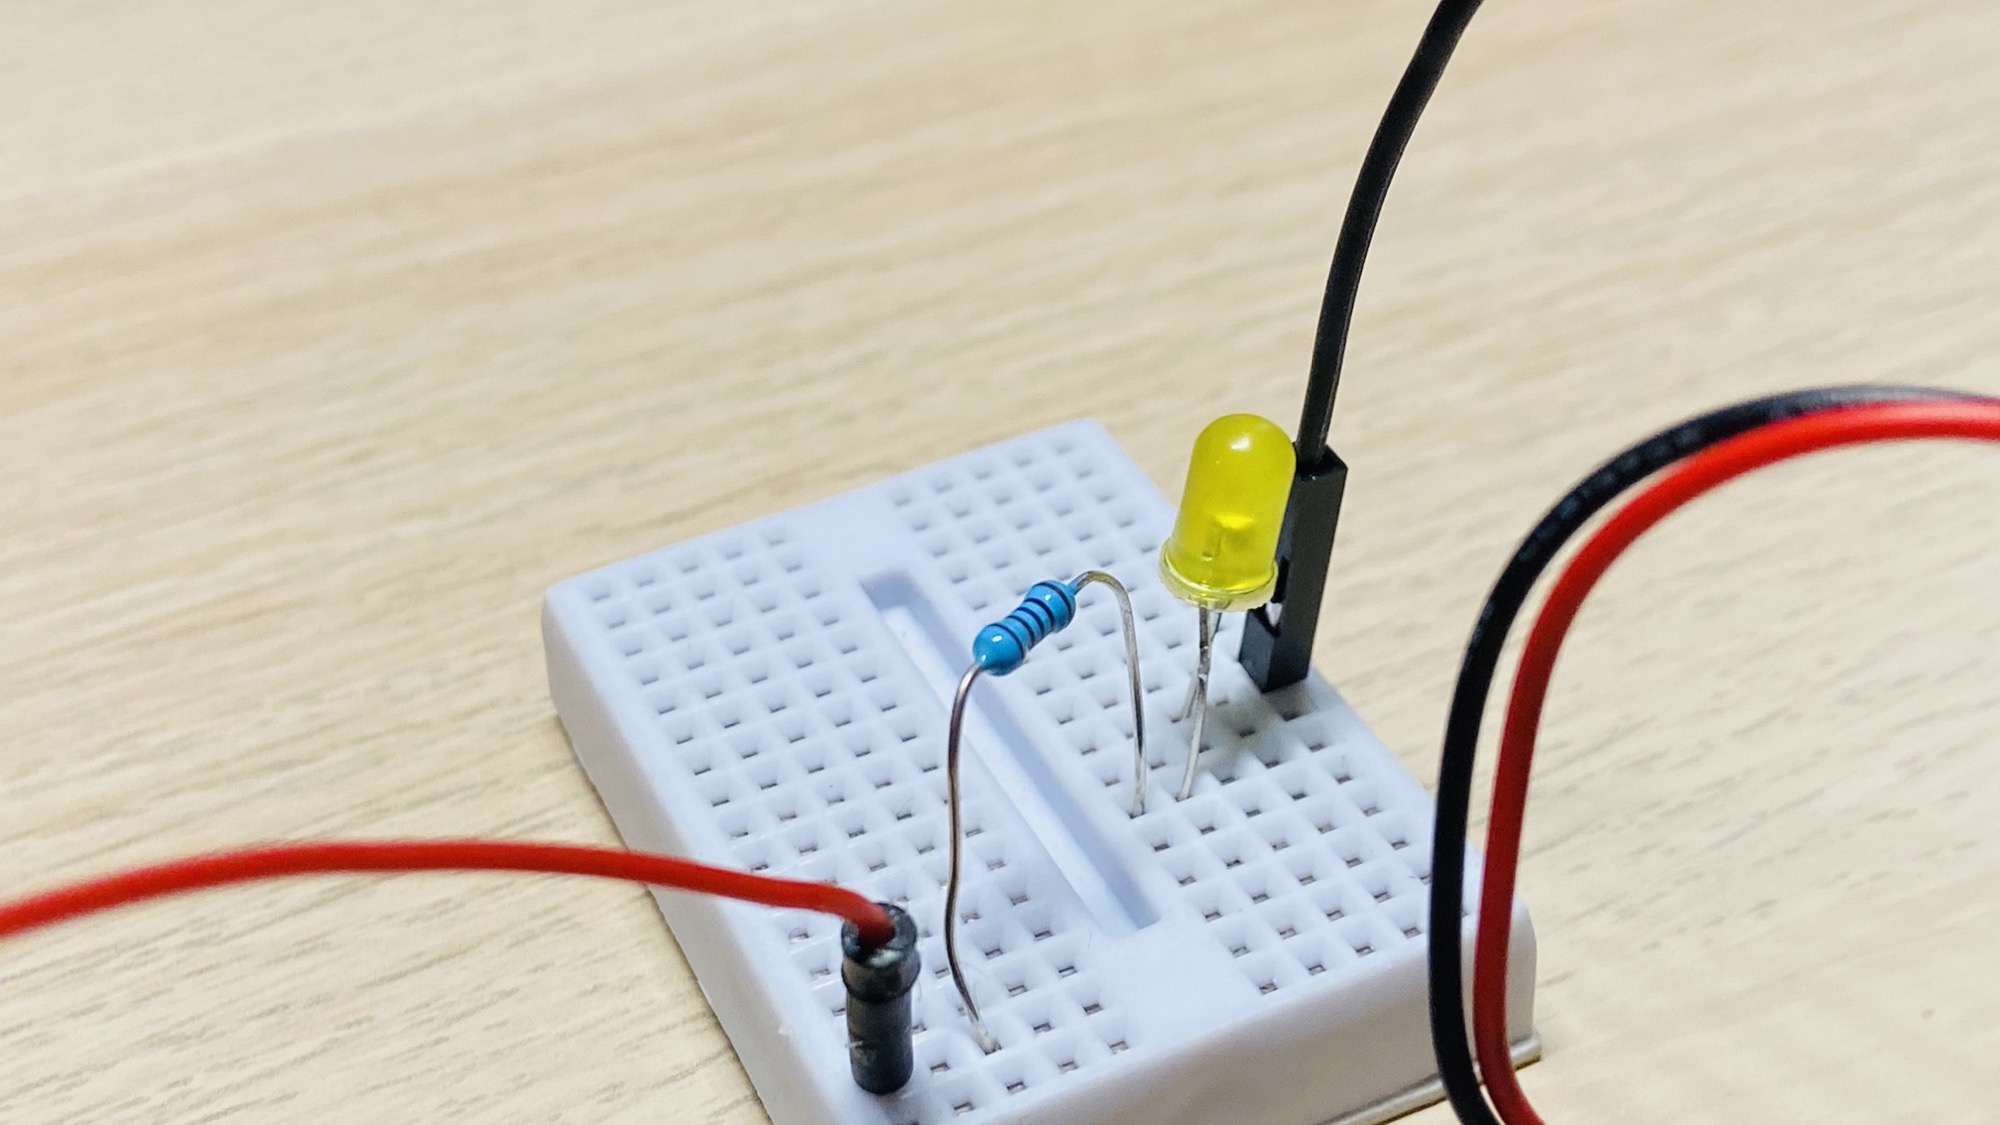
The + and - are connected to the power pins of the Arduino that serve 5V and GND:
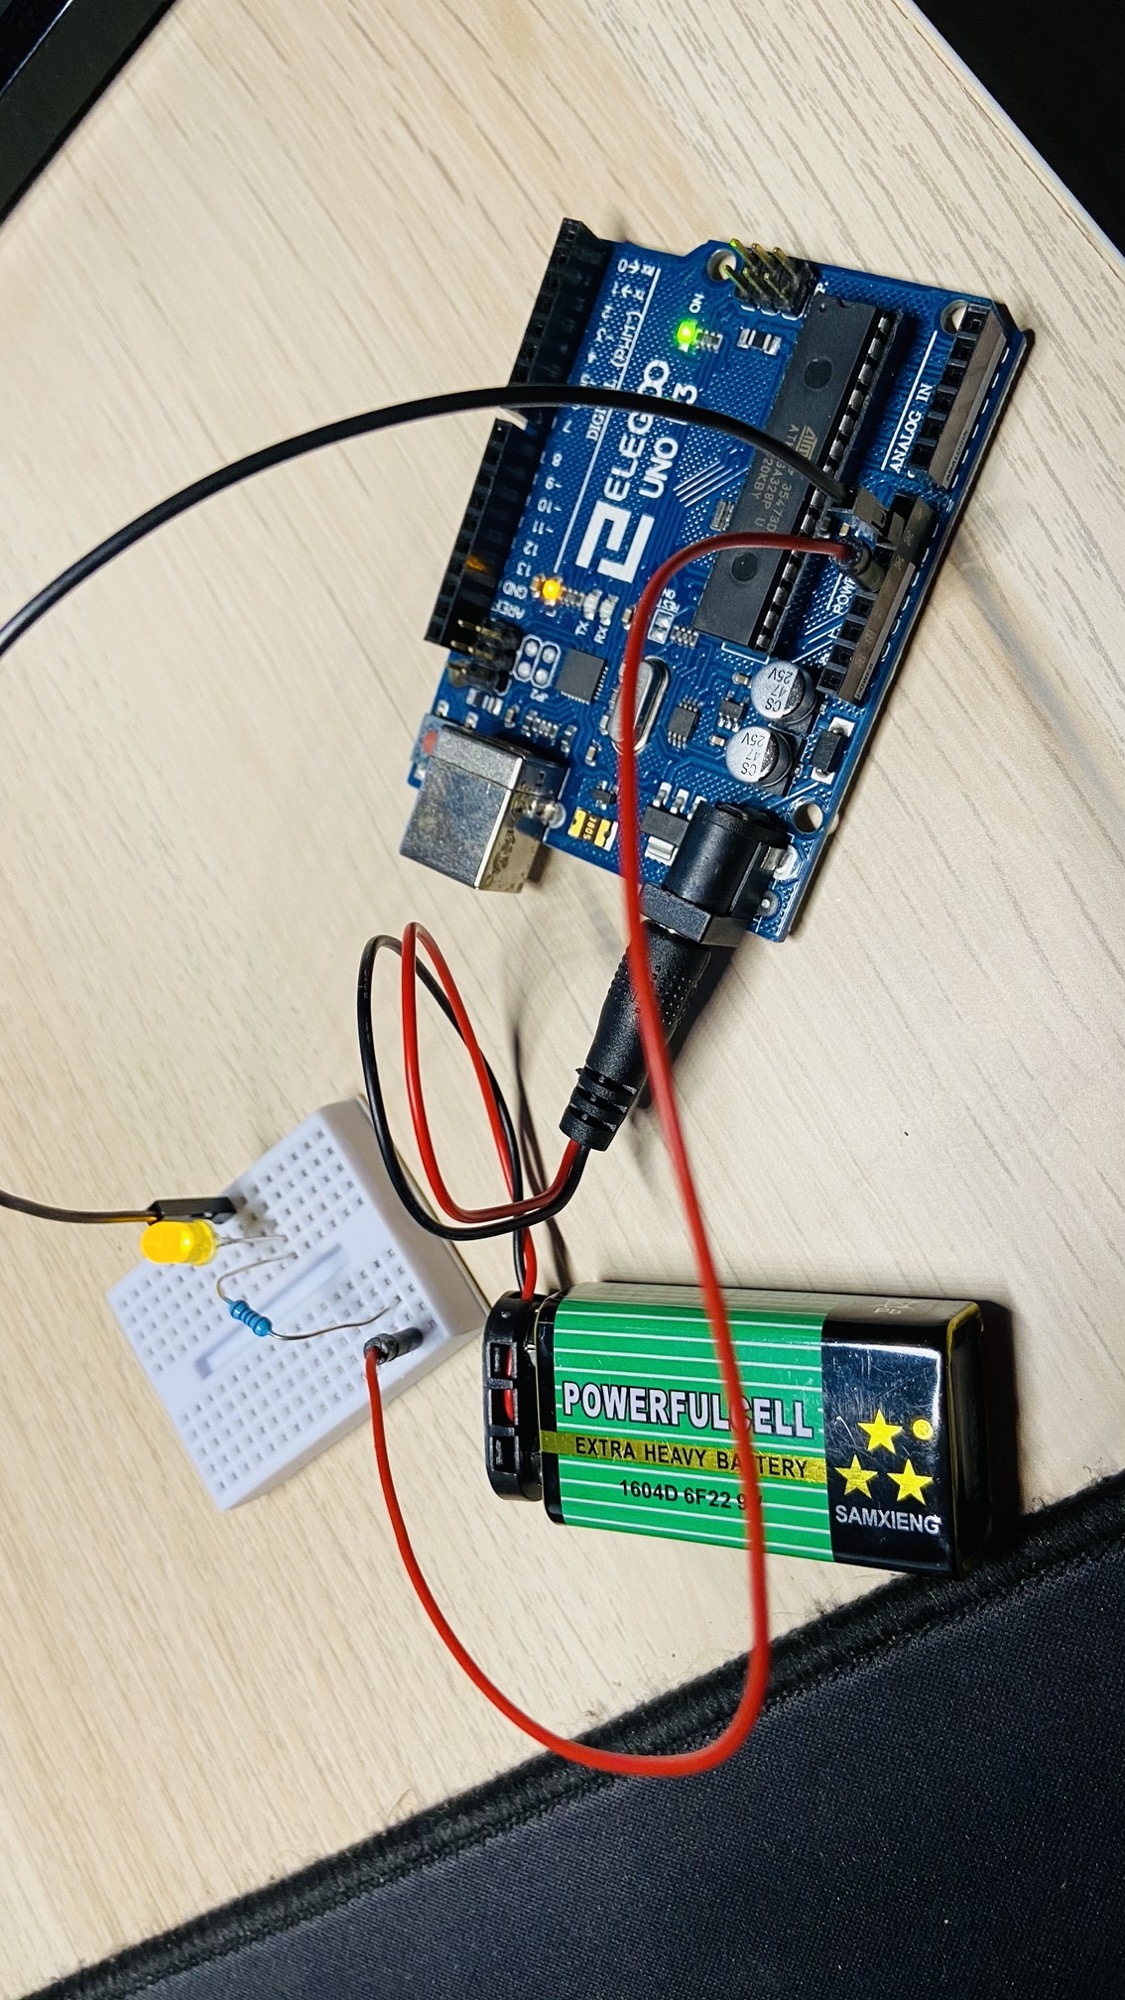
As you can see, the LED turns on when we power the Arduino with a battery:
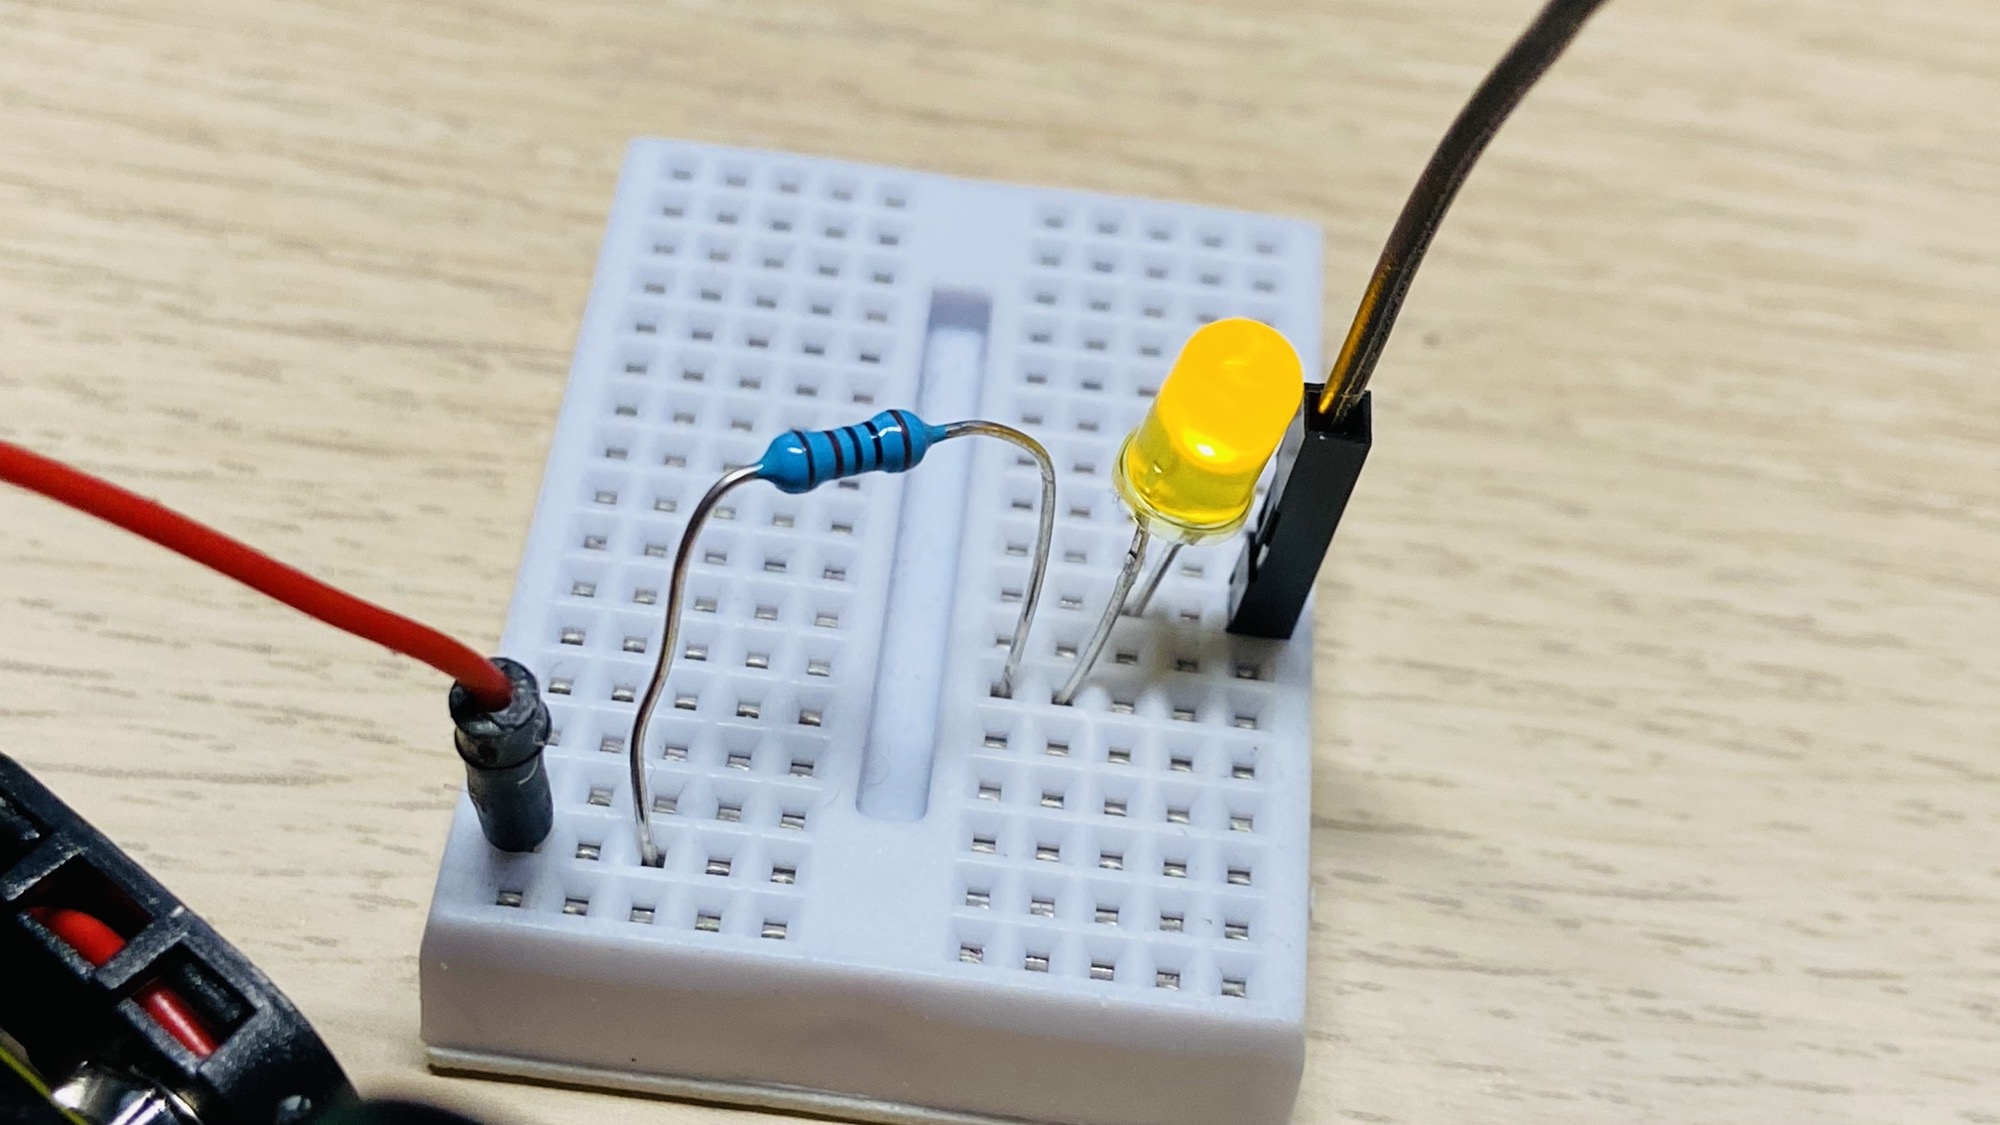
Now in this circuit Arduino doesn’t do anything useful other than scaling the 9V in the input provided by the battery to 5V.
Let’s make the LED blink by writing our first Arduino program.
To do so, we must first install the Arduino IDE on our computer.
Go to https://www.arduino.cc/en/software and download Arduino IDE 2.3.10 (or the latest 2.x) for your operating system:
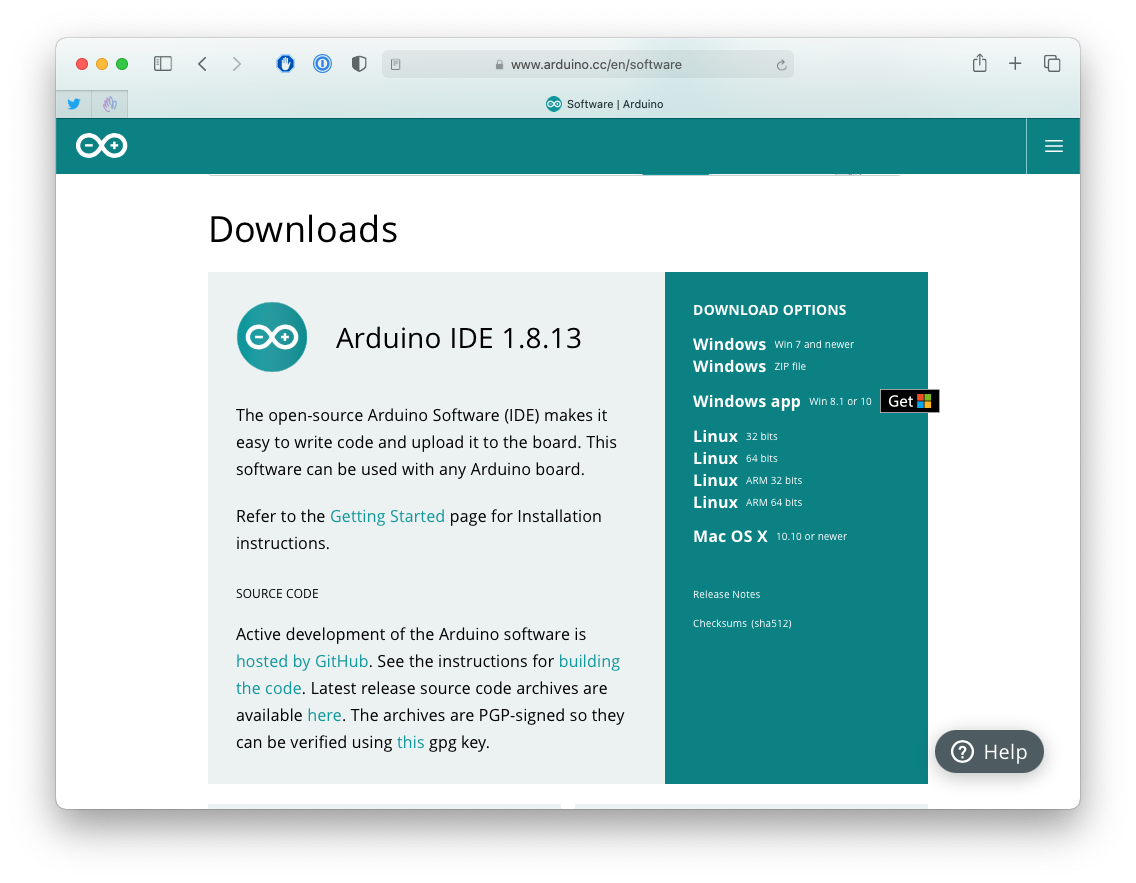
The screenshot above is from an older IDE 1.8 download page. The current installer is IDE 2.3.10, and the UI looks different (darker layout, board selector in the toolbar), but the sketch workflow is the same.
After the software is downloaded, on macOS you need to move the Arduino IDE app to your Applications folder. Check the Windows and Linux installation instructions.
Start the program and you should see a blank sketch with setup() and loop():
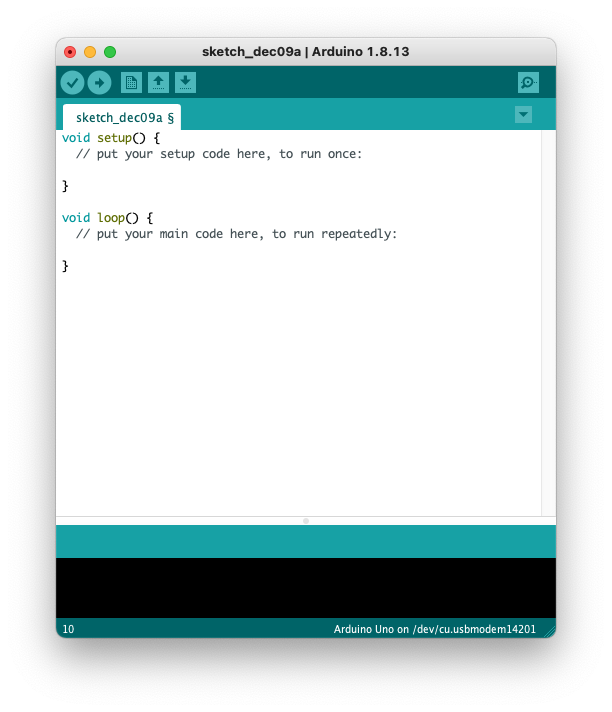
(That screenshot is IDE 1.8. In IDE 2.3.10 the editor chrome differs, but you still get the same empty setup() / loop() sketch.)
As mentioned in the introduction to the Arduino Programming Language tutorial, the setup() function is executed once, right after the program starts, and it’s where we usually set up the pin modes for example.
The loop() function is executed continuously in a loop, forever.
In our program we’ll first set the digital I/O pin number 13 as an output pin:
#define LED_PIN 13

void setup() {
    // Configure pin 13 to be a digital output
    pinMode(LED_PIN, OUTPUT);
}
Then in loop() we tell our Arduino to write a HIGH level of tension (5V), wait 1 second, write a LOW level of tension (0V = ground) and wait 1 second, then repeat forever:
void loop() {
    digitalWrite(LED_PIN, HIGH);
    delay(1000);
    digitalWrite(LED_PIN, LOW);
    delay(1000);
}
HIGH and LOW are constants available by default in our Arduino programs.
digitalWrite() writes a HIGH or LOW value to a specific digital output pin. You pass the pin number and HIGH or LOW as parameters.
delay() pauses the program for a number of milliseconds specified as parameter.
The first time you start the program you need to pick the board and the serial port. In Arduino IDE 2.3.10 use the board selector in the toolbar (or Tools -> Board / Tools -> Port). Choose Arduino Uno and the port that appears when the board is plugged in.
Make sure the Arduino is connected to the computer.
I use a MacBook Pro with USB-C ports, and the Arduino has a USB-B port, so I use an adapter.
Before you can compile the program and write it on the Arduino you need to save the file. You can save it anywhere you like. I created an Arduino folder in my Documents folder, and there is where I store all the Arduino programs I write.
Click the Upload button (the right arrow) and the program should be compiled and installed on the Arduino. The LED should start blinking. In IDE 2 you’ll see compile/upload progress in the bottom panel instead of the old IDE 1.8 status line.
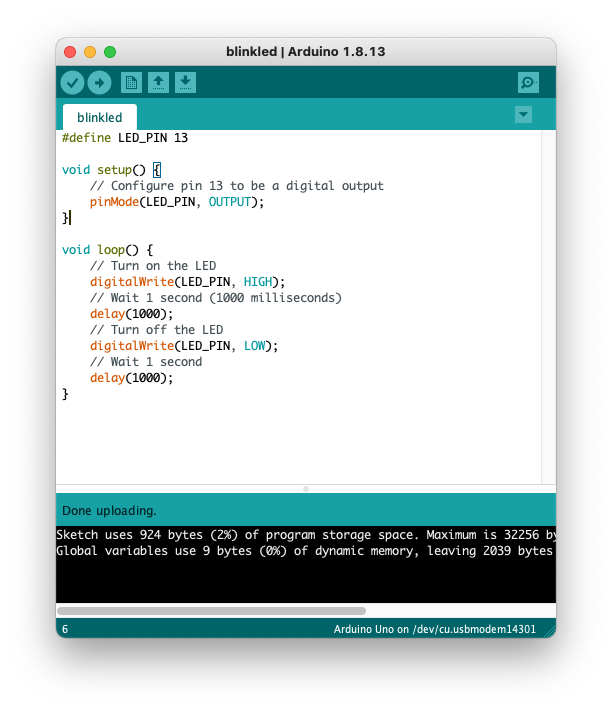
Now if you disconnect the USB cable from the computer, you will see the LED will turn off because the Arduino is no longer powered.
But if you connect the USB cable to a normal USB charger, the LED will blink. The computer is no longer needed. The Arduino runs the program we loaded, just this program, no other software is running.
And as soon as it’s powered, the program starts and runs.
Want me to talk about your product? You can sponsor this site.
Related posts about electronics: