
How to use Contact Sheet Studio
Contact Sheet Studio
Make a Letter or A4 contact sheet on your Mac and keep the original filenames visible beside the pictures.
Free to read. You can explore the guide before buying the app.
On this page
Install
Contact Sheet Studio requires macOS 15 Sequoia or later, on Apple silicon or Intel. Download the ZIP from the order page or your Creem receipt. Unzip it and move the app to Applications.
The app checks for updates once a day. When a new version is ready, click Install and Relaunch. To check anytime, choose Contact Sheet Studio → Check for Updates….
If your copy still asks for a key, download the latest version from your purchase page and replace the old app in Applications.
Prepare the files
Use Add Image Folders… to select your source folders. Each selected folder gets its own PDF. Pictures within a folder appear in filename order. Pick between two and five columns, and between two and six rows. Each subfolder starts a fresh page.
If a filename is too long for the cell, the PDF shortens its middle. Pick fewer columns for more space. Images that can’t be decoded get a labeled placeholder and a separate text report.
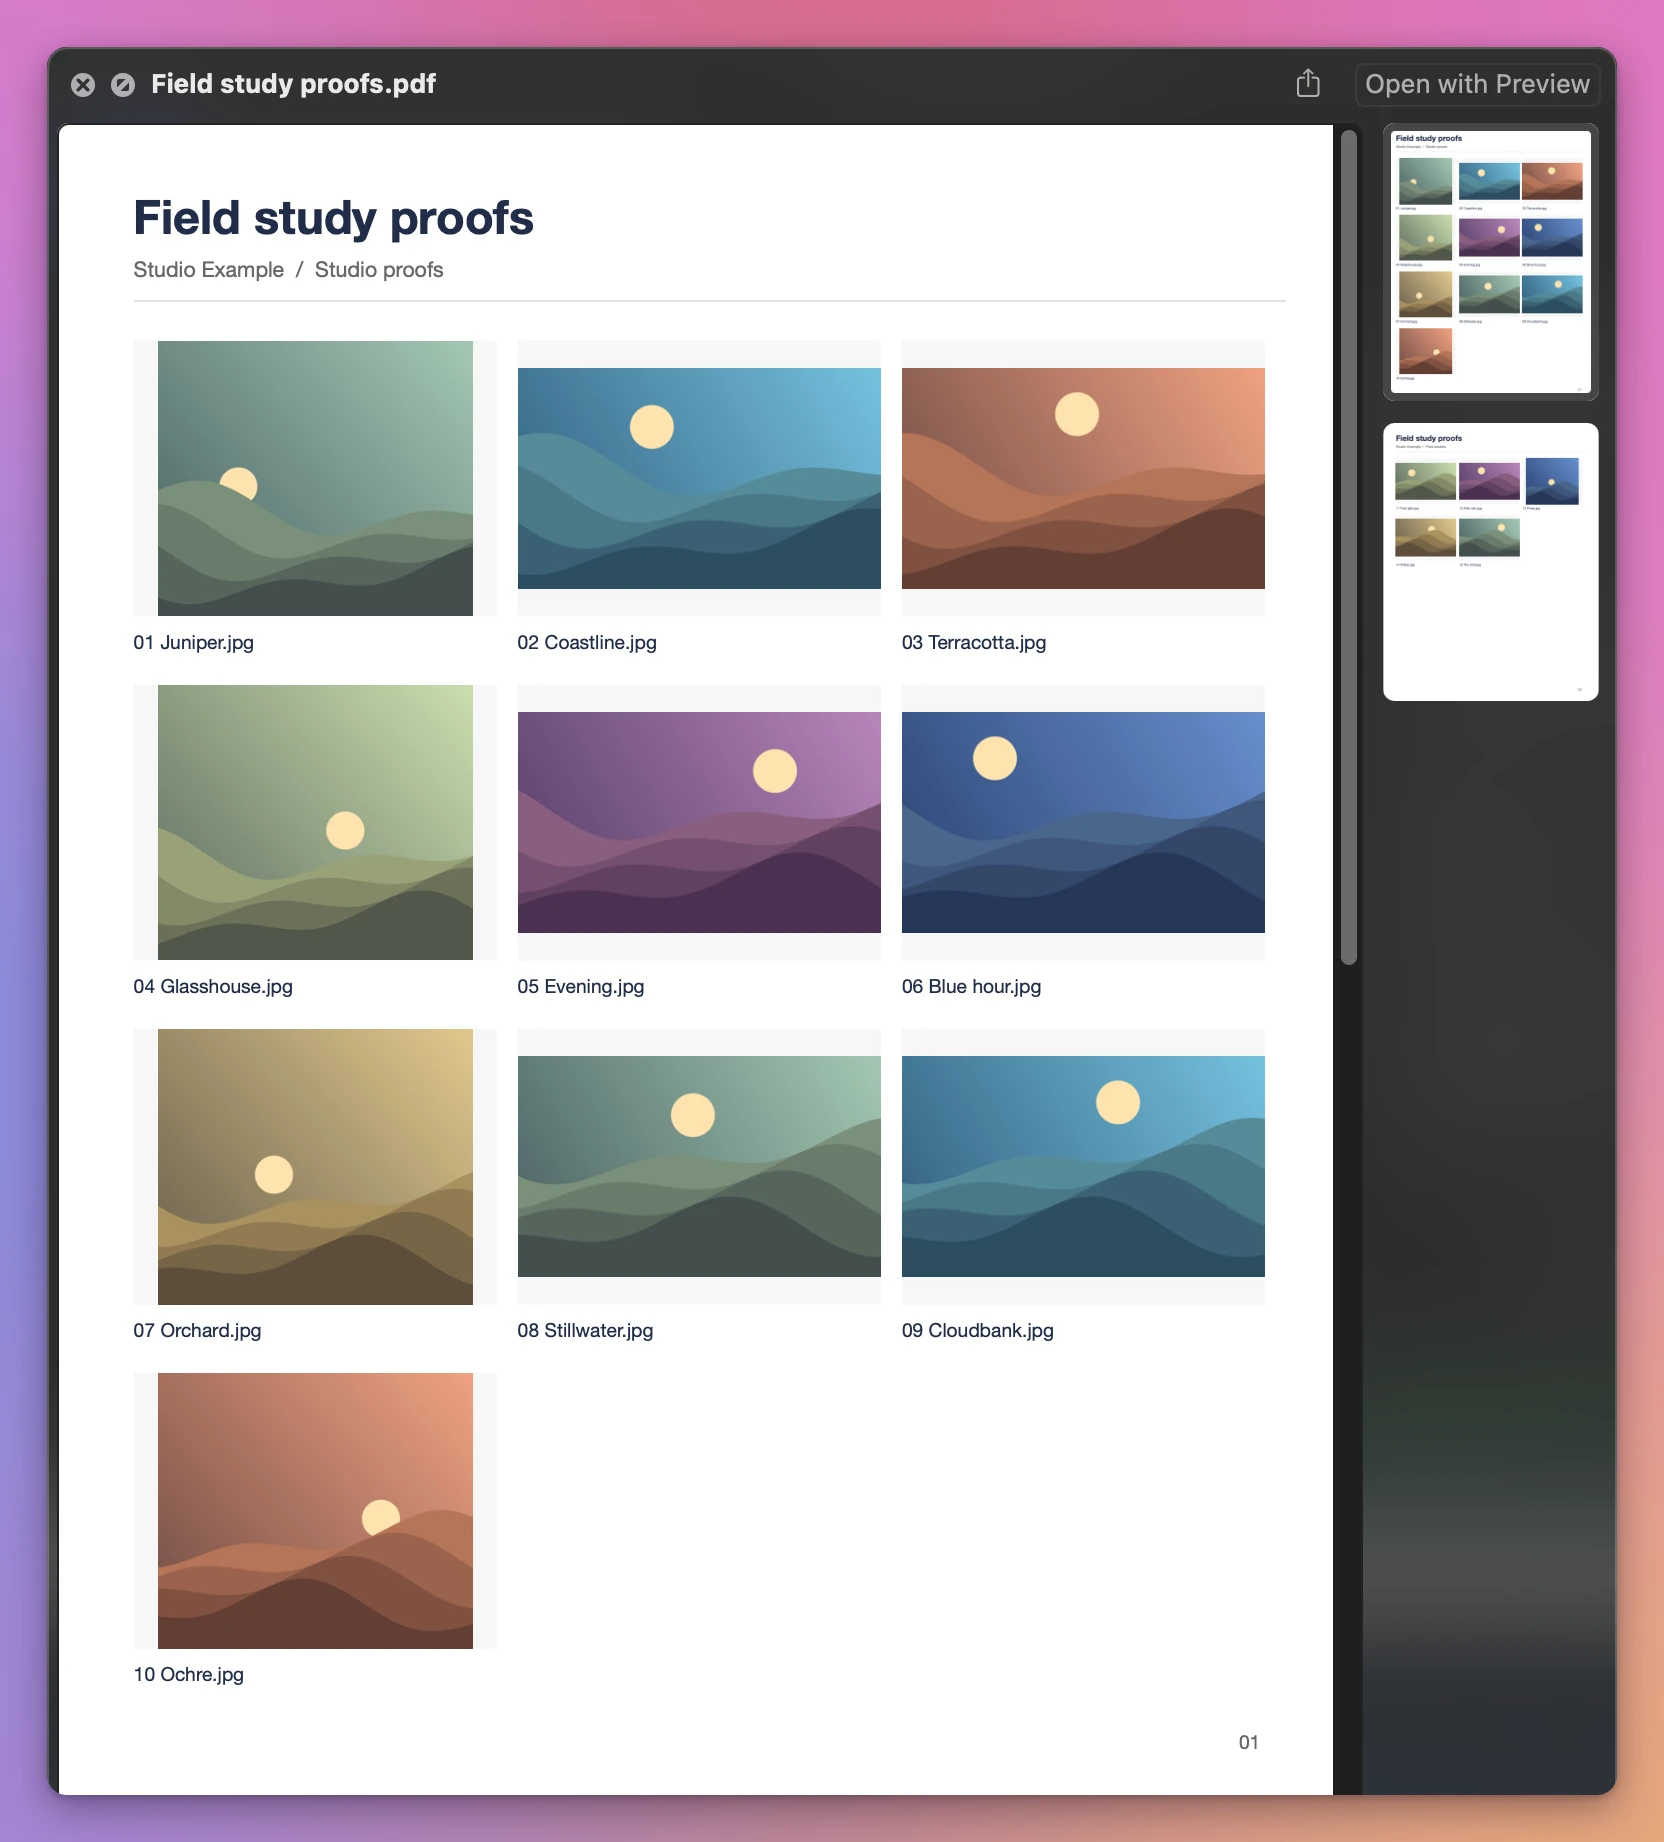
Save and find the result
Choose an output folder in Export settings and click Export. The queue lists results beneath each input. Show output opens the folder in Finder. Existing files are kept and repeated output names get a number.
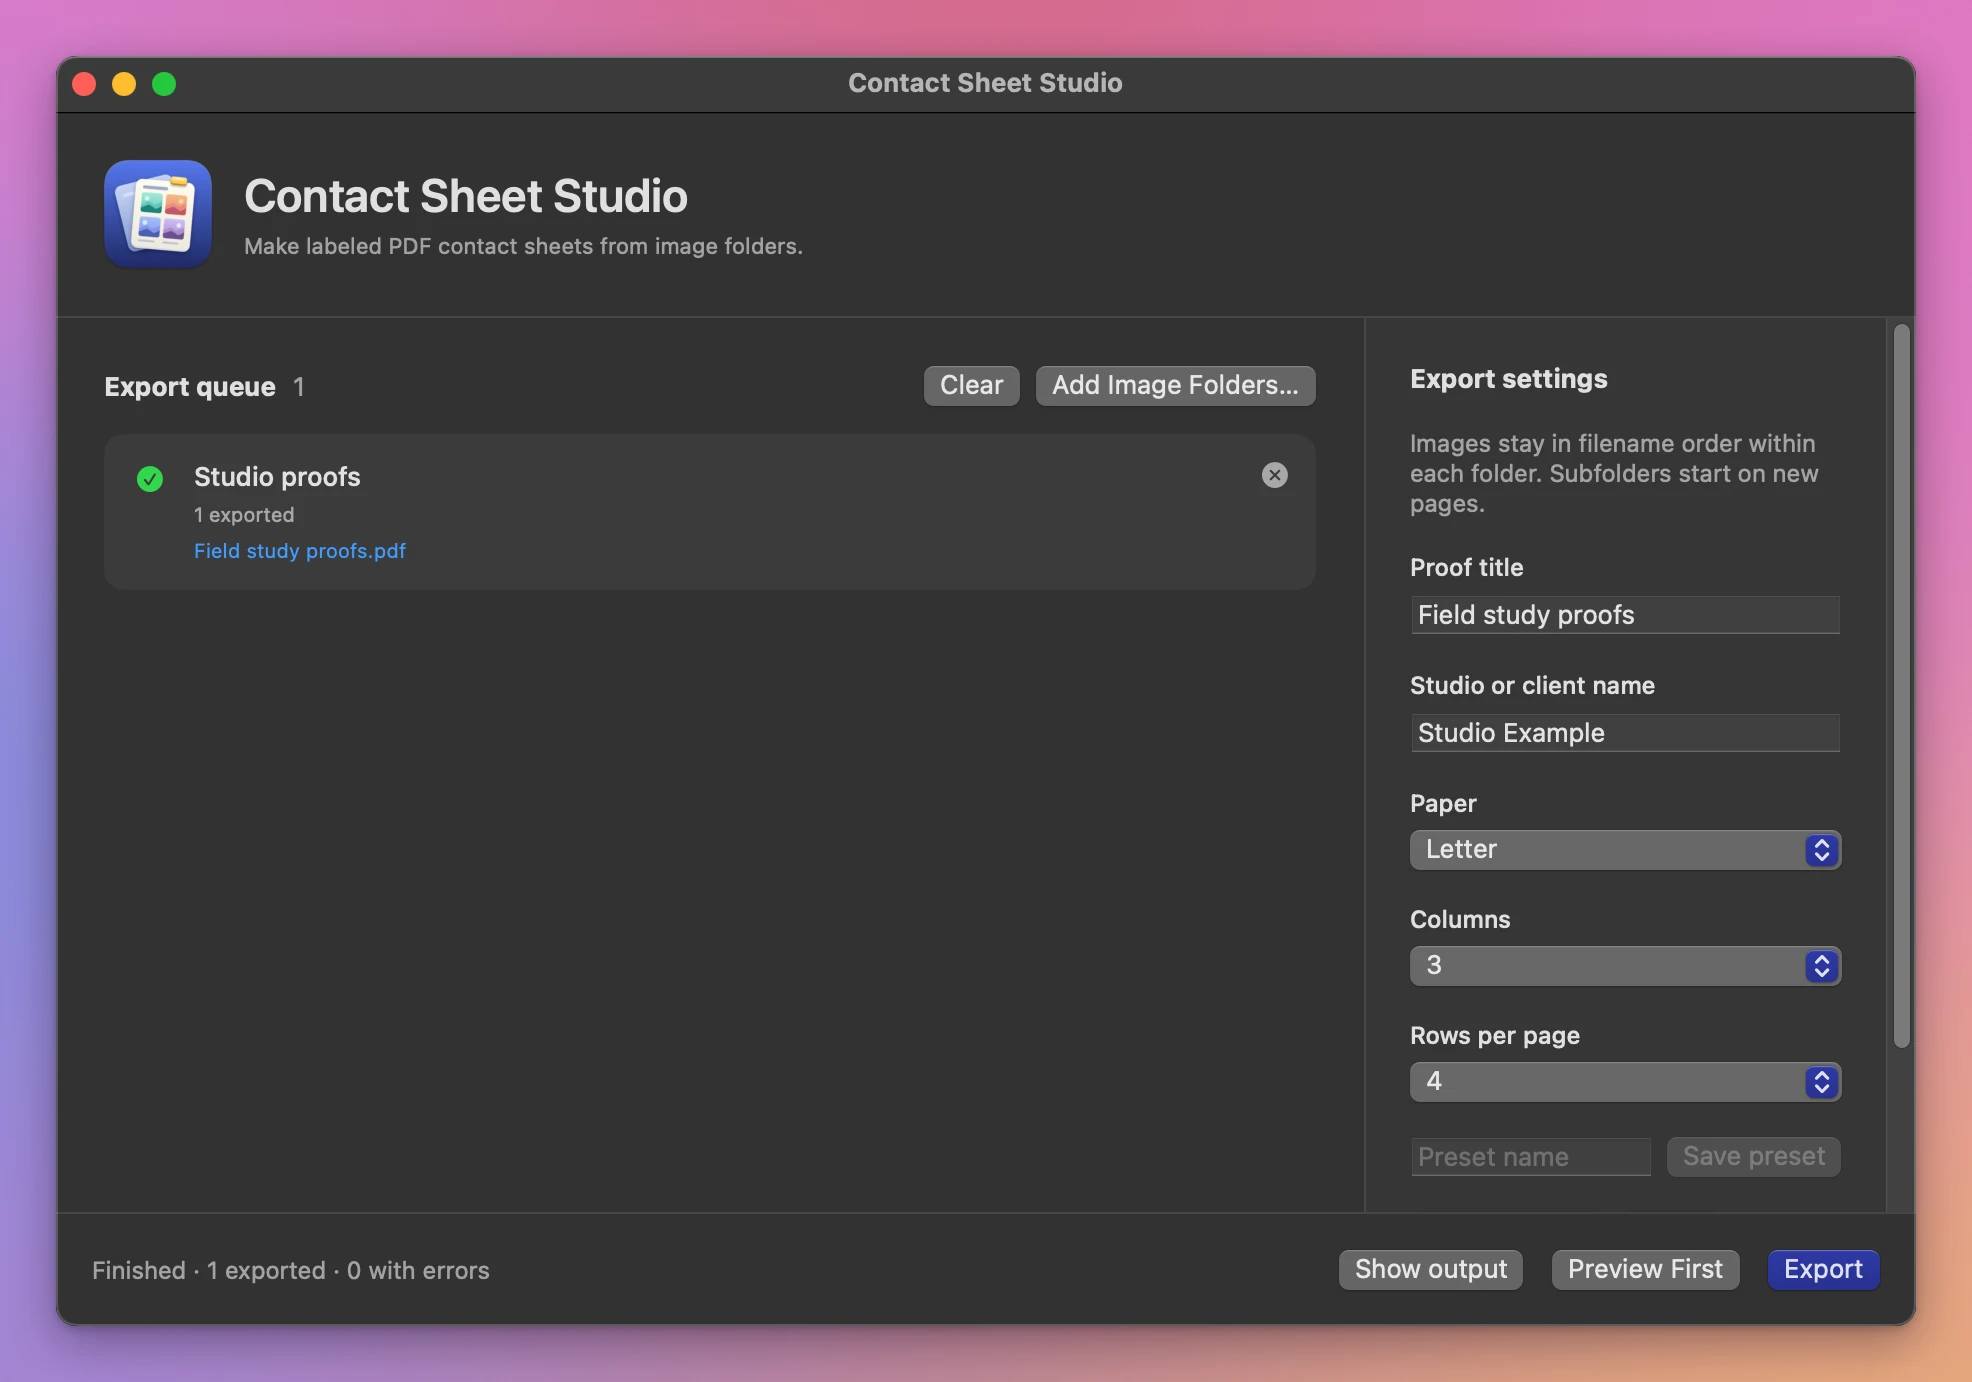
Cancel stops the batch. Copies that finished before cancellation stay in the output folder.
The app uses macOS image decoding. Very long filenames are shortened in the PDF, so use fewer columns when names run long.
File processing happens on your Mac. The app uses the internet to check for and download updates.
See Contact Sheet Studio → · $20 including tax.