Installing Python 3 on macOS
A how-to guide on installing the latest version of Python on your Mac
macOS installs Python 2 (outdated) by default, for compatibility reasons, making it available as /usr/bin/python.
If you install Xcode, the Apple Development IDE, it installs Python 3 in /usr/bin/python3. In this case you can run python3 on your terminal to check the exact version installed, and if it’s recent enough you might be already set up.
Python 3 is the one we’re going to use for modern Python development.
However you have little control over the version number you run, as Apple updates it only with new Xcode releases.
In my case I had Python 3.8, but Python 3.9 was available to be installed.
One option is to use Homebrew to install the latest Python release.
Another option is to use the official Python packages and that’s the approach we’ll follow.
Go to https://www.python.org, choose the Downloads menu, hover “Mac OS X” and a panel with a link to download the official package will appear:
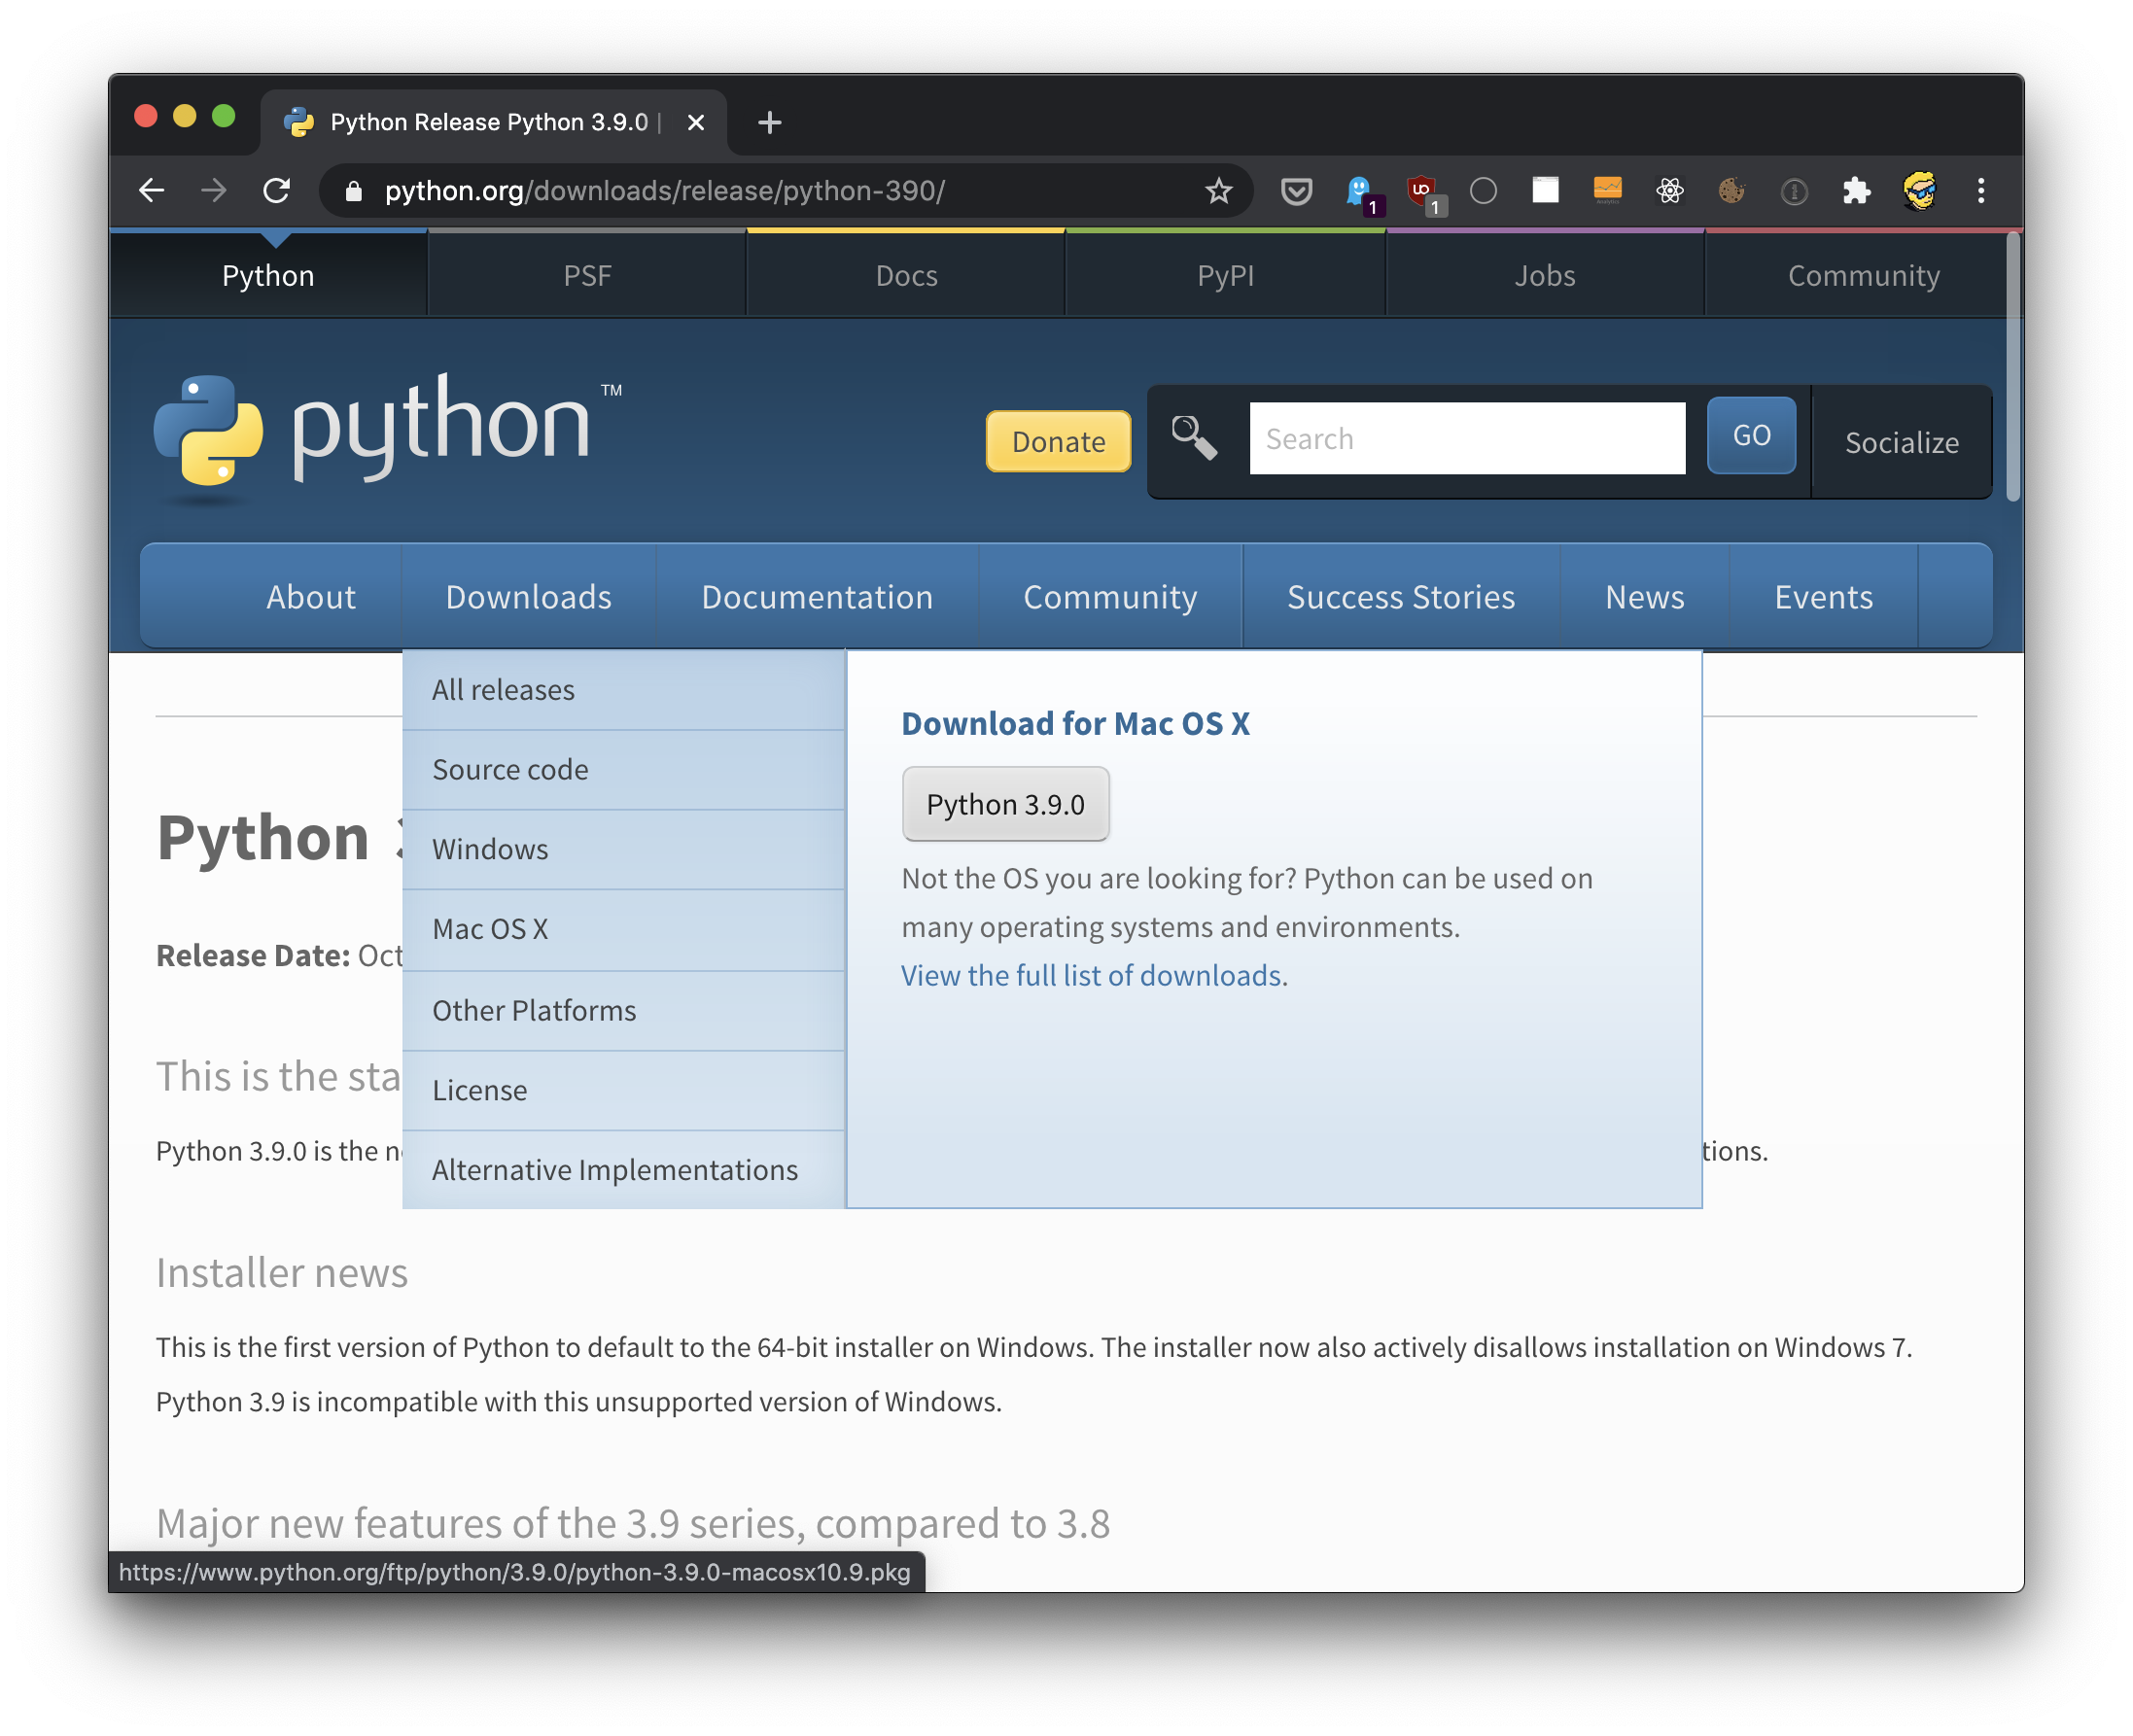
Click that, and run the installer:
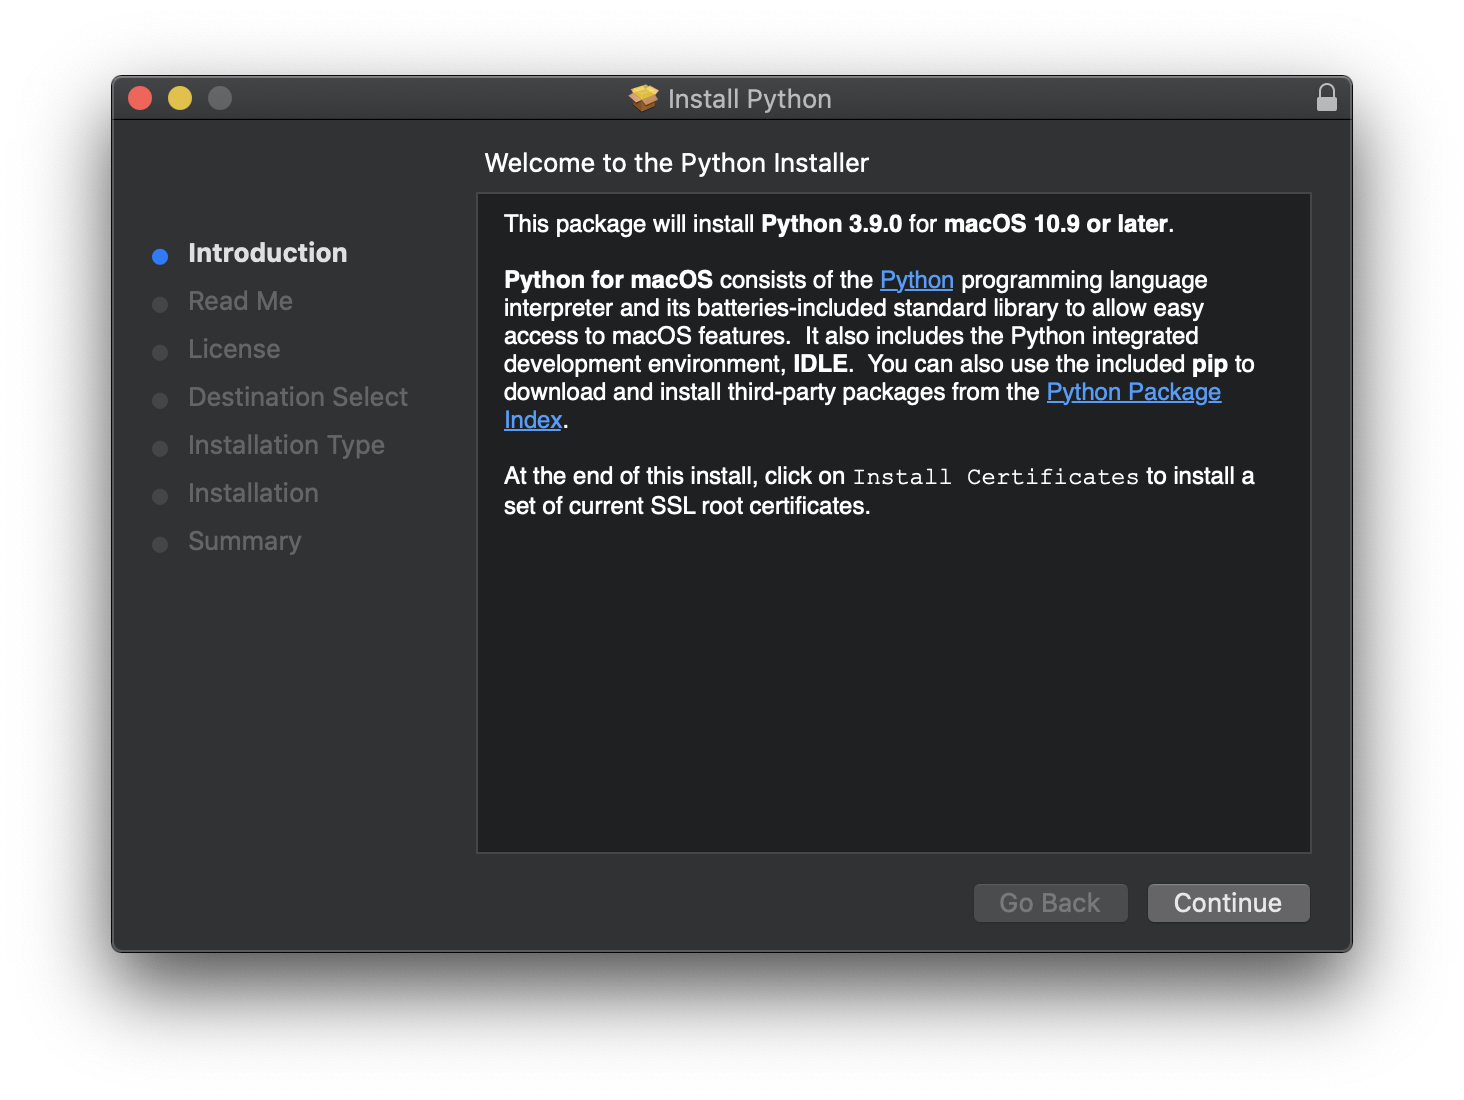
Click “Continue”:
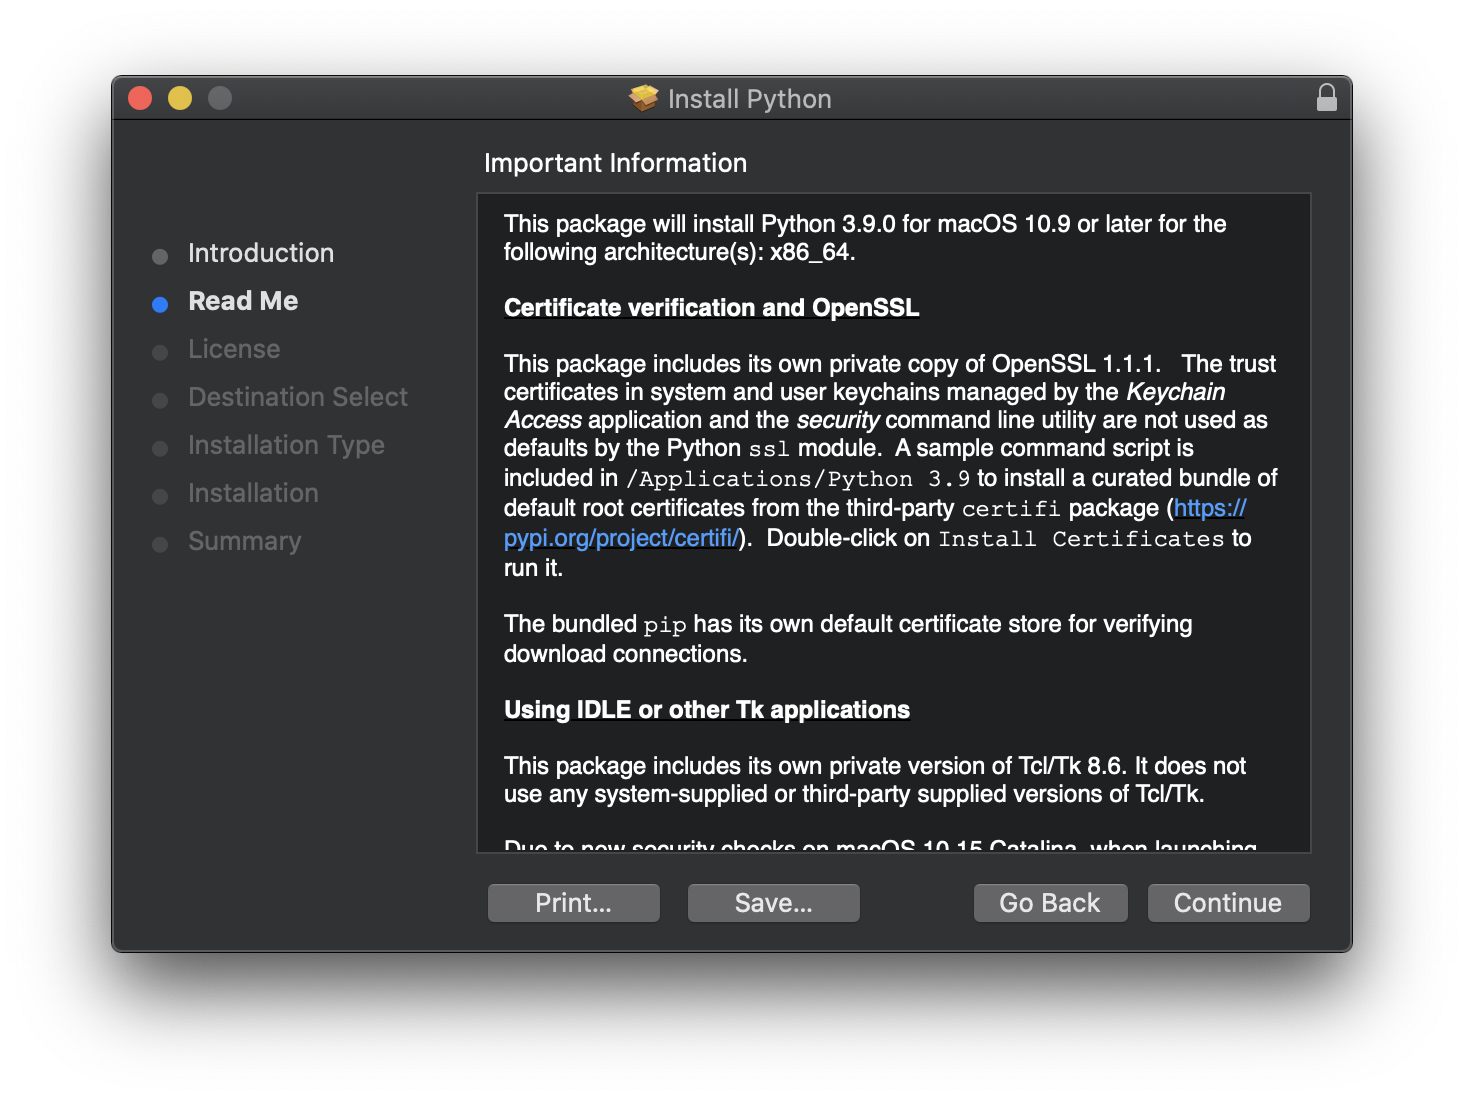
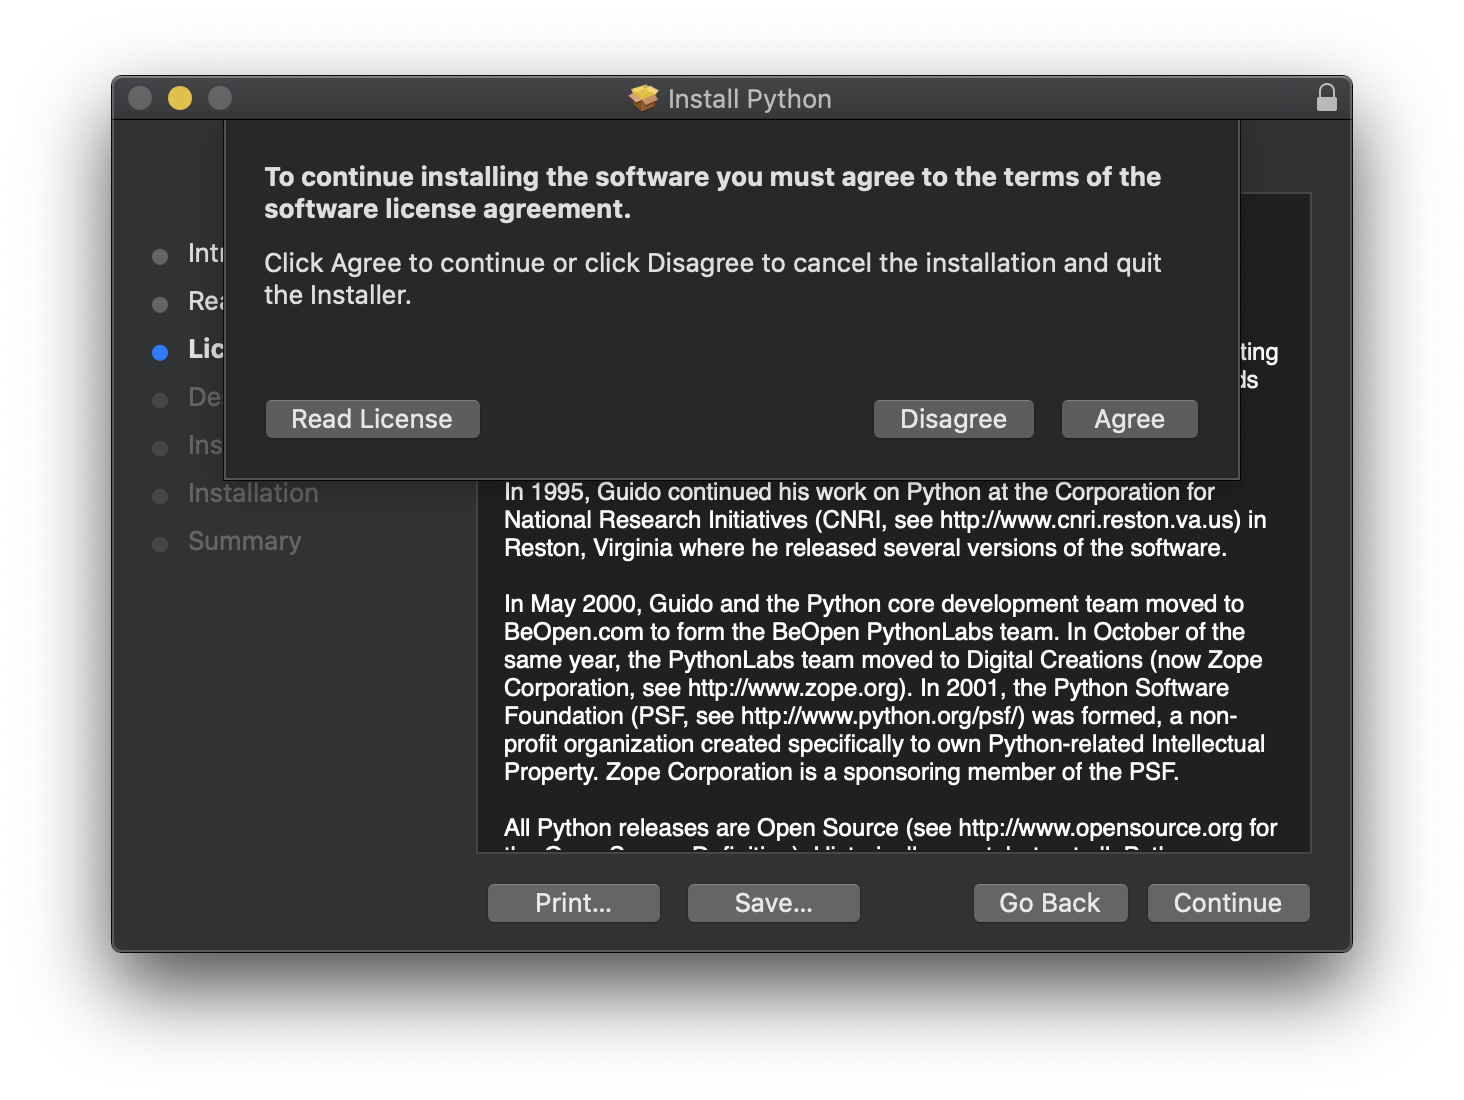
Then click “Continue” again. A new panel will appear with an interesting recap on the history of Python and its governance:
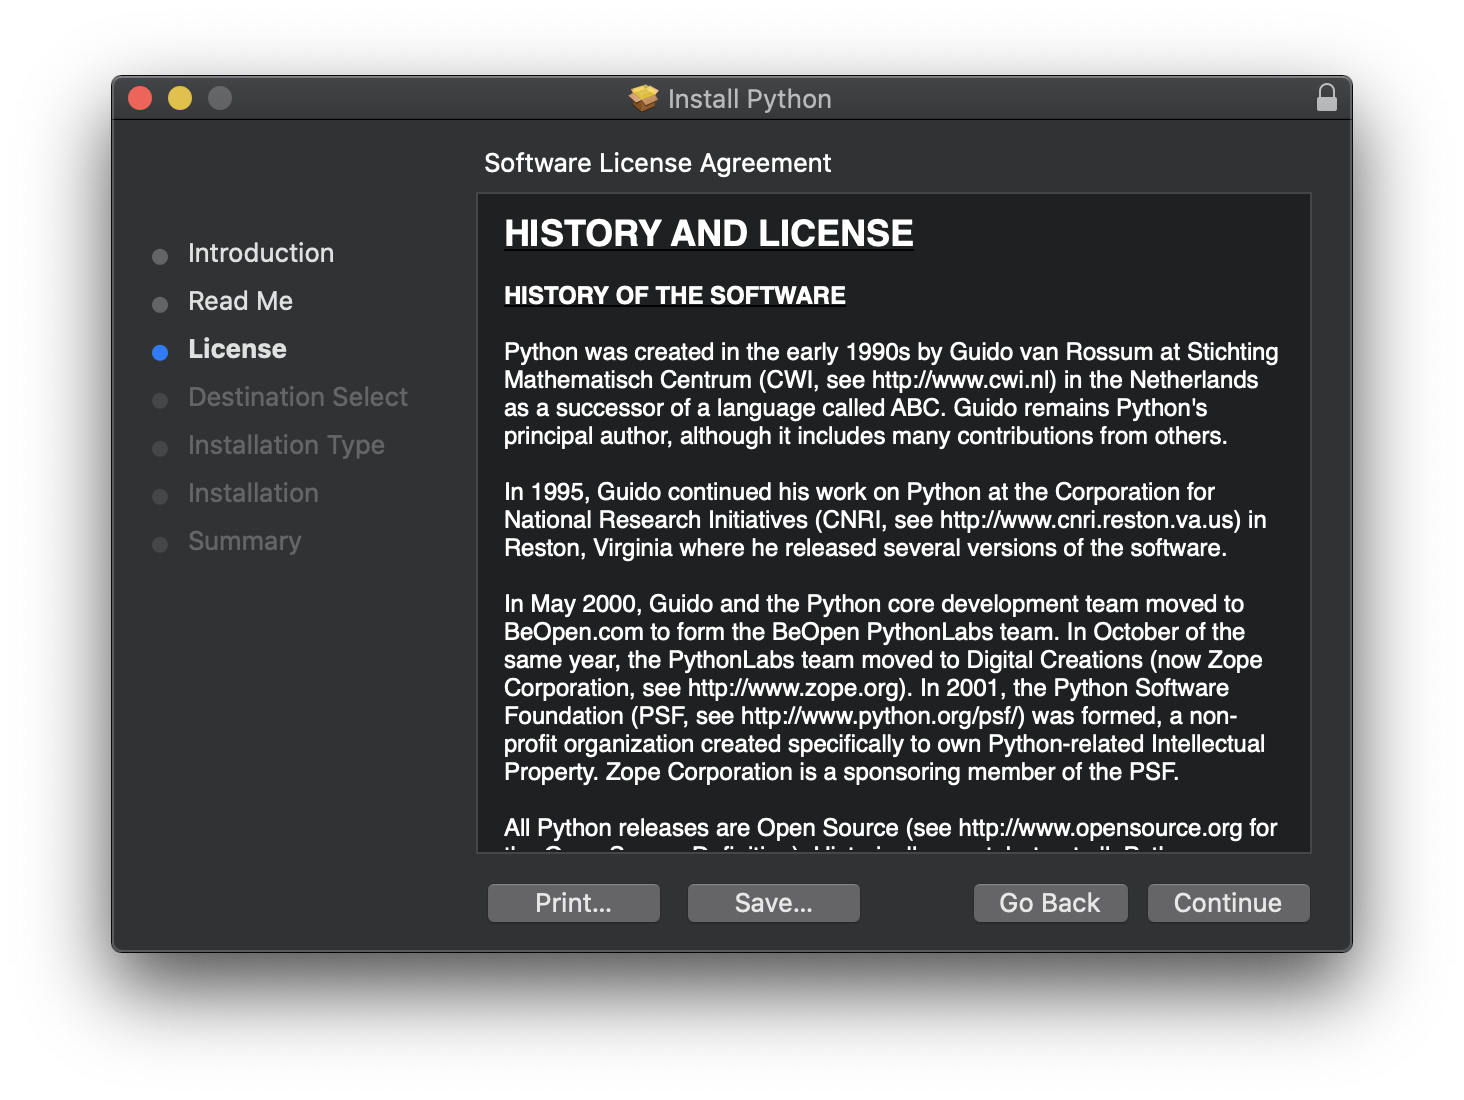
Python was created in the early 1990s by Guido van Rossum at Stichting Mathematisch Centrum (CWI, see http://www.cwi.nl) in the Netherlands as a successor of a language called ABC. Guido remains Python’s principal author, although it includes many contributions from others.
In 1995, Guido continued his work on Python at the Corporation for National Research Initiatives (CNRI, see http://www.cnri.reston.va.us) in Reston, Virginia where he released several versions of the software.
In May 2000, Guido and the Python core development team moved to BeOpen.com to form the BeOpen PythonLabs team. In October of the same year, the PythonLabs team moved to Digital Creations (now Zope Corporation, see http://www.zope.org). In 2001, the Python Software Foundation (PSF, see http://www.python.org/psf/) was formed, a non-profit organization created specifically to own Python-related Intellectual Property. Zope Corporation is a sponsoring member of the PSF.
Then you can read the Python license. Python is open source, and released with the Python Software Foundation License Version 2.
This license is GPL-compatible, which means you can combine Python with software that is GPL, Python itself is not GPL. The GPL license has some problems related to the fact that all software derived from GPL software must be released as GPL as well, and the source code of the software must be distributed to anyone that wants access to it.
That’s not the case for your Python programs. You can release the source if you want, but it’s not required.
Agree to the license:
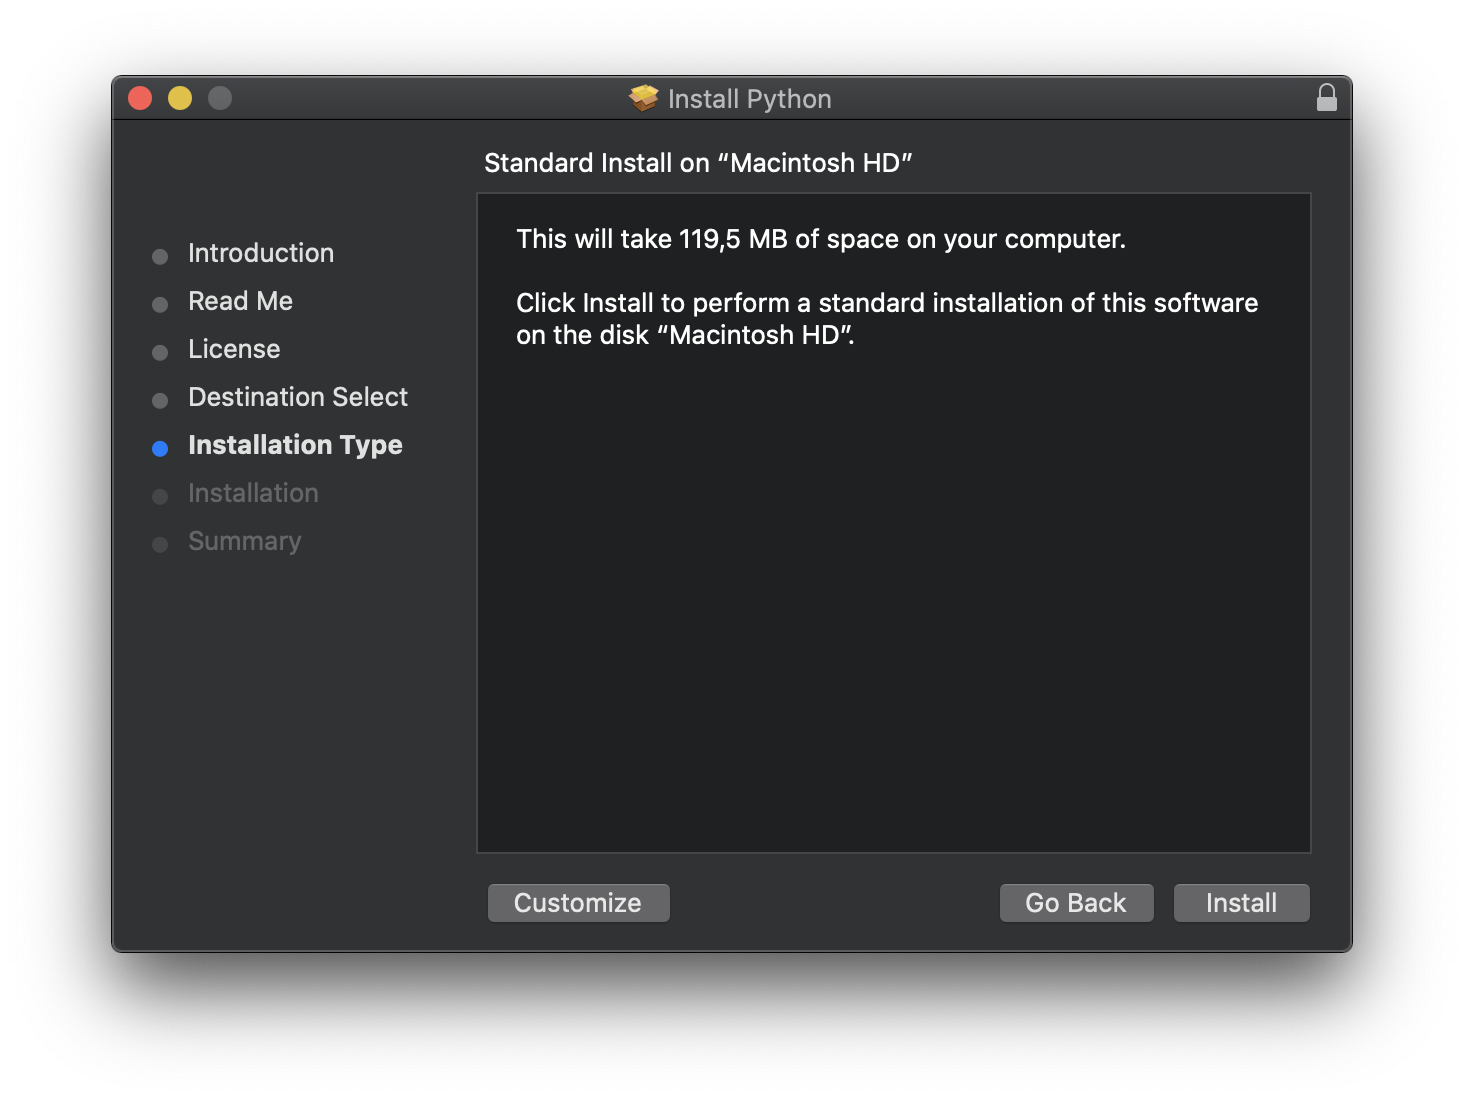
And move to the installation phase:
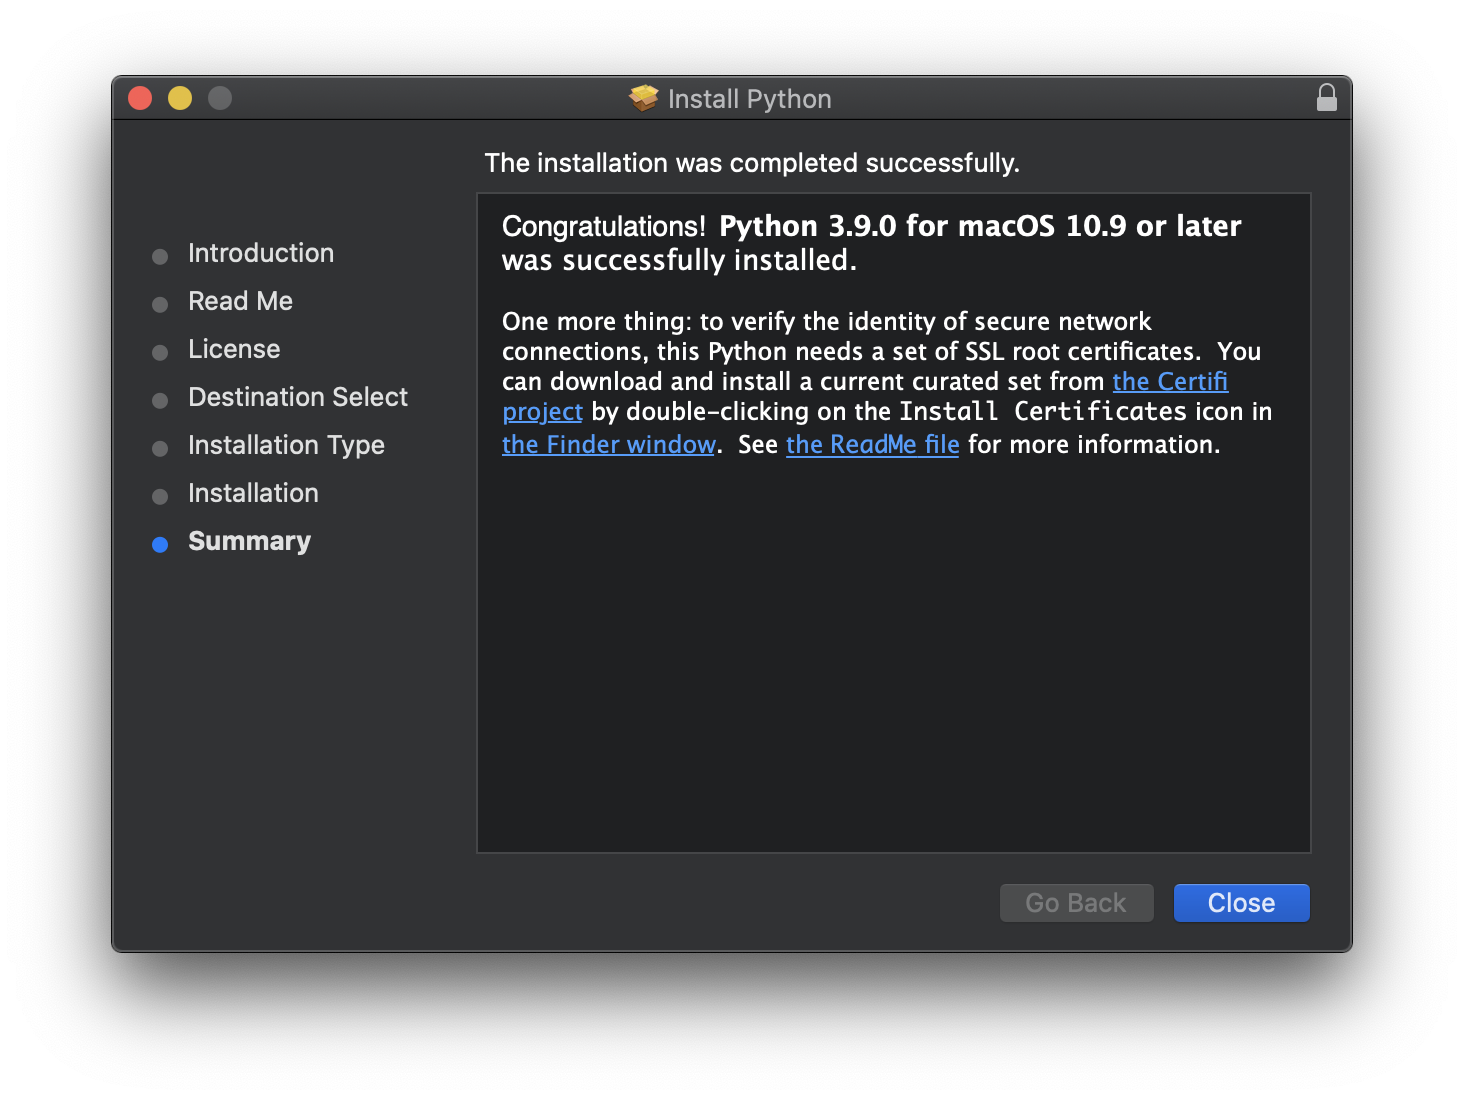
When it’s finally installed, Python is installed as /usr/bin/python3
If you have Xcode installed, this will overwrite the old version that Xcode installed.
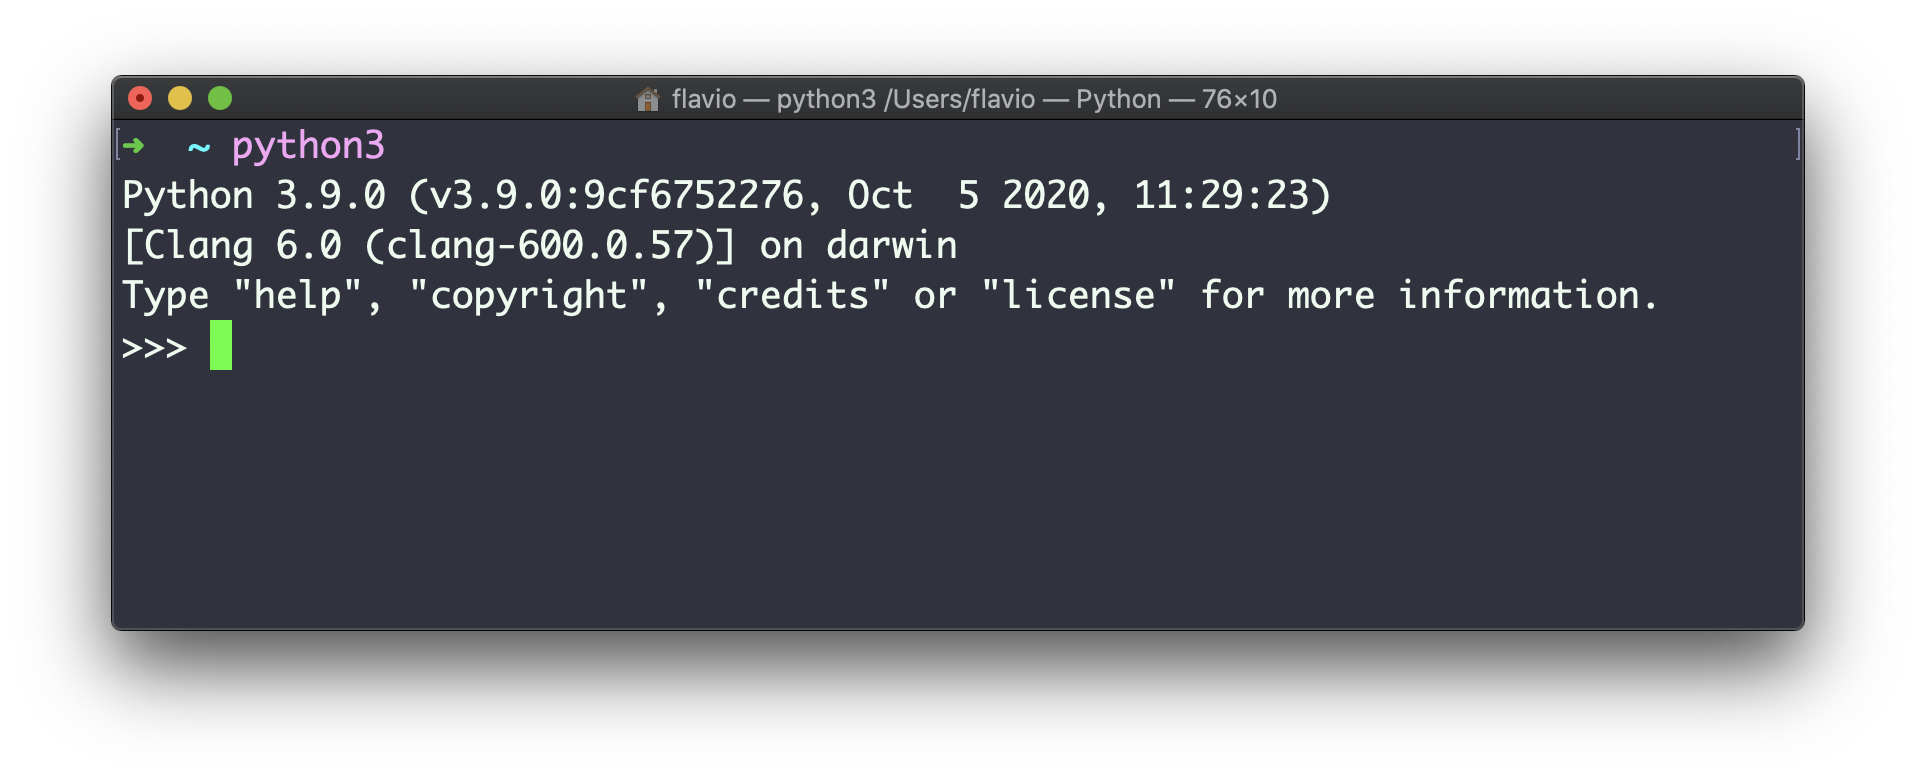
Running python3 in the macOS terminal opens the Python 3.9 interpreter we just installed:
You will now also find a new folder under “/Applications/Python 3.9” (change that with your exact version number), with some files:
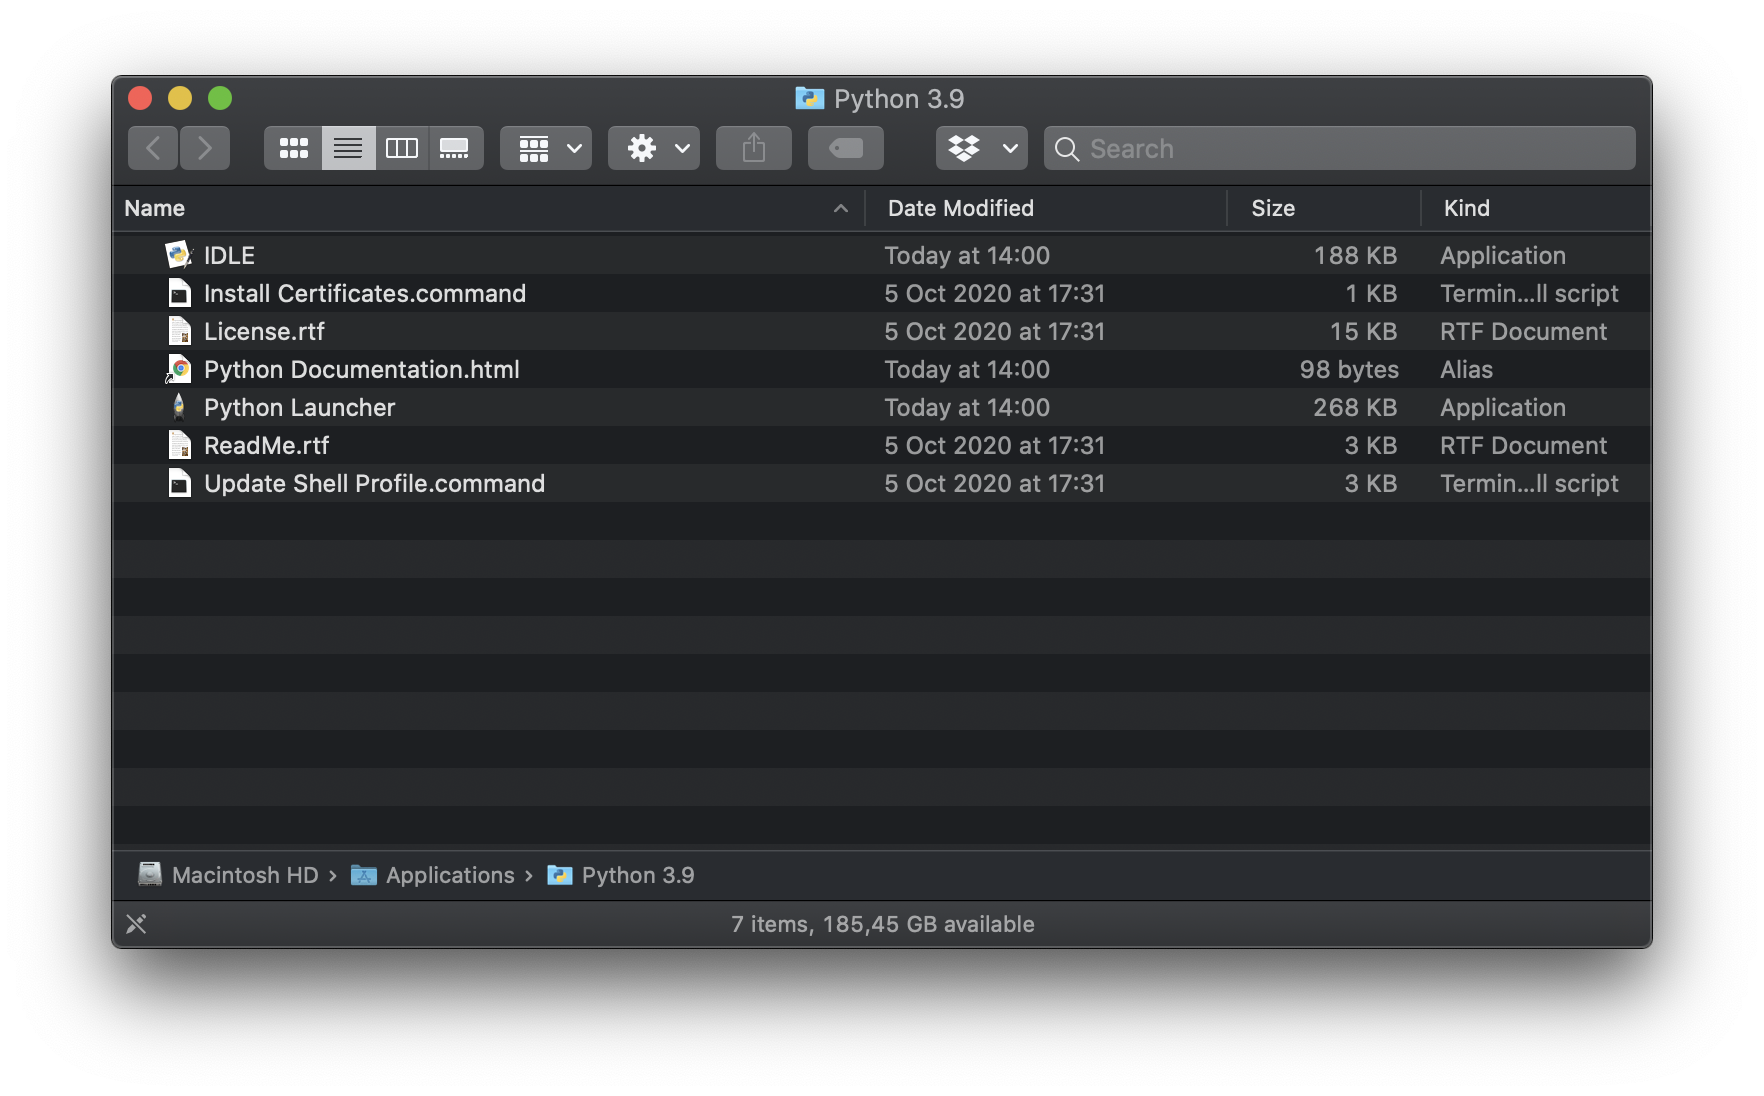
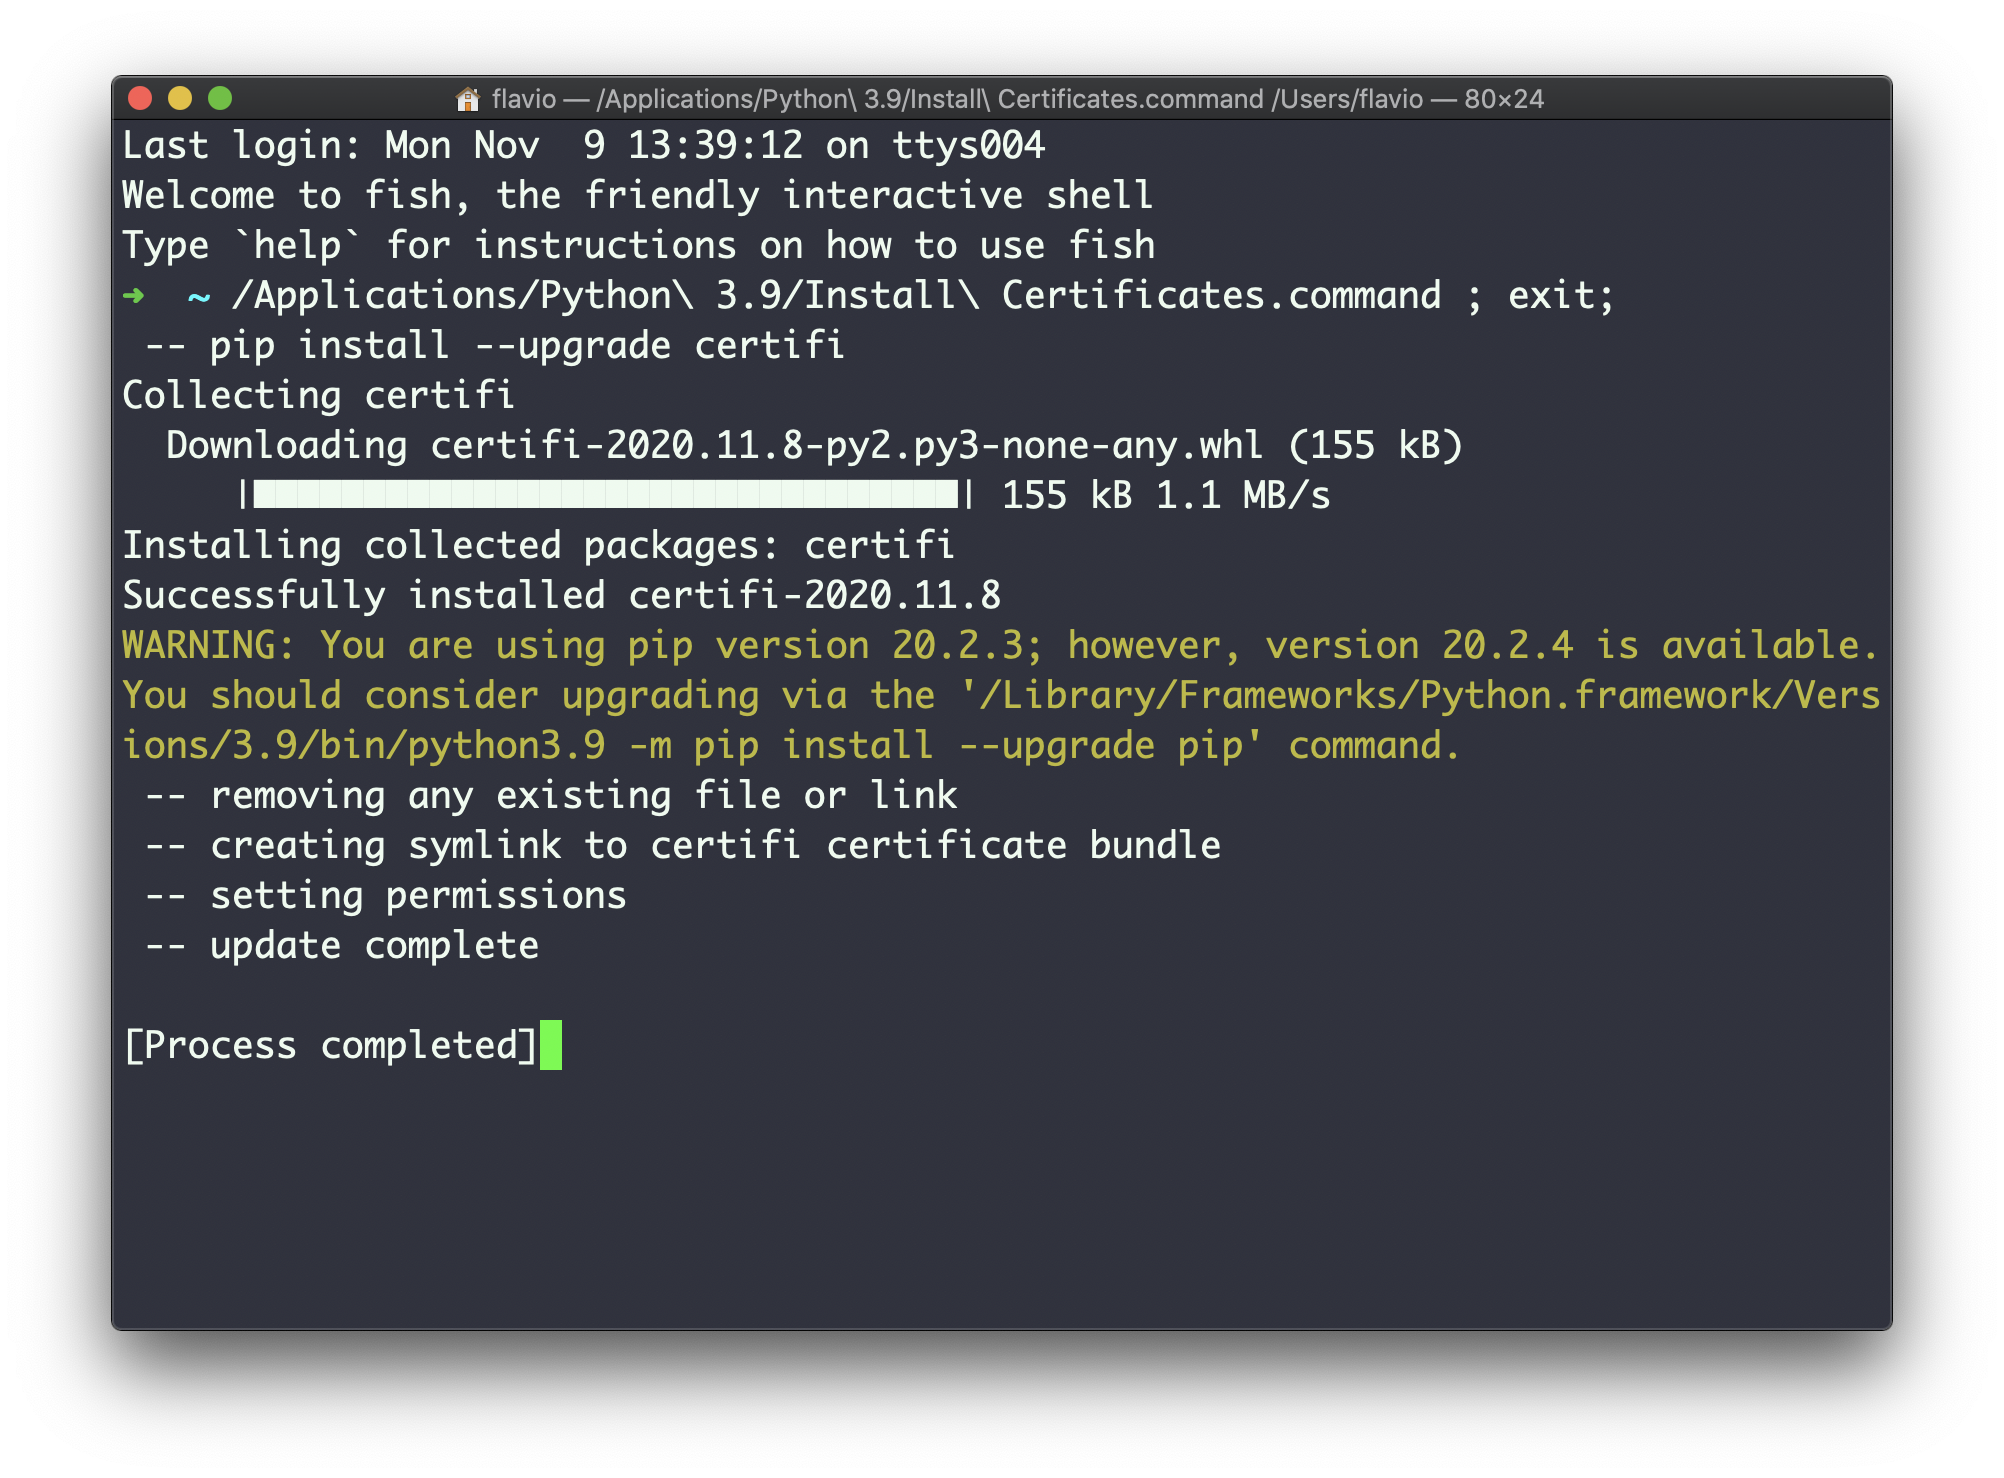
As the instructions said in the last installation panel, you need to run the “Install Certificates.command” to install the SSL certificates needed by Python.
This is because Python includes its own private copy of OpenSSL 1.1.1, and we need to install a curated bundle of default root certificates from the third-party certifi package.
Certifi provides Mozilla’s carefully curated collection of Root Certificates for validating the trustworthiness of SSL certificates while verifying the identity of TLS hosts
Double-click on Install Certificates to run it, and it will to its job quickly:
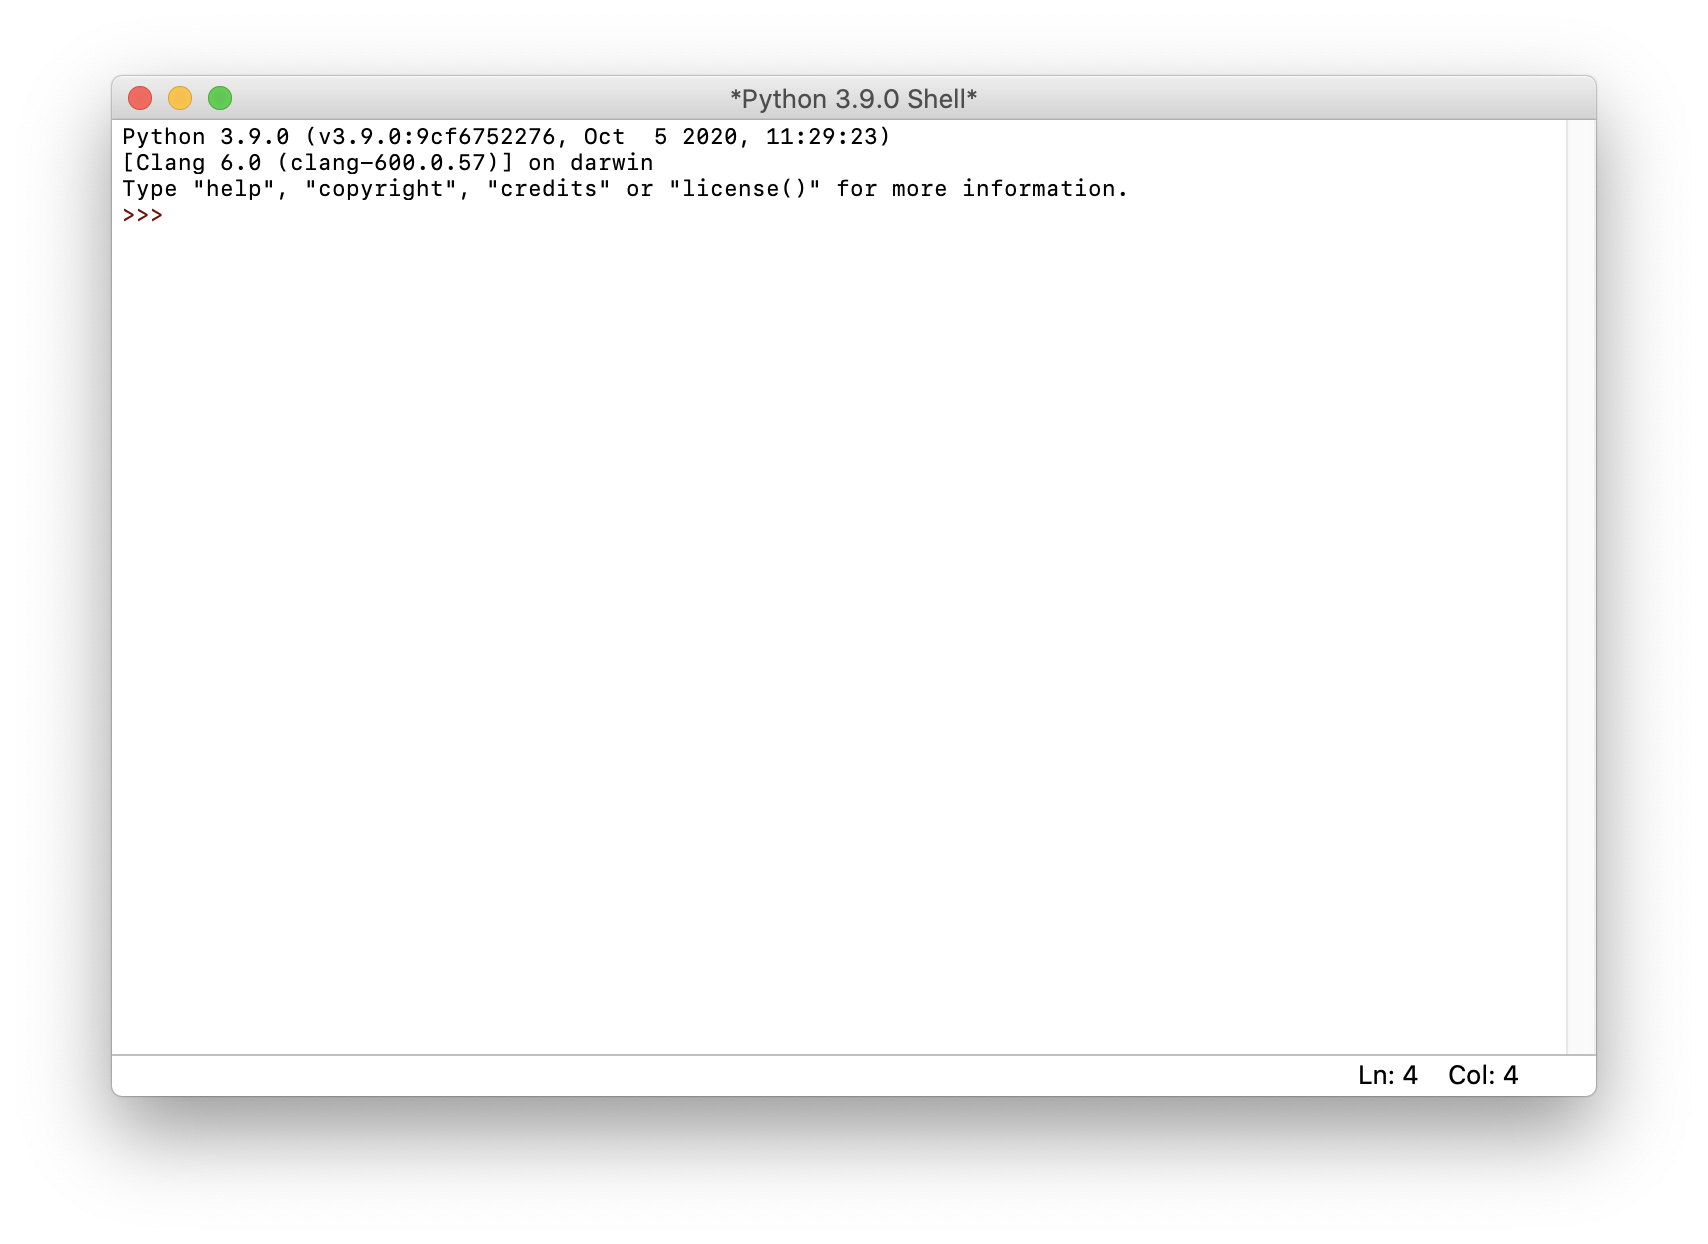
The other files contained in that folder are IDLE, an application that opens the Python interpreter in its own window:
Then we have a link to the official documentation, the license, and Python Launcher, an utility that lets you to locate and manage different Python versions installed on the system, and instruct scripts to use a specific version.
Remember to not be confused by having the python command on your system that points to the old Python 2. It might be a source of problems.
I recommend having a shell alias to execute python3 each time you run python.
With the Fish shell, you can run:
alias python "python3"
alias pip "pip3"
funcsave python
funcsave pip
directly in the terminal.
Also, make sure the pip binaries are in your shell path, to run them easily:
set PATH ~/Library/Python/3.9/bin $PATH(change 3.9 with your current version)
With Zsh, you need to add the alias to the .zshrc file in your home folder:
alias python="python3"With Bash, you need to add the alias to the .bashrc file in your home folder:
alias python="python3"Now you can run python and it will point to the Python 3 version you just installed.
I found that the easiest way to run pip (the Python package manager) is to use python -m pip <COMMAND> rather than pip <COMMAND>, for example:
python -m pip install djangoAnd you should always use a virtual environment with venv when doing so.
download all my books for free
- javascript handbook
- typescript handbook
- css handbook
- node.js handbook
- astro handbook
- html handbook
- next.js pages router handbook
- alpine.js handbook
- htmx handbook
- react handbook
- sql handbook
- git cheat sheet
- laravel handbook
- express handbook
- swift handbook
- go handbook
- php handbook
- python handbook
- cli handbook
- c handbook
subscribe to my newsletter to get them
Terms: by subscribing to the newsletter you agree the following terms and conditions and privacy policy. The aim of the newsletter is to keep you up to date about new tutorials, new book releases or courses organized by Flavio. If you wish to unsubscribe from the newsletter, you can click the unsubscribe link that's present at the bottom of each email, anytime. I will not communicate/spread/publish or otherwise give away your address. Your email address is the only personal information collected, and it's only collected for the primary purpose of keeping you informed through the newsletter. It's stored in a secure server based in the EU. You can contact Flavio by emailing flavio@flaviocopes.com. These terms and conditions are governed by the laws in force in Italy and you unconditionally submit to the jurisdiction of the courts of Italy.