Breadboard Power Supply Module
By Flavio Copes
Meet the breadboard power supply module: it takes a barrel jack input and feeds your breadboard a steady 5V or 3.3V, perfect for powering Arduino circuits.
In some of my electronics tutorials I connect the circuit to a 9V battery, because it’s very simple to start with and it’s quite easy to find.
But it’s not optimal. First because the battery will drain over time, not delivering the 9V advertised.
A Breadboard Power Supply Module accepts an input through a barrel jack from a battery, a 12V adapter or any other source, and provides to our circuit a 5V or 3.3V tension, depending on our needs. We’re going to soon introduce Arduino into our circuits, and all our Arduino circuits will work with those voltage levels.
There are many different ones, here is the power supply module I want to show you, it’s part of the Elegoo kit I suggest you to buy, but also sold by other brands in this same shape and characteristics, you can search “Arduino power supply” on Amazon to see some alternatives:
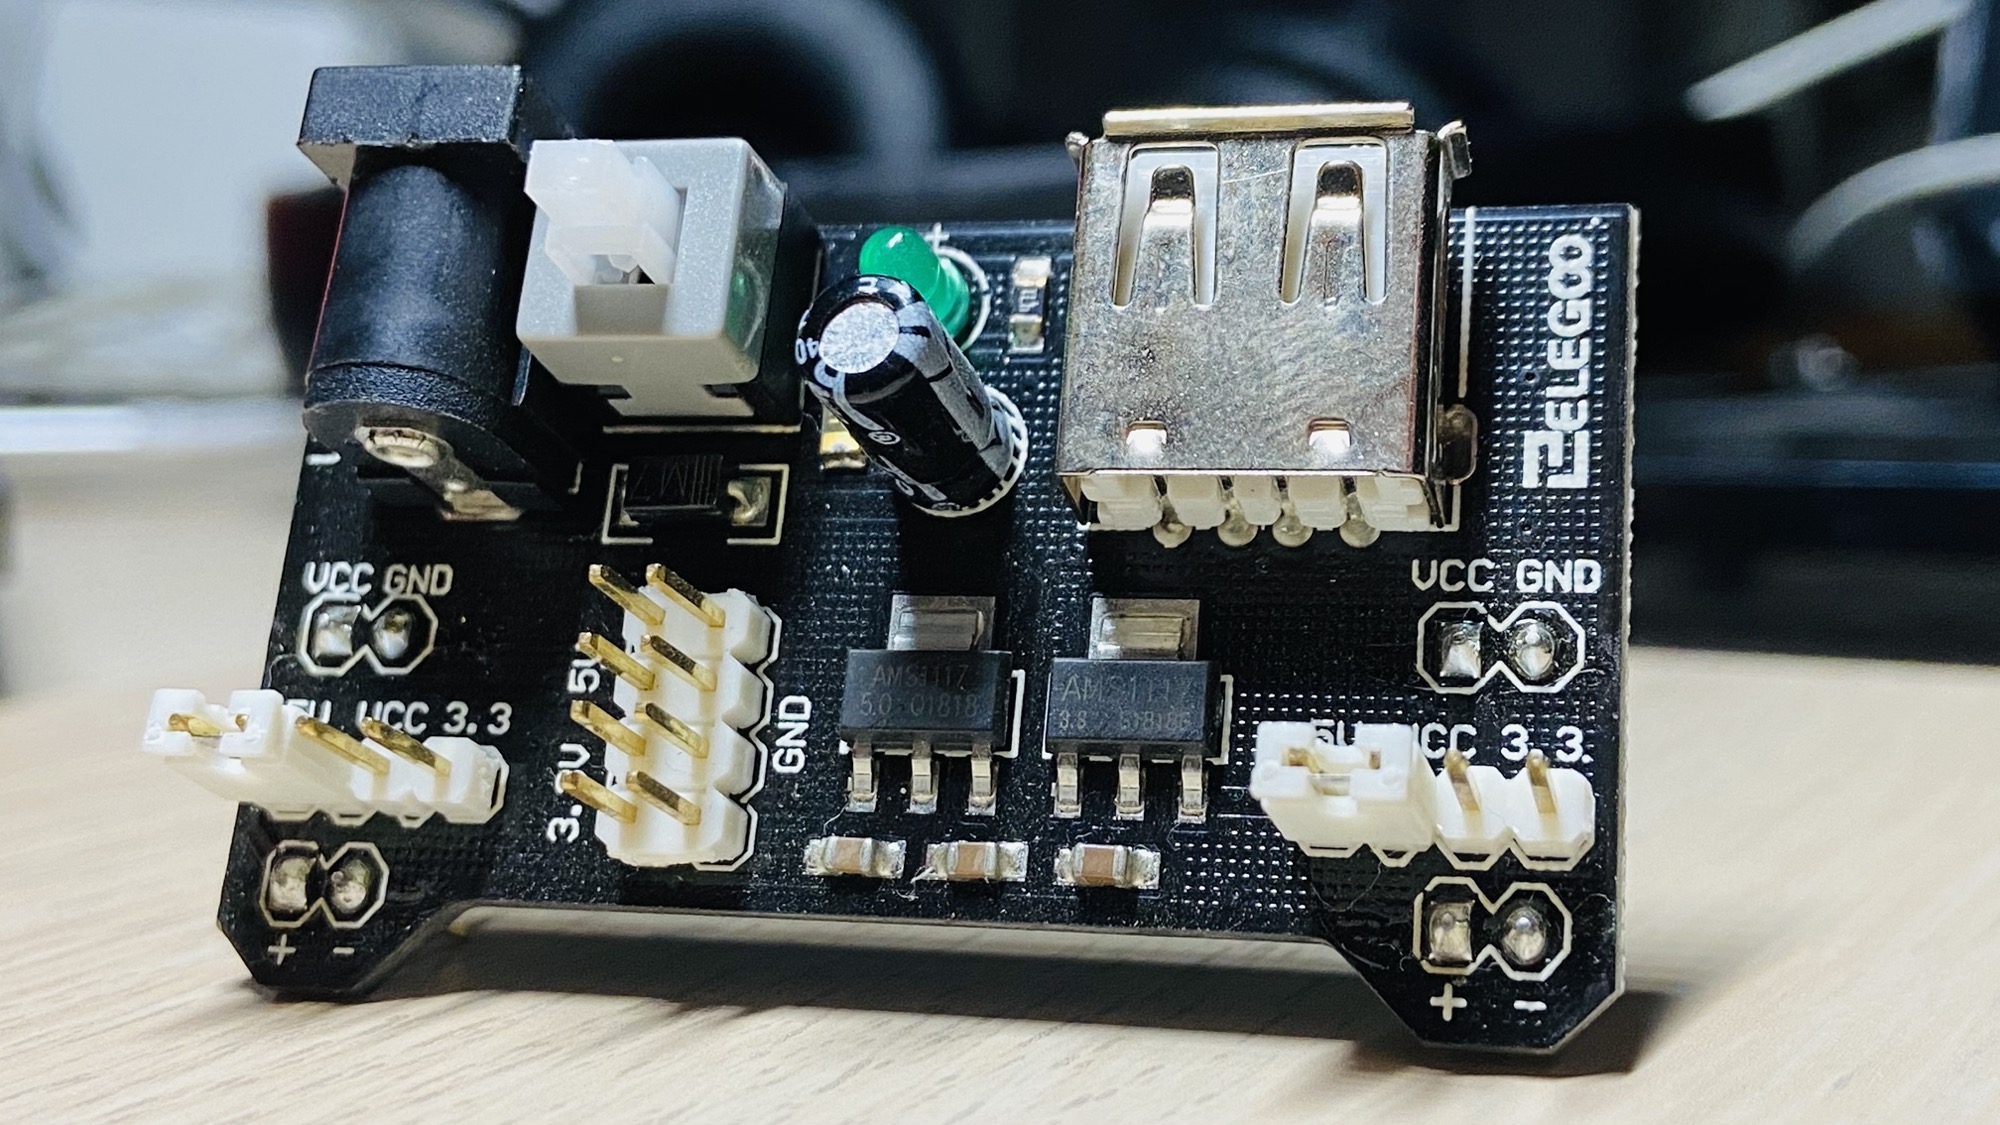
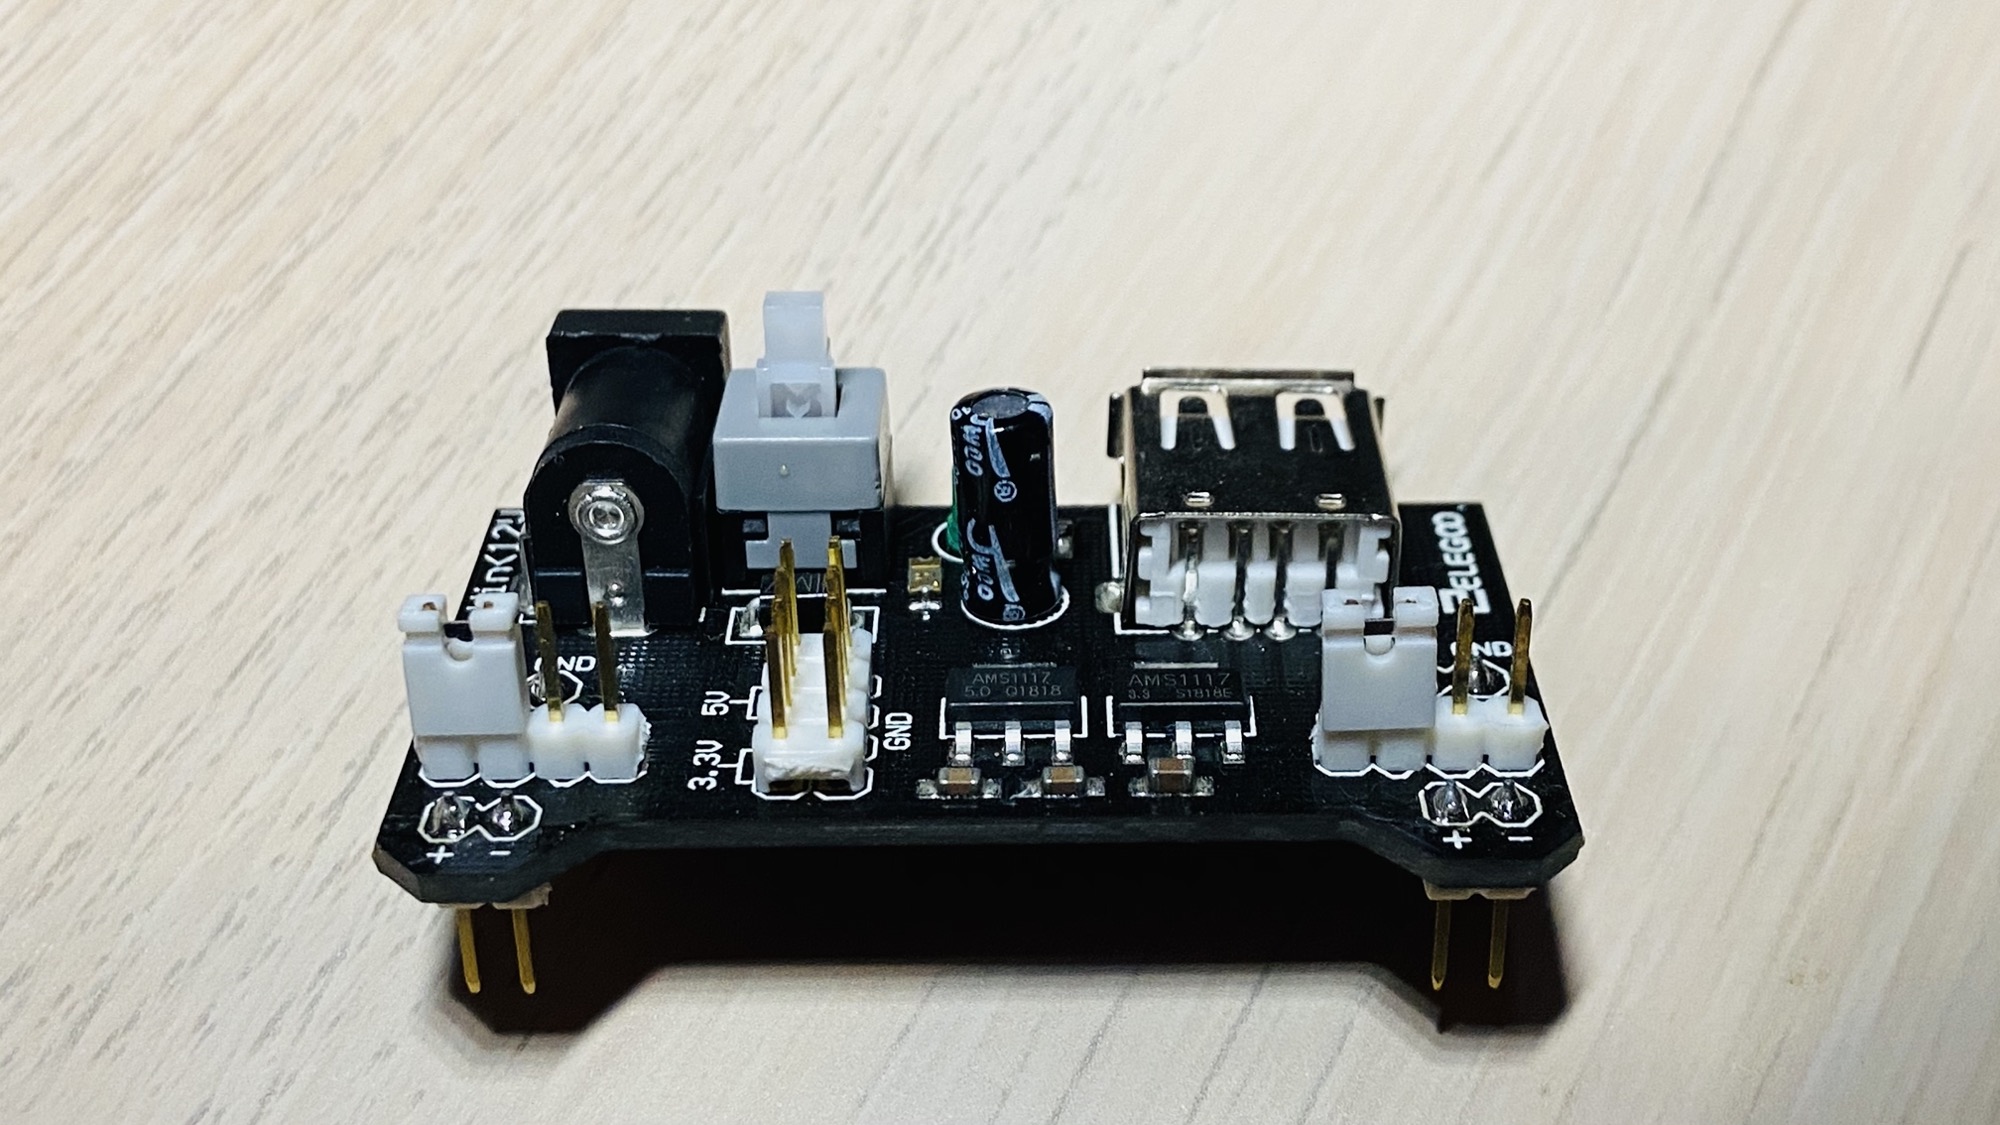
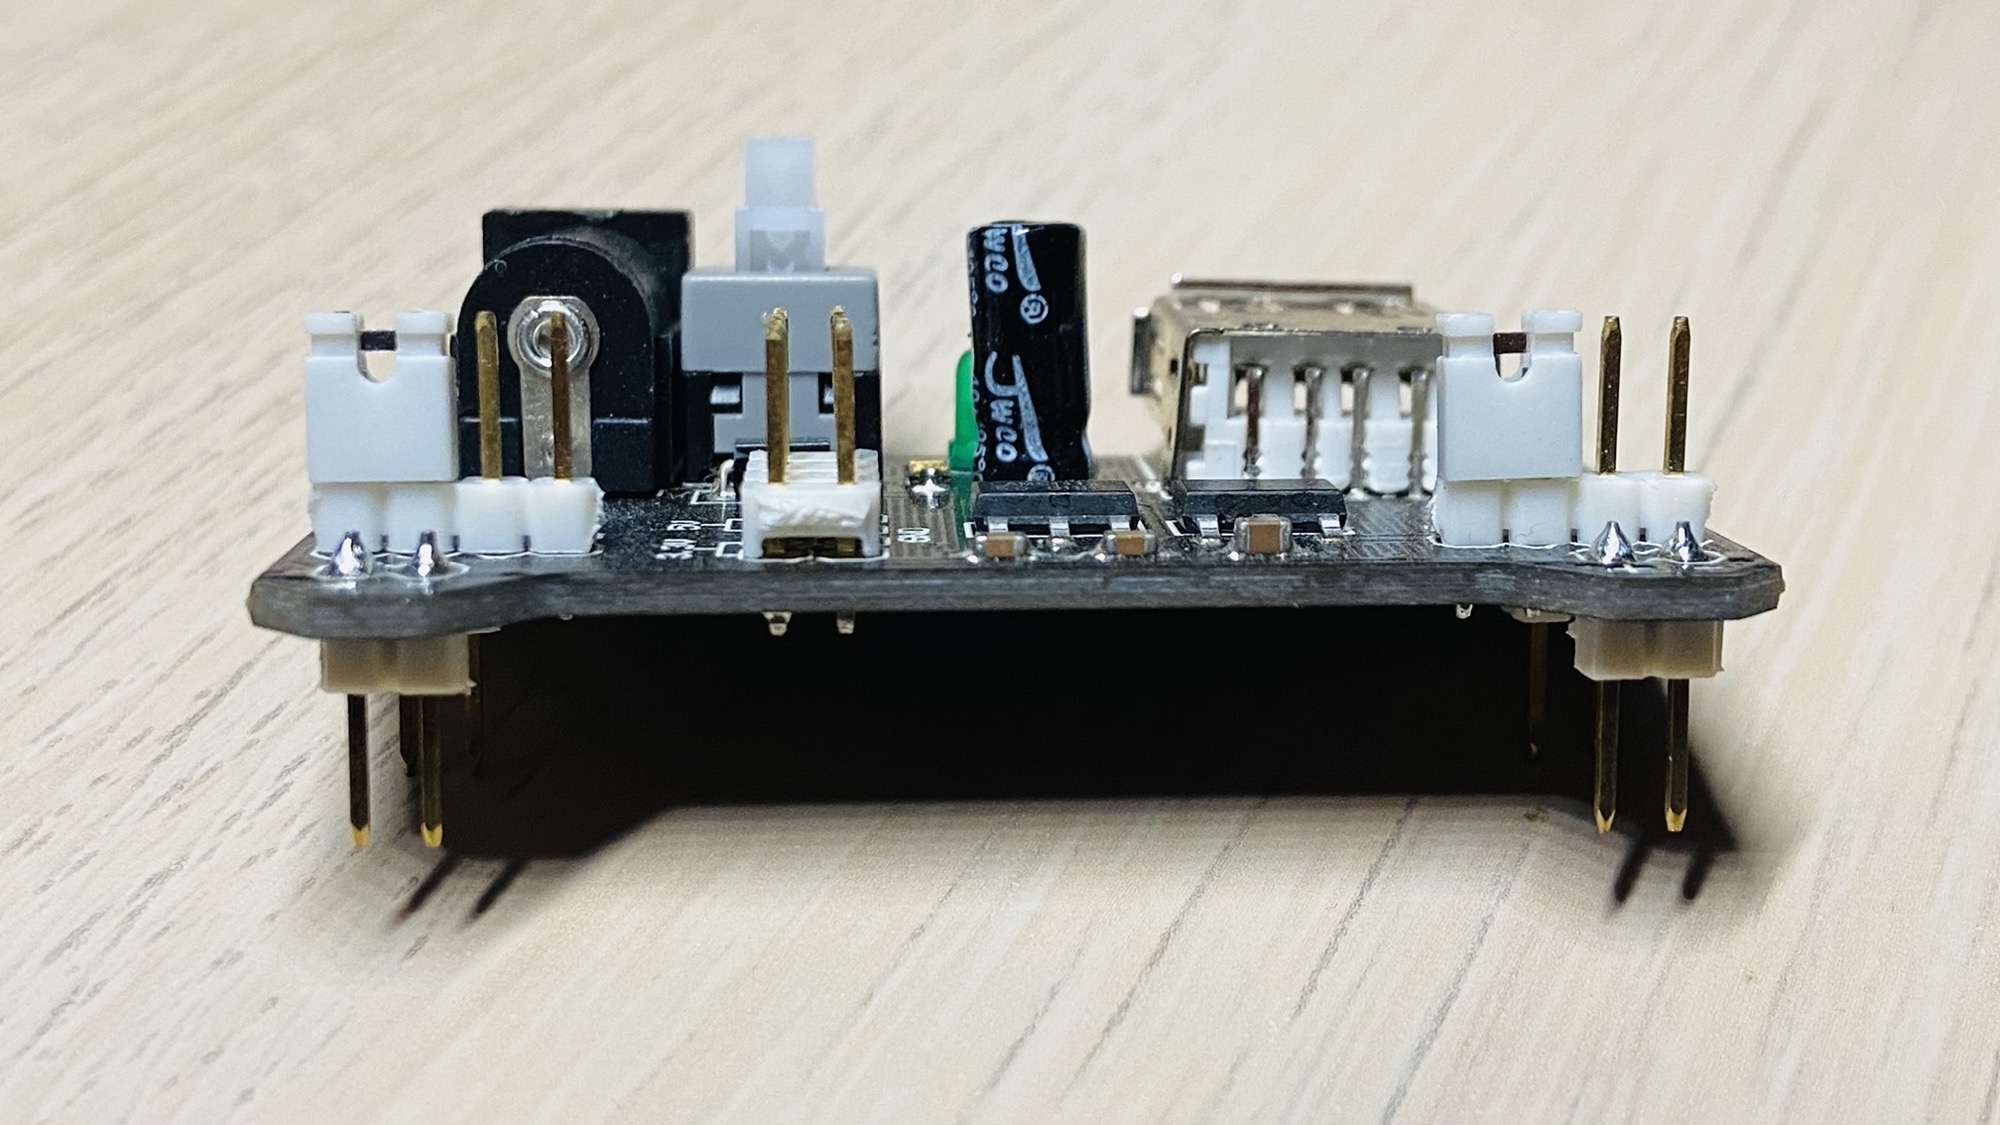
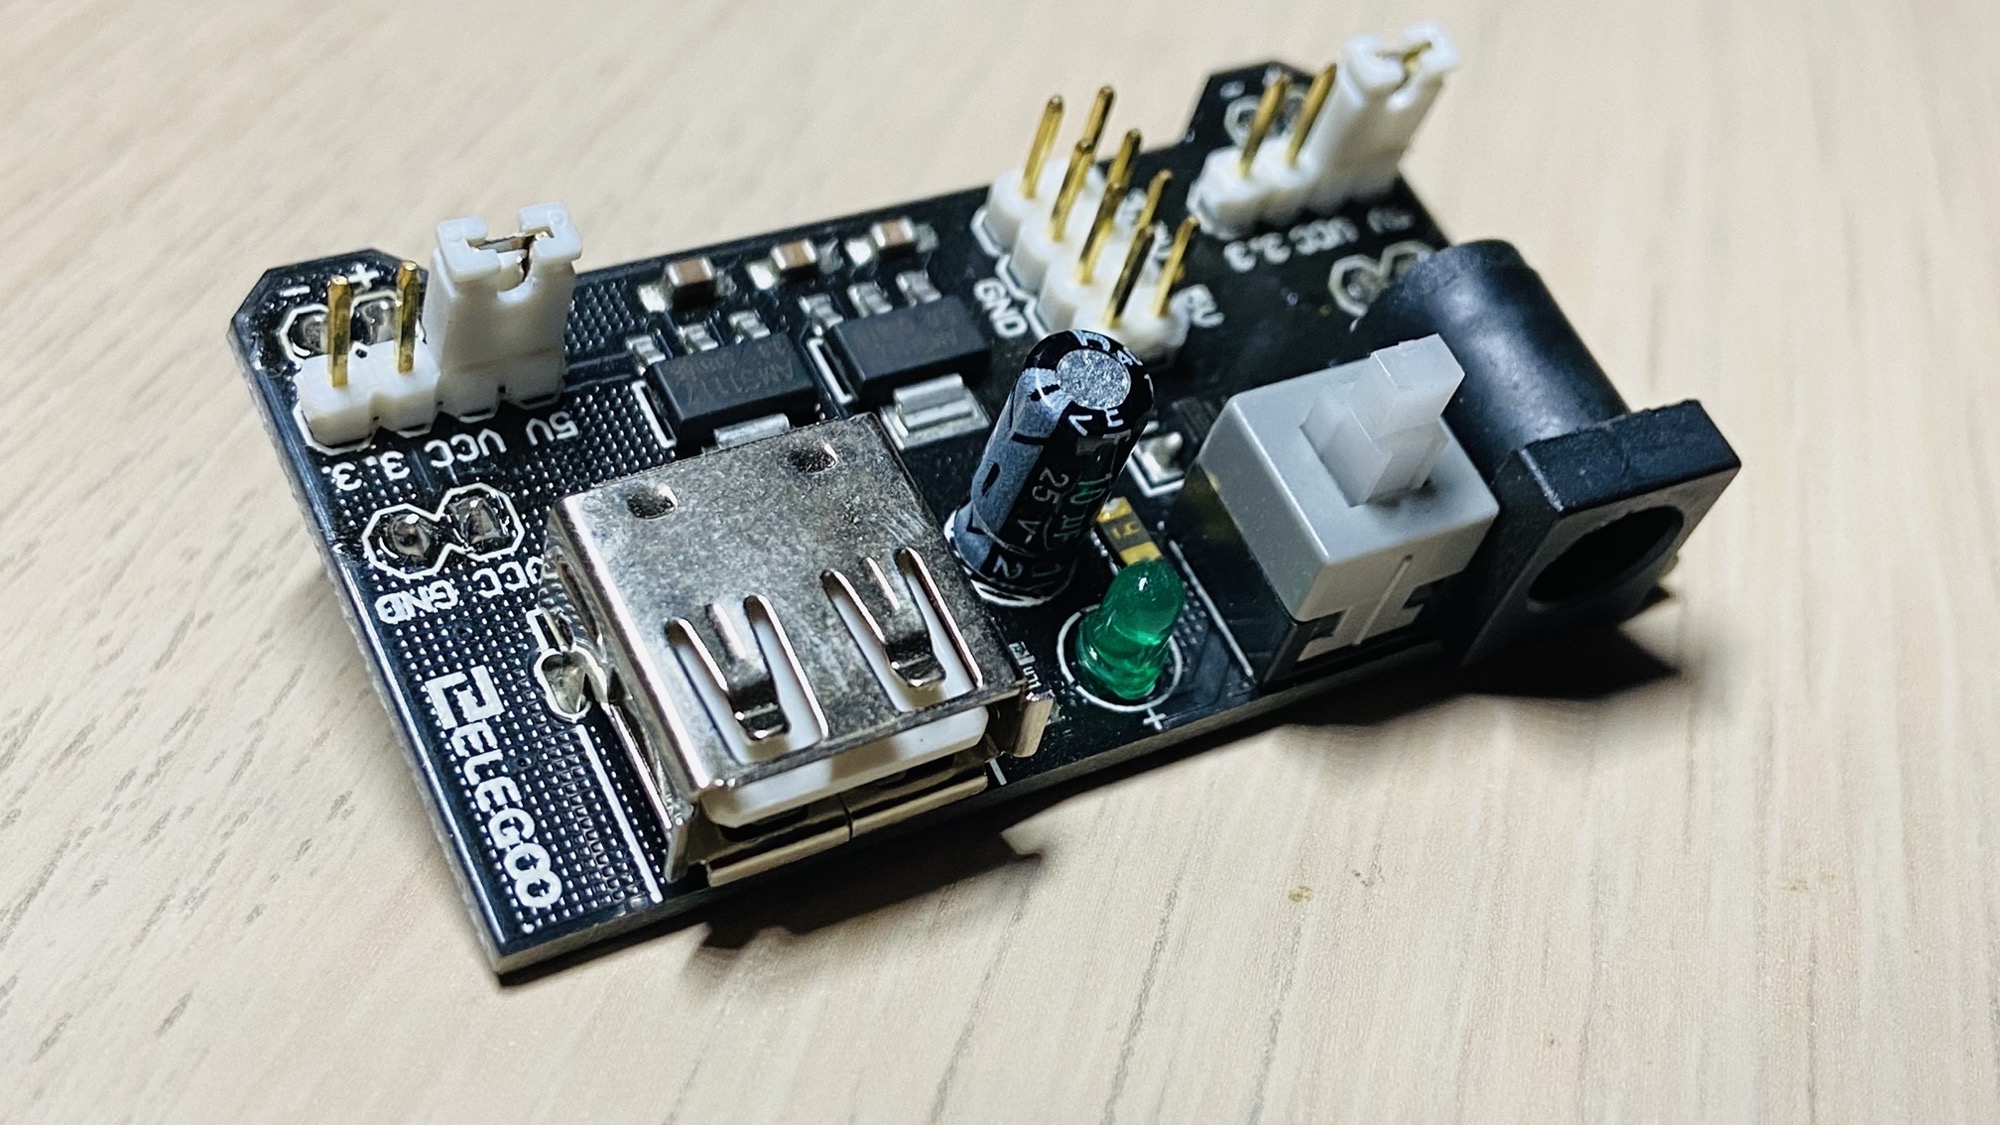
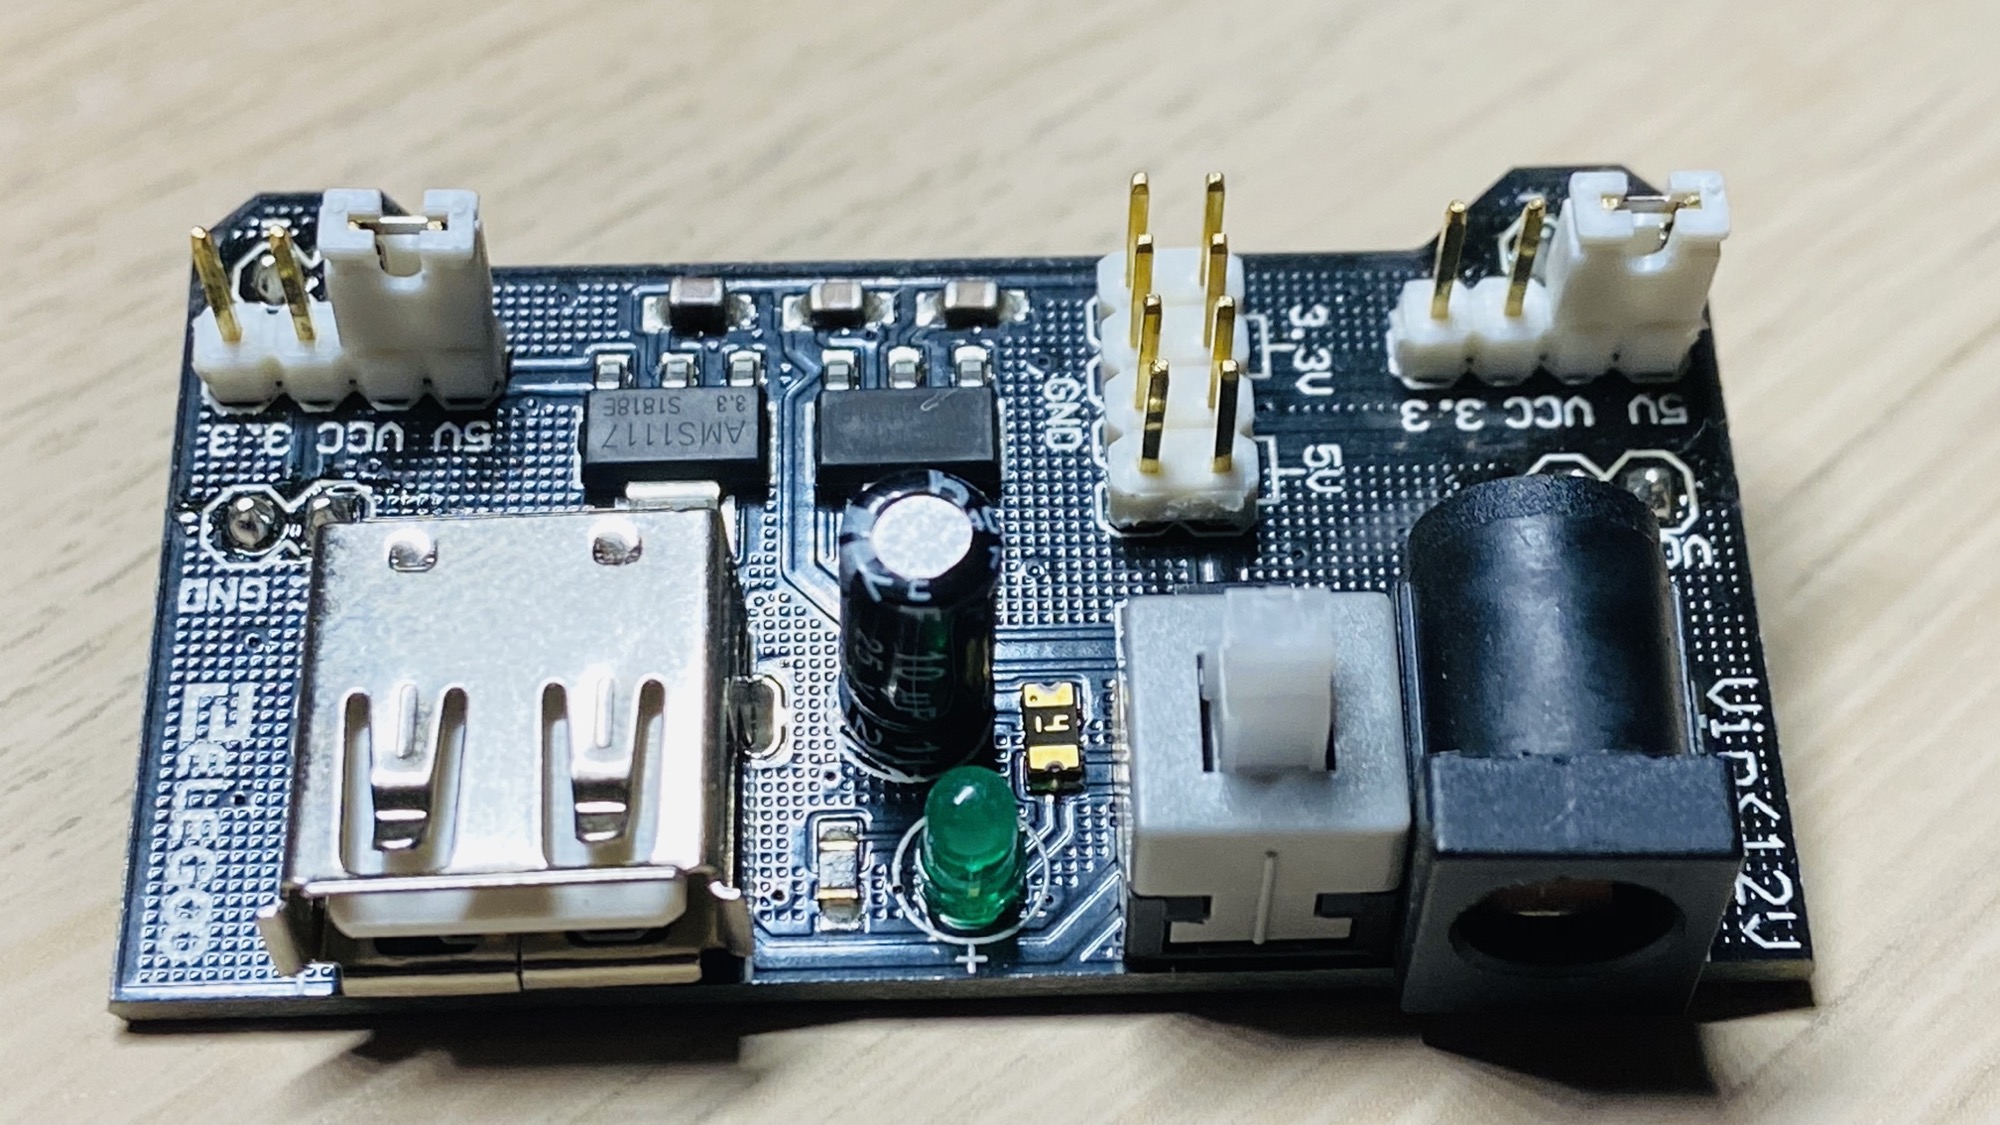
The input voltage accepted is 6.5V - 9V DC. The maximum output current is 700mA.
How to connect it to the breadboard
We connect it to the breadboard directly:
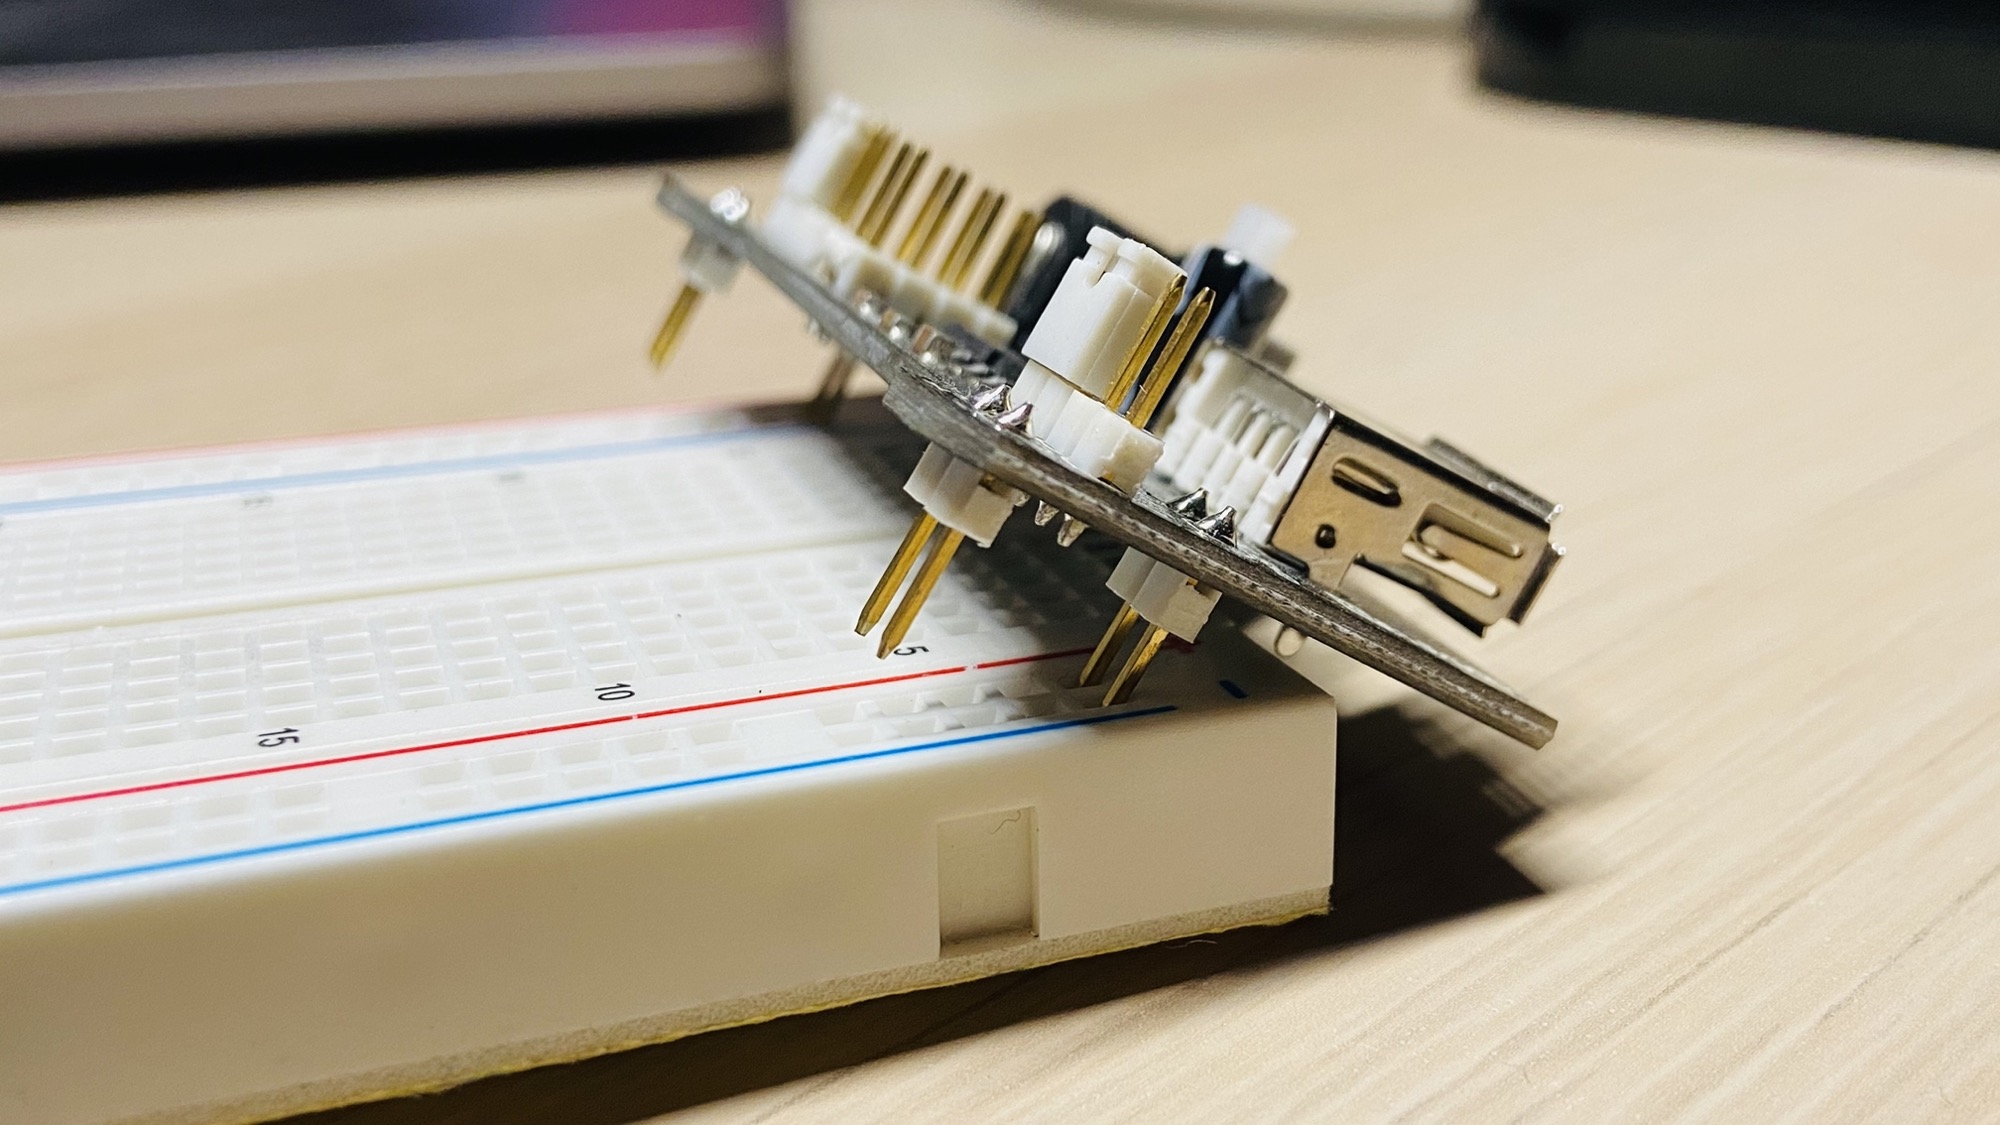
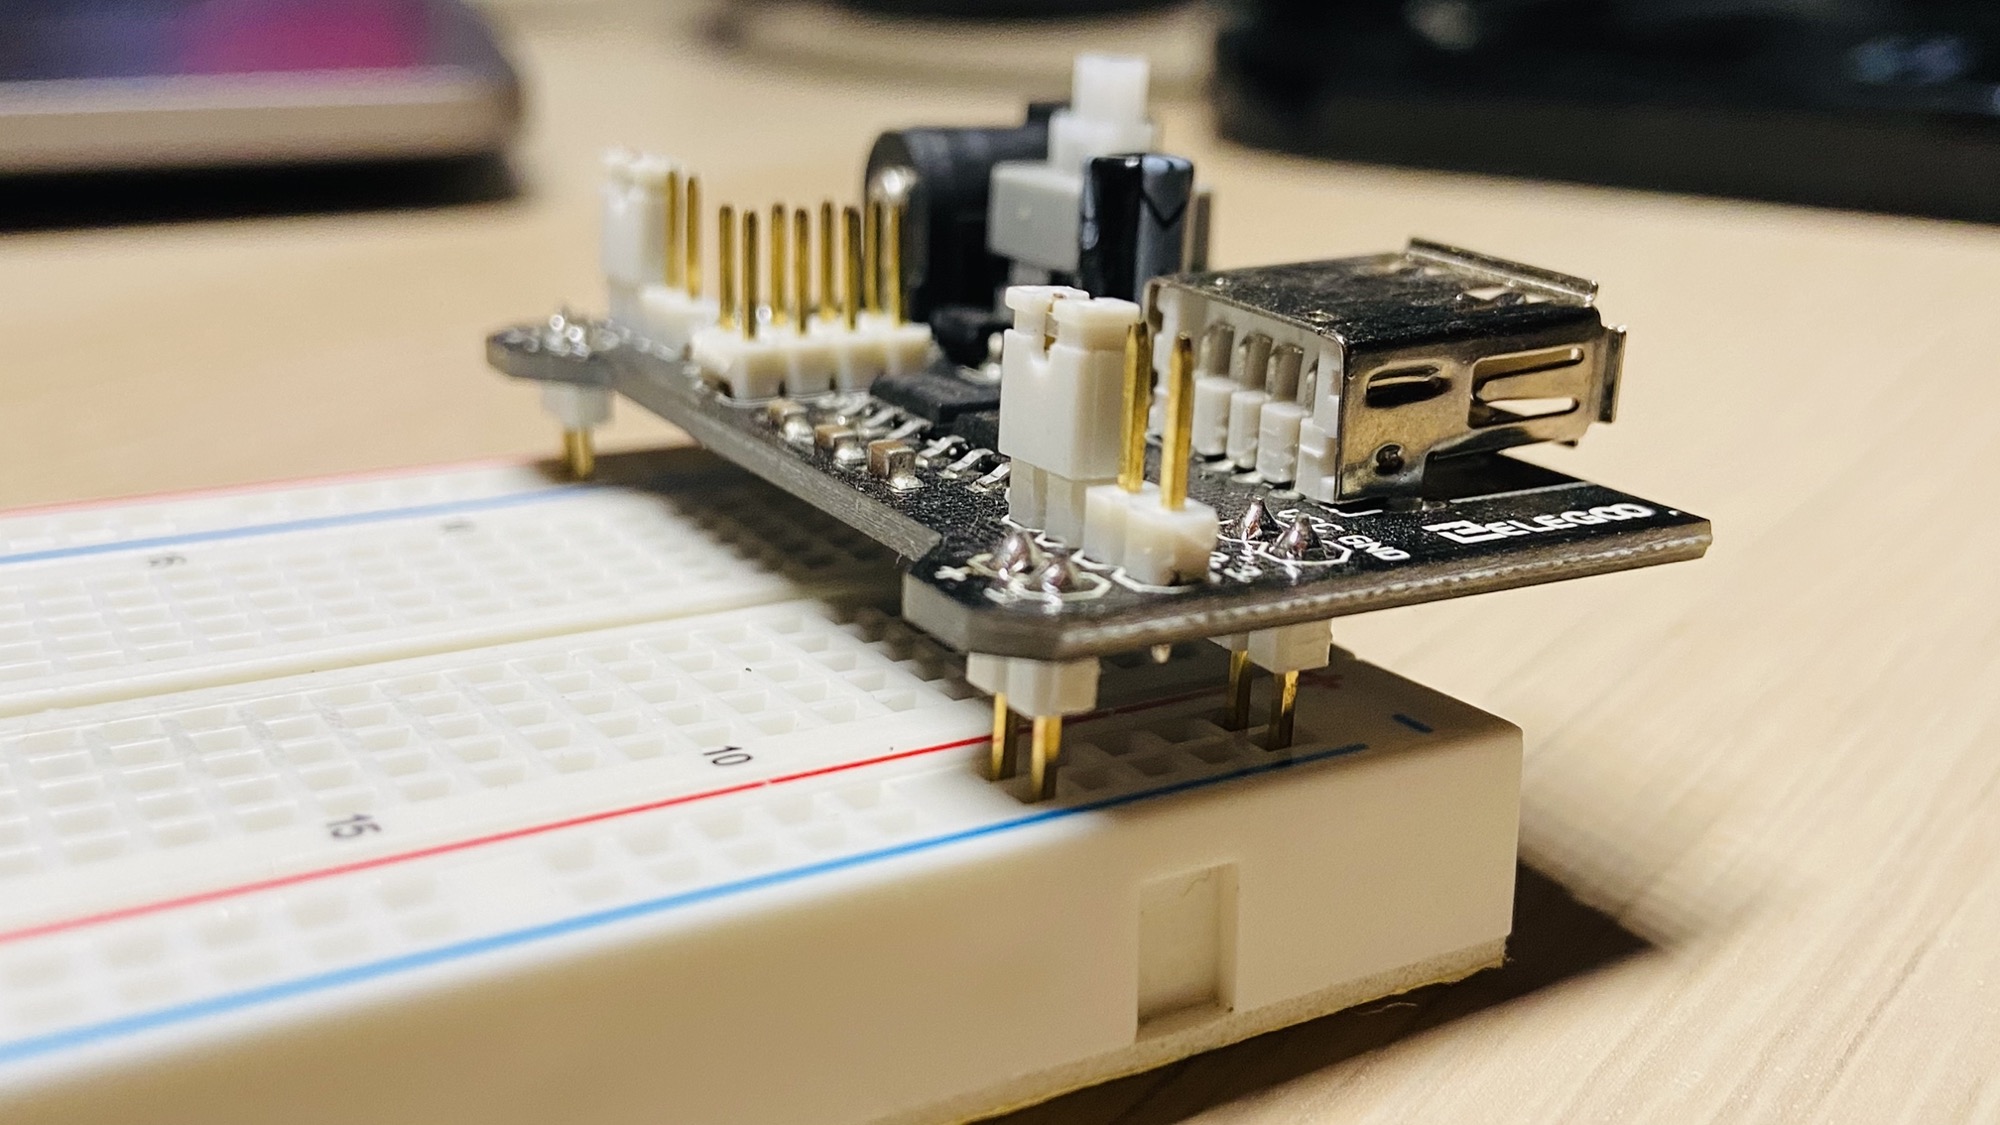
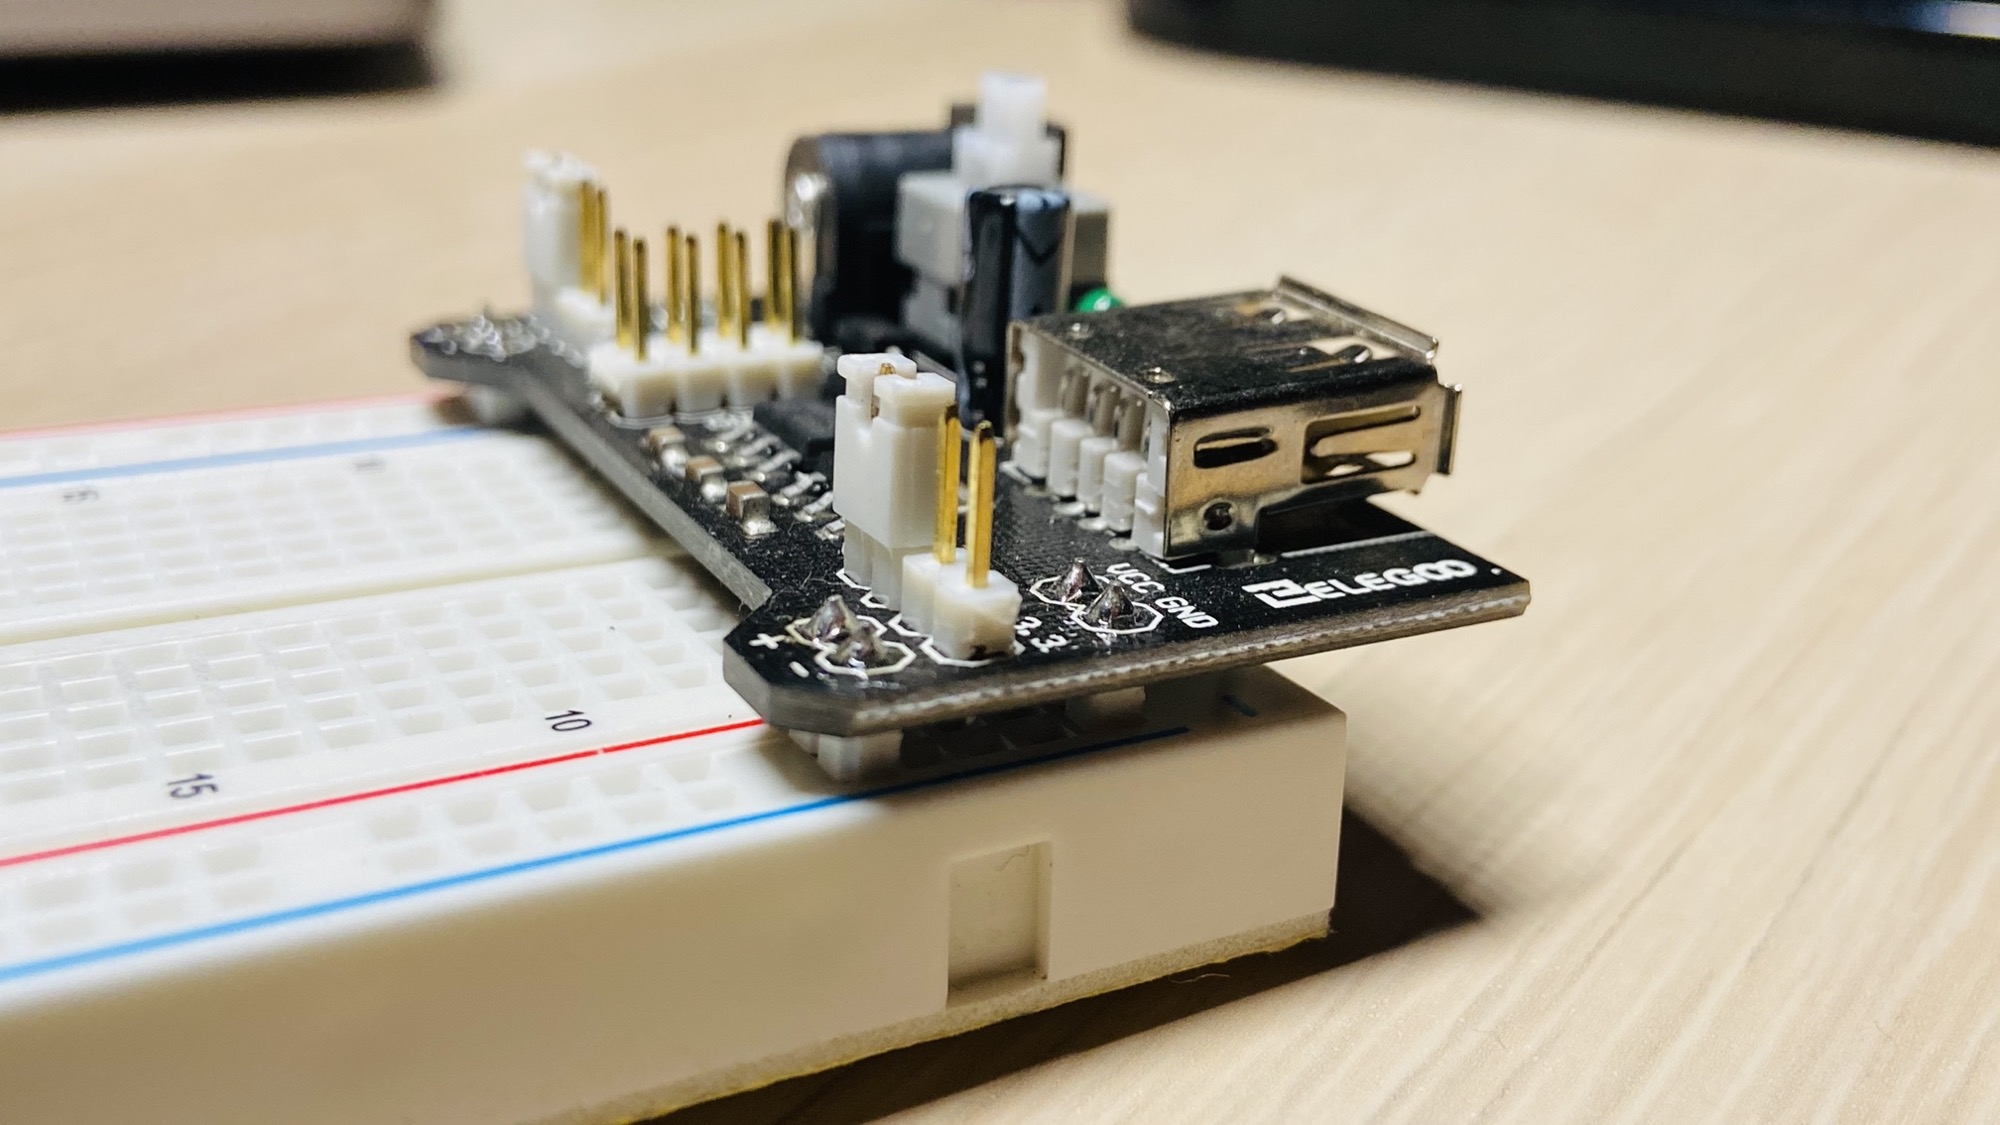
Then on each side you can decide which tension you want to apply to the power lines in the breadboard, independently: 5V like in this case:
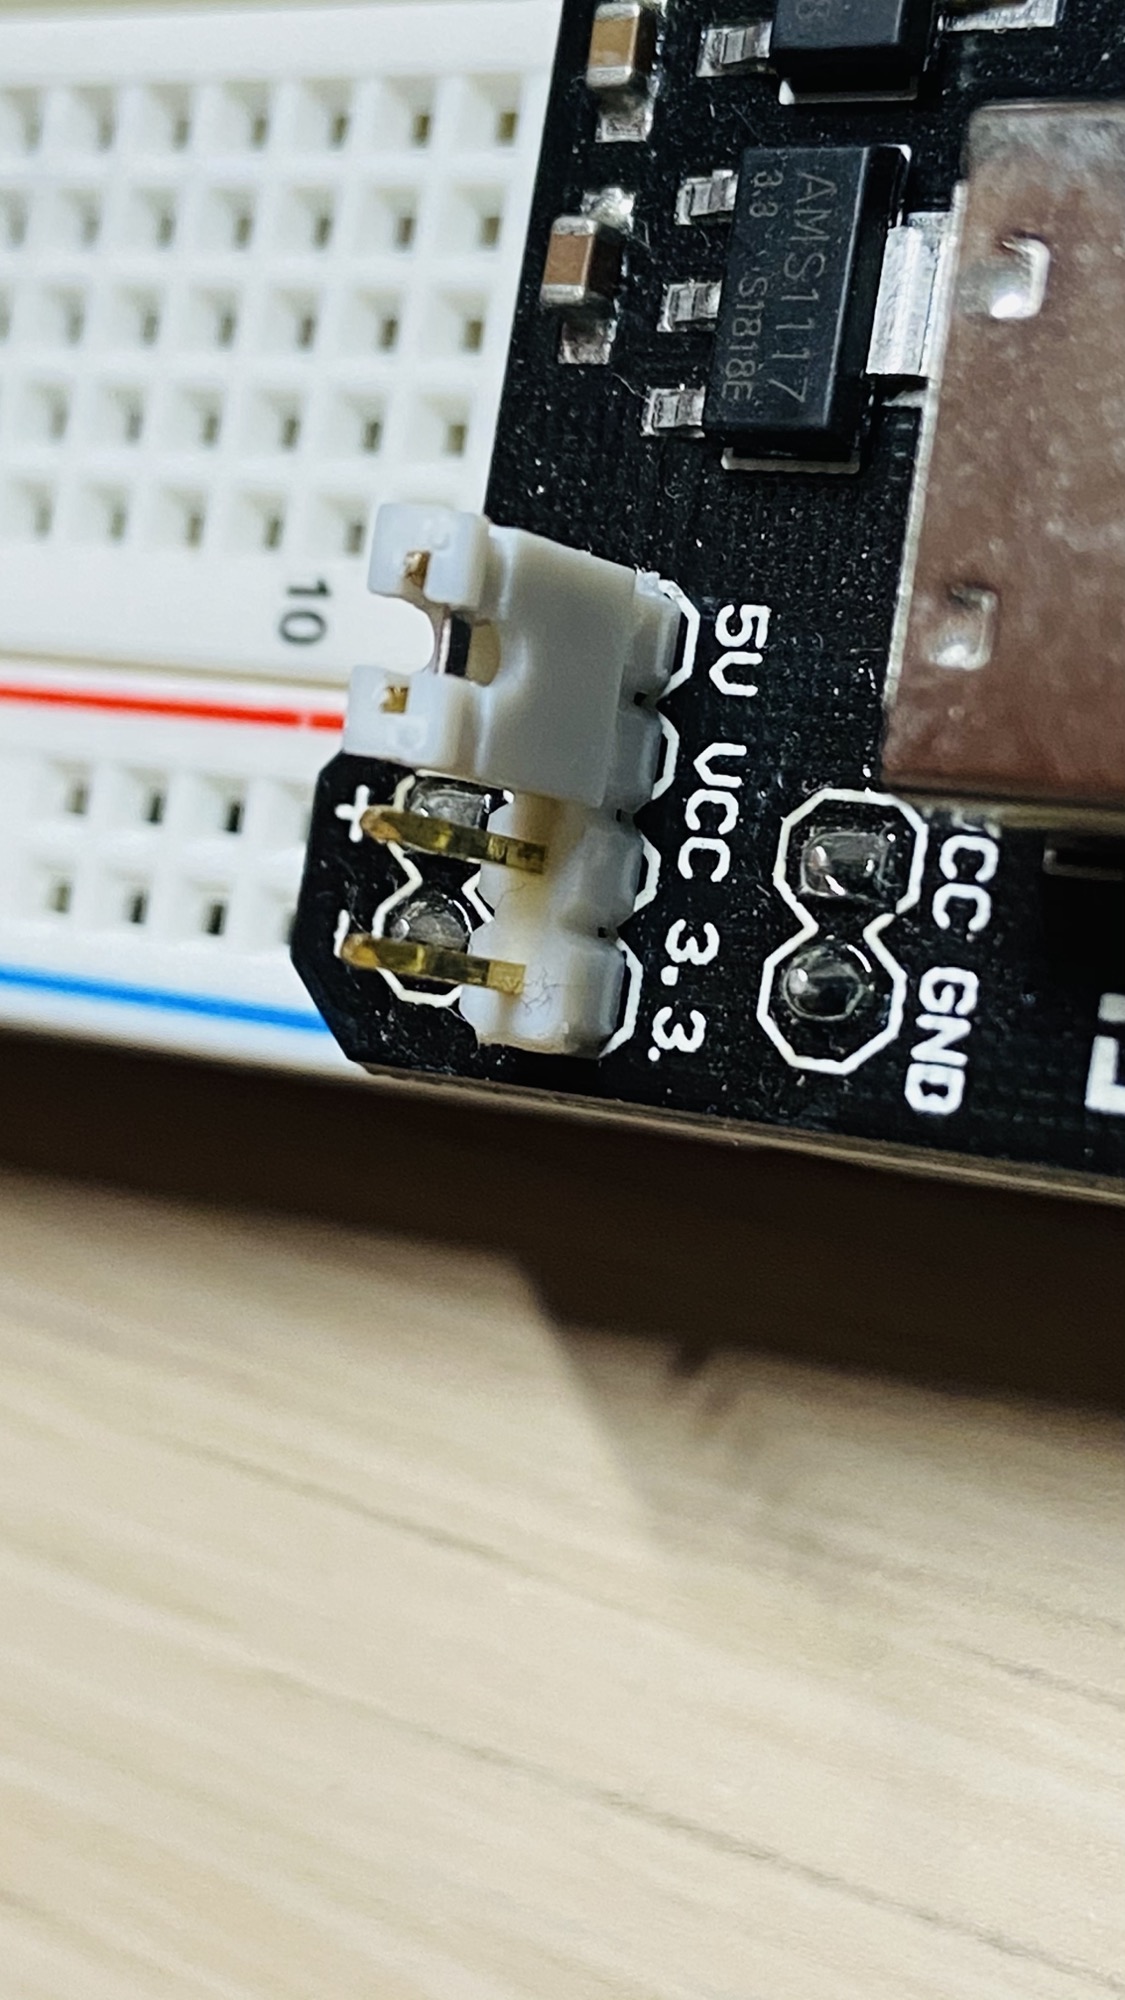
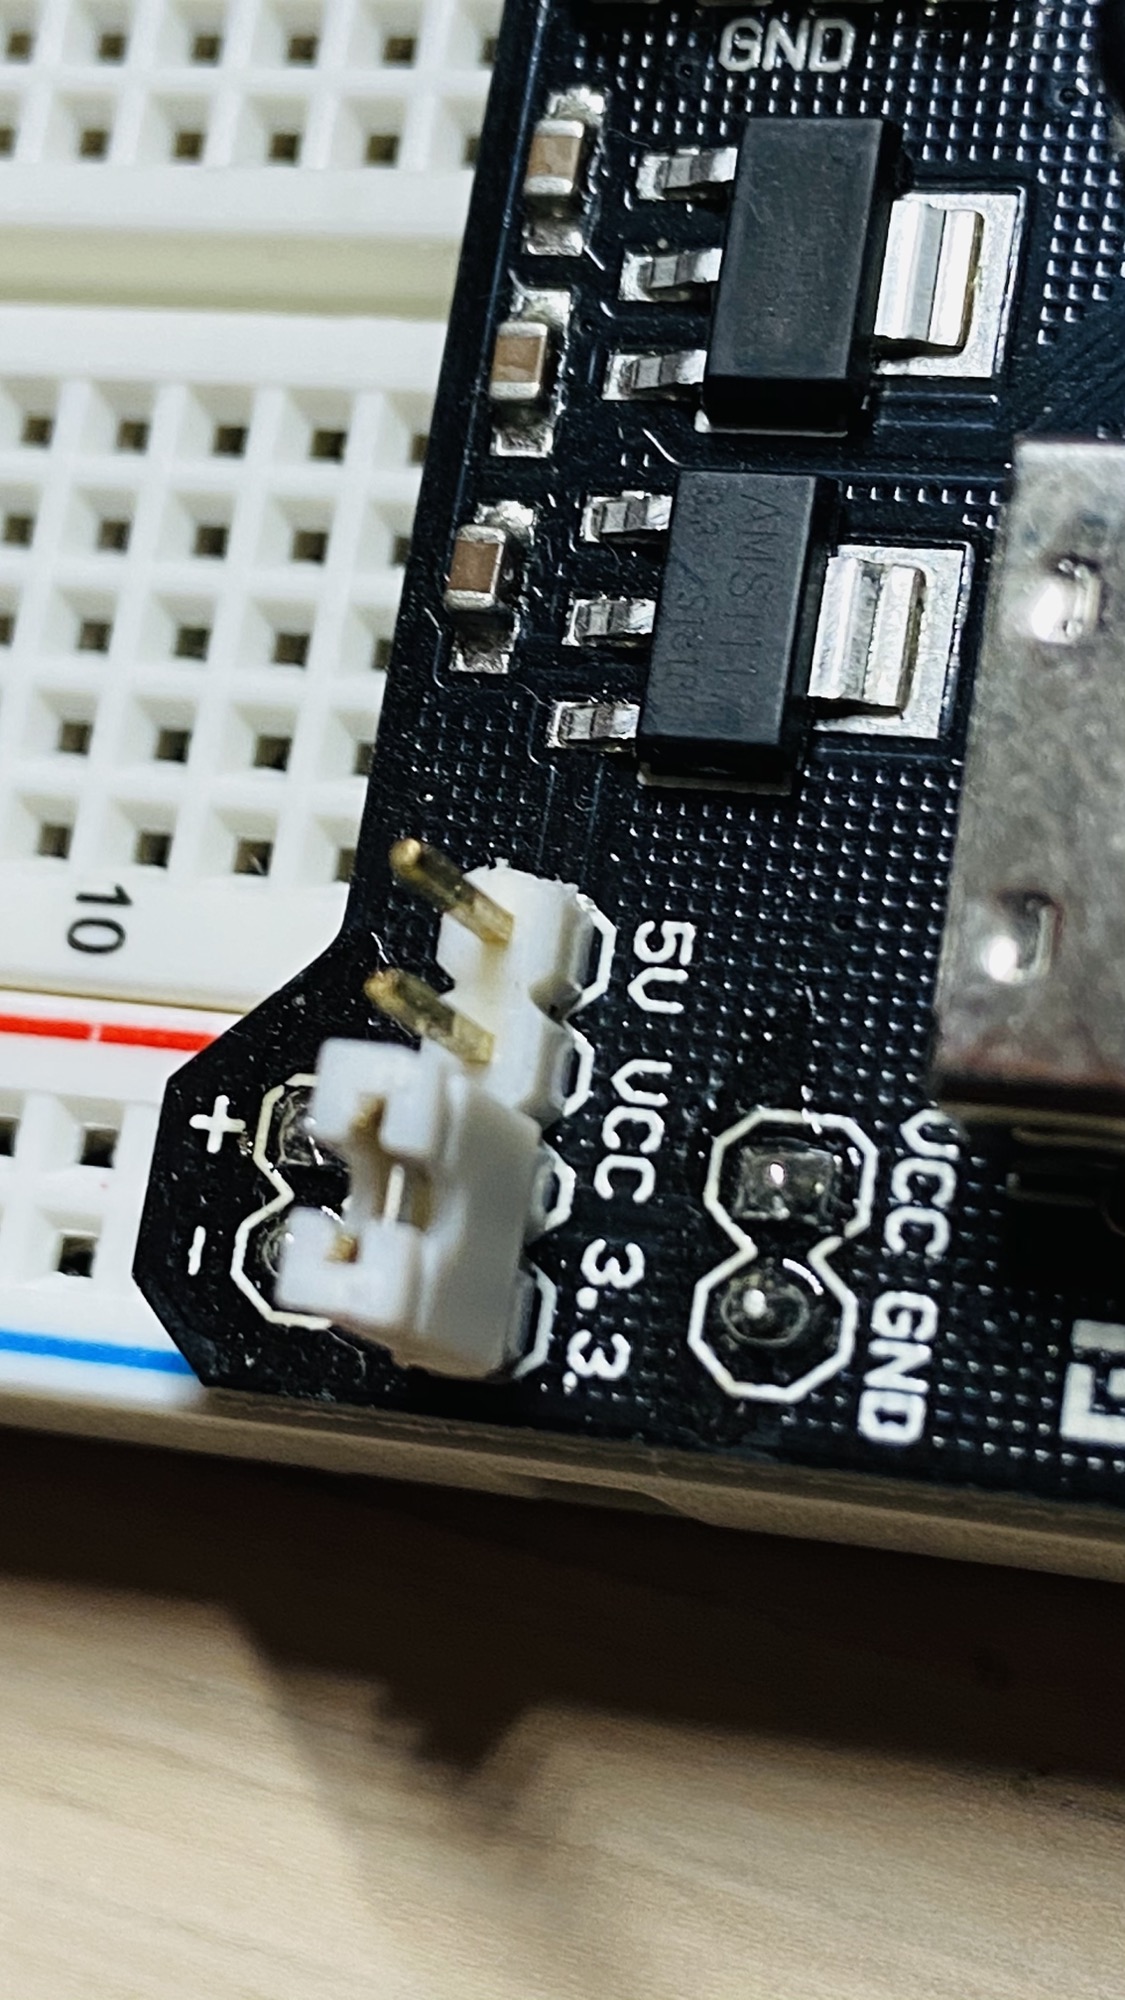
Or 3.3V, by changing the position of the jumpers:
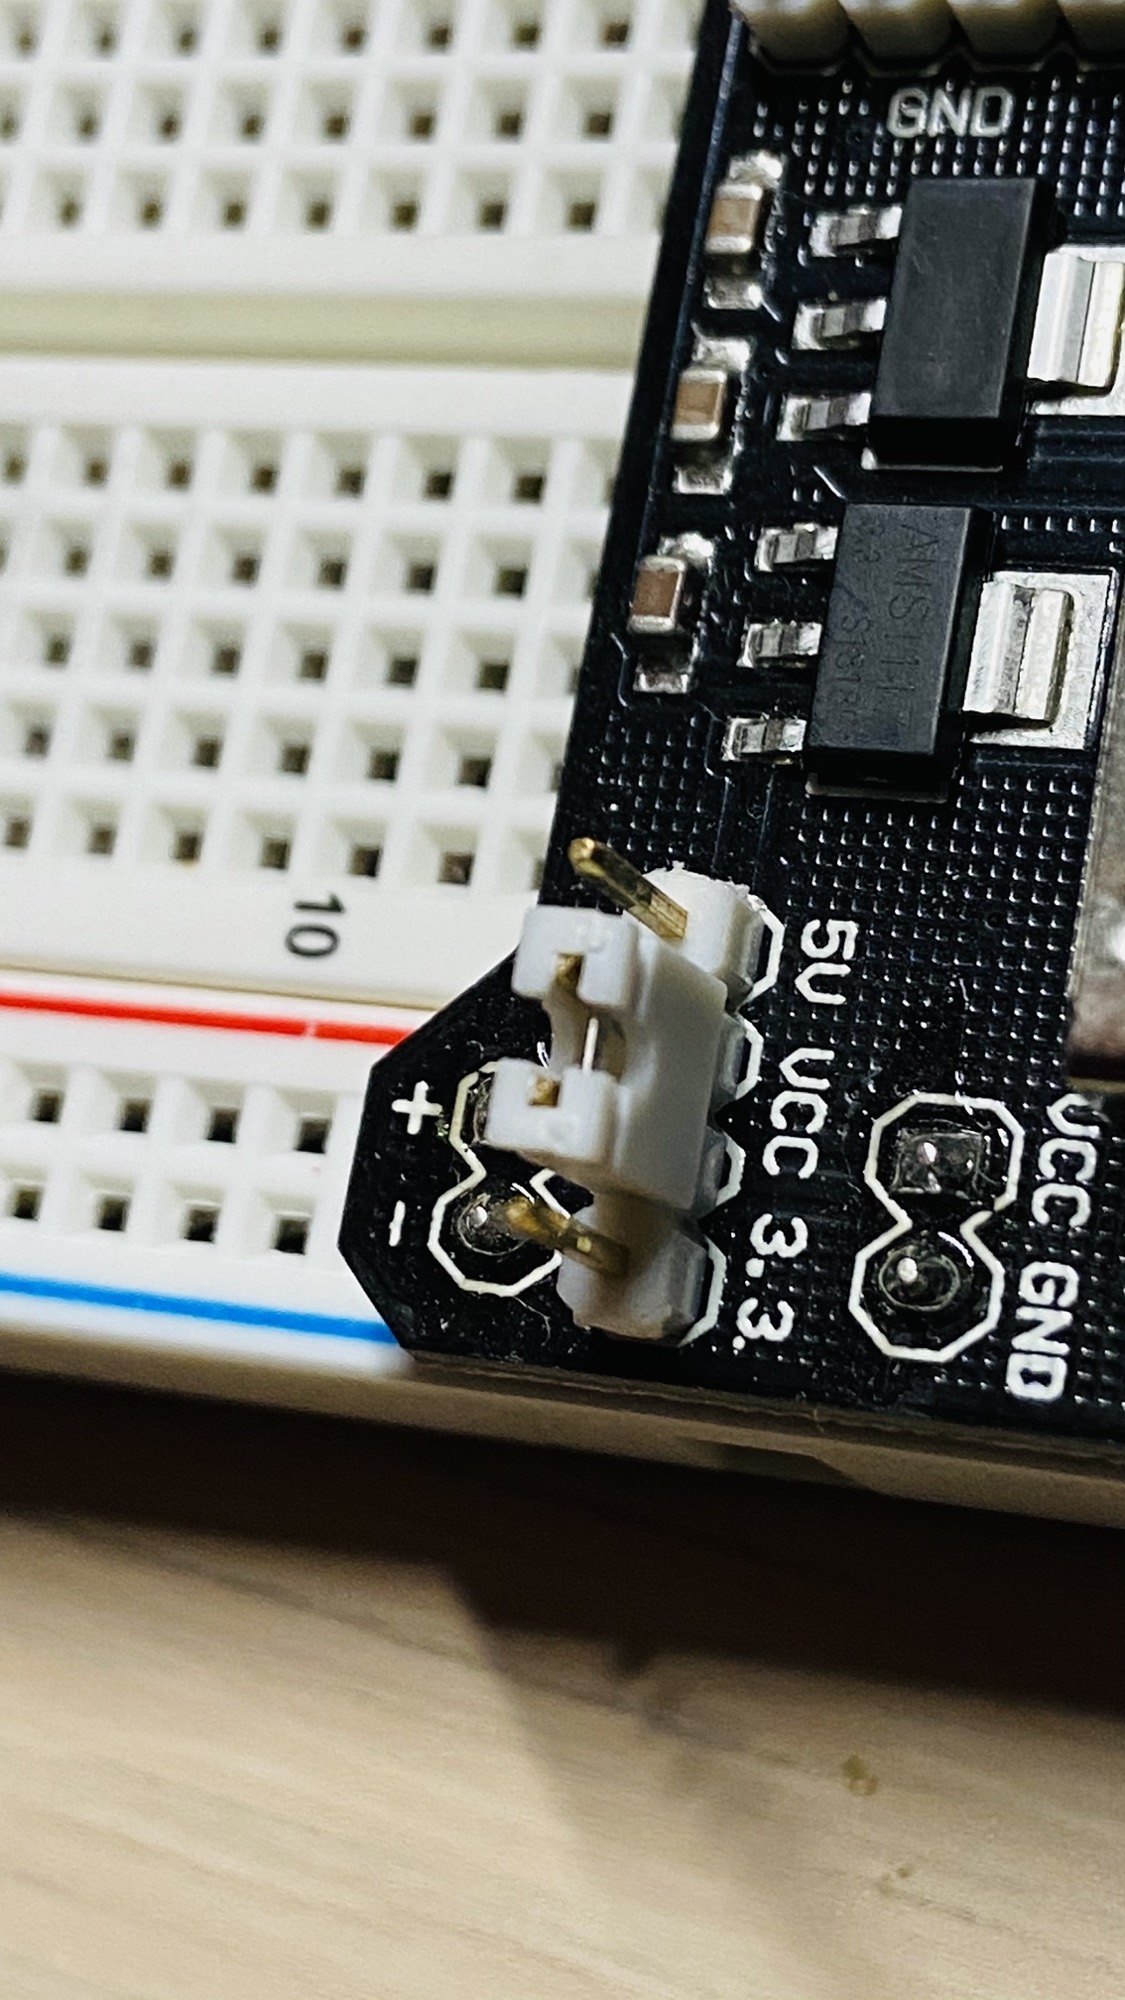
You can also turn it off by positioning the jumpers in the middle:
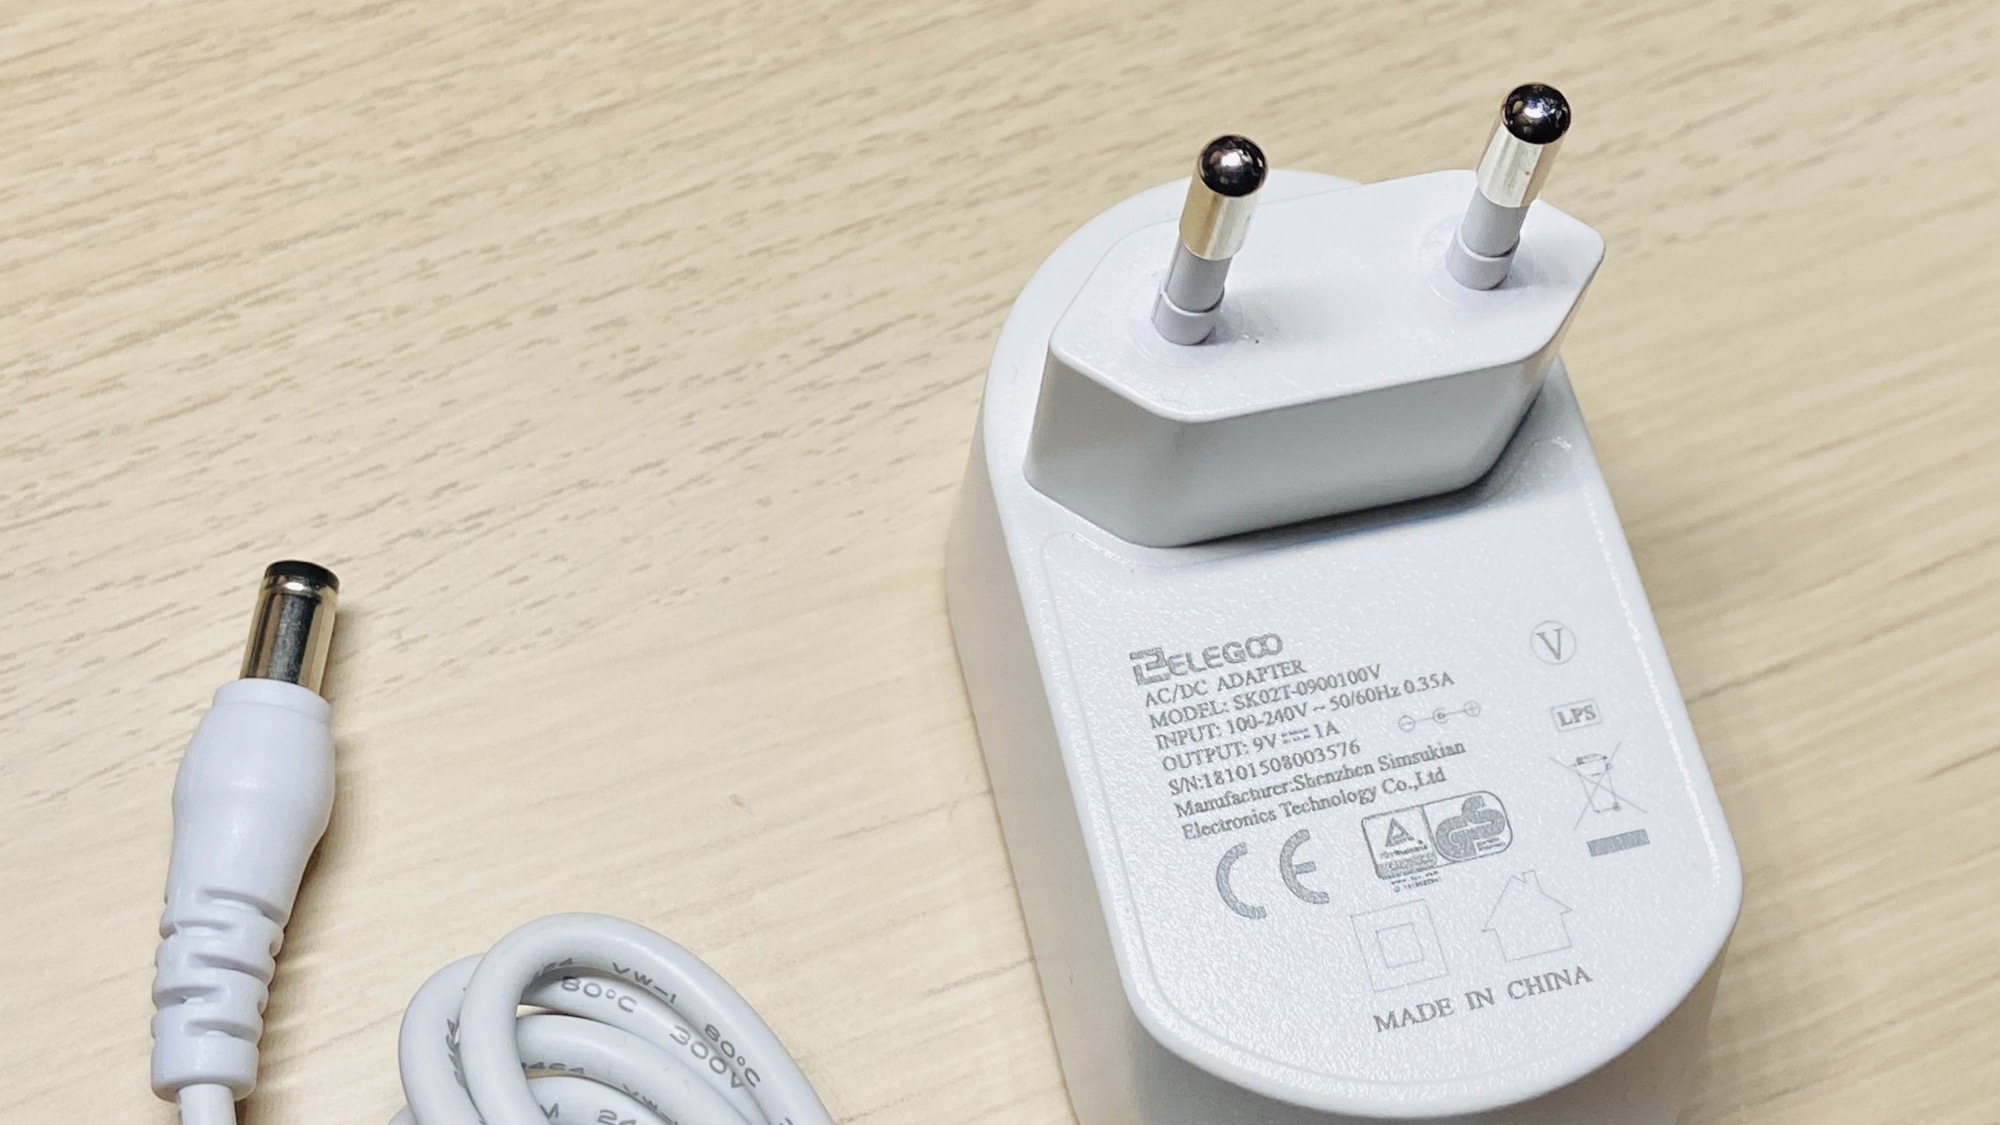
Then you can connect to a 12V to 220V adapter using the barrel jack input:
Press the gray button to turn it on. The LED will turn on too:
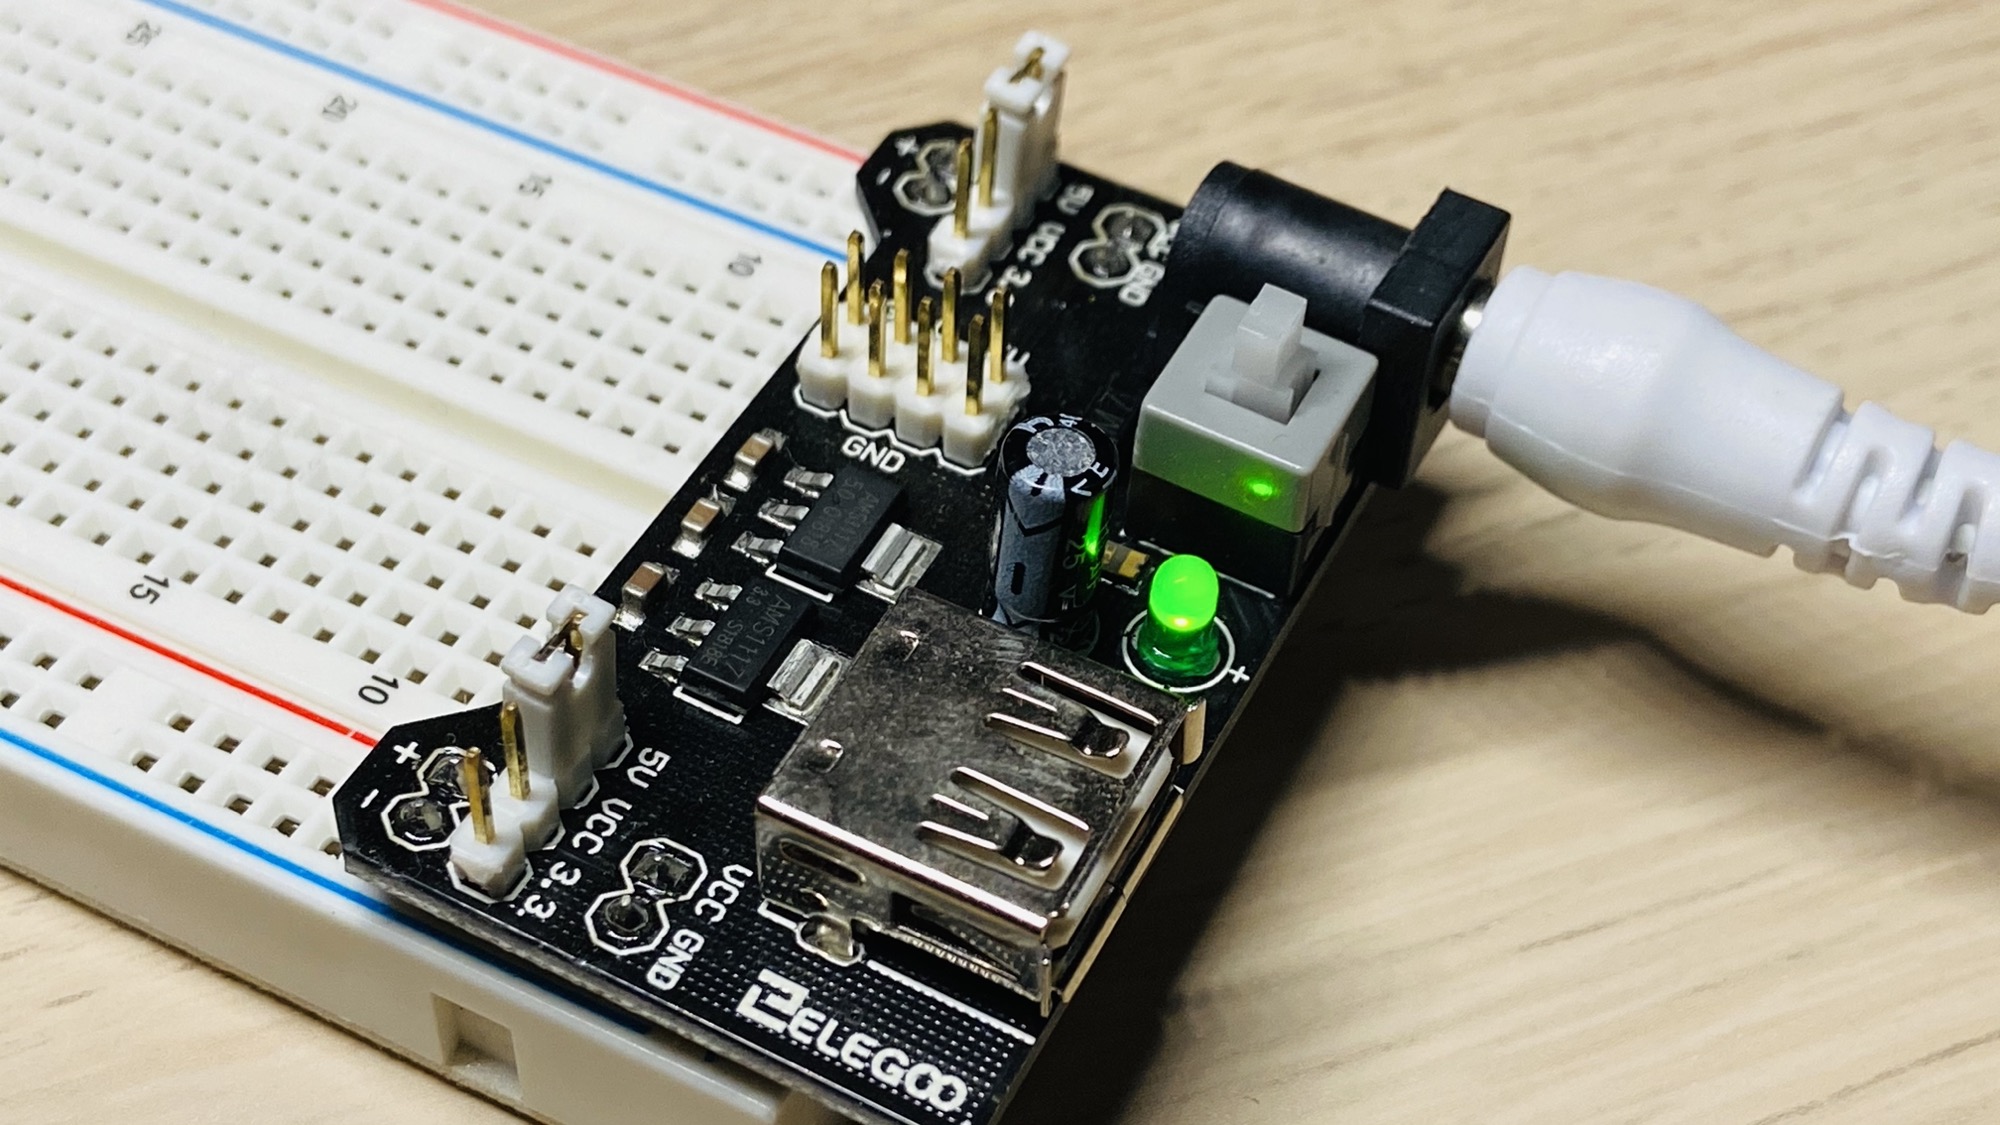
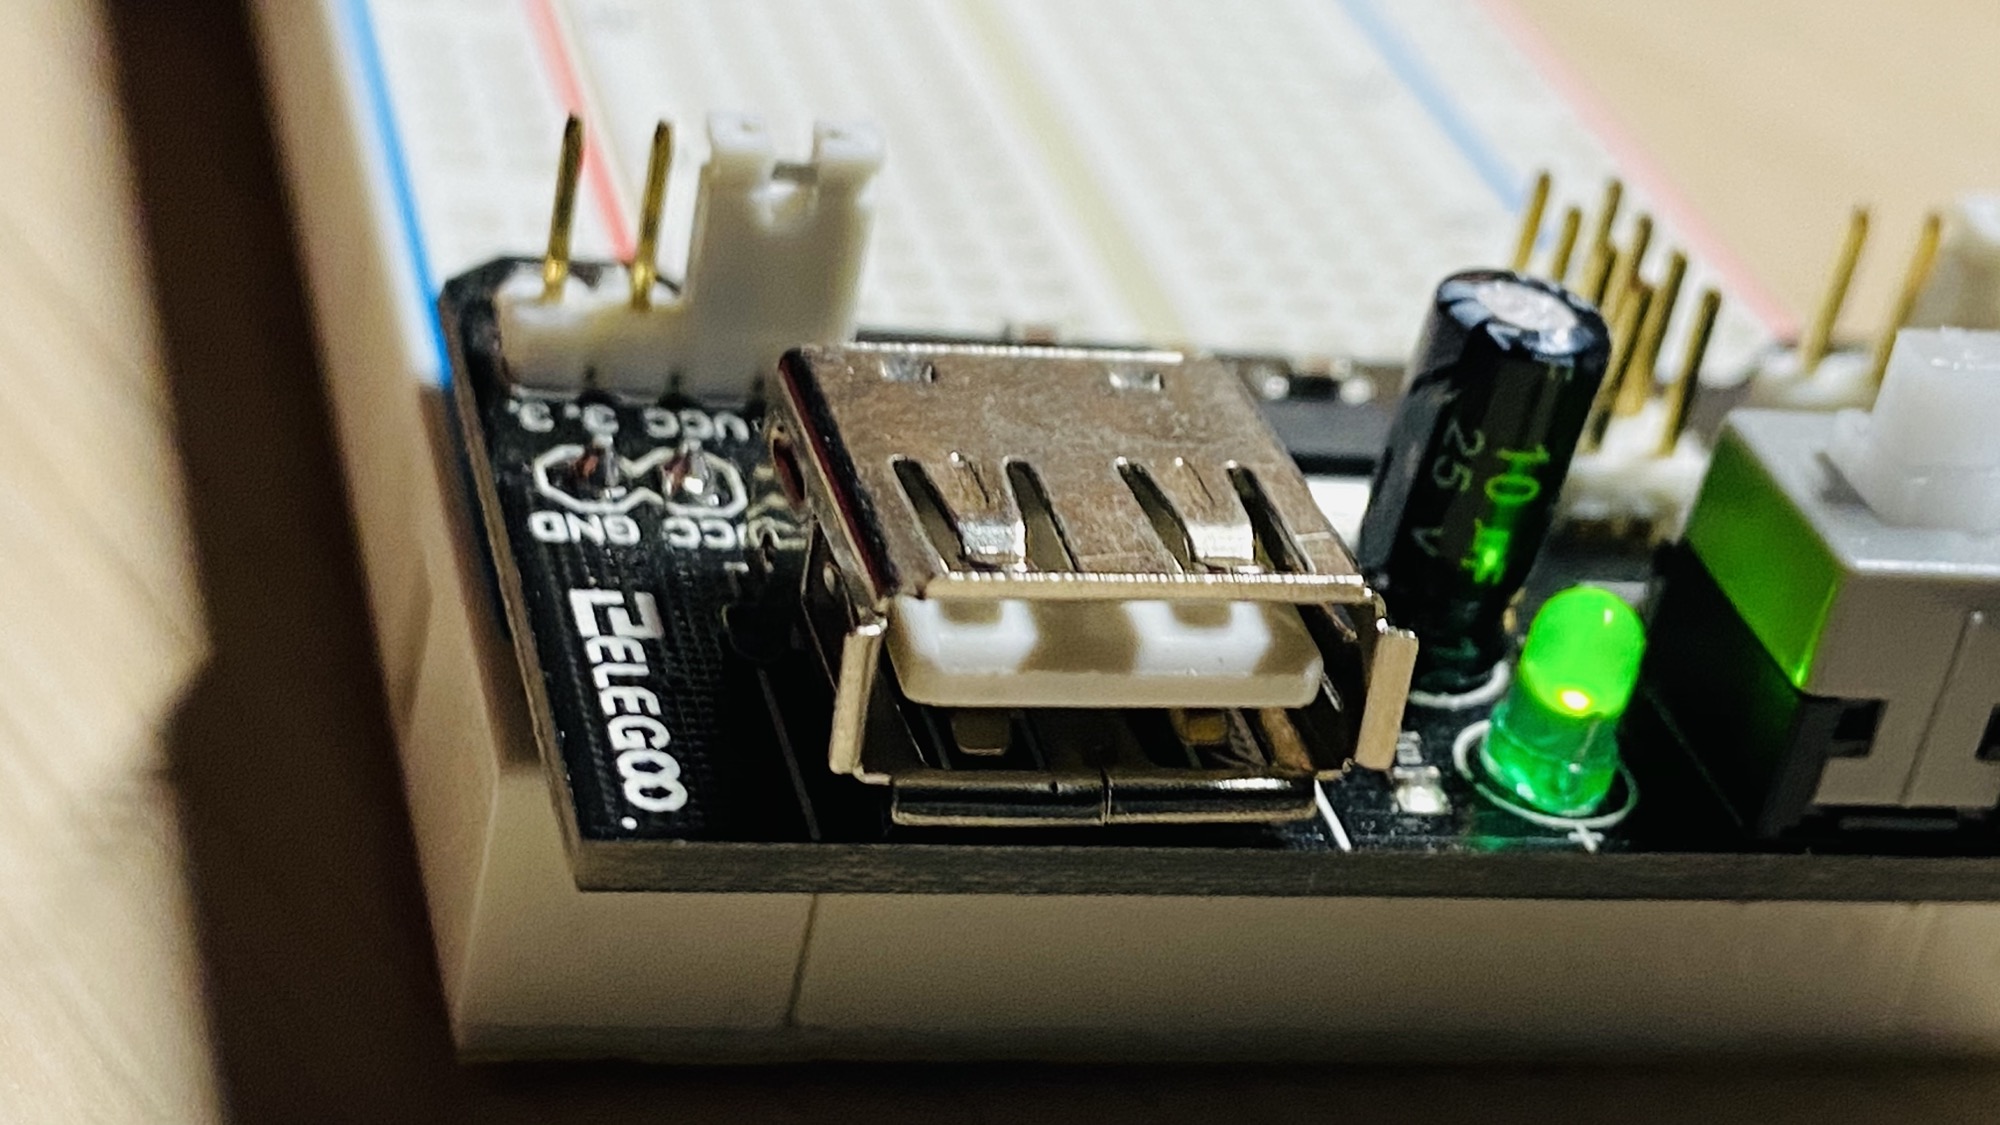
The USB port is not there to power the power supply module. It’s there to power an USB Device if needed (like the Arduino, for example).
There are also other output pins on top that provide GND, 5V and 3.3V in case you need them:
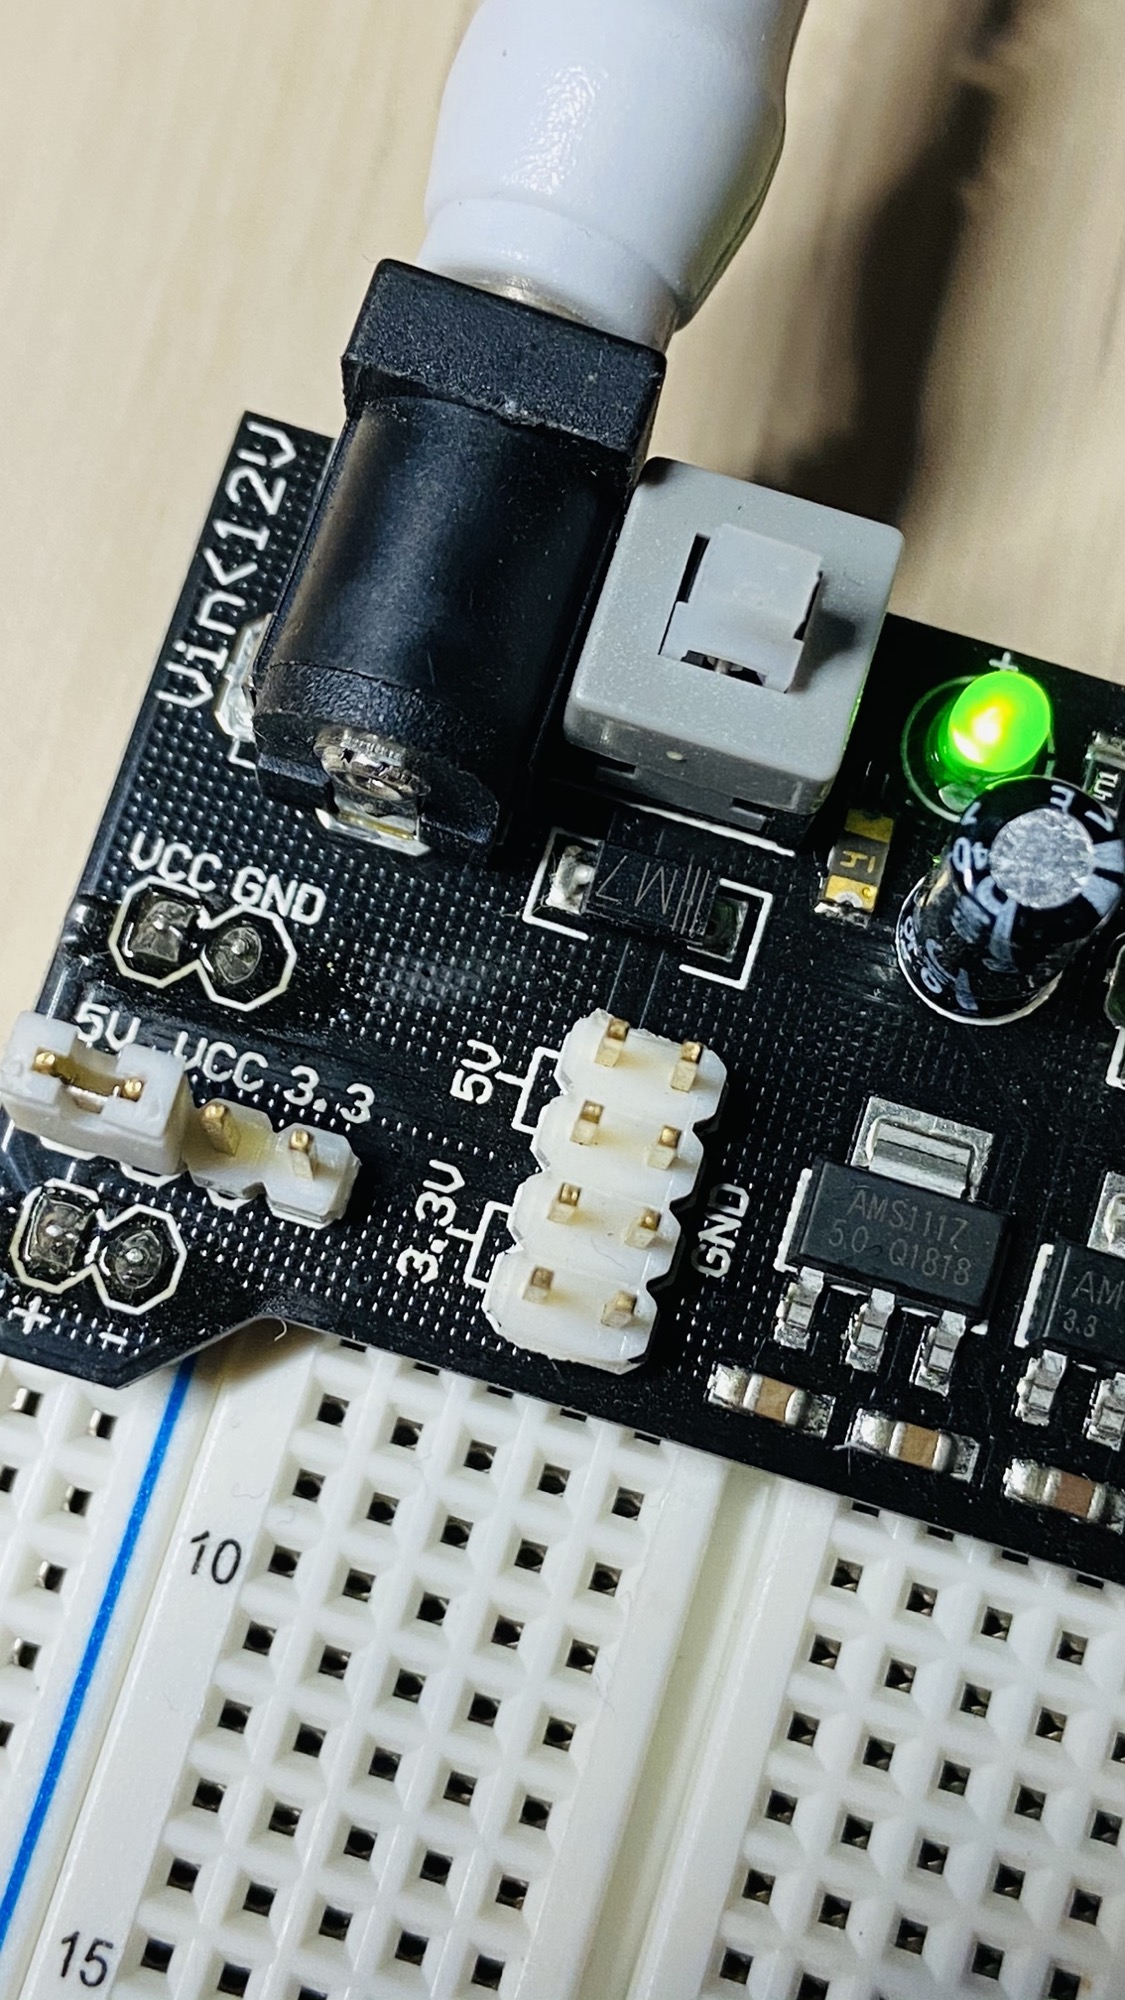
MB102 and other power supply modules
Most breadboard power supply modules are copies of the same design, often sold as MB102 modules after the 830-hole MB102 breadboard they fit. They share the layout you see in the photos: a barrel jack, a USB port, an on/off button, and two jumpers that pick 5V, 3.3V or off for each rail.
The one in the photos came with the Elegoo kit. Another brand’s module works the same way, so check two numbers on its page: the input voltage range and the maximum output current.
Why not power everything from the Arduino’s 5V pin?
When the Arduino runs from USB, its 5V pin gets power from your computer’s USB port. The Arduino Uno R3 protects that port with a resettable fuse that cuts the power above 500mA.
A few LEDs are fine. A servo or a motor can pull enough current to reset the board, or trip the fuse. With a power supply module, the components on the breadboard draw from the module’s own regulators instead.
Connect it to an Arduino
Keep the Arduino on USB, and let the module power the breadboard rails.
Then connect one of the Arduino’s GND pins to the breadboard’s - rail. Without a shared ground, the Arduino and the components don’t agree on what 0V is, and the signals from the Arduino pins won’t work reliably.
The signal wires go from the Arduino pins to the components as usual.
Things to watch out for
The module has fixed + and - pins. Check that they land on the breadboard’s red and blue lines before you push it in, since not every breadboard puts the rails in the same order.
700mA is the limit for everything on the breadboard combined. Two servos moving at the same time can get close to it, so motors usually get a supply of their own.
The regulators turn the extra input voltage into heat. With a 12V adapter and a lot of current they get hot, and if the module is too hot to touch, use a 9V adapter or draw less current.
Want me to talk about your product? You can sponsor this site.
Related posts about electronics: