How to create your first VPS on DigitalOcean
By Flavio Copes
A step-by-step guide to creating your first Linux VPS on DigitalOcean, from setting up your account to spinning up and configuring a droplet from scratch.
In this post I want to guide you through the process of setting up your first Linux Virtual Private Server (VPS) on DigitalOcean.
DigitalOcean is one of the most famous VPS services.
DigitalOcean has a 1-click installation process for the most famous applications and operating systems, it provides a global network of data centers and CDN locations. It’s also very reliable and with a $4/month starting point for the smallest Basic Droplet it’s also convenient.
I consider DigitalOcean to be one of the most affordable and easy to use solutions, and I use it for various services.
Step 1: Create a DigitalOcean account
Sign up for DigitalOcean with my referral link. New accounts get a $5 signup credit that lasts 90 days (that is what DigitalOcean’s own docs say as of September 2026; the $100 and $200 promotions of past years are gone).
Disclaimer: this is an affiliate link. When you sign up through it and then spend $25, I get $25 in DigitalOcean credit. It costs you nothing extra.
I don’t suggest DigitalOcean just because they have an affiliate program, obviously. It’s the opposite: since I use it a lot, if I can lower my bill I take advantage of this opportunity.
Once you are on the website, fill the registration form and you’ll quickly be up and running. You can also sign up with Google or GitHub.
You need to confirm your email.
Then you will need to enter the billing information. DigitalOcean asks for a payment method before you can create anything, even while you still have signup credit.
Step 2: Create a project
Once you’re signed up, you are now able to create a new project.
Enter a name and a description for the project.
Once you click “Create Project”, the project is now added to your list of projects, and the Project Dashboard appears.
This is the control center for anything you want to do with this project.
First, there is a big blue button with the Get Started with a Droplet text.
What is a Droplet? A DigitalOcean Droplet is a virtual machine, a VPS. The thing we want to create. Everything on DigitalOcean revolves around Droplets.
From this interface we can also initialize a managed database, create a space (a place to store files) and create a load balancer to distribute traffic between multiple droplets.
But let’s keep things simple. We just want to create a droplet.
Create a droplet
Click the Get Started with a Droplet button in the project dashboard.
This will show you a page with lots of options. Let’s start from the top.
The first choice is Choose an image. Here we can choose between several Linux distributions (Ubuntu, Fedora, Debian and CentOS) and FreeBSD, another UNIX OS.
For each of those, we can choose a specific version. Pick the newest Ubuntu LTS in the list (the terminal screenshots at the end of this post still show the 18.04 label from when I first wrote this).
Along with Distributions, we also have other categories. Marketplace in particular lets us install a server preconfigured with an application like WordPress, Ghost, a LAMP server or any of the 150+ applications with a single click. This is a really handy way to quickly get up and running with any project.
Snapshots, Backups and Custom images let you create a server from a pre-existing server you had.
Now that you know everything you can do here, let’s pick Ubuntu LTS from the Distributions panel.
In Choose a plan you can choose between the Standard plan (which is the one we’ll use), or a more performant CPU-Optimized or Memory-Optimized server. This implies the server will cost more.
Speaking of cost, now we have a table where we can choose the size of the server (and the cost).
Don’t be tricked: the plan DigitalOcean preselects is not the cheapest one. Look through the list for the smaller plans.
Basic Droplets start at $4/month for 512 MiB of RAM, and the 1 GiB one costs $6/month (prices checked in September 2026). A small plan can go a long way before you need to upgrade. Start with that. If you’re not sure which size your app actually needs, I built a free VPS sizing calculator that recommends a tier based on your app type and traffic.
Billing is per second (with a 60 second minimum), capped at the monthly plan price, so a Droplet you destroy after a few minutes does not cost a full hour.
Next we can choose to add block storage to have persistent data storage (not needed now) and you can choose a data center region.
Which should you choose?
The one nearest to your visitors. I almost always choose New York as it’s in the middle between Europe and the rest of the US.
We have other options next, which you can ignore, then we have Authentication.
Choose Password to keep things simpler, but for real servers I recommend using SSH keys authentication (which is more complicated to set up, but more secure).
Type a password you’re going to use for the root user, the Linux system administrator.
Then give the droplet a hostname that’s meaningful to you.
Finally, click the Create Droplet button. DigitalOcean will start the droplet creation process, and a progress bar shows how far along it is.
Once it ends, it will show you the public server IP address.
Click the name to show the droplet dashboard.
From here you have full control of anything. You can turn it on, turn it off, resize it, and much more.
Remember that turning off a droplet does not stop DigitalOcean billing: you must destroy it, so it does not take any space at all.
Access the Droplet as root
From the Droplet, you can now access the droplet by clicking the Access menu, and the Launch Console button.
This will open a login window inside the browser, which lets you log in to the server. Enter root as the user name, and the password you set previously, and you’re in.
The console in the browser is not ideal. It’s much better to use your operating system terminal.
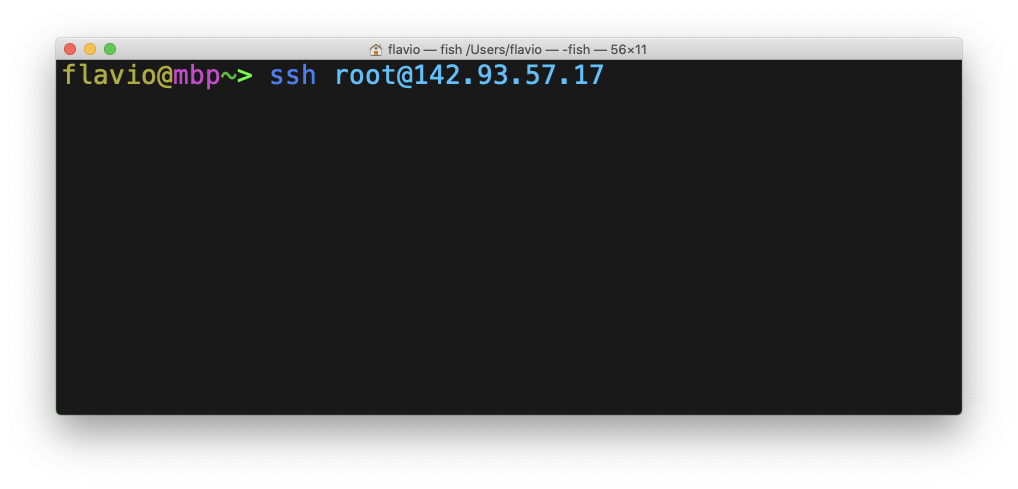
Let me access the server using the macOS Terminal app. I write the command ssh root@<IP ADDRESS>:
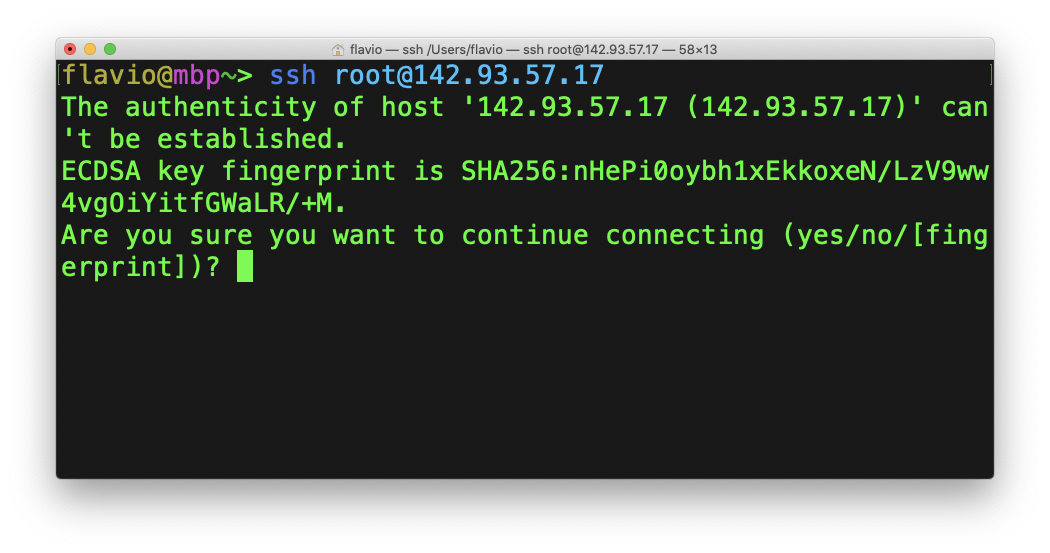
I immediately get a warning that tells me I’ve never connected to this server before. I accept with “yes”:
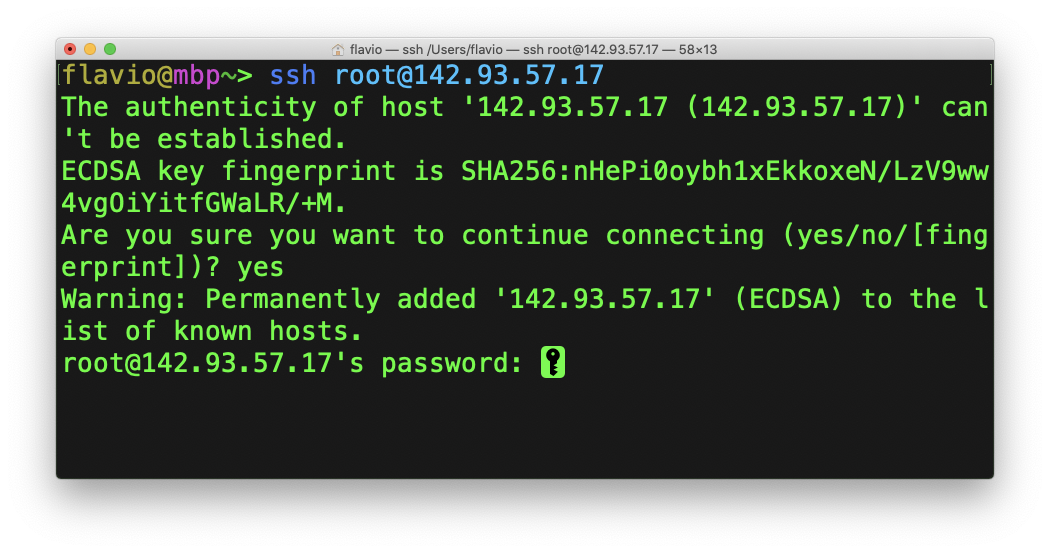
Now the server asks me the password:
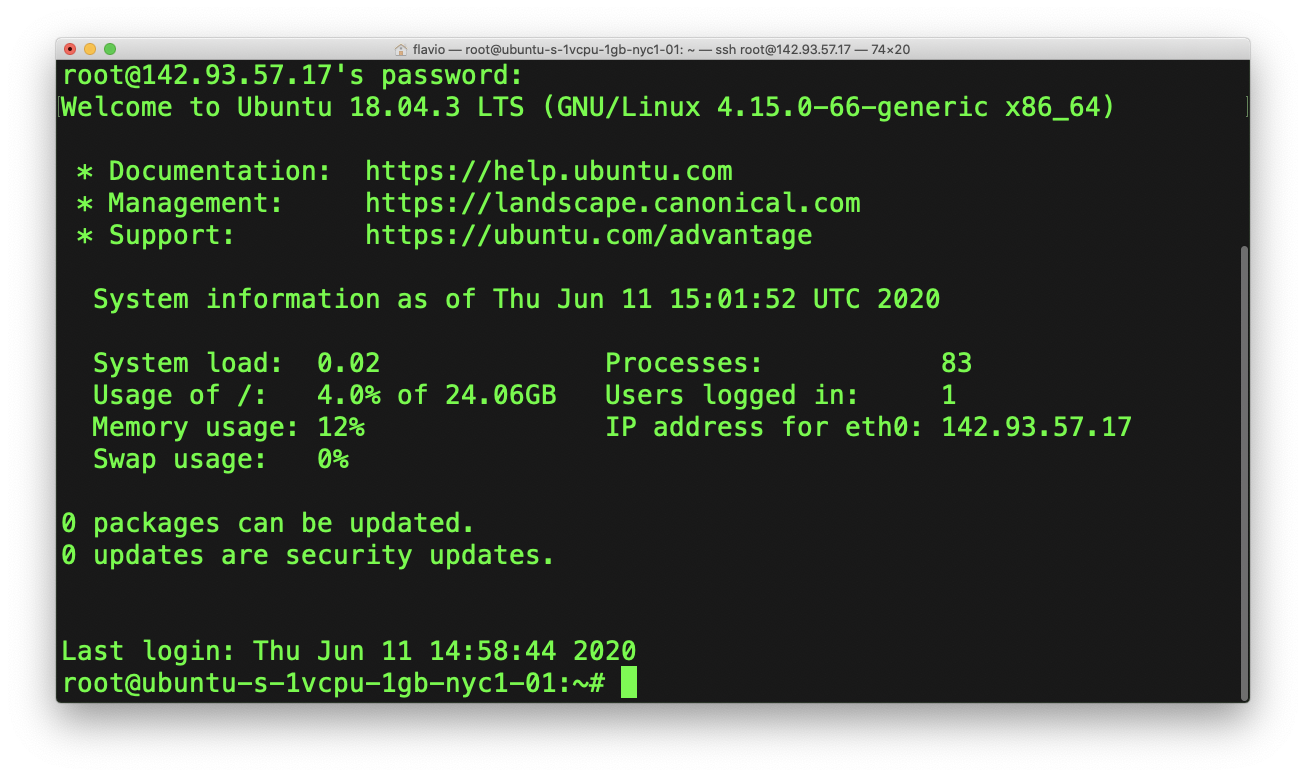
and I’m logged into it:
What’s next?
Now you are in full control of a computer located in a data center, somewhere in the world.
Isn’t this cool? And it’s just the beginning.
There are many things you will need to do before the server can be ready to do anything, the first of which should be to create a user that is not root, worry about securing the server, and set up any server you want to run on it.
For keys instead of passwords, known_hosts, and day-to-day SSH as a developer, read SSH for developers.
Want me to talk about your product? You can sponsor this site.
Related posts about services: