The Arduino built-in LED
By Flavio Copes
Learn how to use the Arduino built-in LED, referencing it with the LED_BUILTIN constant and controlling it with pinMode and digitalWrite to make it blink.
Arduino boards come with a little utility: the built-in LED. It’s a LED soldered directly on the board, wired to one of the digital pins, and you control it from your code with the LED_BUILTIN constant.
It’s the first thing to play with on a new board. You can run a program that produces a visible result with zero wiring. No breadboard, no resistors, no external LED.
It’s also handy later on, as a status light. I use it to signal “the WiFi is connected” or “something went wrong” in projects, without adding any hardware.
Where is it?
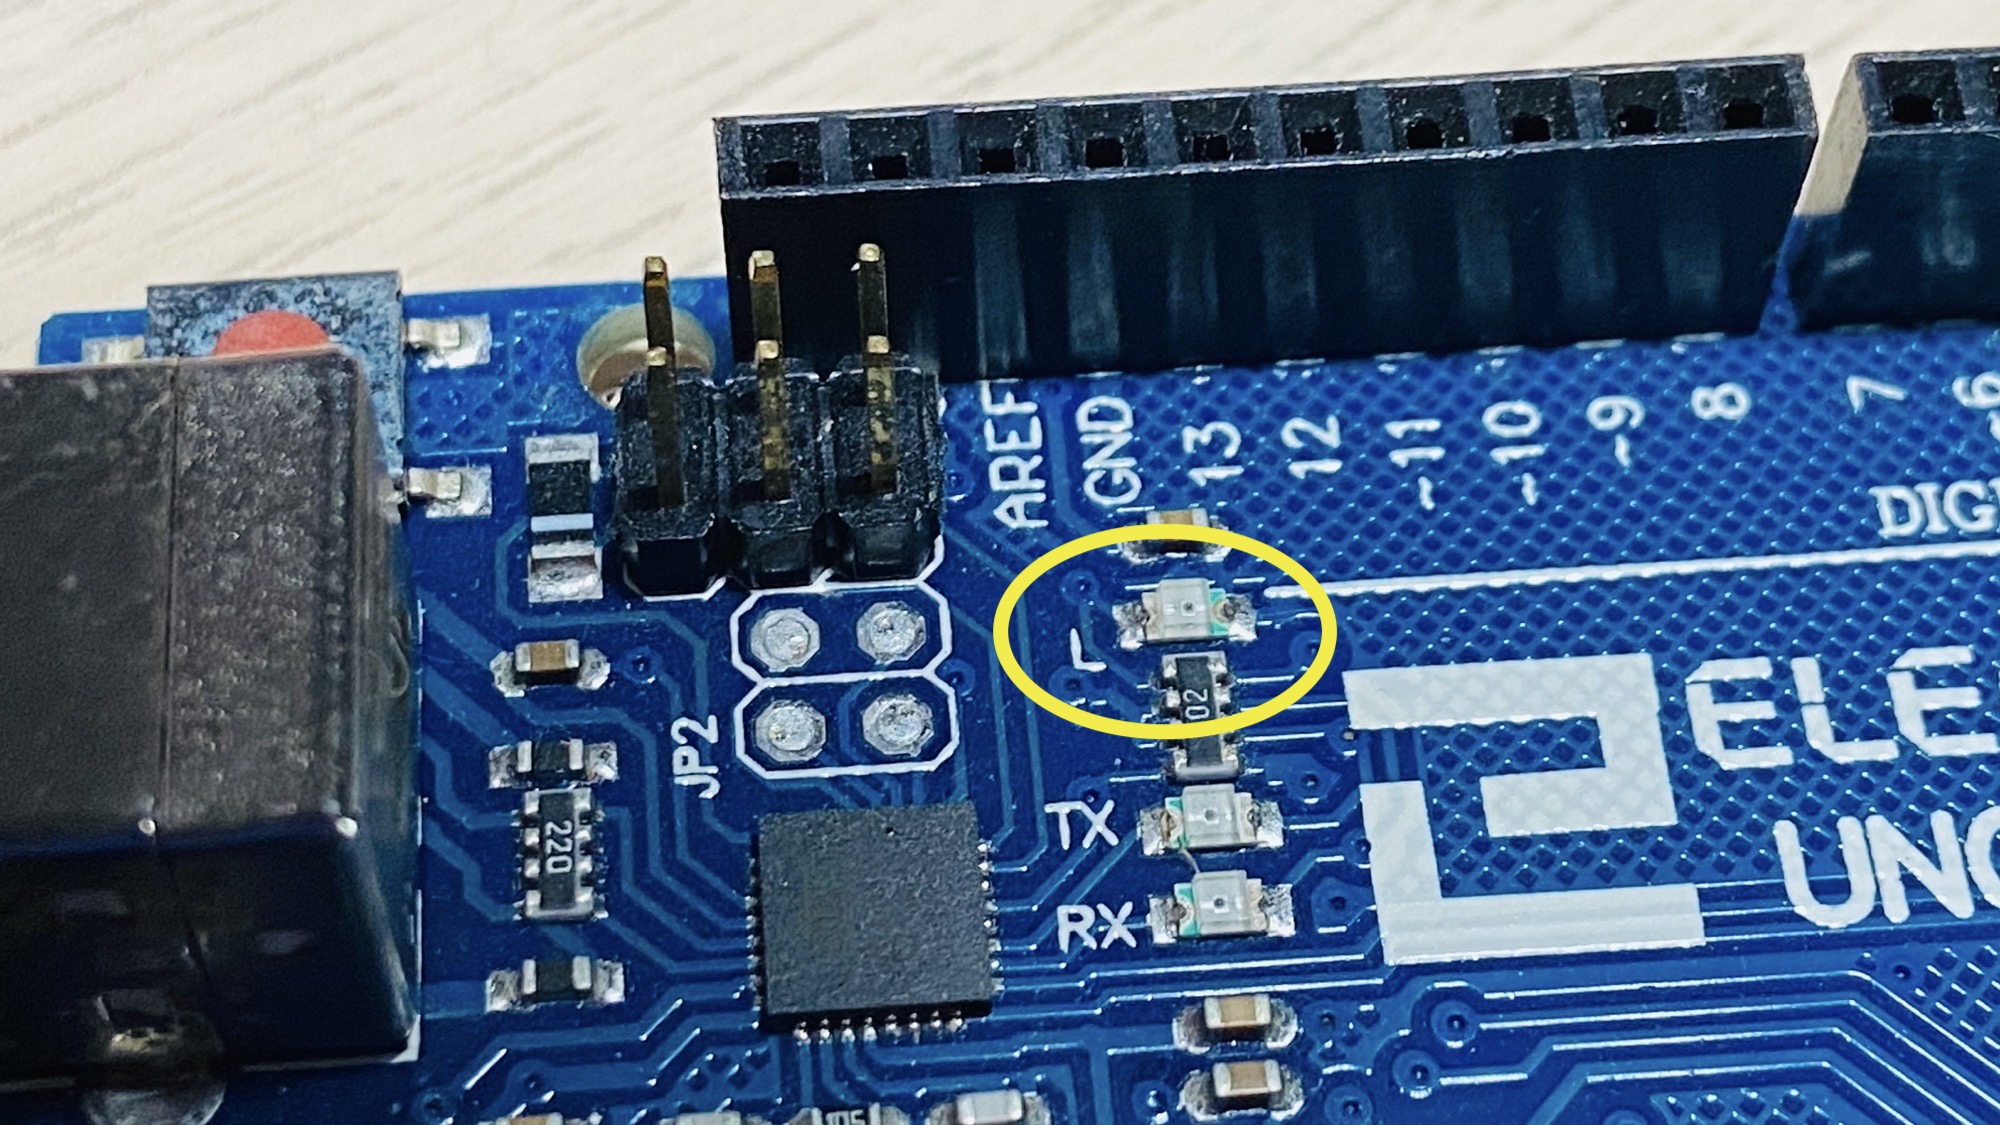
It is identified by the letter L next to it. On the Arduino Uno, it is near pin #13:
On the Arduino MKR 1010 WiFi it is near the 5V output pin:
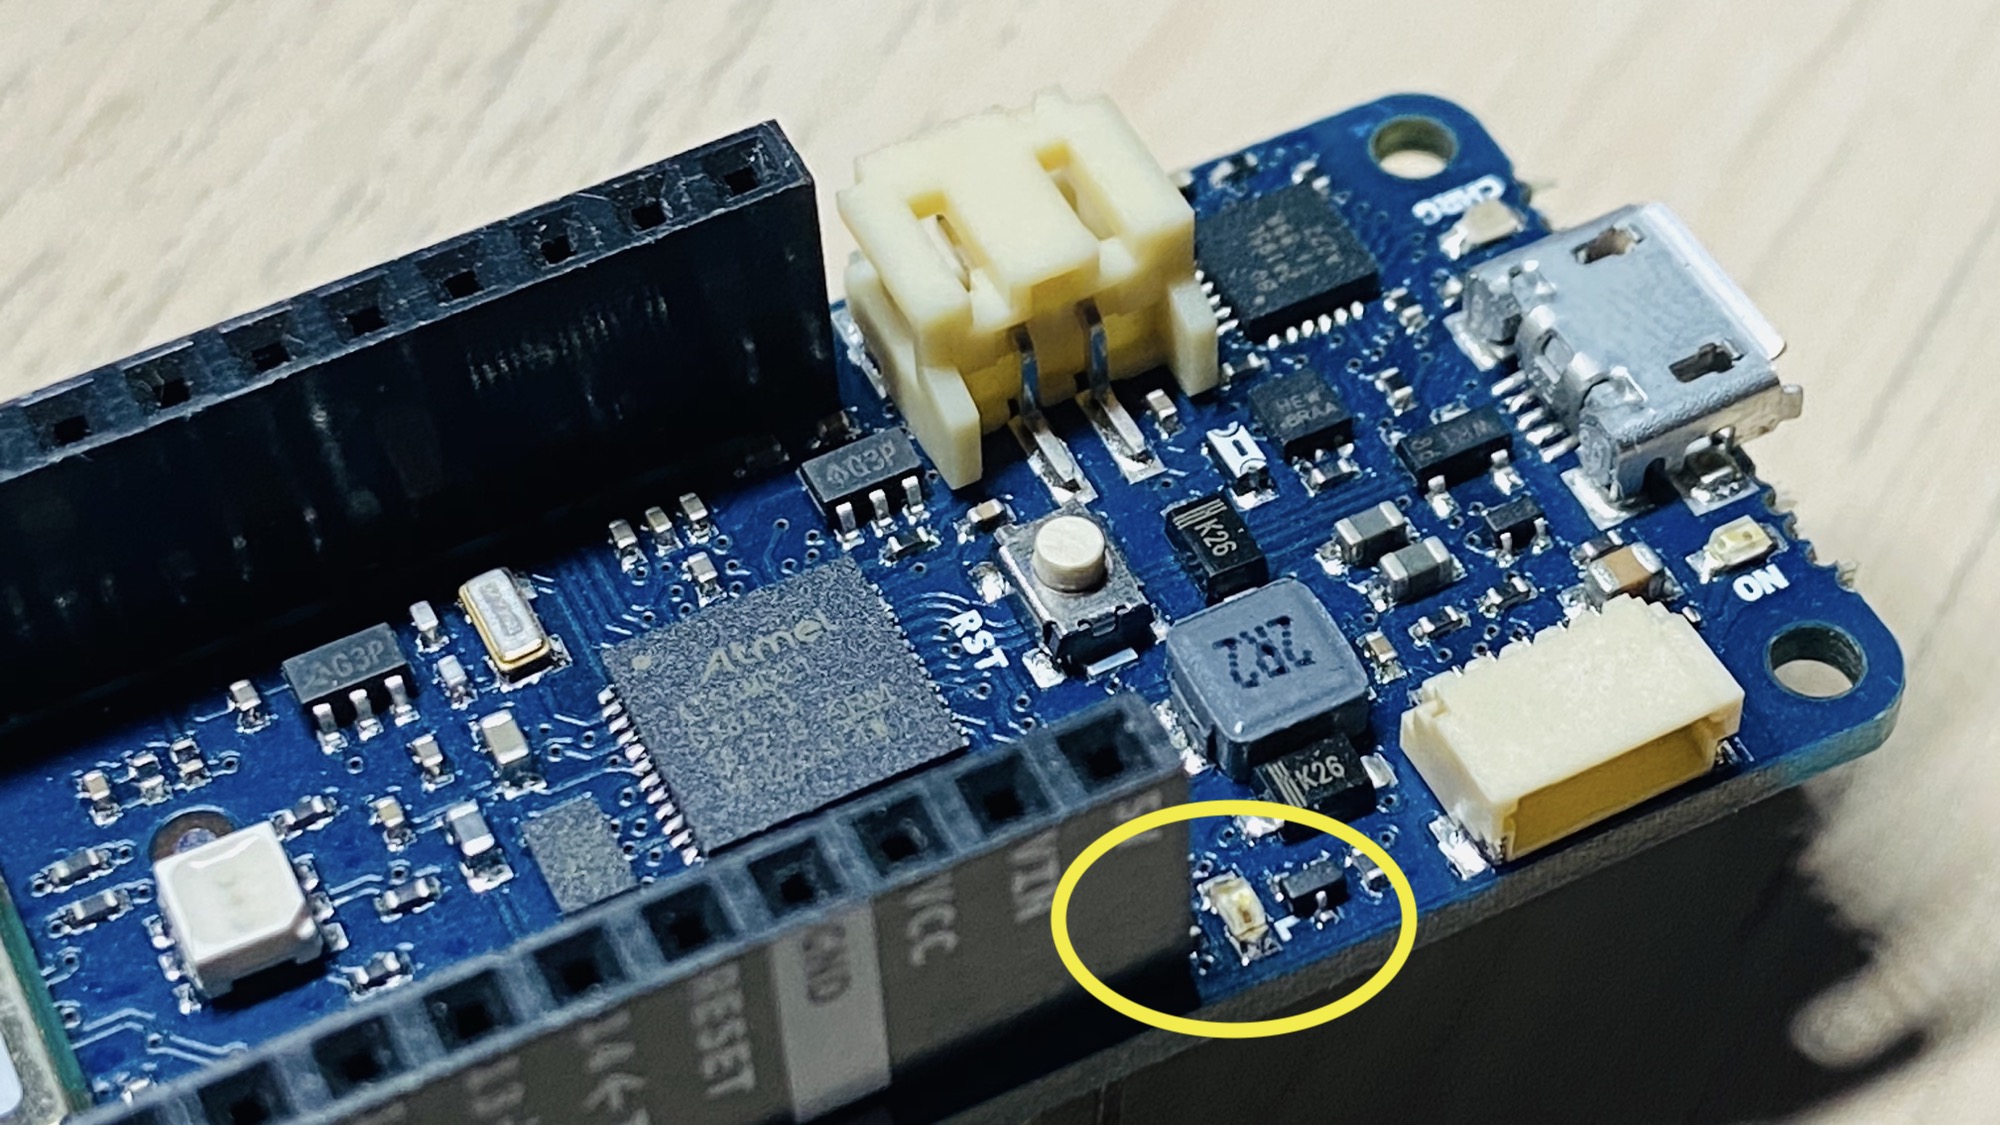
This LED is connected to the digital I/O pin #13 in most boards. In some boards, like the Arduino MKR series, it’s linked to the pin #6.
In any case you can reference the exact pin using the LED_BUILTIN constant, that is always correctly mapped by the Arduino IDE to the correct pin, depending on the board you are compiling for. Always prefer it over a hardcoded 13, so the same sketch works on any board.
How to turn it on
To light up the LED, first you need to set the pin to be an output in setup():
pinMode(LED_BUILTIN, OUTPUT);Then you can send it a HIGH signal:
digitalWrite(LED_BUILTIN, HIGH);or
digitalWrite(LED_BUILTIN, 1);HIGH is just a constant with value 1, so the two lines do the same thing.
To turn it off, write LOW:
digitalWrite(LED_BUILTIN, LOW);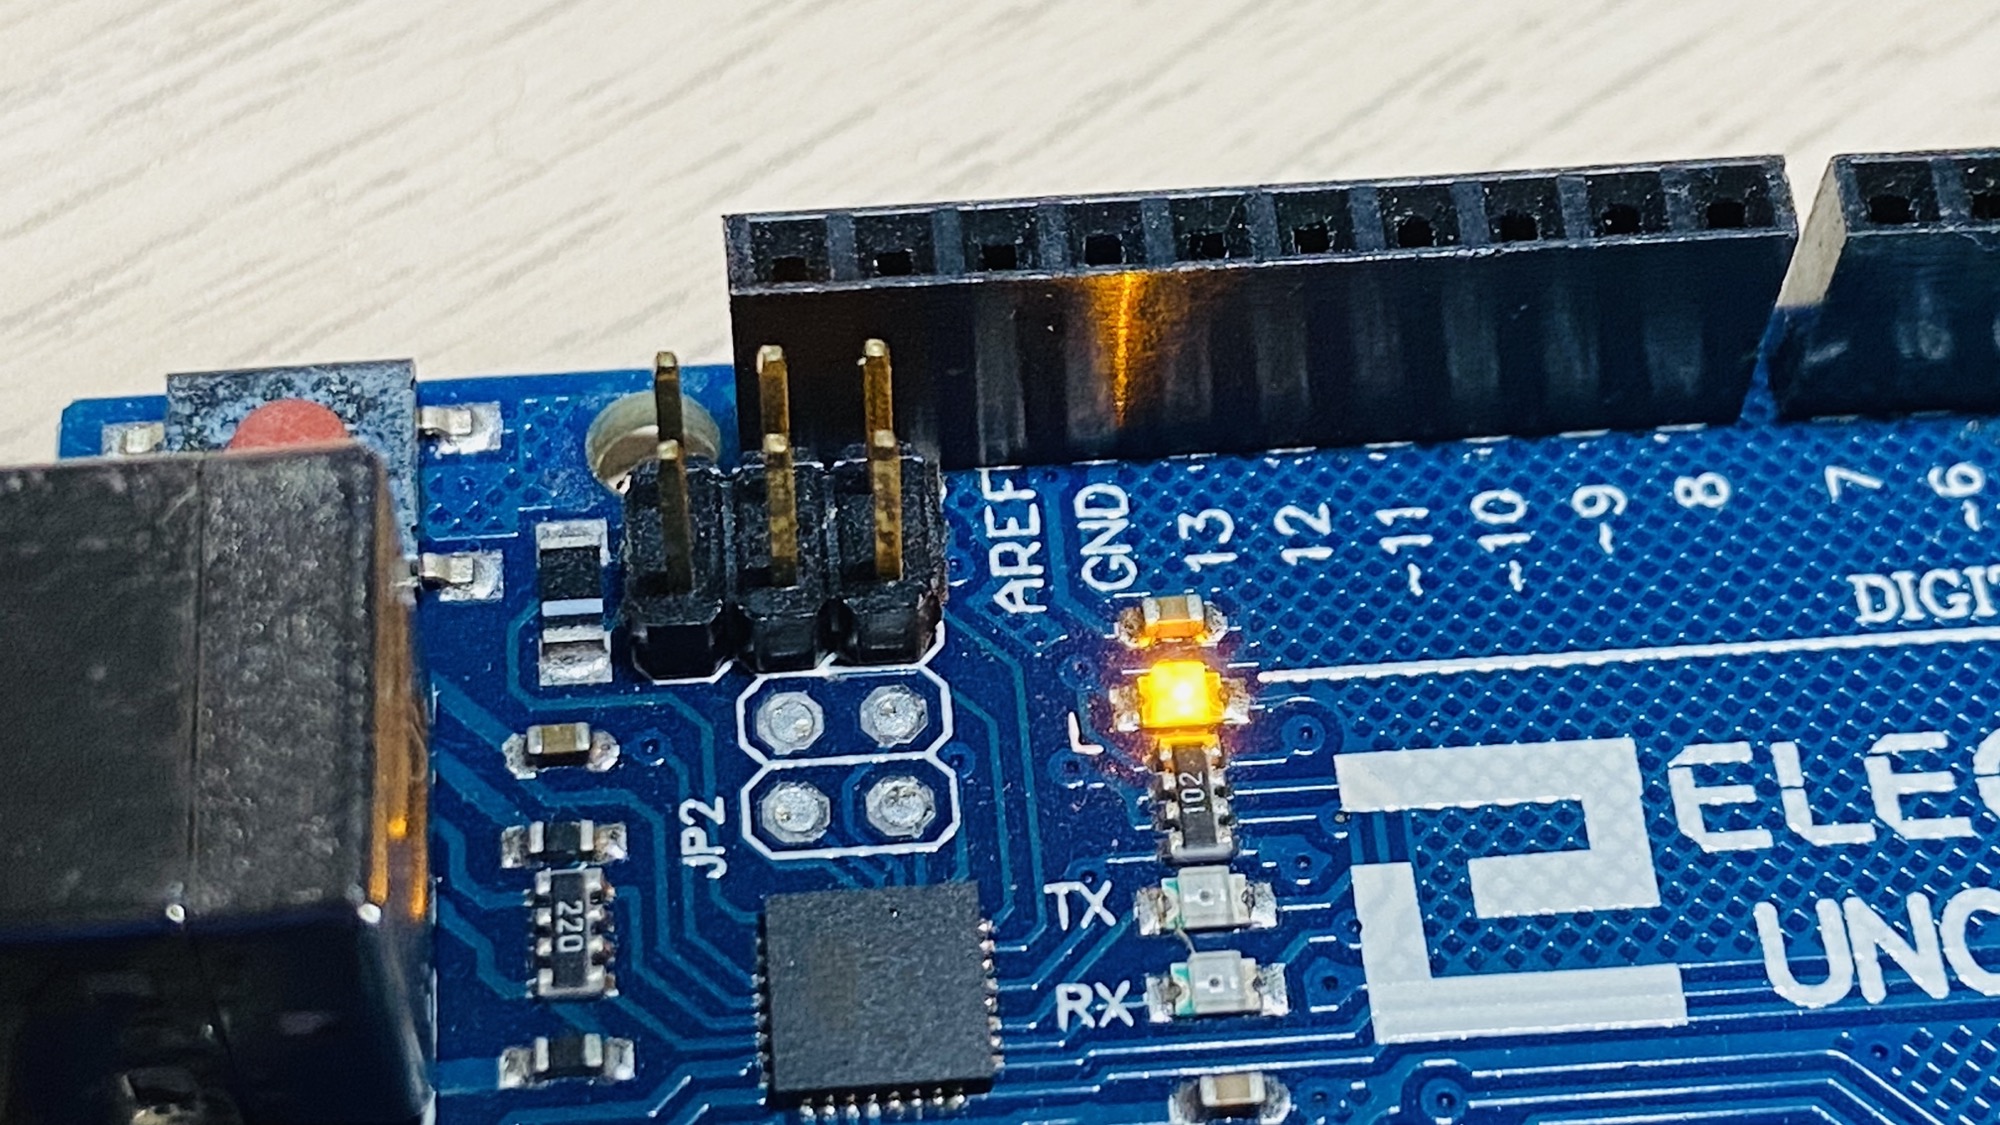
Making it blink
Here is a simple program that makes the built-in LED blink every second:
void setup() {
    pinMode(LED_BUILTIN, OUTPUT);
}

void loop() {
    digitalWrite(LED_BUILTIN, HIGH);
    delay(1000);
    digitalWrite(LED_BUILTIN, LOW);
    delay(1000);
}
delay(1000) pauses the program for 1000 milliseconds. The LED stays on for a second, then off for a second, forever, because loop() runs again and again.
This is the classic Blink sketch. The Arduino IDE ships it under File > Examples > 01.Basics > Blink, and it’s the standard way to verify a board is alive and your upload setup works.
The LED barely glows?
A common mistake: calling digitalWrite() without setting pinMode() first.
Pins start in input mode. Writing HIGH to an input pin doesn’t drive it, it just enables a weak internal pull-up resistor. The LED may glow very dimly, or not at all.
The fix is the pinMode(LED_BUILTIN, OUTPUT) line in setup(). If your LED looks faint, check that line exists.
Want me to talk about your product? You can sponsor this site.
Related posts about electronics: