How to convert HEIC photos to JPG on a Mac
By Flavio
A Mac has three free ways to turn HEIC photos into JPG: the Finder's Convert Image, Preview's Export and Photos' Export. Here's what each keeps, and which one to use depending on where the photo is.
Your iPhone saves photos as HEIC files. A Mac opens them fine, but you need JPG: for a website that refuses HEIC, an older phone, or a relative’s Windows PC that shows a blank icon.
You don’t need to install anything. If the photo is already a file in the Finder, right-click it and use Quick Actions › Convert Image. If it’s in Photos, export it as JPEG. Both keep the date the photo was taken.
The photos here are drawings made for this tutorial, saved as HEIC with a made-up camera and a date taken inside. The screenshots are from macOS 15 Sequoia.
Convert a HEIC file in the Finder
This is the quickest way for a file you already have in a folder.
- Right-click the photo in the Finder.
- Choose Quick Actions › Convert Image.
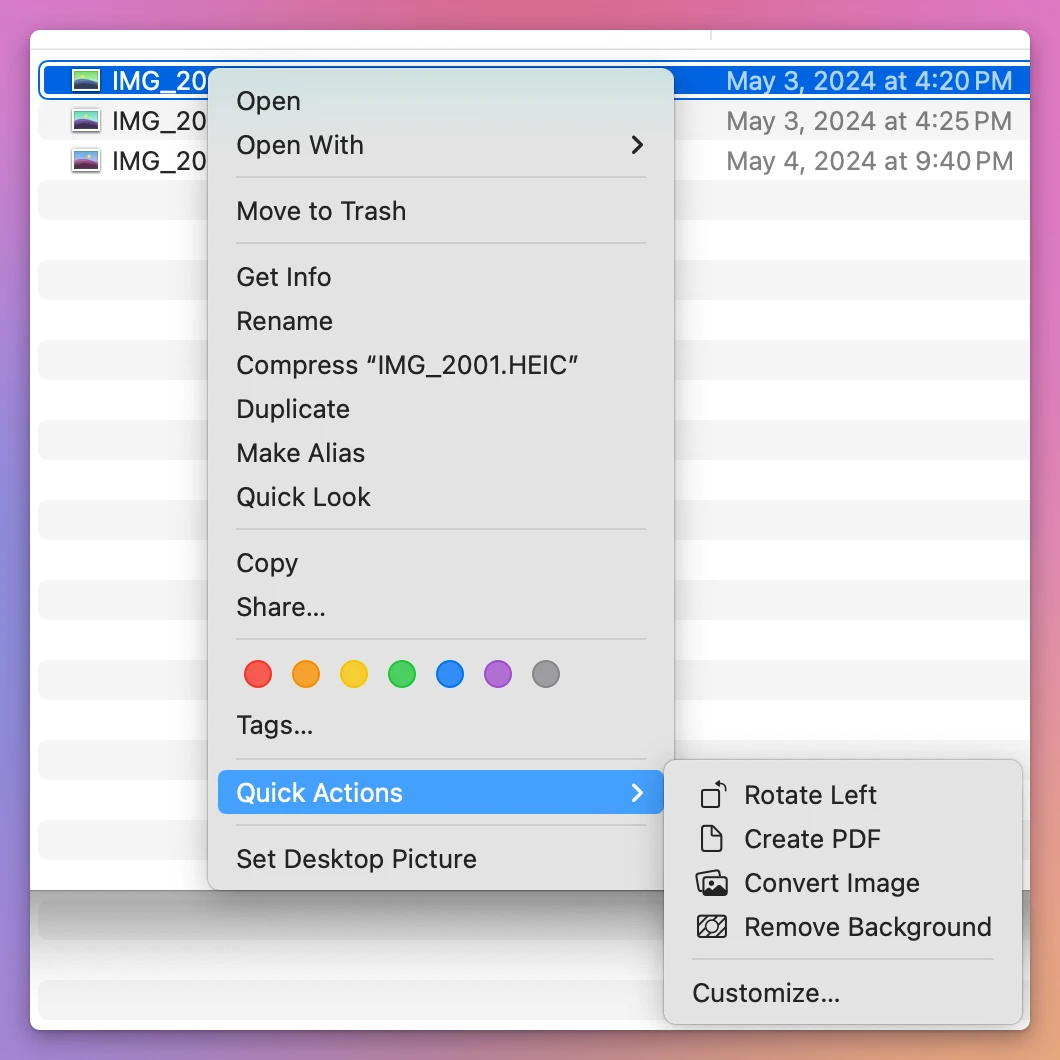
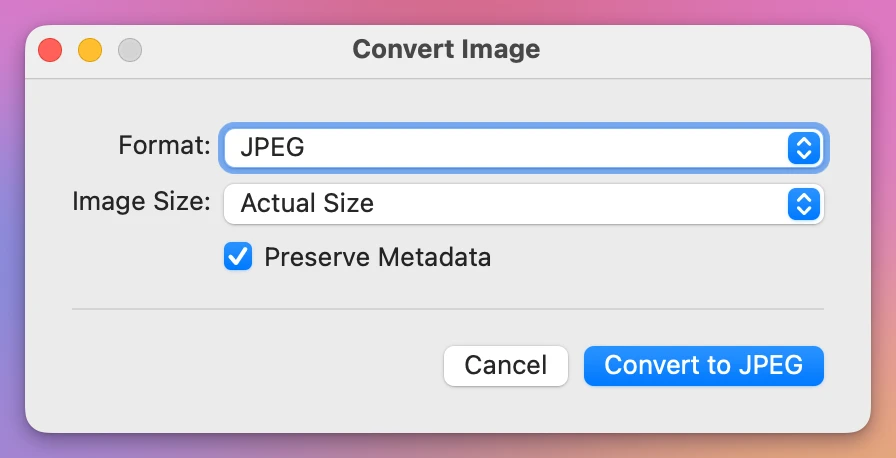
- Leave Format on JPEG, Image Size on Actual Size, and Preserve Metadata ticked.
- Click Convert to JPEG.
The JPEG lands next to the HEIC, as IMG_2001.jpeg. The HEIC stays where it was.
Preview opened the new file, and Tools › Show Inspector, on the info tab and then Exif, still showed the date the photo was taken:
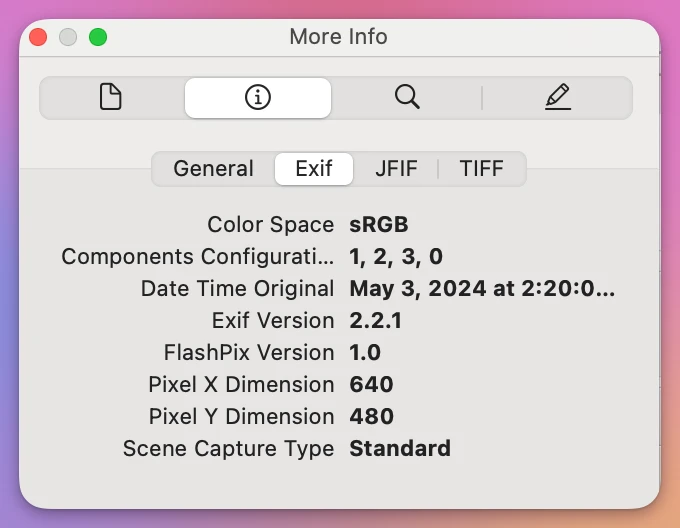
The file itself is new, so the Finder shows today’s date for it, in Date Created and Date Modified.
Convert it in Preview
Preview does the same for the file you have open:
- Open the HEIC in Preview.
- Choose File › Export….
- Set Format to JPEG. The window offers HEIC, JPEG, JPEG-2000, OpenEXR, PDF, PNG and TIFF.
- Move the Quality slider if you want a smaller file, pick where it goes, and click Save.
The window shows the size before you save: 23 KB for this photo at the default quality, against 7 KB for the HEIC. The JPEG kept the date taken and the camera’s name, and again got today’s date in the Finder.
Export JPEGs from Photos
For photos that are in Photos, export them directly. There’s no need to export the HEIC first and convert it.
- Select the photos, or open an album and press Command-A.
- Choose File › Export › Export 3 Photos. The number is how many you selected.
- Set Photo Kind to JPEG. The small arrow next to it shows JPEG Quality, Color Profile and Size.
- Click Export, pick a folder, and click Export again.
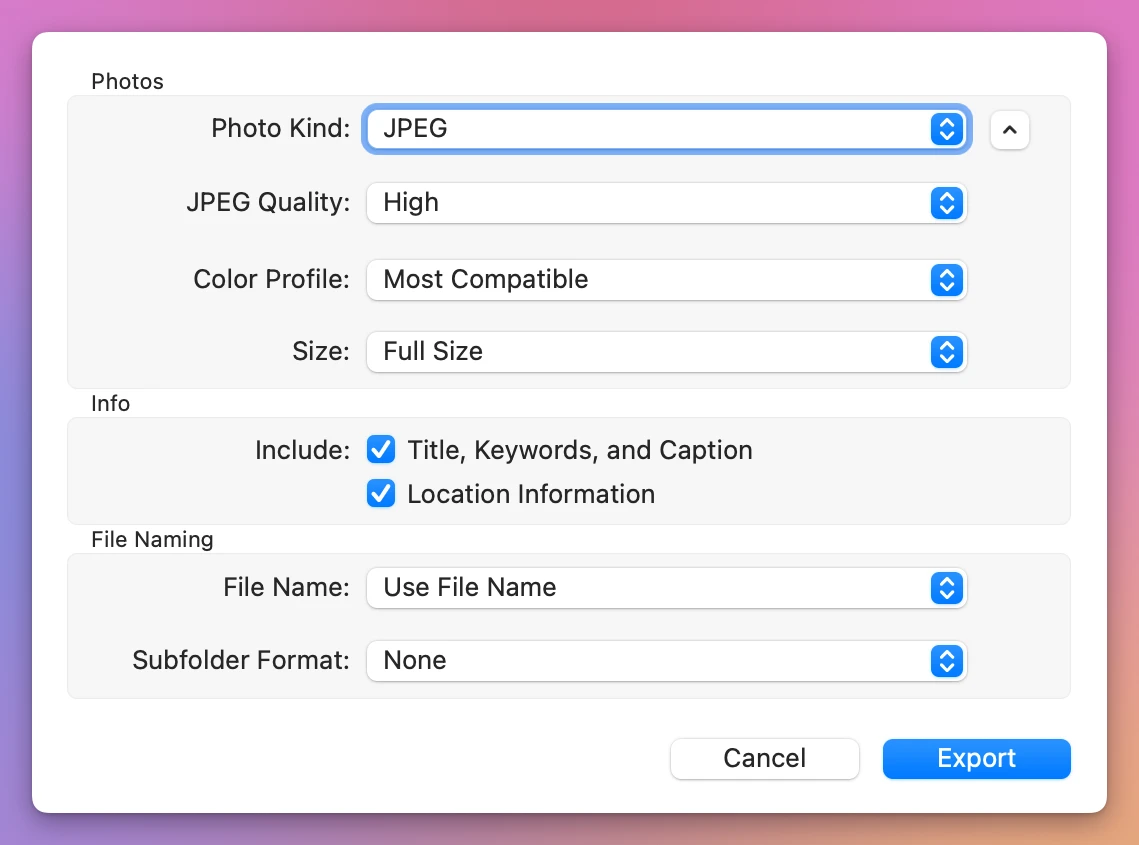
The three JPEGs kept the date taken inside. In the Finder, Date Created was the day the photo was taken, and Date Modified was the day of the export. Photos remembers the choices in this window for next time, so check them before you click Export.
Which one keeps what?
Here’s what each way made from the same 7 KB HEIC photo. The sizes are small because the photos are simple drawings. What matters is how they compare.
| Way | Where the JPEG goes | Size | Date taken inside | Dates in the Finder |
|---|---|---|---|---|
| Finder, Convert Image | Next to the HEIC | 20 KB | Kept | Today |
| Preview, Export… | Where you pick | 23 KB | Kept | Today |
| Photos, Export as JPEG | Where you pick | 16 KB | Kept | Created: the day it was taken. Modified: today |
| Exporter for Apple Photos | A folder per album | 27 KB | Kept | Both: the day it was taken |
Converting while you copy albums out of Photos
If you’re copying many albums out of Photos anyway, for a USB stick or to leave iCloud, you can get JPEGs in the same step. Exporter for Apple Photos is a Mac app I made that copies albums into folders, one per album, as the tutorial on exporting albums to folders shows. It costs $20, paid once, and it isn’t made by, affiliated with or endorsed by Apple.
Tick Convert HEIC to JPEG. Its note says what it’s for: “For Windows PCs and older devices that can’t open HEIC photos.”
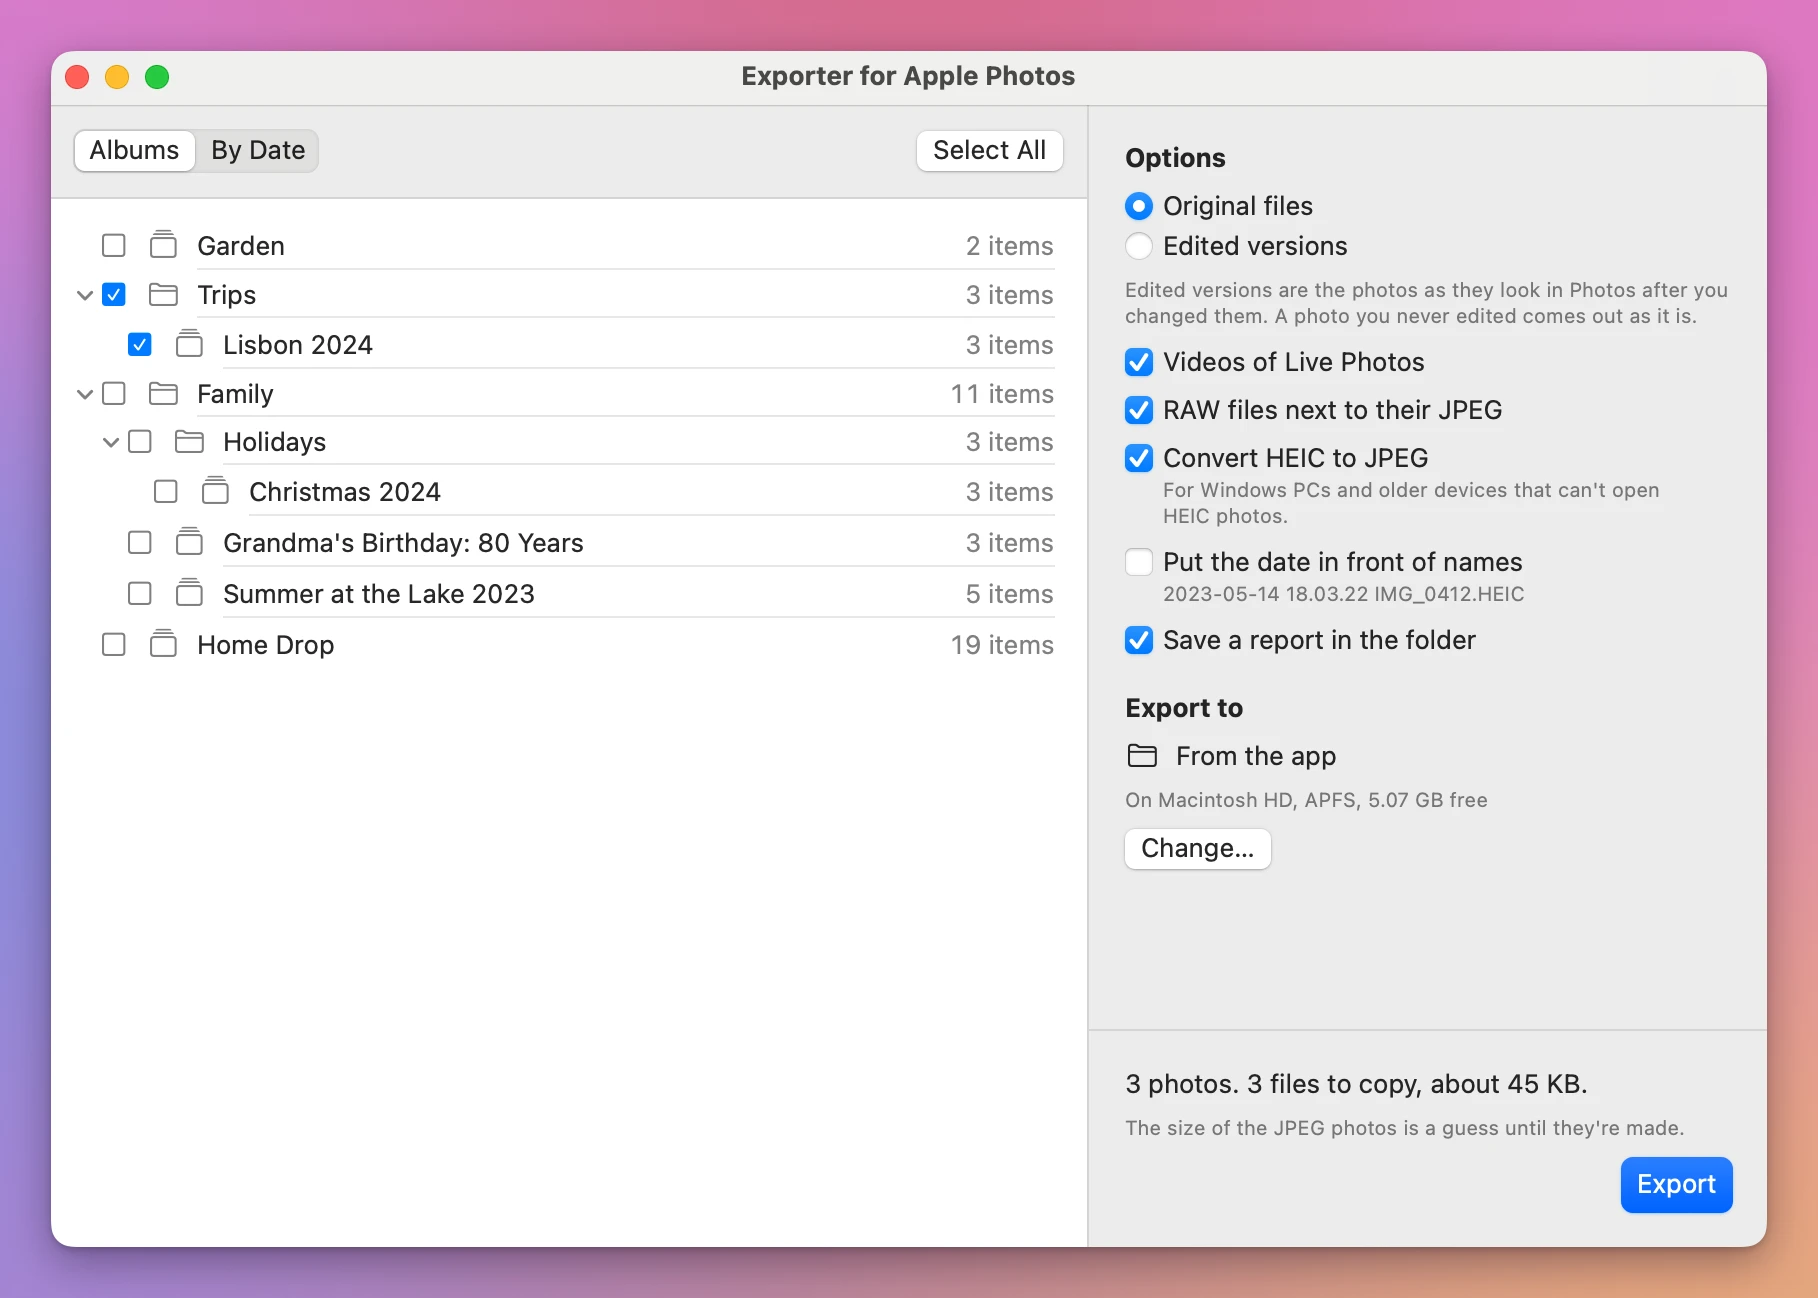
The three Lisbon photos came out as Trips/Lisbon 2024/IMG_2001.JPG and so on, with the date taken inside, and with Date Created and Date Modified both set to the day each photo was taken.
On the test Mac, the first HEIC conversion of each run took up to half a minute, in the Finder and in the app alike. That test Mac has no graphics hardware for HEIC, so expect it to be faster on yours.
Get Exporter for Apple Photos
Copy your photos and videos out of Photos on your Mac into plain folders: one per album, each file with its original name and the date it was taken. HEIC to JPEG for Windows, a space check before it starts, and a second run that copies only what is new.
See Exporter for Apple Photos → · Read the docs · $20. See the app page for tax details.
Want me to talk about your product? You can sponsor this site.