# Hide HTML elements based on HTMX request status
> Learn how to show or hide HTML elements based on the HTMX request status, targeting the htmx-request and htmx-added classes with custom Tailwind variants.
Author: Flavio Copes | Published: 2024-09-14 | Canonical: https://flaviocopes.com/conditionally-hide-html-elements-based-on-htmx-request-status/
HTMX lets us create an HTTP request pretty easily using `hx-get` or `hx-post`, etc.
The request lifecycle goes through a set of stages: settling, request, swapping, added (see [https://htmx.org/docs/#request-operations](https://htmx.org/docs/#request-operations))
Each time the state changes, HTMX adds a class to the element:
- `htmx-indicator`
- `htmx-added`
- `htmx-settling`
- `htmx-swapping`
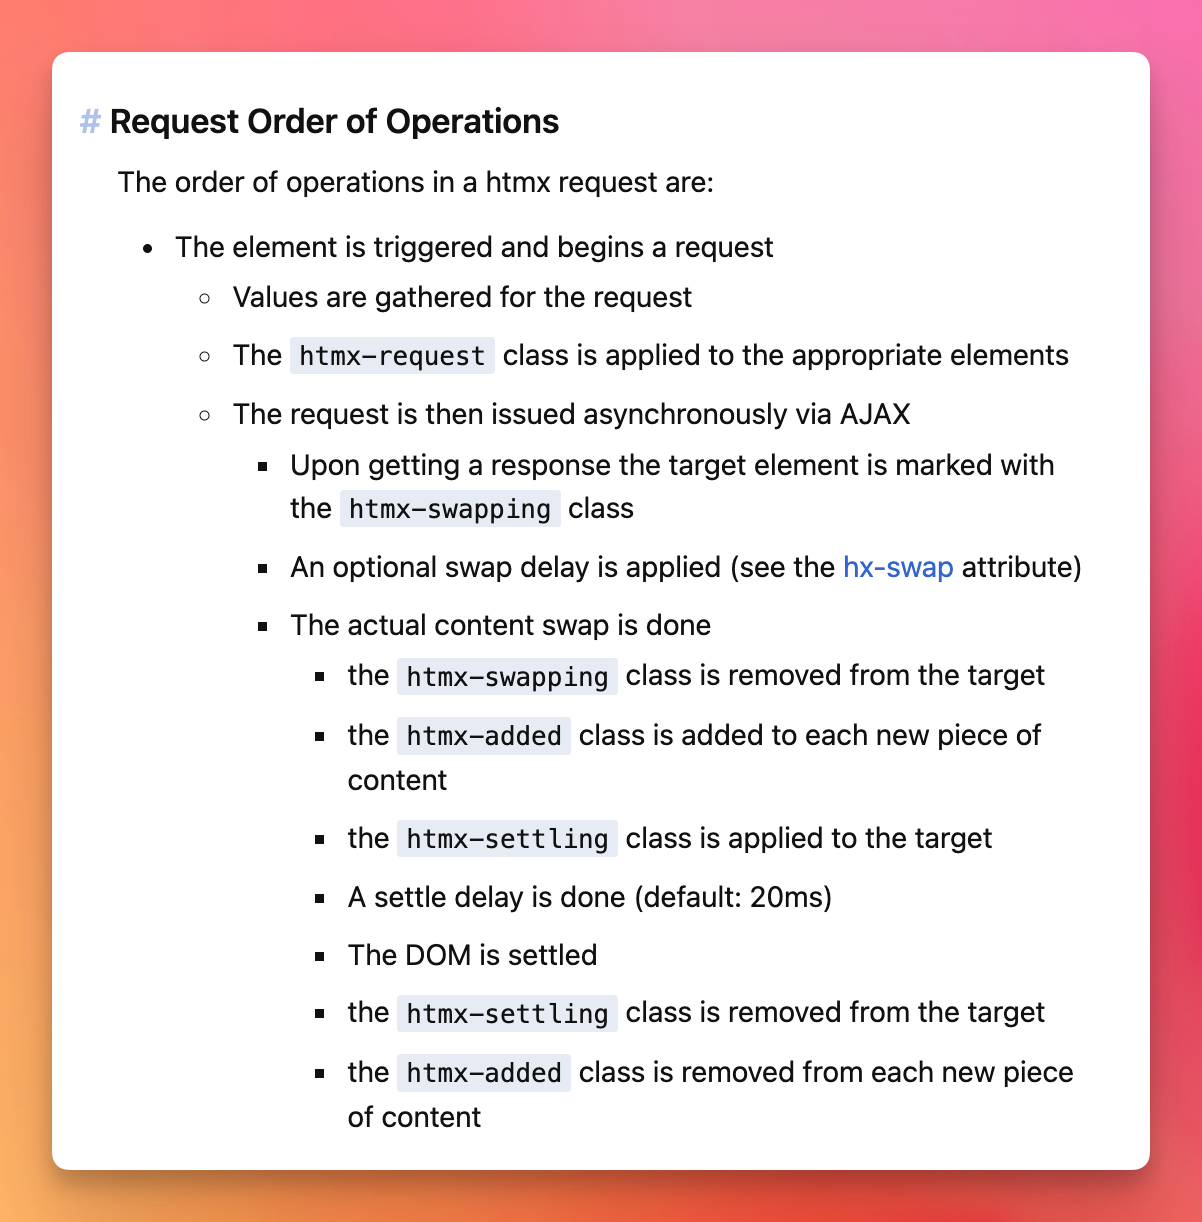
You can target those classes with CSS to add transitions or whatever to the elements based on the state of the request.
Using Tailwind CSS, you can use a “trick” to style those with variants.
You can configure variants in your `tailwind.config.js` file:
```javascript
//...
plugins: [
plugin(function({ addVariant }) {
addVariant('htmx-settling', ['&.htmx-settling', '.htmx-settling &'])
addVariant('htmx-request', ['&.htmx-request', '.htmx-request &'])
addVariant('htmx-swapping', ['&.htmx-swapping', '.htmx-swapping &'])
addVariant('htmx-added', ['&.htmx-added', '.htmx-added &'])
}),
],
//...
```
Now you can use those variants like this:
```javascript
```